

Figma Tips That Make You Faster
source link: https://uxplanet.org/figma-tips-that-make-you-faster-7b39cb468a2c
Go to the source link to view the article. You can view the picture content, updated content and better typesetting reading experience. If the link is broken, please click the button below to view the snapshot at that time.
Figma Tips That Make You Faster
There are a lot of tricks you know or will just learn. These will keep you up to speed. But rather than that, these shortcuts give you great comfort. Try to use them. I used to design it a long way because of my habits, but as I learned these shortcuts and tried to apply them to my design, I gained new habits. I can design painless now. My goal is not to explain all the shortcuts. I will talk about really used tricks that can shorten things. Let’s start with the most known and move towards what few people know. You can think of this article as a note.
Note: Cmd as Ctrl, Option as Alt in Windows
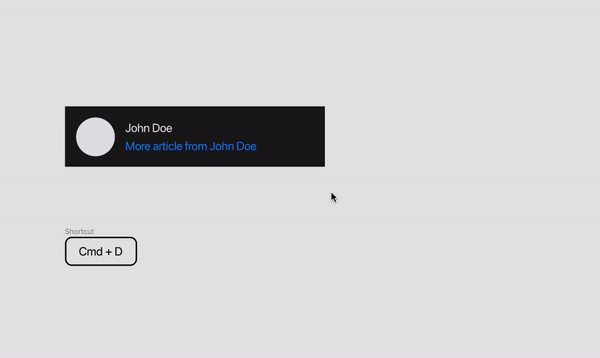
Duplicate
Cmd+D: Makes a copy of the element you selected. You can do this with the classic way; copy-paste. But it’s even easier with the duplicate. As Cmd+D is clicked, a new duplicate element continues to be created.

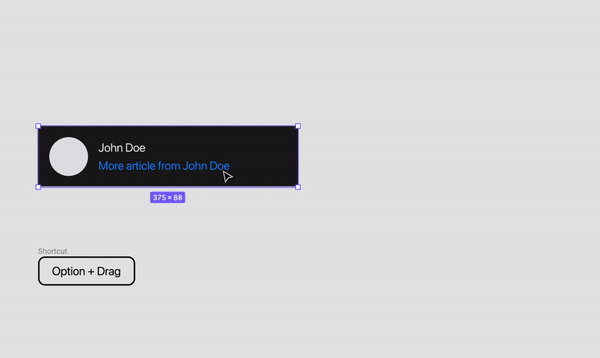
Option+Drag: It’s a different way of coping. If you click the element and drag it with the option key, it will create a new copy. Once you’ve done this, you can continue creating new copies with Cmd+D.
Resize
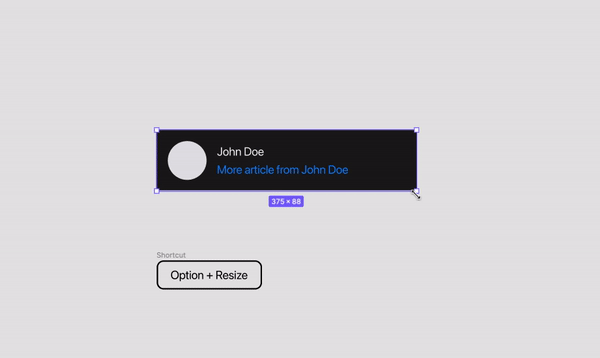
Option+Resize: If you resize an element from one of its corners using Option, it resizes from the center of the frame.
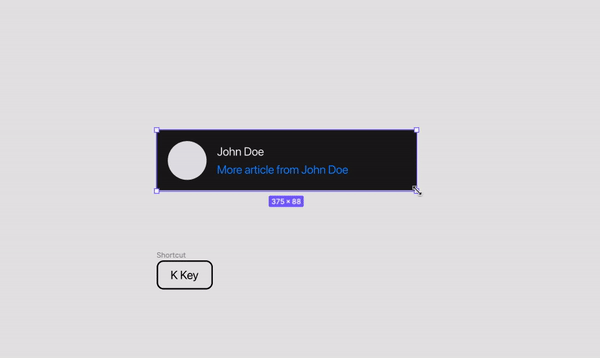
K Key: Sometimes, when you want to resize a frame or a group, its elements may not be resized. To fix this problem, try resizing after pressing K. (Also resized proportionally)
Proportion
Shift: If we want to preserve the ratio while resizing or keep the horizontal/vertical alignment while dragging and dropping, we use the Shift key. The shift also works with other combinations; Take the examples above. For example, when you resize a corner of a frame, if you hold down Shift, the frame will resize proportionally.
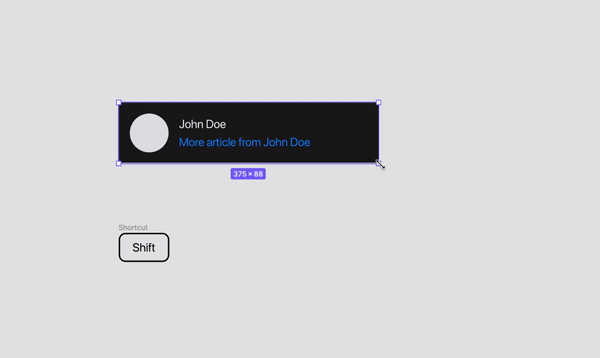
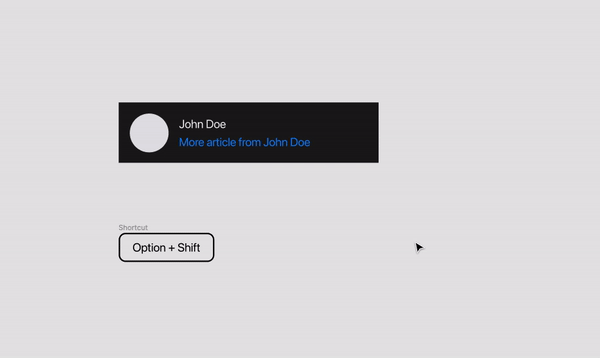
Option+Shift: In addition, we can make this sizing both proportional and center.
Frames
Cmd+Resize: When you want to size the frame, the positions of the elements in it can change. If you want to resize only the frame, not the internal elements, try resizing by holding the Cmd key after selecting the frame. So only the frame will change.
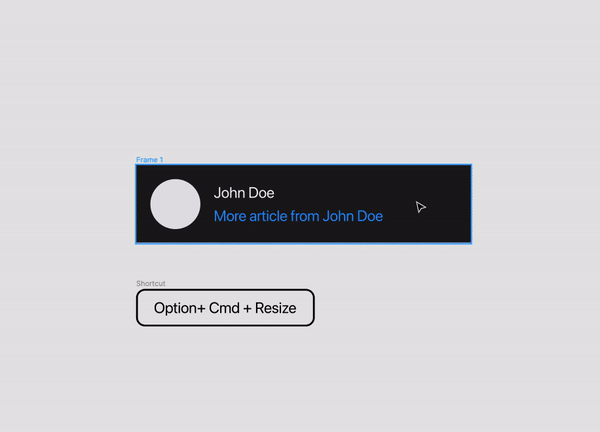
Option+Cmd+Resize: As you can imagine, we only resize the frame here, but with the option button we resize the frame in the center. For example, if we drag the frame to the right with this key combination, it will be sized equally from the left.
Copying Style
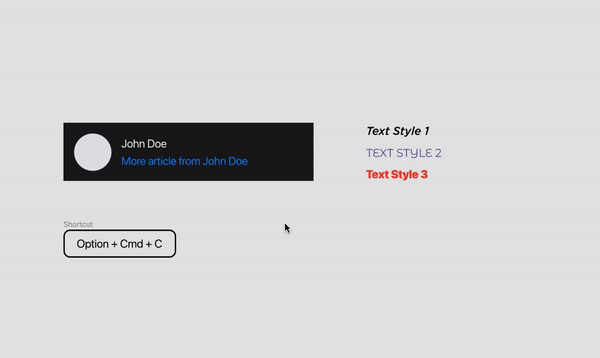
Option+Cmd+C: We just add the Option key to the copy combination. Then copy a text style, a button, or the style of any element that can be copied.
Layers
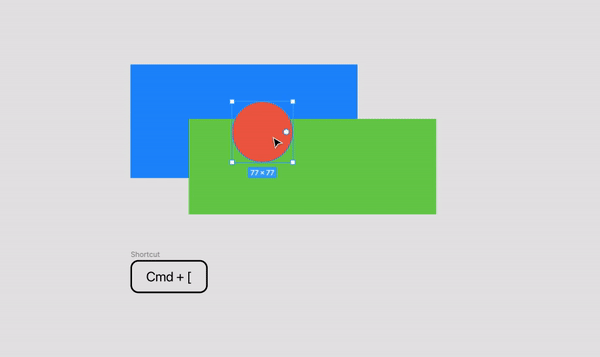
Cmd+[: Send the selected element back.
Cmd+]: Bringthe selected element front.
Rename
Cmd+R: Renames the selected element. We can also rename it if we double click on the element from within layers. Another nice feature is that if you want to import the elements into files, you can do this with the Cmd + R combination after selecting all the elements.
Or you can use the ‘Match’ feature. Let’s see all of these with a GIF;

Switching Between Pages
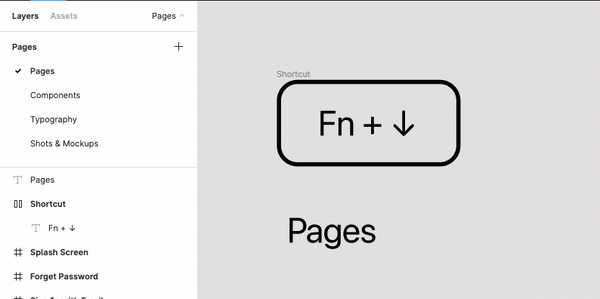
Fn + ↓ : If you click the fn key with the down arrow key, you will go one page down.
Fn + ↑: If you click the fn key together with the up arrow key, you will go up one page.
Opacity
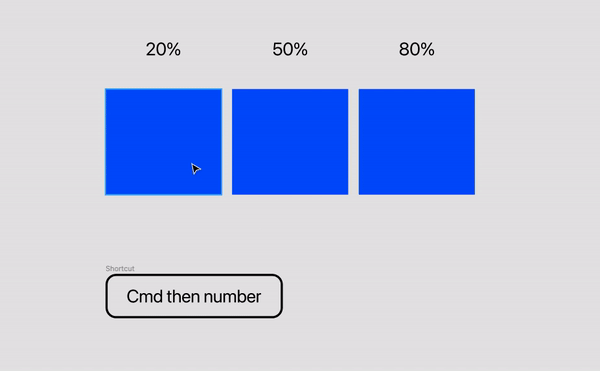
Cmd then “number”: After selecting an element and clicking the cmd button, you can change the opacity by clicking a button between 1 and 9. (1 key for 10%, 9 key for 90%)
Nudge Amount
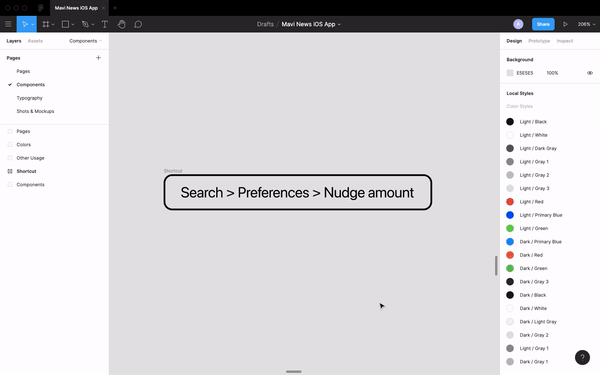
Small / Big Nudge: This is not a key shortcut combination. When you move an element with the arrow keys, it moves 1 pixel by default. Likewise, if you use the Shift + arrow keys, it moves 10 pixels by default. It is called small and big nudge. If you are using a style guide, you may want to change these pixel settings to speed up. You can change it; Preferences> Nudge Amount> Small Nudge or Big Nudge.
Other Key Combinations
Control+Shift+?: You can find all keyboard shortcuts in Figma here. But as I said, you don’t need to know every shortcut. Combinations that will make your job easier are enough.
Recommend
About Joyk
Aggregate valuable and interesting links.
Joyk means Joy of geeK