

How do I use the upper toolbar in Remixer?
source link: https://help.dreamhost.com/hc/en-us/articles/228131587-How-do-I-use-the-upper-toolbar-in-Remixer-
Go to the source link to view the article. You can view the picture content, updated content and better typesetting reading experience. If the link is broken, please click the button below to view the snapshot at that time.
How do I use the upper toolbar in Remixer?
Overview
The toolbar that appears at the top of every page within Remixer allows you to quickly access various design and setting features.
Using the toolbar to select a Remixer function
Click the following buttons to open various pages related to Remixer features:
- DreamHost logo – opens the main 'Select Theme' page.
- My Sites – displays all of your previously saved pages.
- Create – Use an interactive tool to quickly create a template for your website.
- Themes – List of themes you can use to build your website.
- Media – opens a page where you can store various website assets such as images, videos, audio, and so on.
- Account – opens a drop down menu to contact support, search kb articles, or log out of Remixer.
- Publish (or View)– This only shows when editing the site. If your site has not been published yet, a 'Publish' button shows. Clicking this makes the site live on the domain you assigned within the 'Settings' page (view Settings section below). If you have already published the site, the View button allows you to view the current page.
My Sites
Displays all of your previously saved pages:
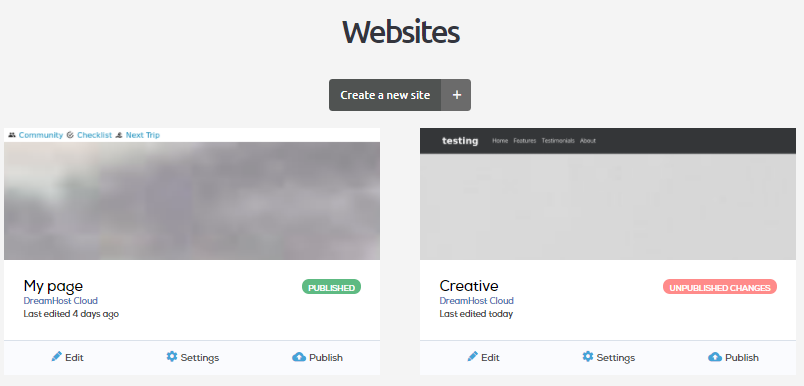
You can perform the following actions on this page:
- Edit — Edit a saved page.
- Settings — Adjust your site's settings such as SEO, Google Analytics, and Domain name.
- Publish — Makes the page live on your domain you've assigned within 'Settings'.
View the 'Editing a page in Remixer' article for further information.
Settings
Clicking the Settings button opens a dialog page.
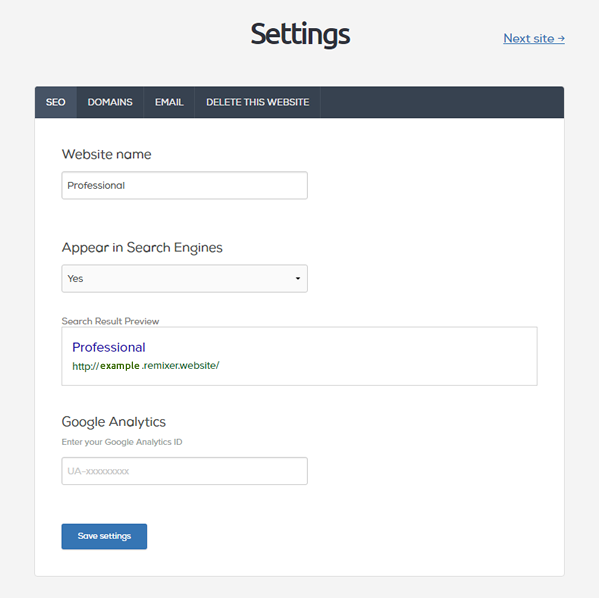
You can perform the following actions on this page:
- SEO – add SEO details and Google Analytics for your new website.
- DOMAINS – Select a domain to publish your Remixer site to.
- EMAIL – Access email if it's included with your plan type.
- DELETE THIS PAGE – Deletes the current page.
Be sure to click the Save settings button when you finish.
Create
Clicking the 'Create' button opens an interactive tool to help you build your website. You first choose what type of site you'd like:
- Business
- Professional
- Creative
You then move on to choose a color palette, images, and fonts. This is a very quick way to build a template for your website.
Themes
This page lists all theme templates for you to base your website off of. If you did not click the 'Create' button above to create a website, you can manually choose a template yourself. Once chosen you can edit it however you like.
Media
Opens the Manage Content page where you can load various assets to your website:
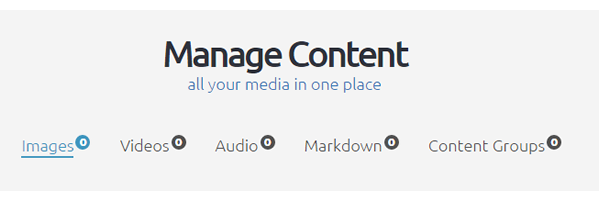
Images

- Upload files from your computer. You can upload files to Remixer by either clicking the box or dragging and dropping files into the box.
- Import images from various social media sites.
- Add royalty-free images with pixabay.
- Import images and text from a website by entering a URL.
Video

- Add direct links to video content using a URL.
- Import video from various social media sites.
- Search YouTube.
- Search Vimeo.
Audio

- Add direct links to video content using a URL.
- Import audio from various social media sites.
Markdown

- Create a Markdown file to use on your website. The button opens an editor where you can edit, preview, save, and delete a Markdown file.
Content Groups

- Create or view your previously saved tags of images, videos, and audio groups.
Publish / View
The 'Publish' button only shows when editing your site. Click the Publish button when you finish editing and are ready push the Remixer site to your live domain you've assigned in the Settings section.
An animated Publish button appears showing you the upload progress of your website: When your website publishes to your domain, an updated icon on the upper right appears.Click the View! button to open the live website.
See also
Did this article answer your questions?
Recommend
About Joyk
Aggregate valuable and interesting links.
Joyk means Joy of geeK