
3

##无yum源安装spug监控
source link: https://blog.51cto.com/u_15397018/5446038
Go to the source link to view the article. You can view the picture content, updated content and better typesetting reading experience. If the link is broken, please click the button below to view the snapshot at that time.

##无yum源安装spug监控
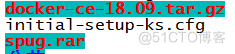
原创1. 找到安装包
2、安装docker
[root@localhost ~]# tar zxvf docker-ce-18.09.tar.gz
[root@localhost ~]# cd docker/
[root@localhost ~]# cd docker/
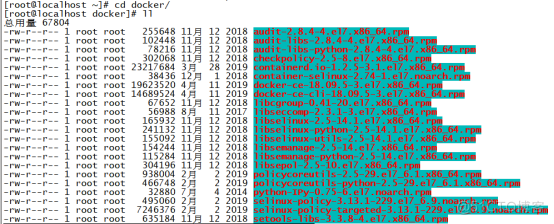
3、安装docker包
[root@localhost docker]# rpm -Uvh --force --nodeps *.rpm
4、启动docker
[root@localhost docker]# systemctl start docker
5、查看docker
[root@localhost docker]# docker ps
[root@localhost docker]# docker images
[root@localhost docker]# docker images
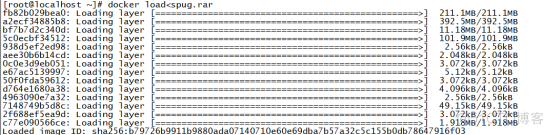
6、将准备好的spug包导入容器docker
[root@localhost ~]# docker load<spug.rar
7、运行容器
[root@localhost ~]# docker run -d --restart=always --name=spug -p 880:80 -v /spug:/data b79726b9911b9880ada07140710e60e69dba7b57a32c5c155b0db78647916f03

8、进入spug容器
[root@localhost ~]# docker exec -it spug /bin/bash
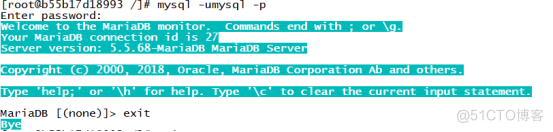
9、登录spug的数据库
[root@b55b17d18993 /]# mysql -umysql -p
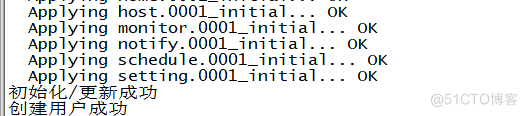
10、初始化
[root@localhost ~]# docker exec spug init_spug admin spug.dev
11、重启容器
[root@localhost ~]# docker restart spug
12、登录
在浏览器中输入 http://localhost:80 访问
用户名: admin
passwd: spug.dev
Recommend
About Joyk
Aggregate valuable and interesting links.
Joyk means Joy of geeK