

Three.js 之 12 Particles 粒子效果
source link: https://gaohaoyang.github.io/2022/06/26/three-particles/
Go to the source link to view the article. You can view the picture content, updated content and better typesetting reading experience. If the link is broken, please click the button below to view the snapshot at that time.
本系列为 Three.js journey 教程学习笔记。
听到粒子特效,是不是无比期待?可以用它实现非常多的效果如星空、烟雾、雨、灰尘、火等。
粒子特效的优势是即使使用了成百上千的例子,也能保证比较高的帧率。缺点是每个粒子都由一个始终面向相机的平面(两个三角形)组成。
创建粒子像创建几何体一样简单,我们使用 PointsMaterial 材质,它不会创建几何体而是创建非常多的点 Points。下面我们开始吧。
第一个粒子效果
Geometry 几何体
创建一个球体
/**
 * Particles
 */
// geometry
const sphereGeometry = new THREE.SphereGeometry(1, 32, 32)
PointsMaterial 点材质
创建点材质
// material
const pointMaterial = new THREE.PointsMaterial({
  size: 0.02,
  sizeAttenuation: true,
})
有2个属性
.size : Number- 设置点的大小。默认值为1.0。
.sizeAttenuation : Boolean- 指定点的大小是否因相机深度而衰减。(仅限透视摄像头。)默认为true。
使用 Points
之前我们都是使用 Mesh 网格几何体,现在使用点 Points。
const particles = new THREE.Points(sphereGeometry, pointMaterial)
scene.add(particles)
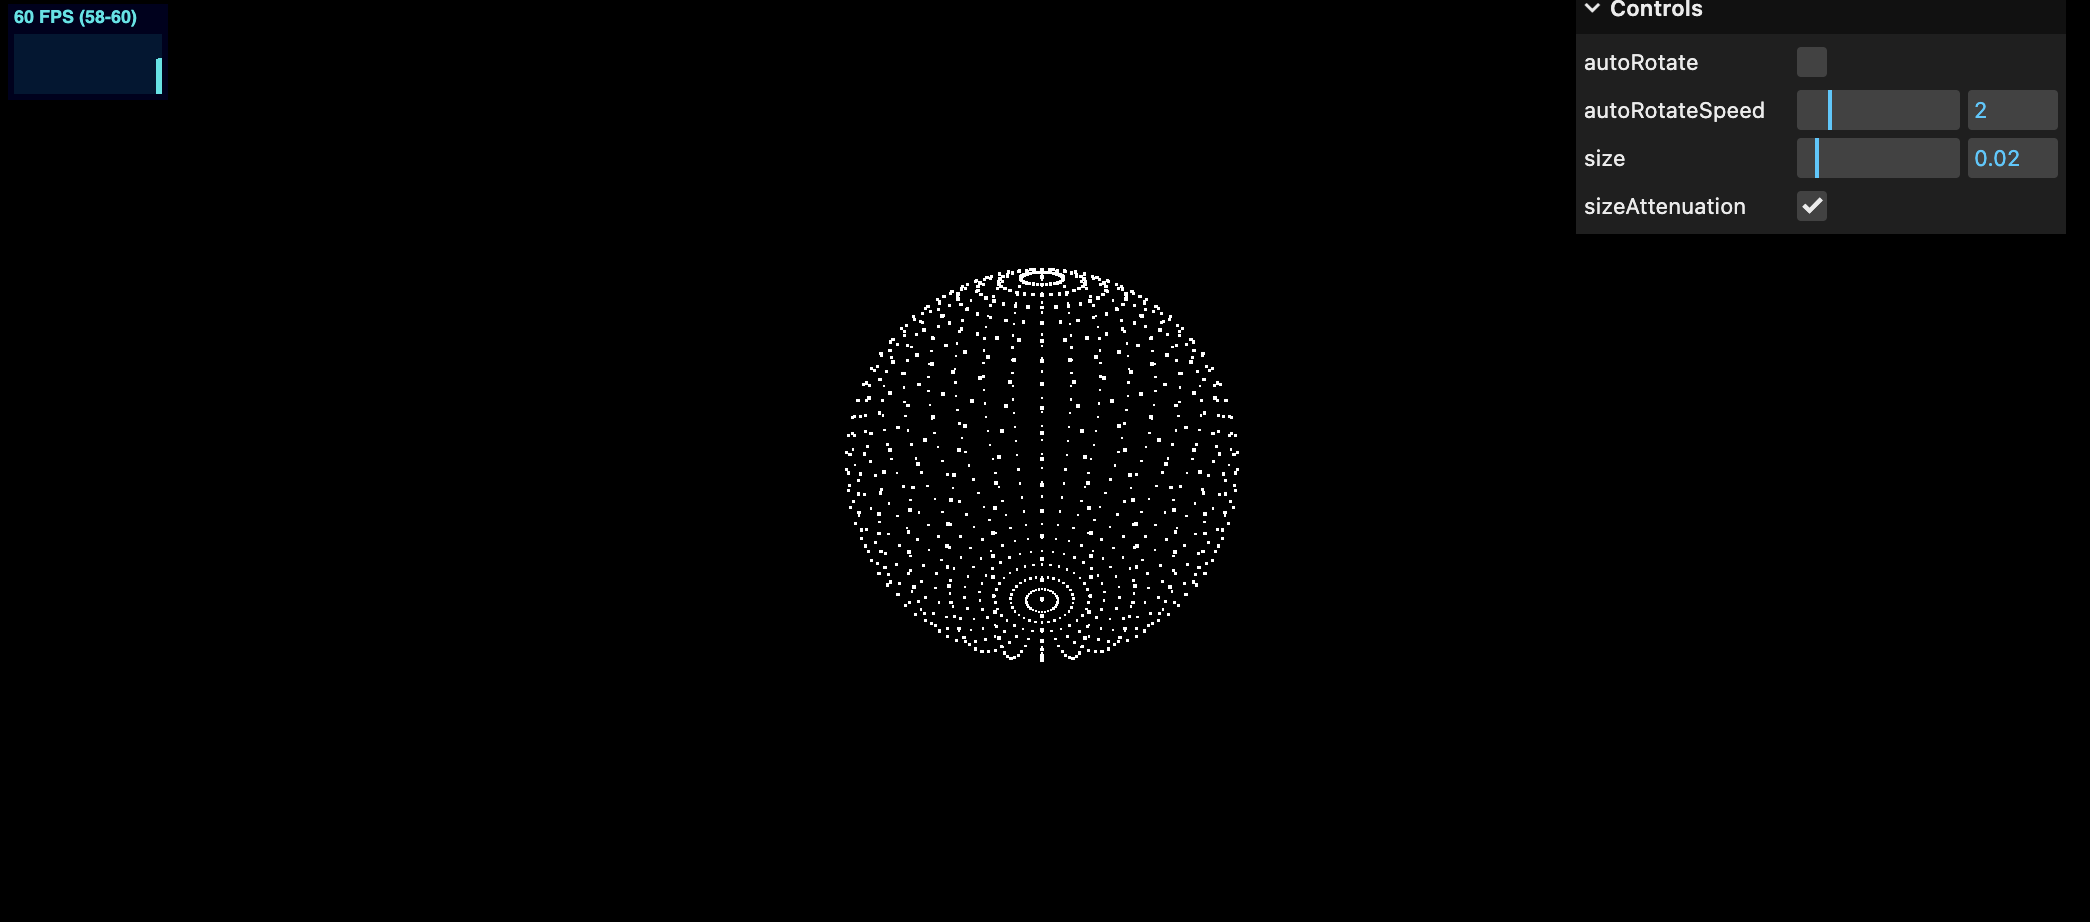
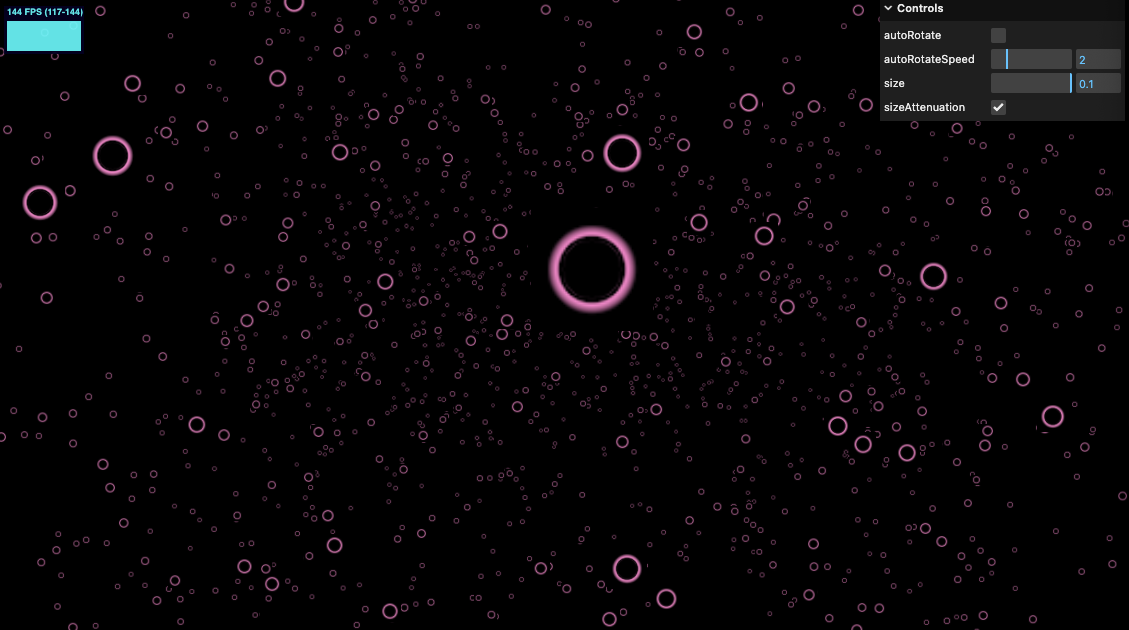
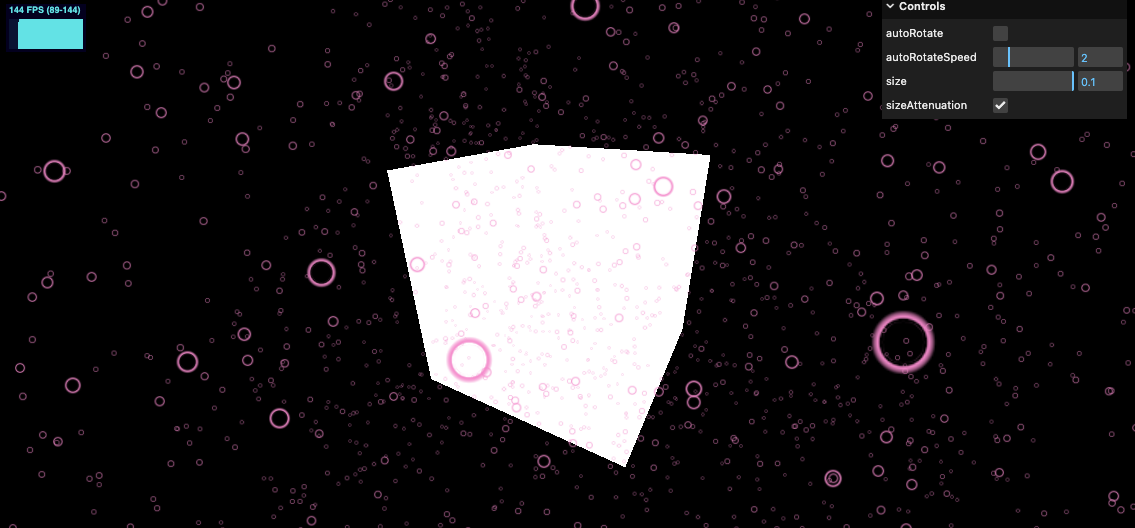
改变 sizeAttenuation 和 size 效果如下
在线 demo 链接
可扫码访问

完整代码如下
import * as THREE from 'three'
import './style.css'
import { OrbitControls } from 'three/examples/jsm/controls/OrbitControls'
import * as dat from 'lil-gui'
import stats from '../common/stats'
import { listenResize, dbClkfullScreen } from '../common/utils'

// Canvas
const canvas = document.querySelector('#mainCanvas') as HTMLCanvasElement

// Scene
const scene = new THREE.Scene()

/**
 * Particles
 */
// geometry
const sphereGeometry = new THREE.SphereGeometry(1, 32, 32)

// material
const pointMaterial = new THREE.PointsMaterial({
  size: 0.02,
  sizeAttenuation: true,
})

const particles = new THREE.Points(sphereGeometry, pointMaterial)
scene.add(particles)

/**
 * Lights
 */
const ambientLight = new THREE.AmbientLight('#ffffff', 0.4)
scene.add(ambientLight)

// Size
const sizes = {
  width: window.innerWidth,
  height: window.innerHeight,
}

// Camera
const camera = new THREE.PerspectiveCamera(75, sizes.width / sizes.height, 0.1, 100)
camera.position.set(2, 1.8, 2)

const controls = new OrbitControls(camera, canvas)
controls.enableDamping = true
// controls.autoRotateSpeed = 0.2
controls.zoomSpeed = 0.3

// Renderer
const renderer = new THREE.WebGLRenderer({
  canvas,
})
renderer.setSize(sizes.width, sizes.height)
renderer.setPixelRatio(Math.min(window.devicePixelRatio, 2))

listenResize(sizes, camera, renderer)
dbClkfullScreen(document.body)

// Animations
const tick = () => {
  stats.begin()

  controls.update()
  pointMaterial.needsUpdate = true

  // Render
  renderer.render(scene, camera)
  stats.end()
  requestAnimationFrame(tick)
}

tick()

/**
 * Debug
 */
const gui = new dat.GUI()

gui.add(controls, 'autoRotate')
gui.add(controls, 'autoRotateSpeed', 0.1, 10, 0.01)
gui.add(pointMaterial, 'size', 0.01, 0.1, 0.001)
gui.add(pointMaterial, 'sizeAttenuation')
自定义几何体
为了创建一个自定义几何体,我们需要使用 BufferGeometry 类,并且添加 postion 属性,可以参考我们之前学习的 Three.js 之 4 Geometry 几何体 章节。
// geometry
const particlesGeometry = new THREE.BufferGeometry()
const count = 5000
const positions = new Float32Array(count * 3) // 每个点由三个坐标值组成(x, y, z)
for (let i = 0; i < count * 3; i += 1) {
  positions[i] = (Math.random() - 0.5) * 5
}
particlesGeometry.setAttribute('position', new THREE.BufferAttribute(positions, 3))
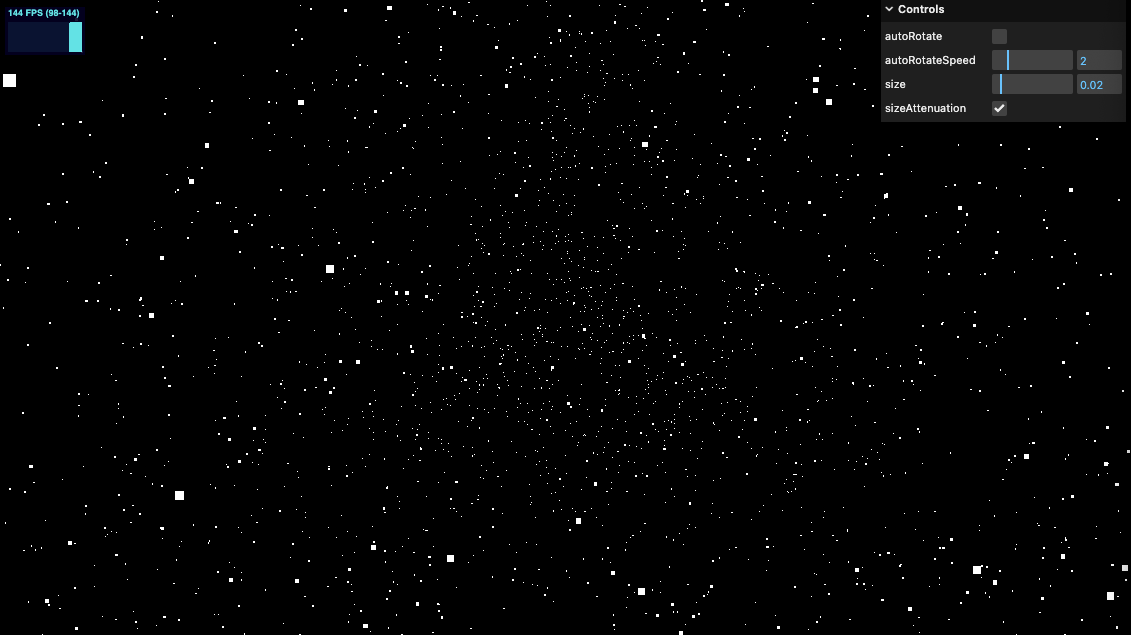
我们尝试将粒子个数设置的更高,仍然能得到非常好的性能和帧率,如下图,将
const count = 500000
仍然满帧运行
接下来我们设置个数为 5000,并设置 pointMaterial.size 为 0.1
Color, map and alpha map
首先为材质设置颜色
pointMaterial.color = new THREE.Color('#ff88cc')
再增加纹理贴图,我们使用如下的贴图

/**
 * Textures
 */
const textureLoader = new THREE.TextureLoader()
const particleTexture = textureLoader.load('https://gw.alicdn.com/imgextra/i3/O1CN01DO6Ed61QtcMKsVnK2_!!6000000002034-2-tps-56-56.png')
pointMaterial.map = particleTexture
这些好看的纹理贴图来自 Kenney 的站点,在这里可以找到更多。这个圆环就是来自这个包中 https://www.kenney.nl/assets/particle-pack
但仔细看,可以发现这个例子没有透明,挡住了后面的粒子,如下图
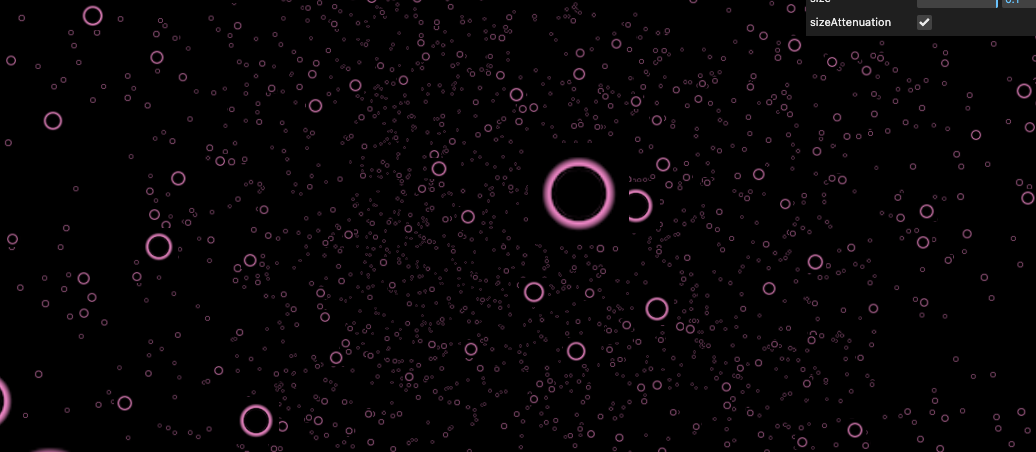
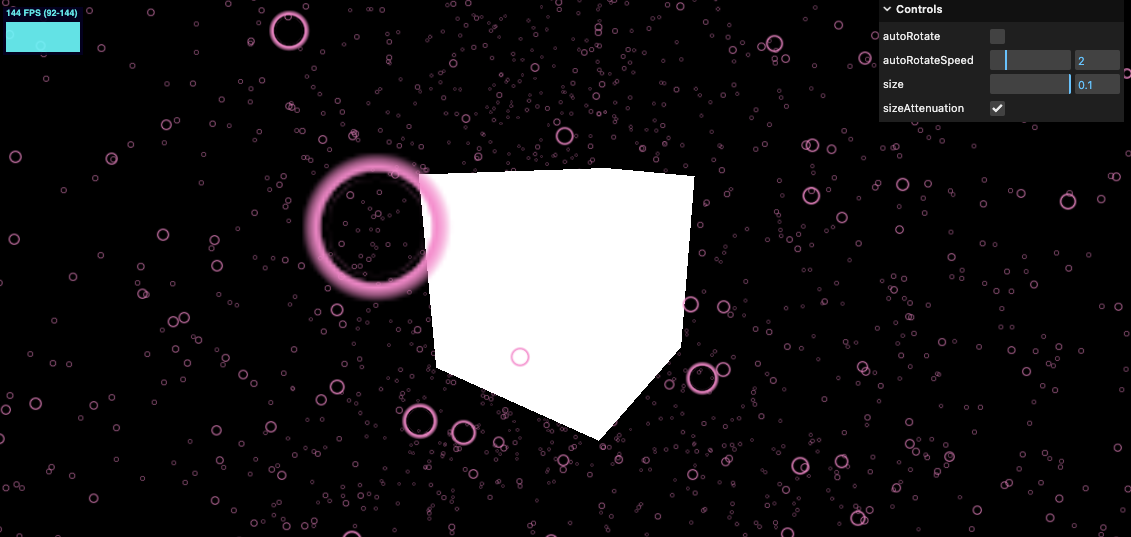
我们设置 alphaMap 和 transparent
pointMaterial.alphaMap = particleTexture
pointMaterial.transparent = true
透明的效果有了,但还是能看到偶尔出现的边缘,如下图
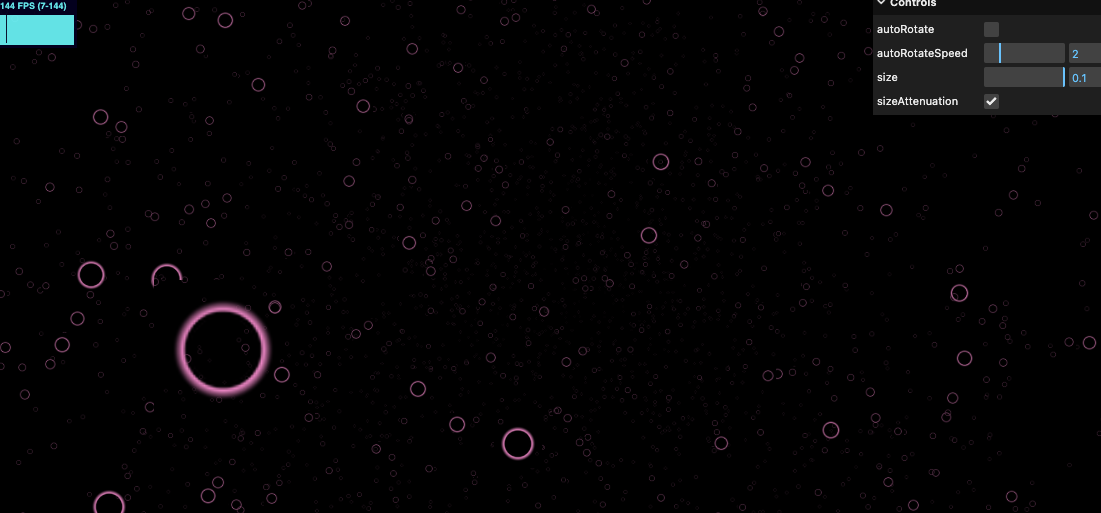
这是因为粒子在创建的时候,WebGL 认为它们在同一层,没法区分哪一个在哪一个之前。这个问题稍为复杂一点,有多种方式可以解决。
alphaTest
.alphaTest : Float
设置运行 alphaTest 时要使用的alpha值。如果不透明度低于此值,则不会渲染材质。默认值为0。
就是让 WebGL 明白什么时候根据像素的透明度不进行渲染。默认为 0 即总是会渲染,如果我们设置一个很小的值,则如何 alpha 为 0 时不会被渲染
pointMaterial.alphaTest = 0.001

仔细看这个方案不是很完美,还是能看到一些毛边
depthTest
是否在渲染此材质时启用深度测试。默认为 true。
这个遮挡的背景问题正是因为开启了 depthTest,WebGL 不知道哪个在前哪个在后,导致的,所以我们可以关掉这个深度测试。
// pointMaterial.alphaTest = 0.001
pointMaterial.depthTest = false
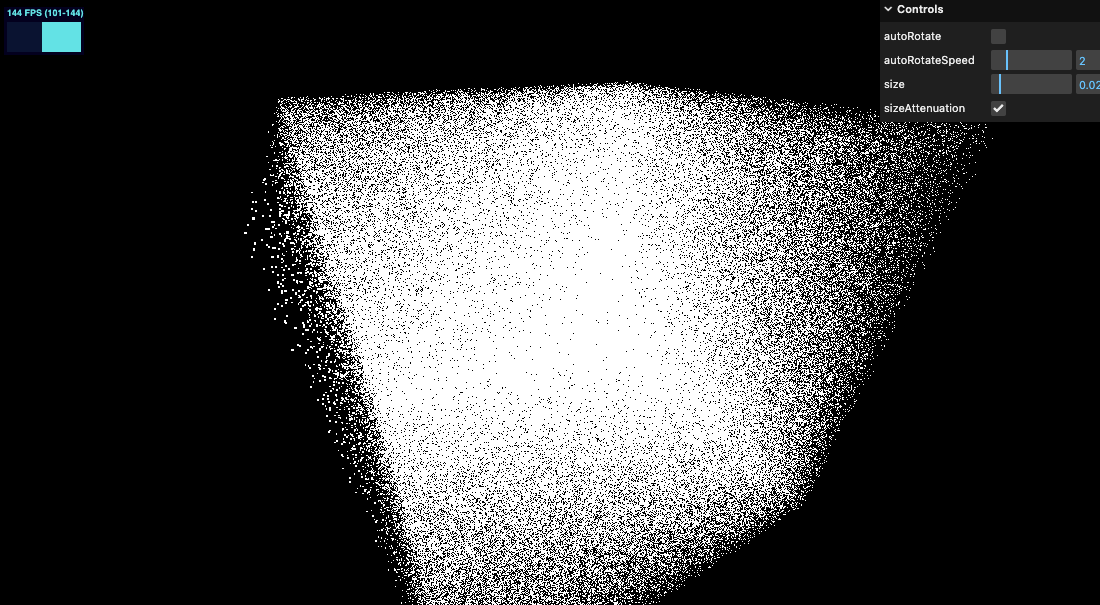
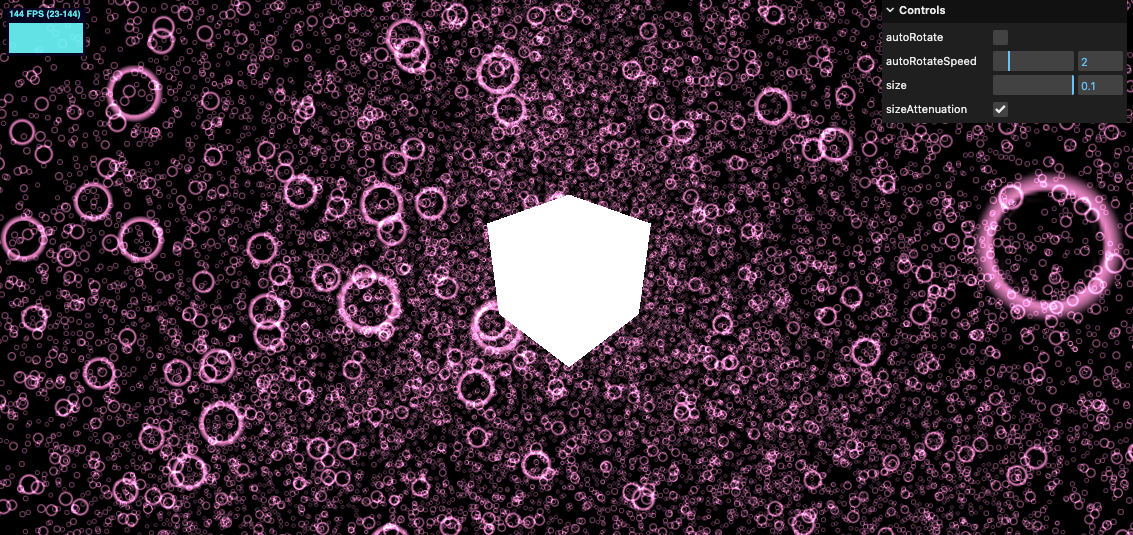
看起来效果不错。但是因为我们关闭了深度测试,会导致另一个bug,如果我们创建一个几何体,那么这个几何体就会总是在这些粒子之后了。
// cube
const cube = new THREE.Mesh(new THREE.BoxGeometry(), new THREE.MeshStandardMaterial())
scene.add(cube)
如下图,这是一个很奇怪的透视效果。如果没有其他几何体的话,使用 depthTest 关闭的方案就足够了,接下来我们再看看其他方案
depthWrite
渲染此材质是否对深度缓冲区有任何影响。默认为 true。
WebGL 在渲染是会检测当前渲染的深度和之前已经渲染的物体深度的对比,已渲染的深度会被缓存在 depth buffer 中。这是我们设置 depthWrite 为 false 相当于告知发现更近的粒子时 WebGL 不要在将其写入 depth buffer 中。
pointMaterial.depthWrite = false
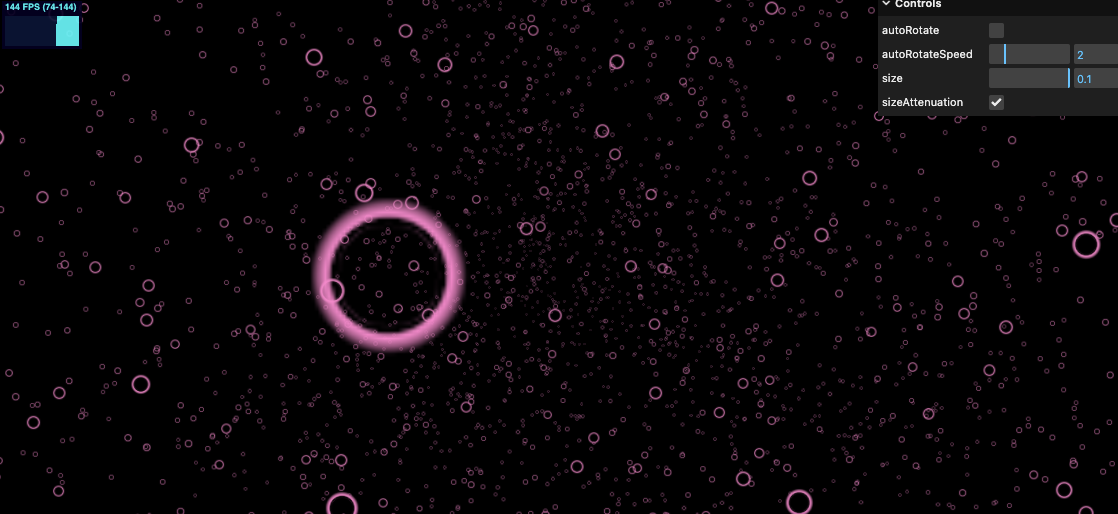
Blending
混合,设置将叠加的部分的效果
pointMaterial.depthWrite = false
pointMaterial.blending = THREE.AdditiveBlending
我们增加一些粒子,可以看到叠加的部分变得更加高亮,我们可以用这个效果制作烟火、火焰等
要注意的时,这个效果可能会带来性能问题
我们一起看看怎么设置每个粒子的颜色
我们需要给 particlesGeometry 设置另一组属性
const particlesGeometry = new THREE.BufferGeometry()
const count = 20000
const positions = new Float32Array(count * 3) // 每个点由三个坐标值组成(x, y, z)
const colors = new Float32Array(count * 3) // 每个颜色由三个rgb组成
for (let i = 0; i < count * 3; i += 1) {
positions[i] = (Math.random() - 0.5) * 10
colors[i] = Math.random()
}
particlesGeometry.setAttribute('position', new THREE.BufferAttribute(positions, 3))
particlesGeometry.setAttribute('color', new THREE.BufferAttribute(colors, 3))
...
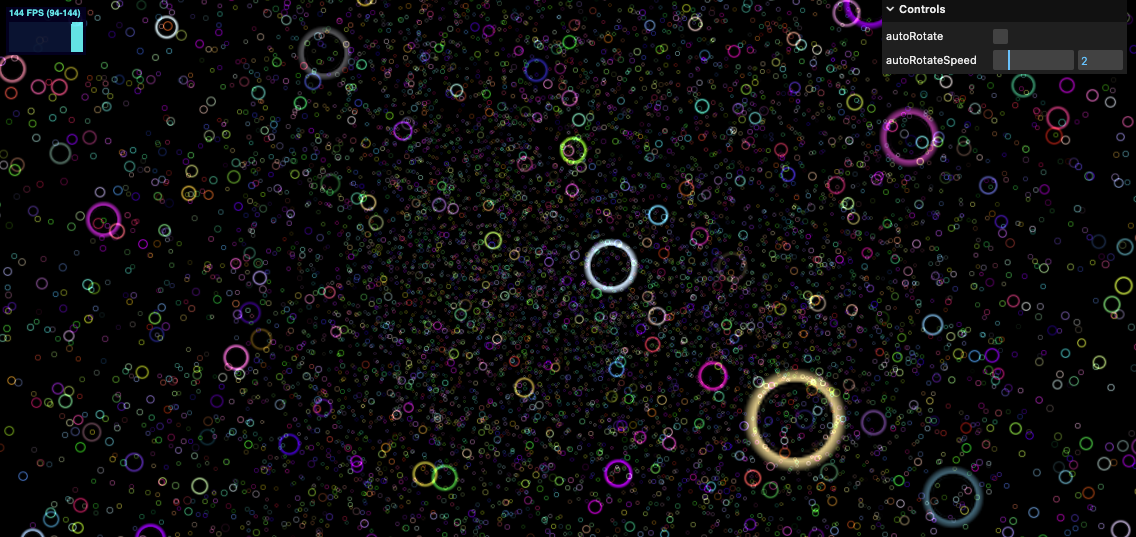
pointMaterial.vertexColors = true
vertexColors 是否使用顶点着色。默认值为 false。

需要注意的是,原有的 color 仍然是生效的,两种颜色做了混合,现在我们注释掉原有颜色
// pointMaterial.color = new THREE.Color('#ff88cc')
在线 demo 链接
可扫码访问

Animate 动画
有很多种方式制作动画
直接控制 Points 对象
因为 Points 类是集成字 Object3D,所以和 Mesh 类一样,可以控制其位置、旋转、放大等属性
// Animations
const clock = new THREE.Clock()
const tick = () => {
  stats.begin()

  const elapsedTime = clock.getElapsedTime()
  particles.position.x = 0.1 * Math.sin(elapsedTime)

  controls.update()
  pointMaterial.needsUpdate = true

  // Render
  renderer.render(scene, camera)
  stats.end()
  requestAnimationFrame(tick)
}
并增加坐标轴助手 axesHelper,便于观察
const axesHelper = new THREE.AxesHelper(1)
scene.add(axesHelper)
接下来我们试着控制每一个粒子
通过修改 attributes 制作动画
每个粒子独立动画,就需要控制粒子的属性了。接下来我们做一个波浪形的动画效果
先将上面的动画代码注释掉。添加如下代码,设置每个点的 position,让其上下浮动
// Animations
const clock = new THREE.Clock()
const tick = () => {
  stats.begin()

  const elapsedTime = clock.getElapsedTime()
  // particles.position.x = 0.1 * Math.sin(elapsedTime)

  for (let i = 0; i < count; i += 1) {
    particlesGeometry.attributes.position.setY(i, Math.sin(elapsedTime))
  }
  particlesGeometry.attributes.position.needsUpdate = true

  controls.update()
  // pointMaterial.needsUpdate = true

  // Render
  renderer.render(scene, camera)
  stats.end()
  requestAnimationFrame(tick)
}

tick()
注意要设置 position update particlesGeometry.attributes.position.needsUpdate = true
接下来,需要将 Y 轴的运动与 X 位置关联起来,以便让其产生波动的效果。
// Animations
const clock = new THREE.Clock()
const tick = () => {
  stats.begin()

  const elapsedTime = clock.getElapsedTime()
  // particles.position.x = 0.1 * Math.sin(elapsedTime)

  for (let i = 0; i < count; i += 1) {
    const x = particlesGeometry.attributes.position.getX(i)
    particlesGeometry.attributes.position.setY(i, Math.sin(elapsedTime + x))
  }
  particlesGeometry.attributes.position.needsUpdate = true

  controls.update()
  // pointMaterial.needsUpdate = true

  // Render
  renderer.render(scene, camera)
  stats.end()
  requestAnimationFrame(tick)
}

tick()

在线 demo 链接
可扫码访问

看似很完美,但是应该尽量避免使用这个技术,因为非常占用性能。我们在每帧设置计算了所有粒子的位置,数量少时性能还可以,但是粒子数量变大后,会非常占用计算机的性能。更好的解法是使用自定义 shader 的方案,我们后续会进行详细学习。
本节我们学习了粒子效果,学习了 PointsMaterial/Points 类生成粒子,如何自定义粒子位置颜色等,研究了粒子的遮挡关系,最后学习了一点控制粒子的动画。Keep going!
Recommend
About Joyk
Aggregate valuable and interesting links.
Joyk means Joy of geeK