
9

How can I create custom or vanity nameservers?
source link: https://help.dreamhost.com/hc/en-us/articles/216385067-How-can-I-create-custom-or-vanity-nameservers-
Go to the source link to view the article. You can view the picture content, updated content and better typesetting reading experience. If the link is broken, please click the button below to view the snapshot at that time.

How can I create custom or vanity nameservers?
Overview
It is possible to create custom/vanity nameservers for domains that are registered with DreamHost. For example, if your site is example.com, the nameservers are automatically set as follows:
ns1.dreamhost.com
ns2.dreamhost.com
ns3.dreamhost.com
Since your site is registered with DreamHost, you can change those nameservers to match your domain. For example:
ns1.example.com
ns2.example.com
ns3.example.com
The nameservers function the same way except that the name of the DNS record is changed as well as the hosting company to which it points. The following steps guide you through creating custom nameservers in your panel.
Creating custom nameservers using the DreamHost panel
- Navigate to Registrations.
- Click the Whois Info button located next to your domain registration.
- If you have multiple domain registrations, check the box under the Modify Whois? column next to the domain you wish to modify and then click the Modify whois! button.
- When the Edit Whois page opens, click the Nameservers tab and then select Use another host's nameservers radio button to change your nameservers.
The following example uses the site example.com and the nameservers are adjusted to match:
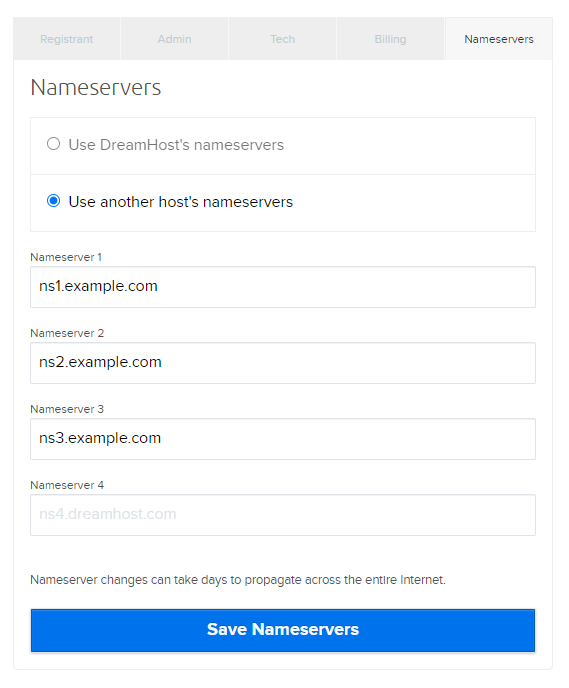
- Click the Save Nameservers button to save.
The following message appears that shows errors within the IP address fields:
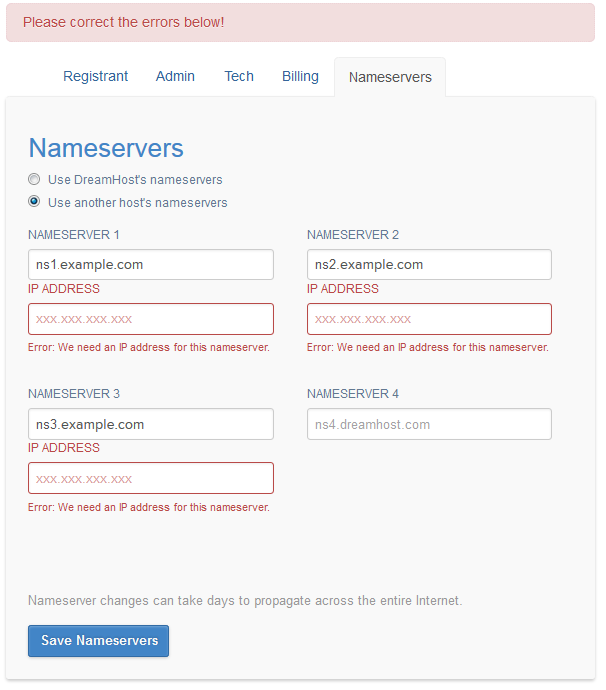
- If these new nameservers are hosted at another company, enter the non-DreamHost IP address for each corresponding vanity nameserver. If you want the new nameservers to be hosted at DreamHost, use DreamHost's Nameserver IPs.
- Click the Save Nameservers button to save.
A 'Success!' confirmation message confirms the nameservers are saved:

See also
Did this article answer your questions?
Recommend
About Joyk
Aggregate valuable and interesting links.
Joyk means Joy of geeK