
How do I enable and manage DreamShield?
source link: https://help.dreamhost.com/hc/en-us/articles/226704048-How-do-I-enable-and-manage-DreamShield-
Go to the source link to view the article. You can view the picture content, updated content and better typesetting reading experience. If the link is broken, please click the button below to view the snapshot at that time.
How do I enable and manage DreamShield?
Overview
DreamHost offers a paid security service that you can enable through the panel, which allows you to scan your website for malware. Here are the details:
- DreamShield (formerly called Malware Remover service) is an add-on that you can use on any domain (or subdomain) you like to ensure it is free of malicious code that could potentially compromise sensitive information.
- When you add DreamShield, it immediately runs a scan on your site, and will automatically scan it on a weekly basis after that.
- You are notified via email if DreamShield finds any issues. Your panel also displays this information.
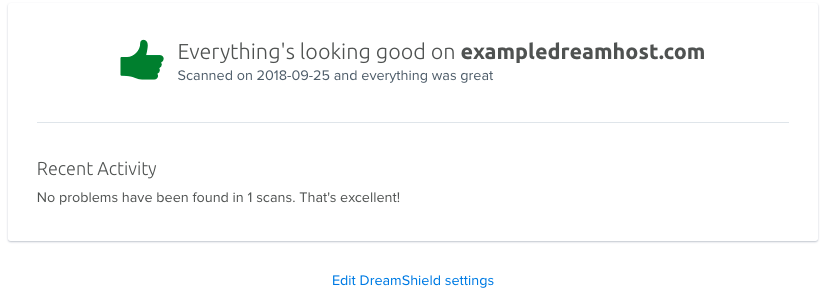
- If the site is clean, your panel shows this information. An email is also sent that lets you know your site is clean.
The following describes how to add (or remove) DreamShield to a domain using your DreamHost panel.
Please take a moment to review the terms and service of DreamShield.
Adding DreamShield to your domain (or subdomain)
You can only install DreamShield on a single domain or single subdomain. If you wish to install it on both example.com and blog.example.com, you must add a separate DreamShield service to each domain.
- Open the Manage Domains page.
The Manage Domains page opens:

- Scroll down and then click the Add Malware Remover link under a domain.
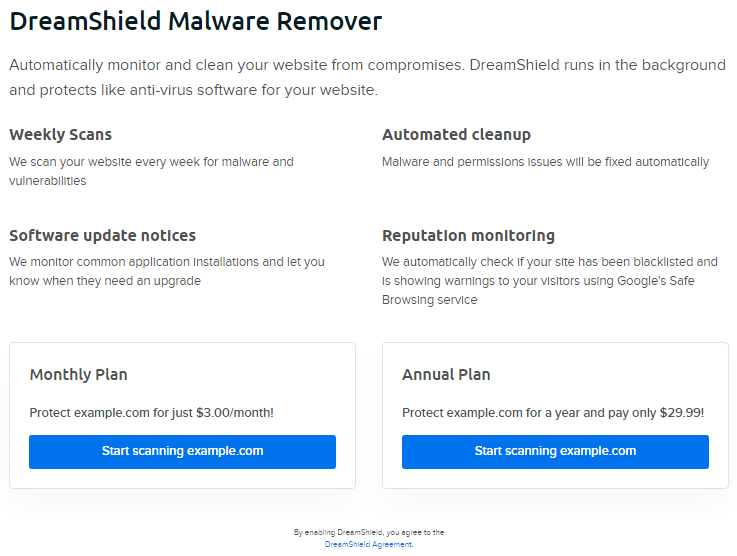
The DreamShield Malware Remover page opens:

- Select a plan and then click the Start scanning... button to confirm and begin a scan on your domain.
The following page opens showing you the progress of your scan:
 DreamShield displays the following when it finishes. If DreamShield finds any problems, it also appears here:

- Return to the Manage Domains page.

- Click the Site Clean (or Issues found) link to view recent results or adjust DreamShield settings.
Adding DreamShield when signing up for a DreamHost account
You can also add DreamShield when you initially sign up for a DreamHost account. See the following article for further details:
Removing DreamShield
- Navigate to the Manage Domains page.

- Click the Site Clean (or Issues found) link under your domain.
You may see Outdated Software instead of the Site Clean link.

If so, click to reveal what software is outdated. It's highly recommended to always run the most up to date software to ensure your site is safe and secure. Once you update your site's software, the Site Clean link will appear again.

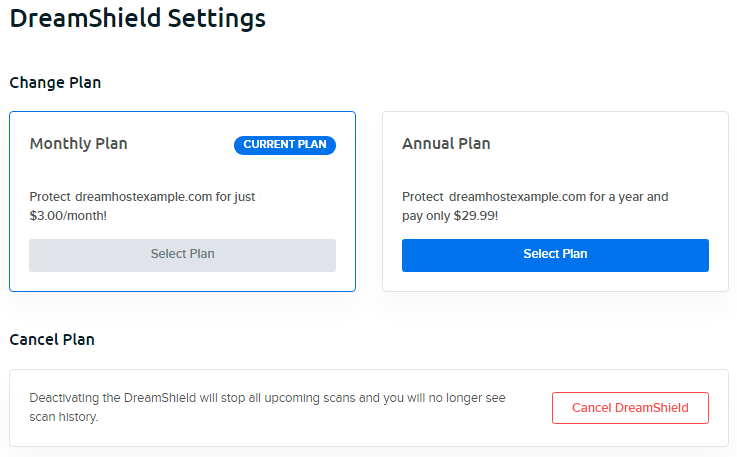
- Click the Edit DreamShield settings link.

- Click the red Cancel DreamShield button for your domain to deactivate the service.
What do I do if DreamShield finds any issues with my website?
When DreamShield completes a scan of your website, an email is sent to you with the results, and includes any issues that are found. The email also provides appropriate next steps to take (including links) in order to correct any intrusions or other threats.
Here are a few links to popular articles to help you address any issues in the event that DreamShield detects any problems on your website:
Testing your site after it's been cleaned
After you've cleaned your site of any compromised code you may want to confirm it's now secure. DreamShield runs once per week, so it will automatically inform you of any issues next time it runs.
However, if you'd like an immediate scan, please submit a support ticket with the topic set to 'Abuse/Security,' who will then scan it for you.
Did this article answer your questions?
Recommend
About Joyk
Aggregate valuable and interesting links.
Joyk means Joy of geeK