

Azure REST APIs in VS Code with Thunder Client
source link: https://blog.jongallant.com/2021/04/azure-rest-apis-vscode-thunder-client/?utm_campaign=Feed%3A+jongallant+%28Jon+Gallant%29
Go to the source link to view the article. You can view the picture content, updated content and better typesetting reading experience. If the link is broken, please click the button below to view the snapshot at that time.
Azure REST APIs in VS Code with Thunder Client

Thunder Client is a new REST client VS Code extension. It’s like Postman, but integrated into VS Code. I’d consider it an early preview and far from the feature richness and maturity of Postman, but cool nonetheless.
Here’s how to use it to call the Azure REST APIs.
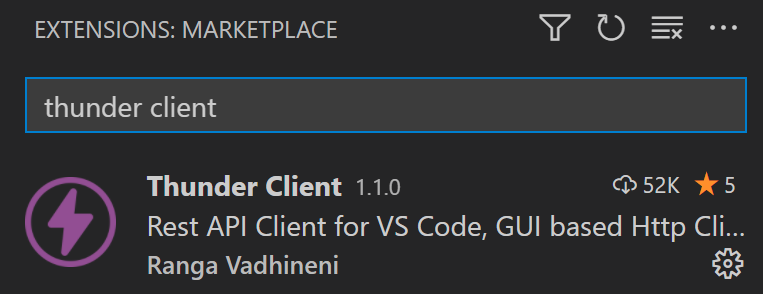
Install Thunder Client
You can install it here: Thunder Client Install
Or search for it from the VS Code extensions pane:
Create a Service Principal
We’re going to use OAuth 2.0 to call the Azure REST APIs and we’ll use a Service Principal to do so.
- Install the Azure CLI
- Open a terminal and run this command to create a Service Principal.
az login
az ad sp create-for-rbac --role Contributor
You’ll need the outputted info in a sec, so save it.
Create Thunder Client Azure Env
- Click on the Thunder Client VS Code icon, select Env, and then select New Environment
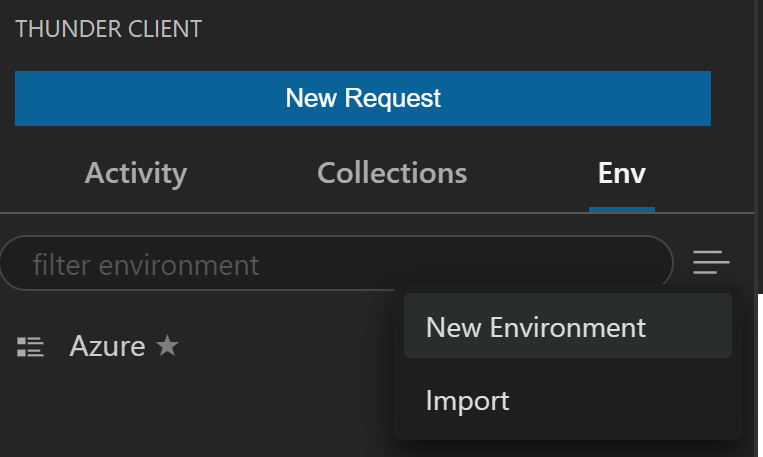
- Name it “Azure”
- Add the following values:
tenantId: Set to tenantId outputted from above command.clientId: Set to appId outputted from above command.clientSecret: Set to password outputted from above command.subscriptionId: Set to your current subscriptionId, you can get with az account showscope: https://management.azure.com/.default

- Click Save
Create a New Request
- In Thunder Client, click the New Request button

- Set Url to
https://management.azure.com/subscriptions/{{subscriptionId}}/resourcegroups?api-version=2020-09-01 - Under Auth -> OAuth 2.0, set:
Grant Type: Client CredentialsToken Url: https://login.microsoftonline.com/{{tenantId}}/oauth2/v2.0/tokenClient ID: {{clientId}}Client Secret: {{clientSecret}}Scope: {{scope}}

- Click the “Generate Token” button
Execute the Request
- Click the “Send” button

- View the results in the Response pane:

Save Request to Collection
To save the the request to a collection, click on “Activity”, then the “…”, then “Save to Collection”.

Give the collection a name, like “Azure REST”.
Then click on “Collections” to see your collections.

Conclusion
This was a quick post to get you setup with Azure REST APIs in VS Code with Thunder Client. You can explore all of the other Azure REST APIs here: https://docs.microsoft.com/en-us/rest/api/azure/
Recommend
About Joyk
Aggregate valuable and interesting links.
Joyk means Joy of geeK