

使用python3.7+Vue.js2.0+Django2.0.4异步前端通过api上传文件到七牛云云端存储
source link: https://v3u.cn/a_id_130
Go to the source link to view the article. You can view the picture content, updated content and better typesetting reading experience. If the link is broken, please click the button below to view the snapshot at that time.

使用python3.7+Vue.js2.0+Django2.0.4异步前端通过api上传文件到七牛云云端存储

之前一篇文章是通过普通js+tornado来上传七牛云:使用Tornado配合七牛云存储api来异步切分上传文件,本次使用vue+django来进行异步上传,因为毕竟vue.js才是目前的前端的主流。
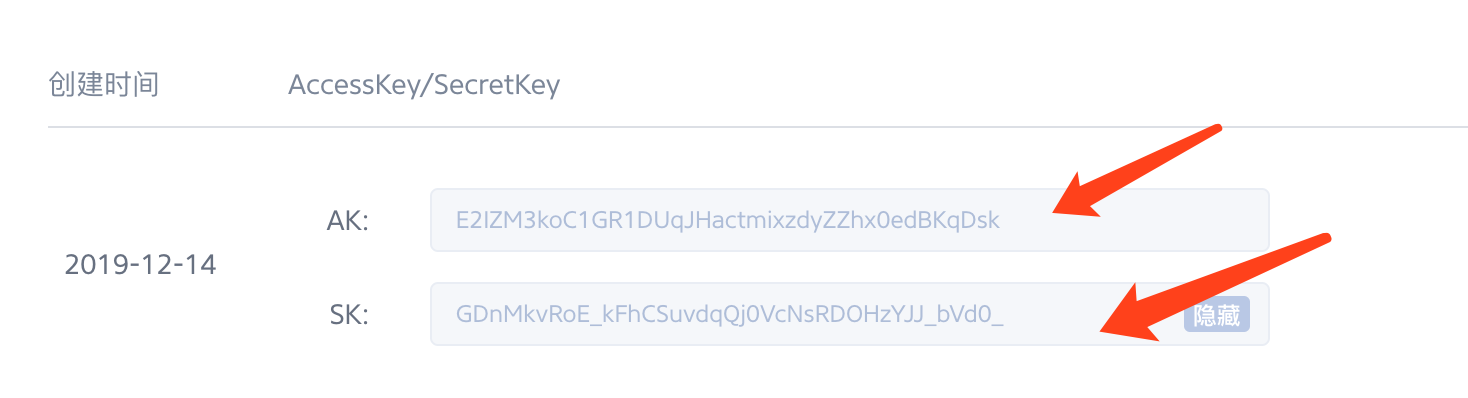
首先注册七牛云:qiniu.com,进入你的七牛云账号,打开秘钥页,记录下你的ak和sk
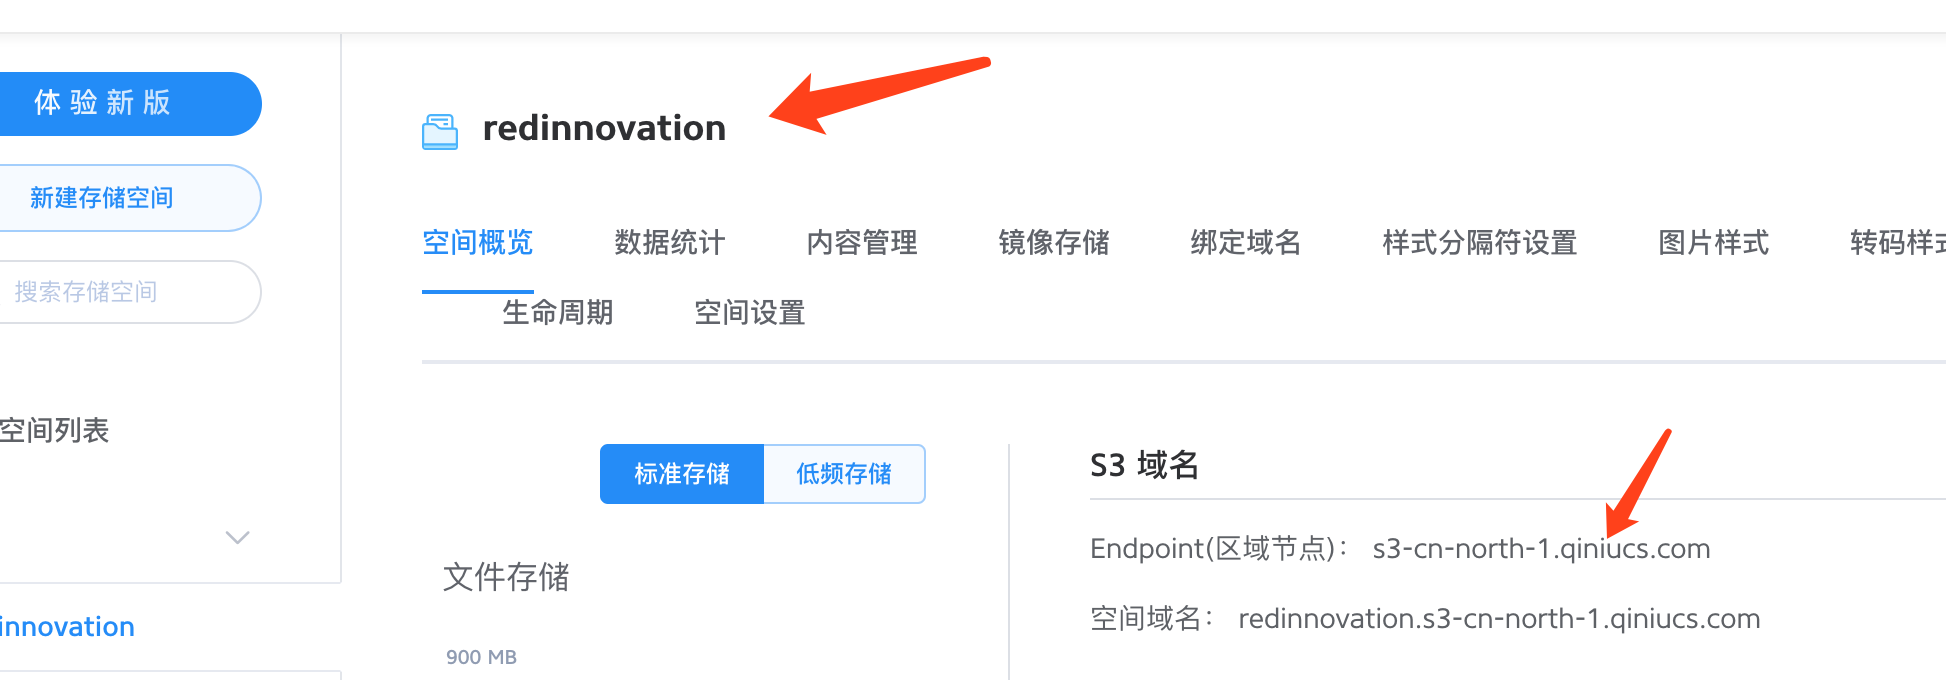
随后新建一个云存储空间,这里空间名字一定要记录一下:
此时我们用django写一个获取uptoken的接口,使用drf框架来写,注意别忘了安装七牛云扩展 pip install qiniu
#七牛云token
from qiniu import Auth
class QiNiu(APIView):
def get(self,request):
q = Auth('E2IZM3koC1GR1DUqJHactmixzdyZZhx0edBKqDsk','GDnMkvRoE_kFhCSuvdqQj0VcNsRDOHzYJJ_bVd0_')
token = q.upload_token('redinnovation')
print(token)
res = {}
res['uptoken'] = token
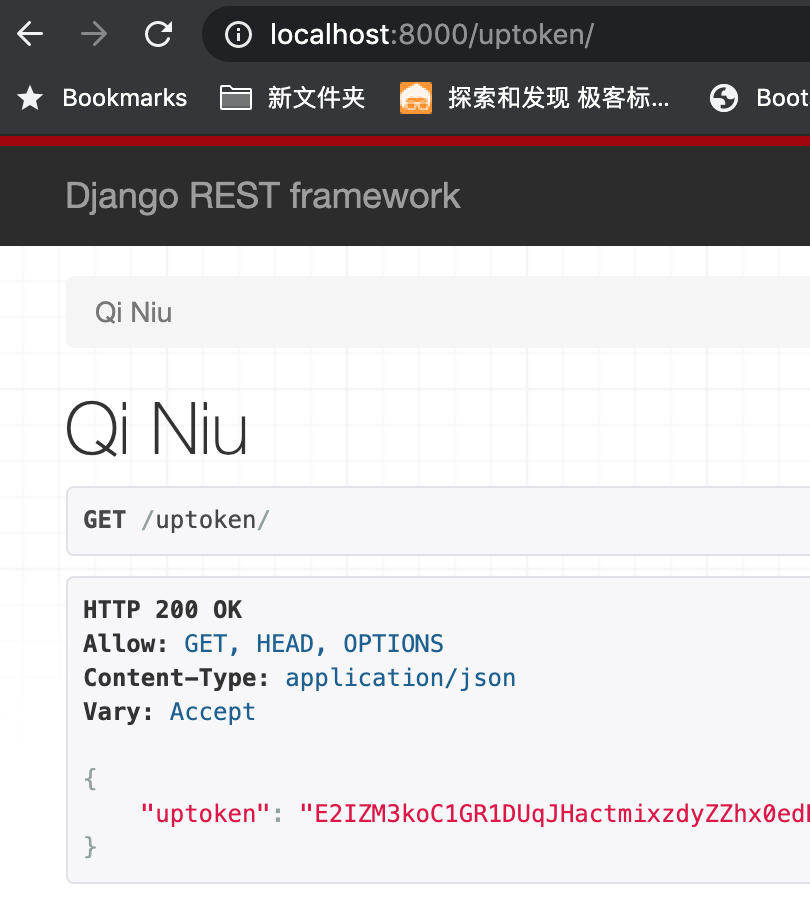
return Response(res)之后启动django服务:python3 manage.py runserver
访问django服务,确保每一次都会生成新的token,访问http://localhost:8000/uptoken/
接口已经调试好,回到vue.js页面,添加一个上传控件
{{ imgLoadPercent }}

 <input @change="uploadInputchange"  id="uploadFileInput" type="file" >
这里的imgLoadPercent是上传进度的展示
data () {
      return {
          uptoken:'',
        imgLoadPercent:'',
}
}
然后在methods里添加几个方法:
get_token(){

         this.axios.get('http://localhost:8000/uptoken/').then((result) =>{
        console.log(result);
        this.uptoken = result.data.uptoken;
        });
        },
    //触发input change事件
    uploadInputchange(){
        let file = document.getElementById("uploadFileInput").files[0];   //选择的图片文件
        this.get_token();
        this.uploadImgToQiniu(file);
    },
    //上传图片到七牛
    uploadImgToQiniu(file){

        console.log(this.uptoken);

        const axiosInstance = this.axios.create({withCredentials: false});    //withCredentials 禁止携带cookie,带cookie在七牛上有可能出现跨域问题
        let data = new FormData();
        data.append('token',this.uptoken);     //七牛需要的token
        data.append('file', file);
        axiosInstance({
            method: 'POST',
            url: 'http://up-z1.qiniu.com/',  //上传地址,华北的空间是up-z1.qiniu.com
            data: data,
            timeout:30000,      //超时时间,因为图片上传有可能需要很久
            onUploadProgress: (e)=> {
                //imgLoadPercent 是上传进度,可以用来添加进度条


                var complete = (e.loaded / e.total);

                if (complete < 1) {

                    this.imgLoadPercent = (complete *100).toFixed(2)+ '%';

                }


            },
        }).then(data =>{
           console.log(data);
           this.imgLoadPercent = '100%';
        }).catch(function(err) {
            //上传失败
        });
    }
逻辑就是每一次上传之前,请求一次后台django的接口获取token,需要注意一点,在实际操作中,onUploadProgress这个方法并不能完全的真实展示上传进度,受限于网络或者别的因素导致它会有一定的提前量或者延迟,所以我们在这个方法内做了一个类似安慰剂按钮的效果,就是人为限制它不会变为100%,只有当七牛云返回结果的时候再赋值为100%。
最后,如果上传成功后,七牛云接口会返回文件的key
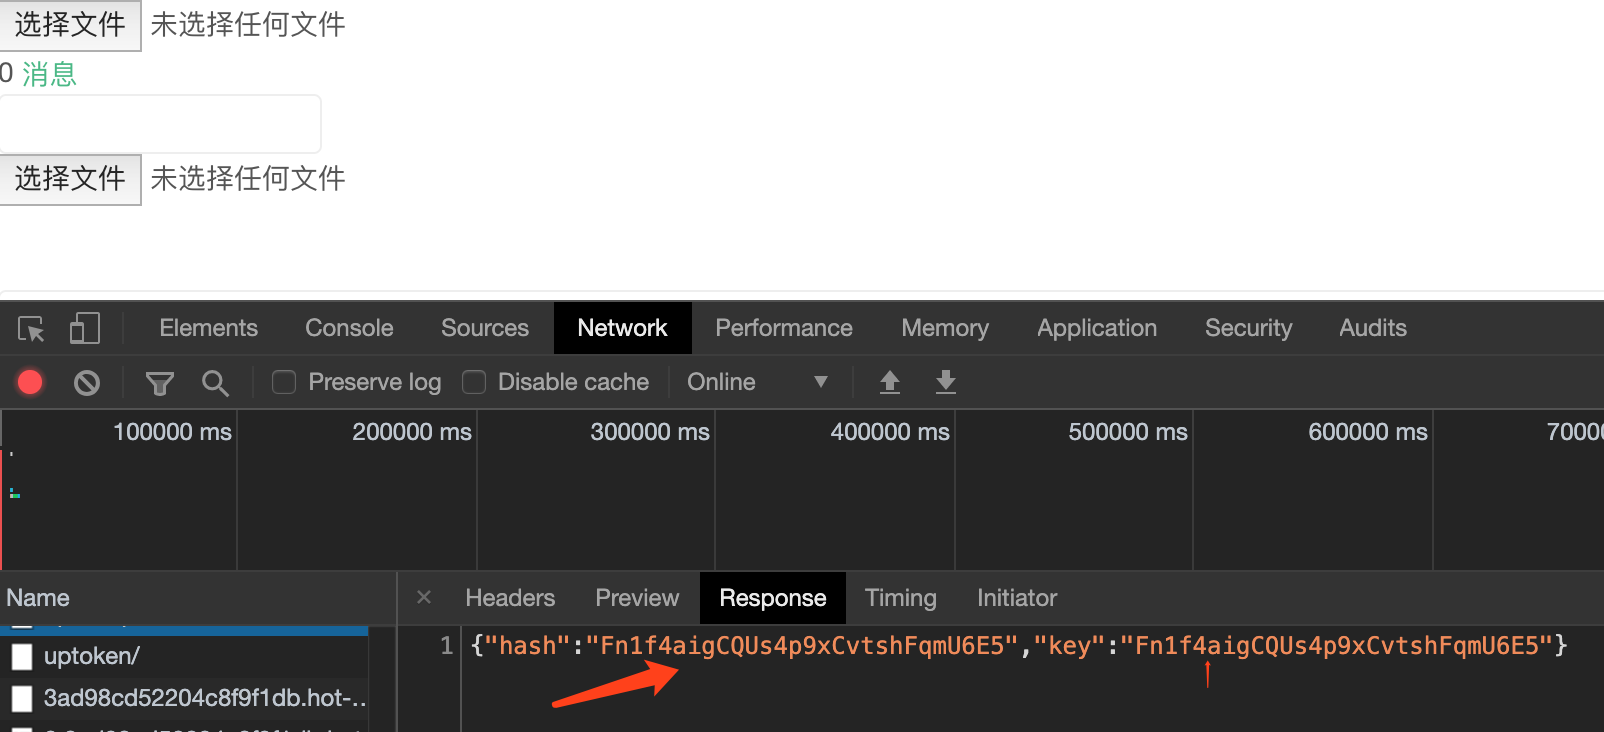
通过url即可访问。
Recommend
-
7
Python3+Django2.0.4三方社交账号接入Gitee.com(码云)首页 - Python/2020-06-01 码云大家都耳熟能详了,...
-
8
Django2.0.4+Uploadify3.0(h5版) 实现多文件异步上传和删除首页 - Python/2019-03-25 已经9012年了,如果你的...
-
6
Python3+Django2集成PayPal(贝宝)跨境支付三方接口以及订单查询和退款业务首页 - Python/2020-06-14
-
9
Win10系统下使用Django2.0.4+Celery4.4.2+Redis来实现异步任务队列以及定时(周期)任务(2020年最新攻略)首页 - Python/...
-
3
python3.7+Django2.0.4配合vue.js2.0实现又拍云(upyun.cm)存储的异步拖拽文件上传功能首页 - Python/2020-03-21...
-
6
使用Python3.7+Django2.0.4配合vue.js2.0的组件递归来实现无限级分类(递归层级结构)首页 - Python/2020-03-03
-
7
Python3.7配合Django2.0来调用钉钉(dingding)在线api实时监测员工考勤打卡情况首页 - Python/2020-04-12
-
4
Python3.7+Django2.0.4配合Mongodb打造高性能高扩展标签云存储方案首页 - Python/2020-03-23
-
7
mpvue1.0+python3.7+Django2.0.4实现微信小程序的支付功能首页 - Python/2019-09-15
-
10
python3.7.2+Django2.0.4 使用django-celery遇到的那些坑首页 - Python/2019-03-20 1 首先为啥要用celery
About Joyk
Aggregate valuable and interesting links.
Joyk means Joy of geeK