

pyflink的安装和测试 - 一寸HUI
source link: https://www.cnblogs.com/zsql/p/16451442.html
Go to the source link to view the article. You can view the picture content, updated content and better typesetting reading experience. If the link is broken, please click the button below to view the snapshot at that time.

pyflink安装
安装前提:python3.6-3.8
参考:Installation | Apache Flink
Python version (3.6, 3.7 or 3.8) is required for PyFlink. Please run the following command to make sure that it meets the requirements:
$ python --version
# the version printed here must be 3.6, 3.7 or 3.8
这里你可以安装python3或者Anaconda3,最后通过python -V命令查看版本信息
两种安装方式:
本次安装基于flink1.13.2版本
- 如果你有网络:可以直接通过命令安装
python -m pip install apache-flink==1.13.2
- 源码编译方式
In addition you need Maven 3 and a JDK (Java Development Kit). Flink requires at least Java 8 to build.
maven选择3.2.5版本,java选择高一点的java8版本
参考:Building Flink from Source | Apache Flink
下载源码:(这里我从其他网址下载的1.13.2的源码)
git clone https://github.com/apache/flink.git
编译:编译的过程中可能会报错,具体解决就好
mvn clean install -DskipTests

#To speed up the build you can skip tests, QA plugins, and JavaDocs:
或者:mvn clean install -DskipTests -Dfast
编译完成后开始处理pyflink的事情
安装gcc【可选】
yum install -y gcc gcc-c++
安装依赖(flink-python目录在flink编译目录下面)
python -m pip install -r flink-python/dev/dev-requirements.txt
然后转到 flink 源代码的根目录并运行此命令来构建 和 的 sdist 包和 wheel 包:apache-flink,apache-flink-libraries的 sdist 包可以在 下找到。它可以按如下方式安装:apache-flink-libraries``./flink-python/apache-flink-libraries/dist/
cd flink-python; python setup.py sdist bdist_wheel; cd apache-flink-libraries; python setup.py sdist; cd ..;
如果是公司内网,这里需要配置pip源,安装的时候有依赖,因为我编译的时候使用的是虚拟机,可以上网的
python -m pip install apache-flink-libraries/dist/*.tar.gz
python -m pip install dist/*.tar.gz
通过pip list | grep flink命令查看安装效果

Local-SingleJVM 模式部署
该模式多用于开发测试阶段,简单的利用 Python pyflink_job.py 命令,PyFlink 就会默认启动一个 Local-SingleJVM 的 Flink 环境来执行作业,如下:
写一个脚本:wordcount.py
from pyflink.table import DataTypes, TableEnvironment, EnvironmentSettings
from pyflink.table.descriptors import Schema, OldCsv, FileSystem
from pyflink.table.expressions import lit

settings = EnvironmentSettings.new_instance().in_batch_mode().use_blink_planner().build()
t_env = TableEnvironment.create(settings)

# write all the data to one file
t_env.get_config().get_configuration().set_string("parallelism.default", "1")
t_env.connect(FileSystem().path('/tmp/input')) \
    .with_format(OldCsv().field('word', DataTypes.STRING())) \
    .with_schema(Schema().field('word', DataTypes.STRING())) \
    .create_temporary_table('mySource')

t_env.connect(FileSystem().path('/tmp/output')) \
    .with_format(OldCsv().field_delimiter('\t') \
    .field('word', DataTypes.STRING()) \
    .field('count', DataTypes.BIGINT())) \
    .with_schema(Schema() \
    .field('word', DataTypes.STRING()) \
    .field('count', DataTypes.BIGINT())) \
    .create_temporary_table('mySink')

tab = t_env.from_path('mySource')
tab.group_by(tab.word).select(tab.word, lit(1).count).execute_insert('mySink').wait()
在shell 命令行执行:
echo -e  "flink\npyflink\nflink" > /tmp/input
python wordcount.py
cat /tmp/output

Local-SingleNode 模式部署
这种模式一般用在单机环境中进行部署,如 IoT 设备中,我们从 0 开始进行该模式的部署操作。我们进入到 flink/build-target 目录,执行如下命令:
 cd /root/flink-1.13.2/build-target/bin/
 ./start-cluster.sh

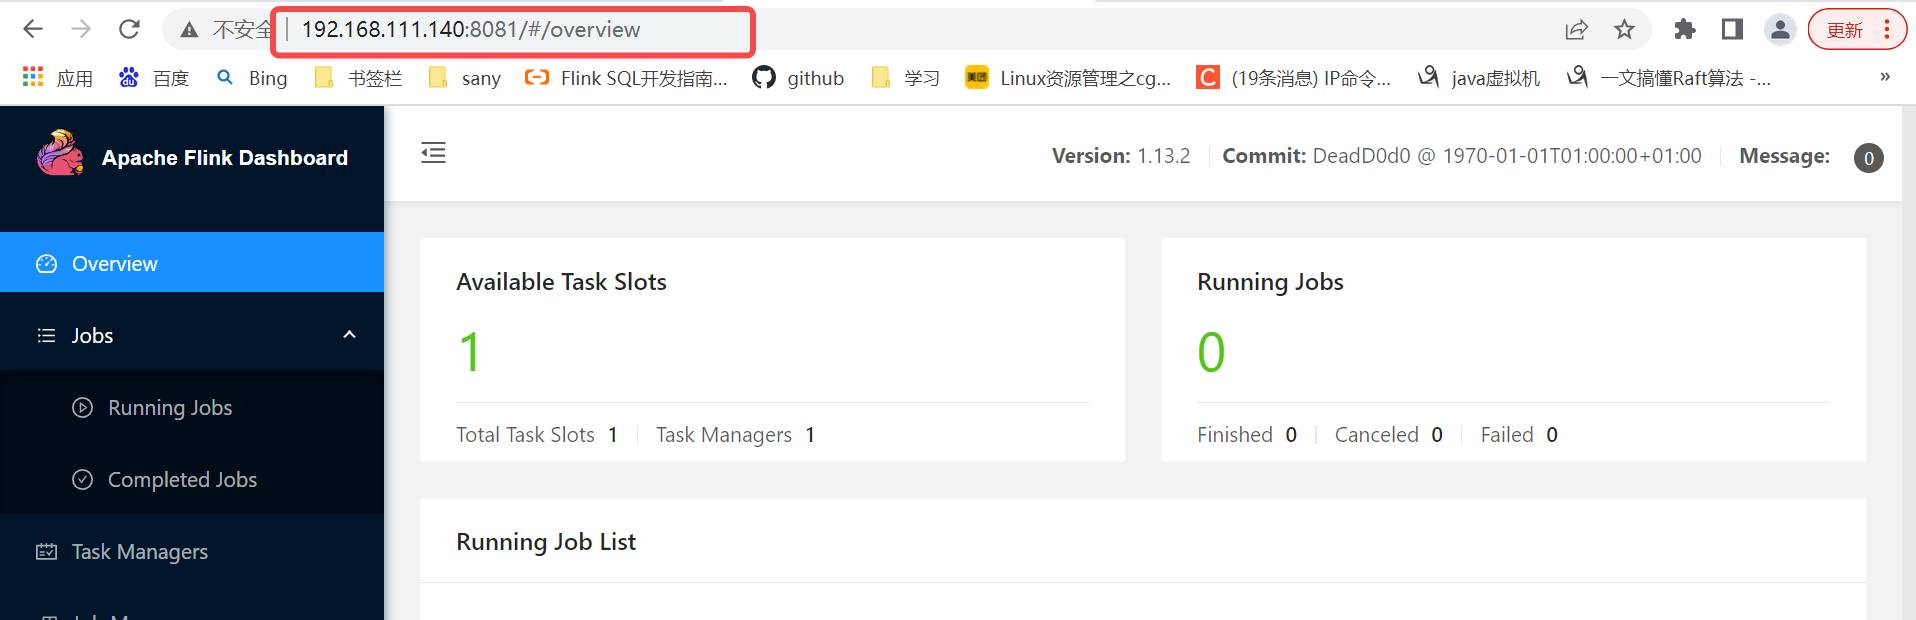
登陆http://ip:8081查看
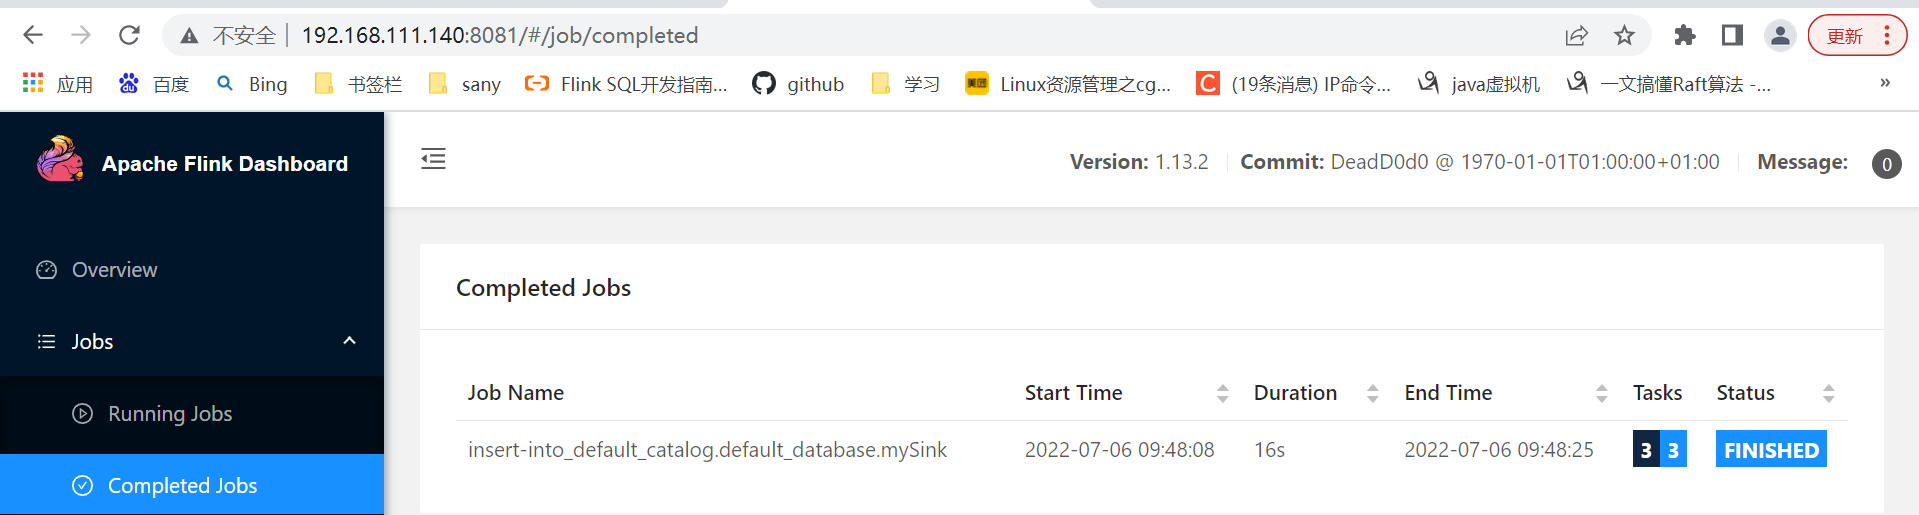
提交作业:
/root/flink-1.13.2/build-target/bin/flink run -m localhost:8081 -py /root/wordcount.py

Recommend
-
34
Flink 1.9.0及更高版本支持Python,也就是PyFlink。 在最新版本的Flink 1.10中,PyFlink支持Python用户定义的函数,使您能够在Table A...
-
28
本文整理自《PyFlink 架构、应用案例及未来规划》直播分享。 扫描二维码观看视频
-
41
整理:谢县东 (Flink 社区志愿者) 1.PyFlink 的发展史 1.1、v1.8.x ...
-
15
PyFlink: The integration of Pandas into PyFlink 04 Aug 2020 Jincheng Sun (@sunjincheng121) & Markos Sfikas (@MarkSfik) Pyt...
-
18
PyFlink: Introducing Python Support for UDFs in Flink's Table API 09 Apr 2020 Jincheng Sun (@sunjincheng121) & Markos Sfikas (@MarkSfi...
-
8
随着容器化技术的推广,在不久的将来,大多数的公司都将采用容器化技术对现有的业务进行改造,因此容器化是一个...
-
12
VPC笔记 1月 25, 2021 1733点热度...
-
159
[Jprogramming] Roger Hui[Jprogramming] Roger Hui - 1953 - 2021 Eric Iverson
-
8
一、磁盘选择策略 1.1、介绍 在HDFS中,所有的数据都是存在各个DataNode上的.而这些DataNode上的数据都是存放于节点机器上的各个目录中的,而一般每个目录我们会对应到1个独立的盘,以便我们把机...
-
4
目的:更加系统的熟悉磁盘和磁盘的基本操作 二、文件系统 2.1、硬盘的构成 从存储数据的介质上来区分,硬盘可分为机械硬盘(Hard Disk Drive, HDD)和固态硬盘(Solid State D...
About Joyk
Aggregate valuable and interesting links.
Joyk means Joy of geeK