

使用Advanced Installer打包安装包-制作windows安装程序
source link: https://blog.p2hp.com/archives/8607
Go to the source link to view the article. You can view the picture content, updated content and better typesetting reading experience. If the link is broken, please click the button below to view the snapshot at that time.
使用Advanced Installer打包安装包-制作windows安装程序
使用Advanced Installer打包安装包-制作windows安装程序
1.下载AdvancedInstaller 19 下载地址
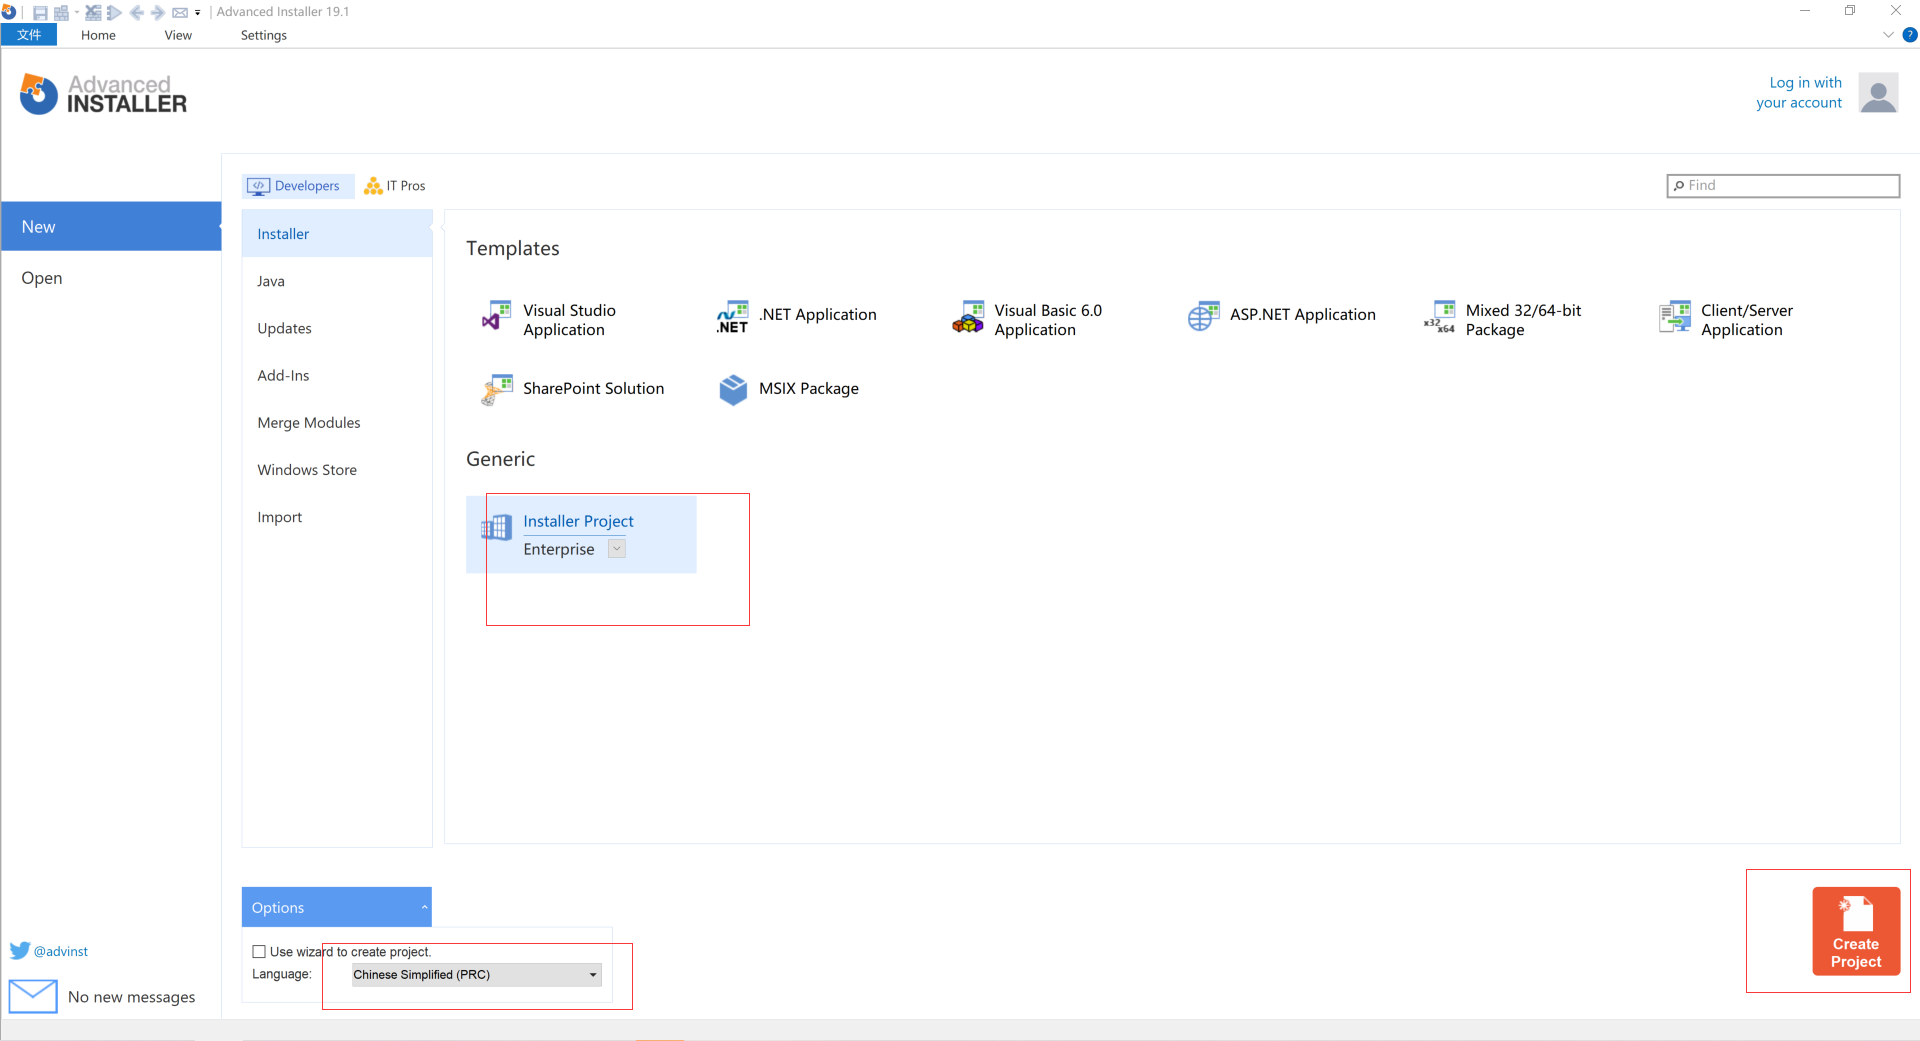
2.下载AdvancedInstaller 19 解压后 双击 AdvancedInstallerPortable.exe,选择Generic 为 Enterprise,language :Chiness Simplified(PRC),点击Create Project。
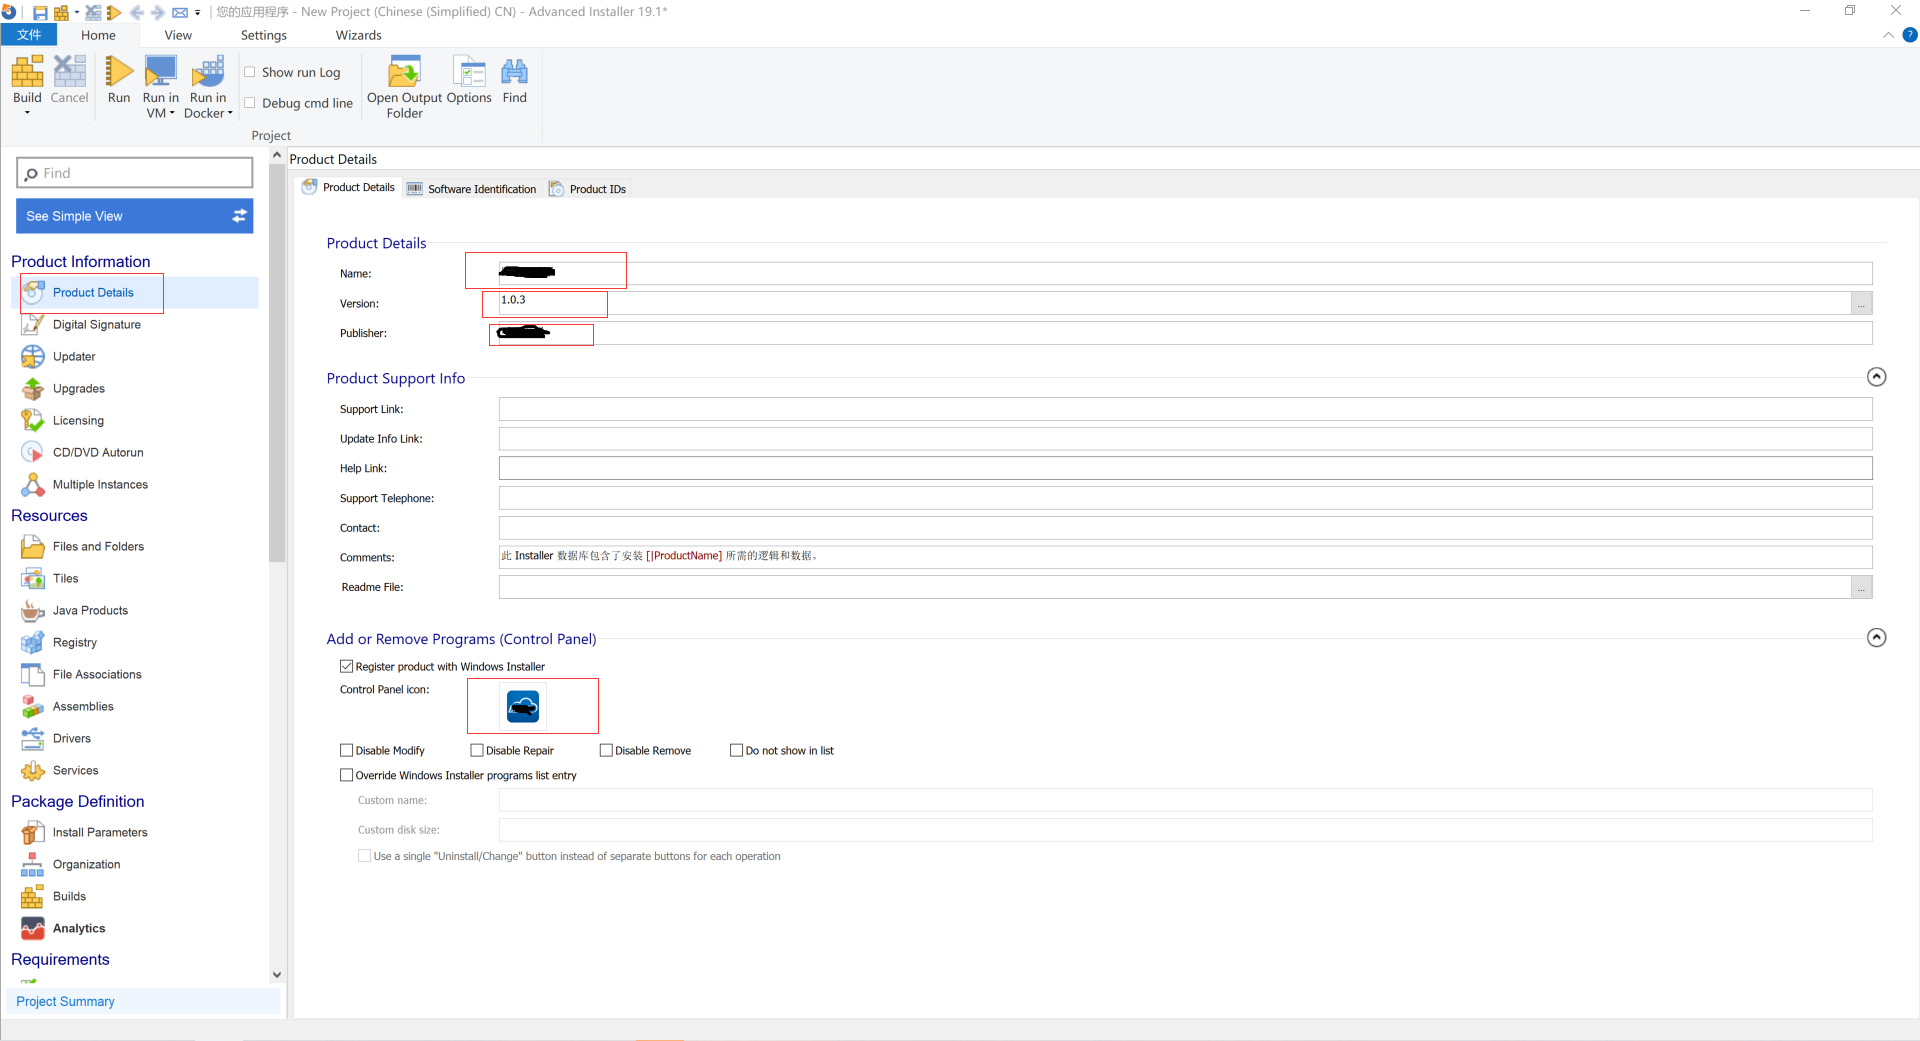
3.在“Product Details”页面中填写Name、Version、Publisher。设置Control Panel ioc。设置完成后ctrl+s 保存 xxx.aip
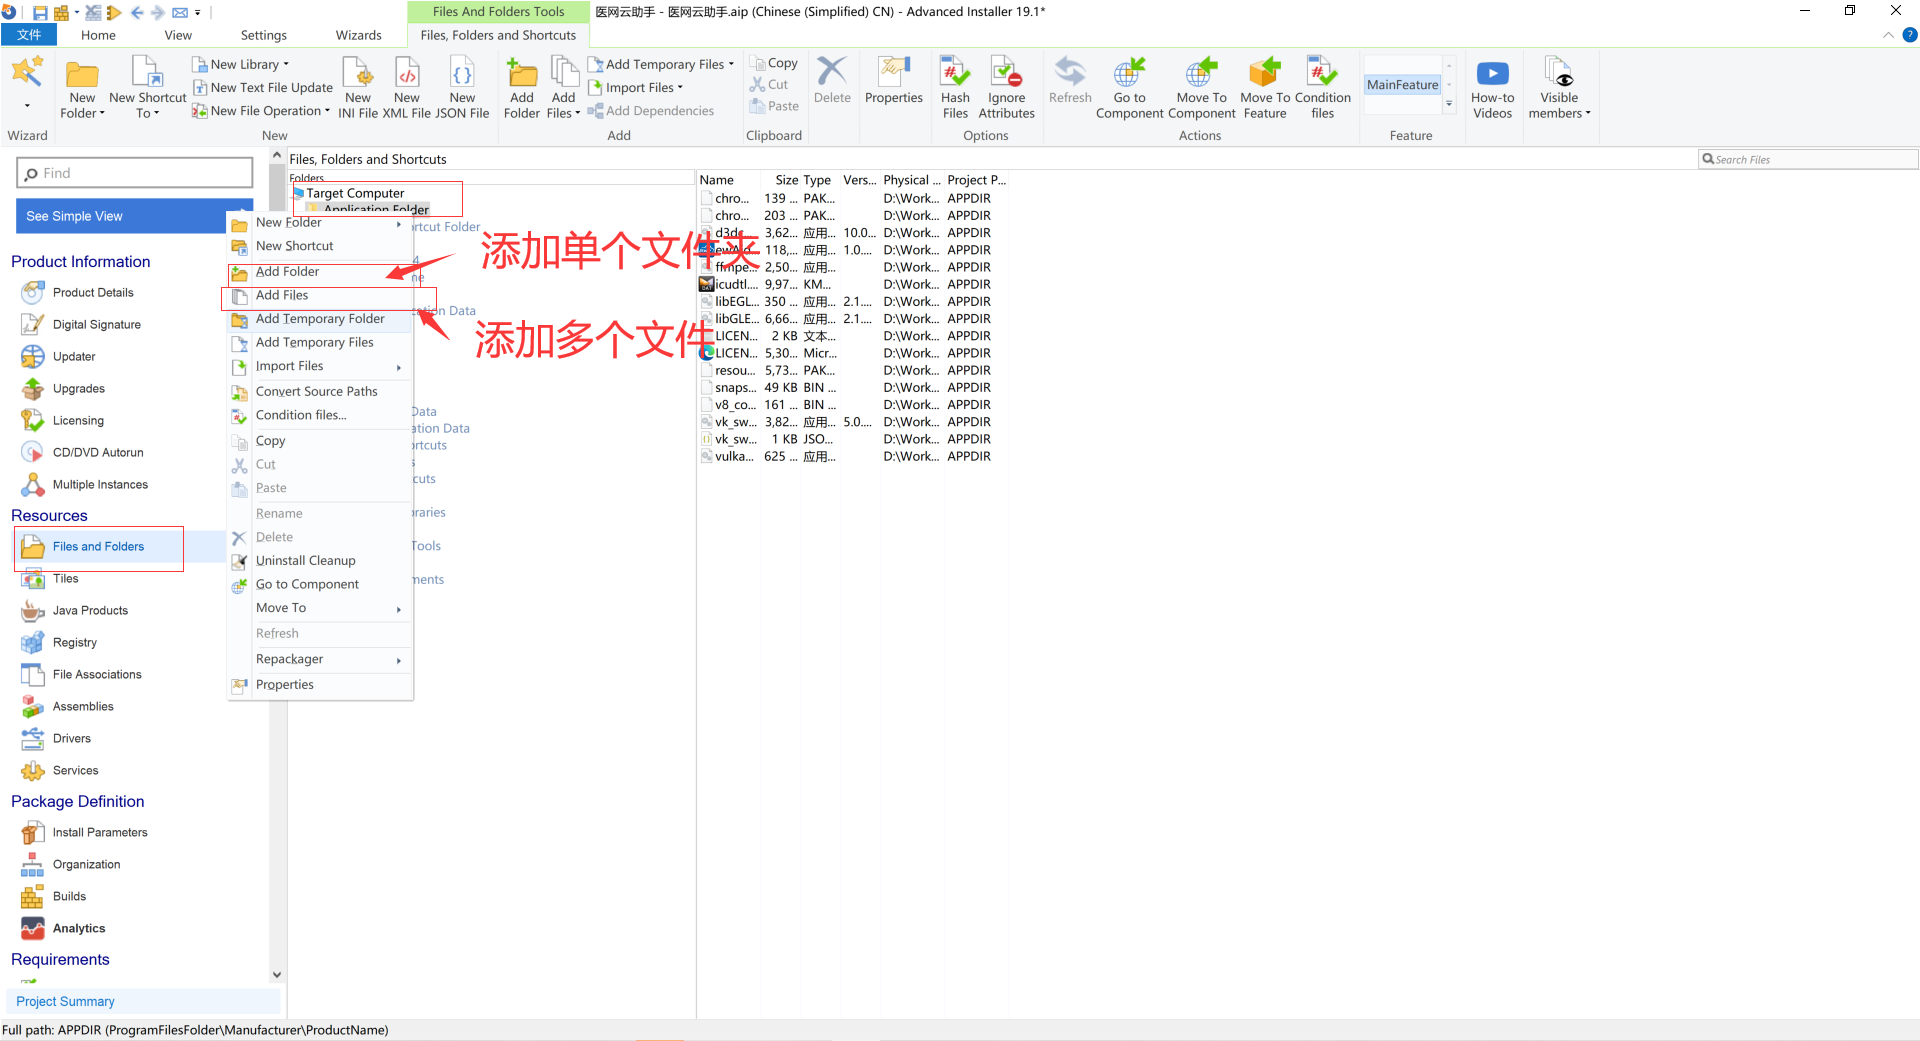
4.接下来添加需要打包的文件内容。选择“Files and Folders”->Target Computer->Application Folder->右键->Add Folder,(添加安装目录下的文件夹) Add Files是添加安装目录下的文件(可多选)。 注意:如果是在 ->Add Folder 添加安装目录的外层文件夹的话,安装好的目录会多一层文件夹。
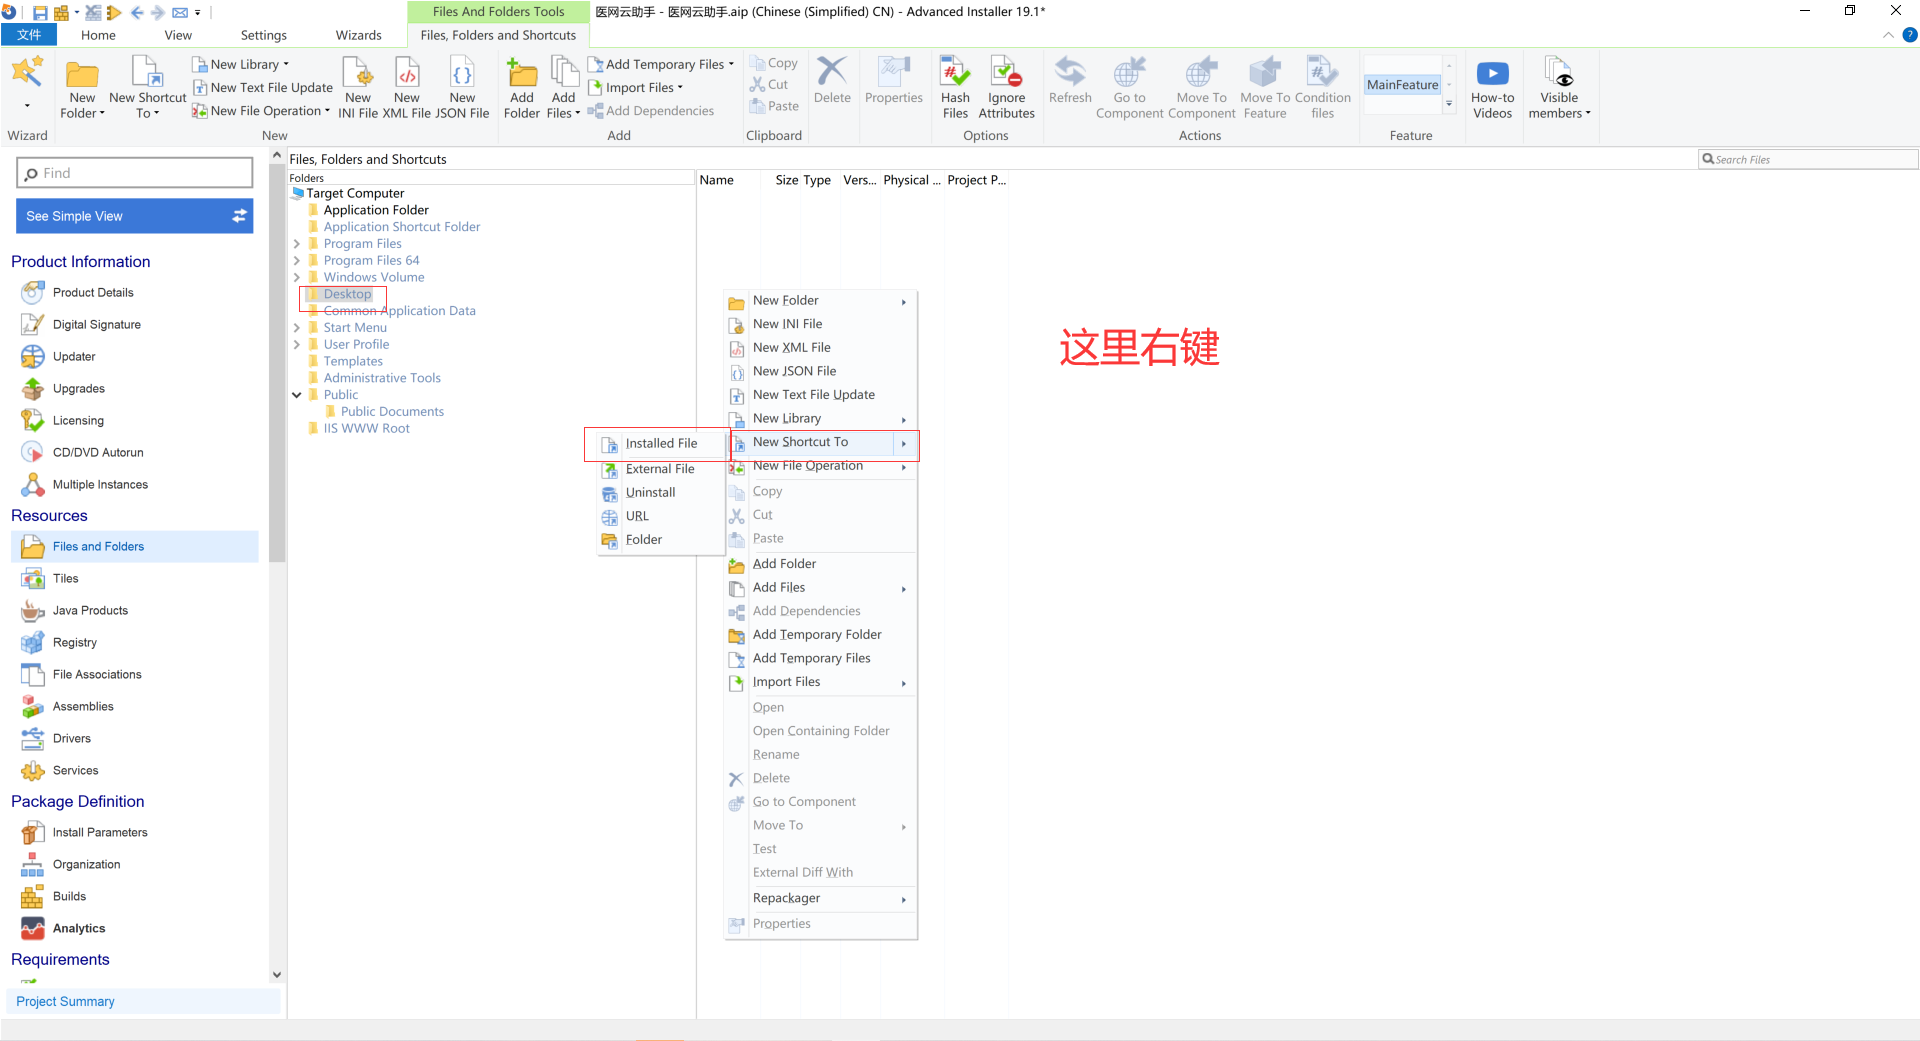
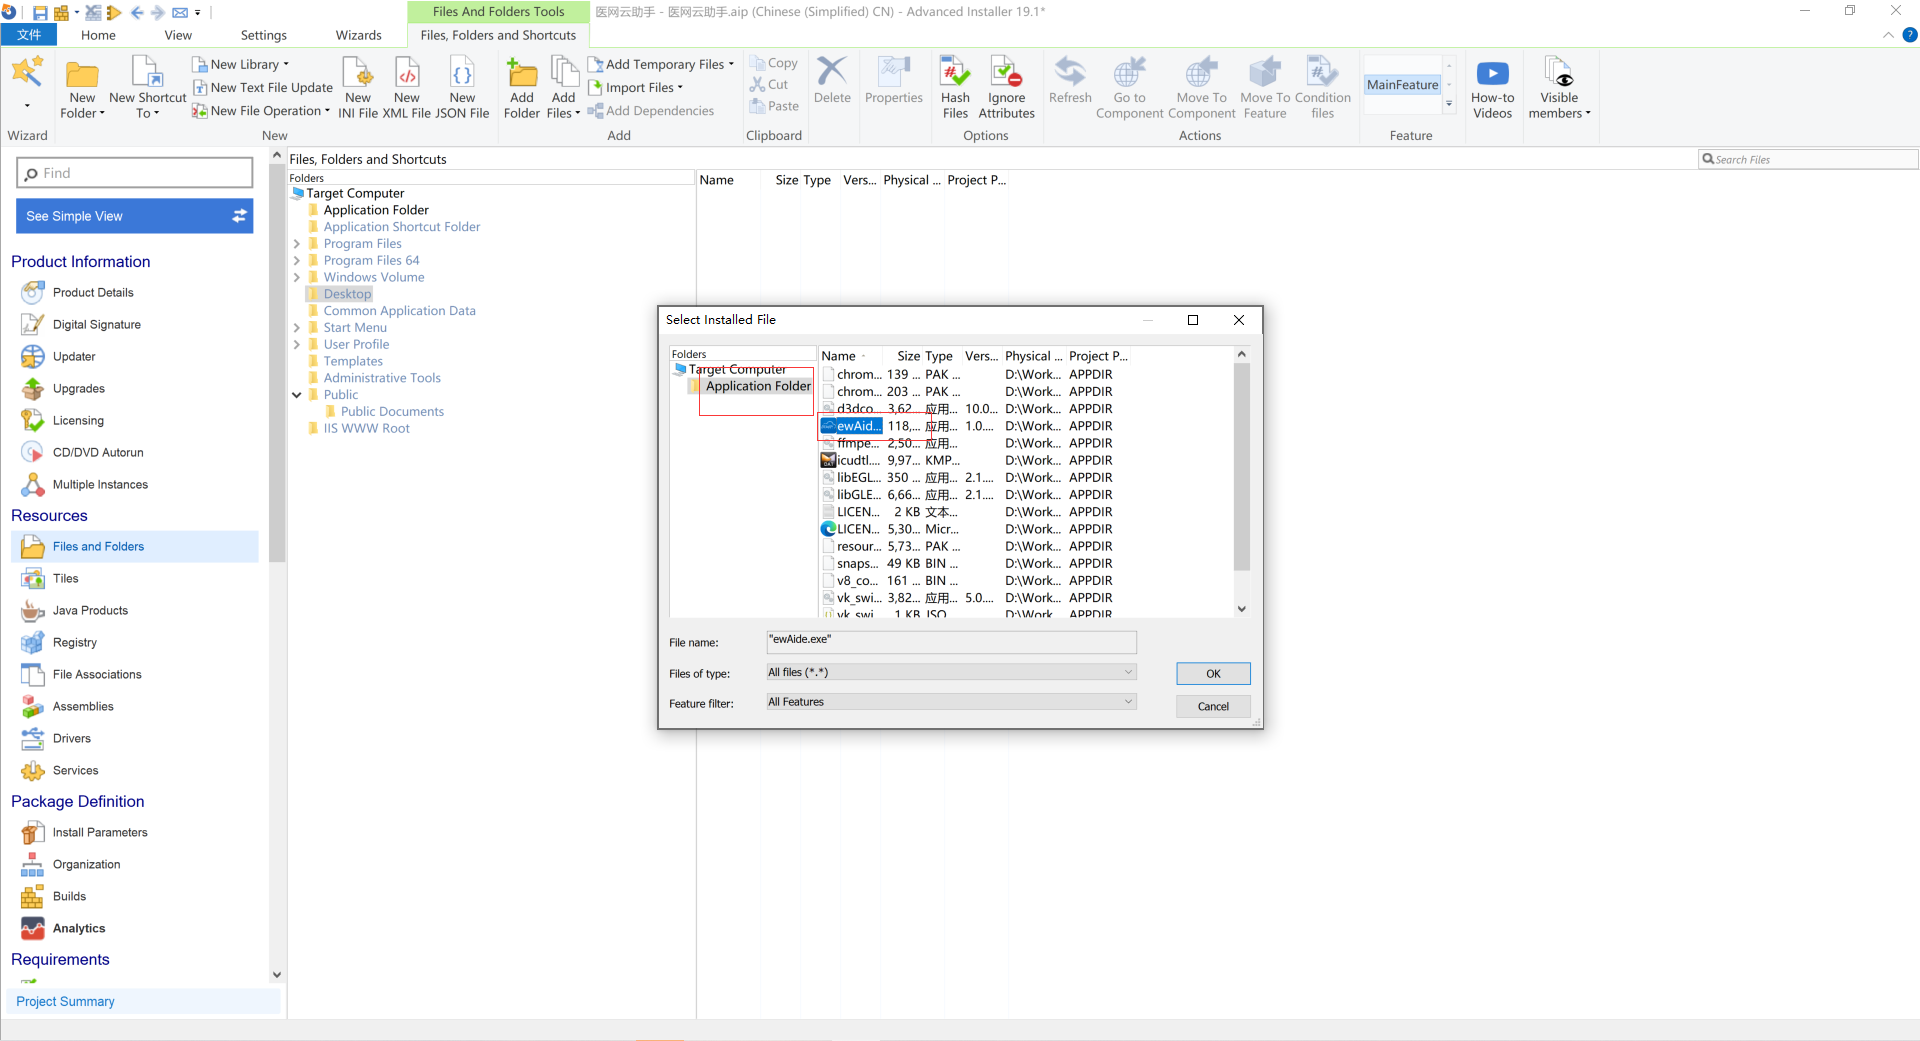
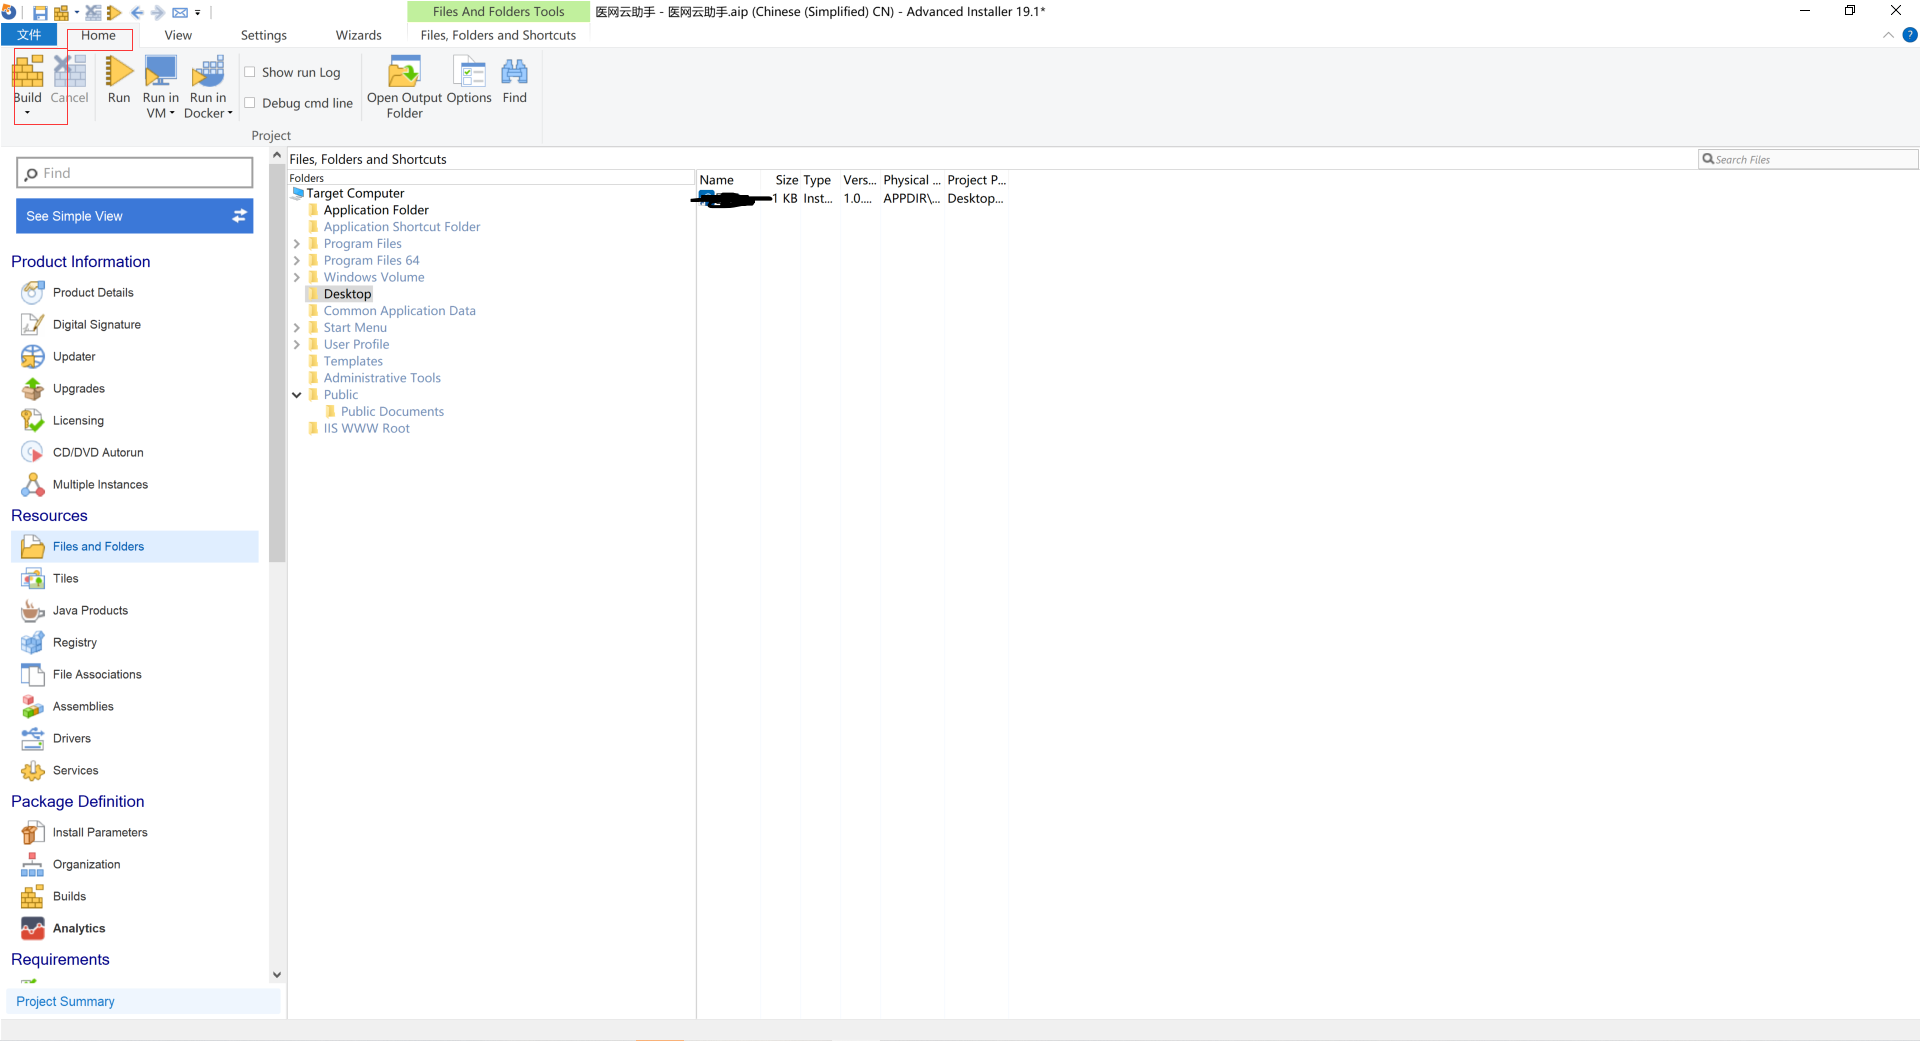
5.添加桌面快捷 ,选中Desktop->右侧空白处右键->New Shortcut To ->Installed File->选择.exe文件->点击Ok
(同样步骤,在Start Menu下及 Sartup下,添加同样的New Shortcut To,其中Startup下为开机自启动功能.)
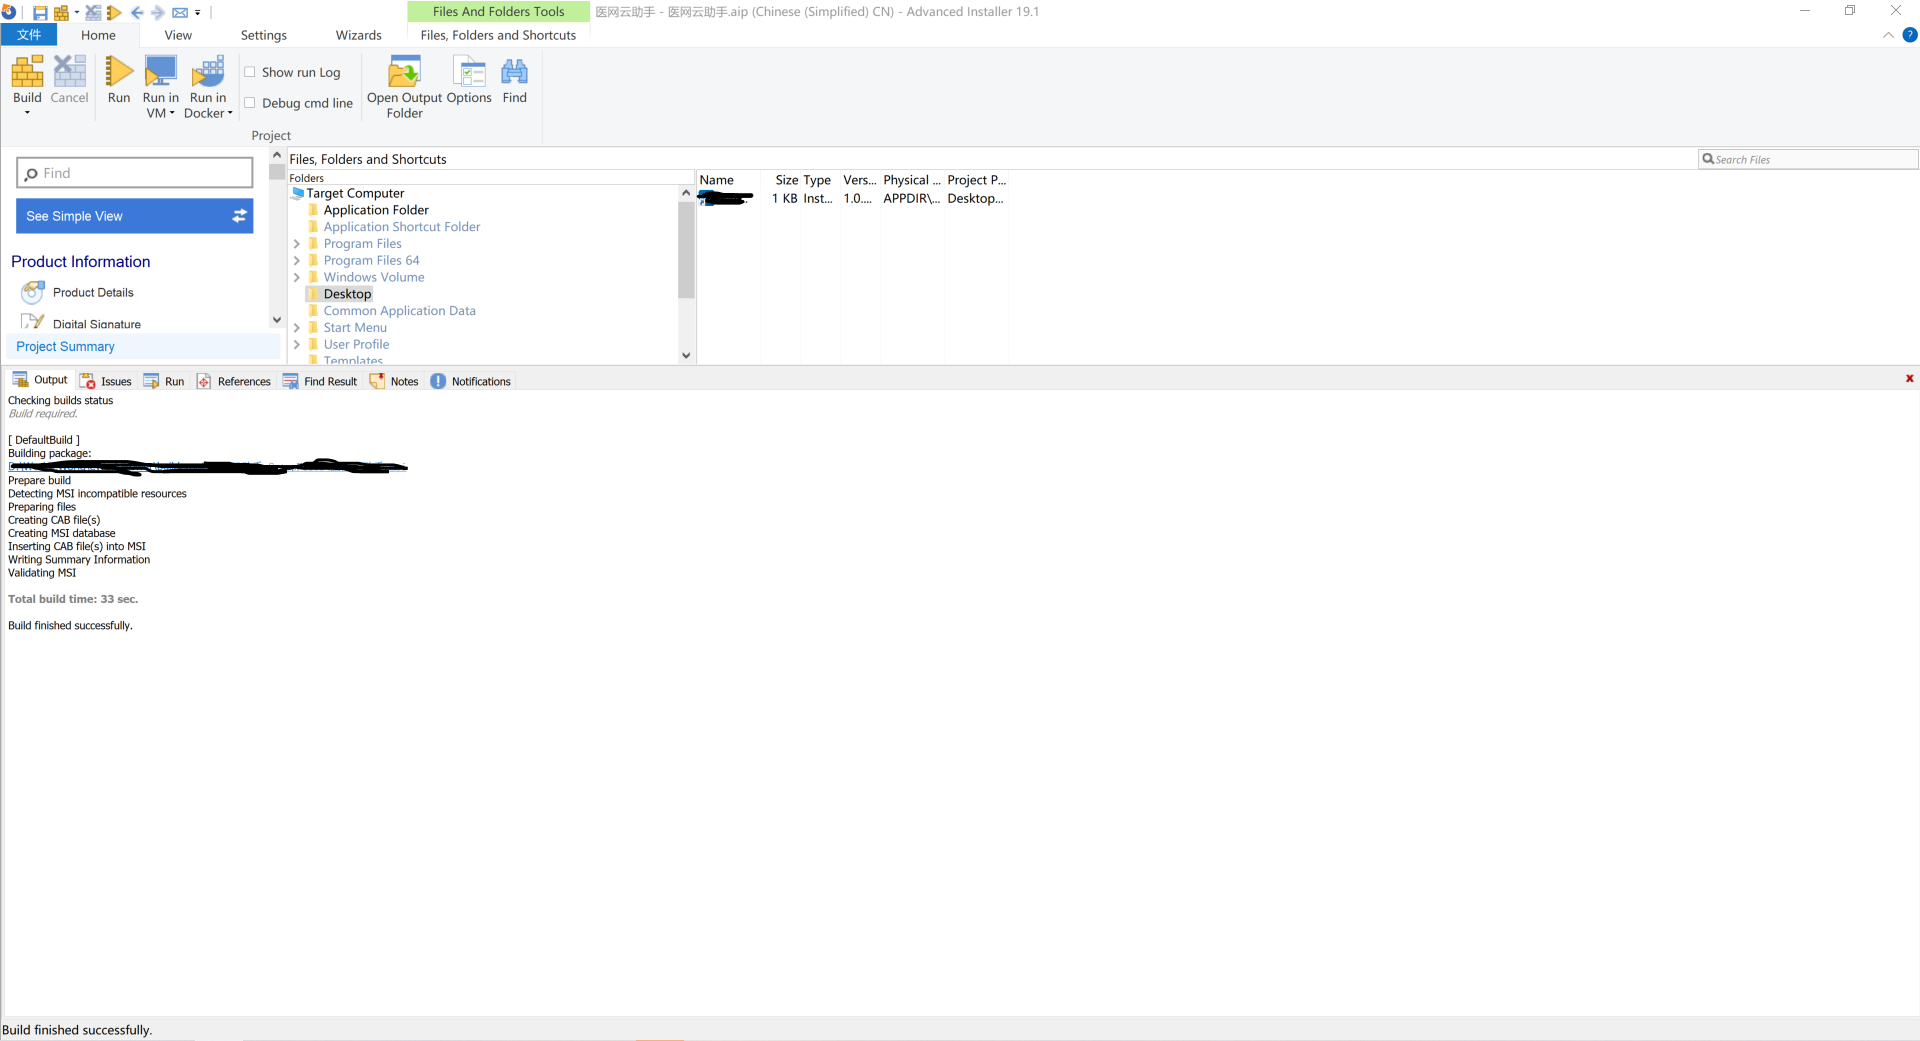
6.生成,选择home选项 点击“build”进行发布。
Recommend
About Joyk
Aggregate valuable and interesting links.
Joyk means Joy of geeK