

【九联Unionpi Tiger开发套件】开箱及编译环境搭建
source link: https://os.51cto.com/article/710306.html
Go to the source link to view the article. You can view the picture content, updated content and better typesetting reading experience. If the link is broken, please click the button below to view the snapshot at that time.

开发板详细介绍参考附件九联科技UnionpiTiger开发板使用说明书.pdf。
本文主要分享开箱照片、编译环境搭建、及烧录。
1、包装盒正面图
拿到快递的时候正面盒子被压到了,从外面看比较明显不过从里面看只有一点点痕迹。

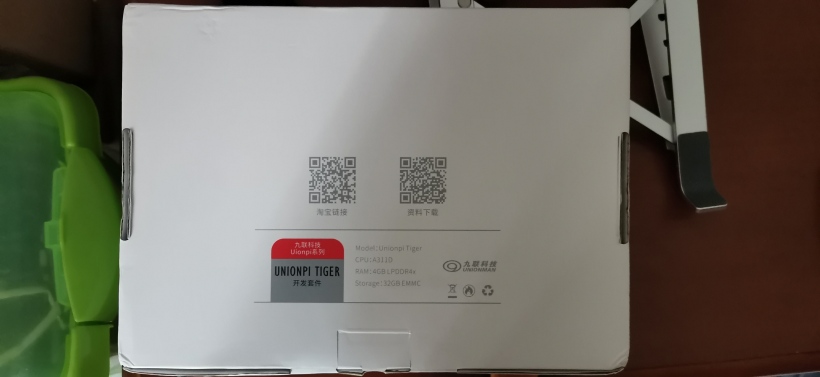
2、包装盒背面图
有淘宝链接和资料下载链接(这个是master的源码下载链接,有遇到问题后面会说明),及开发板硬件参数介绍。
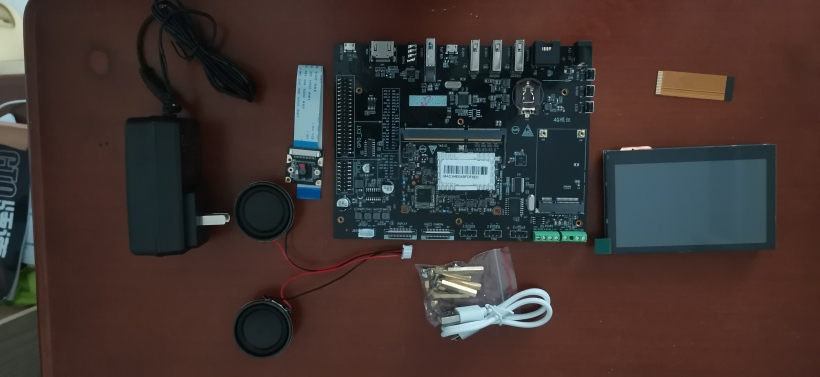
3、全部配件图片
包括核心板、扩展板、摄像头及排线、4.3寸触摸屏及线材两条、电源适配器、Micro USB 数据线、铜柱若干。
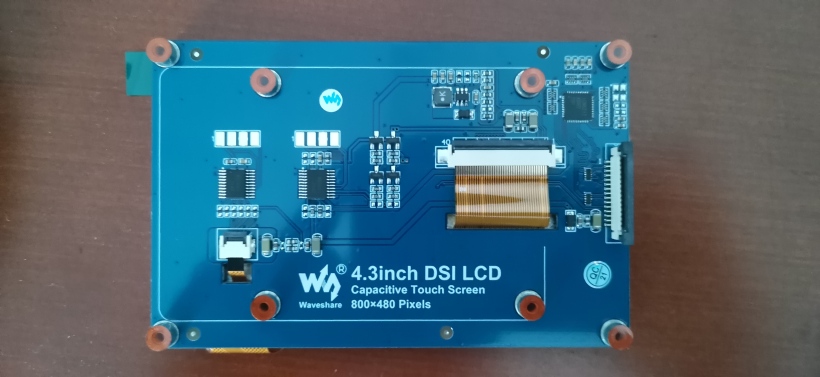
4、4.3寸触摸屏背面图
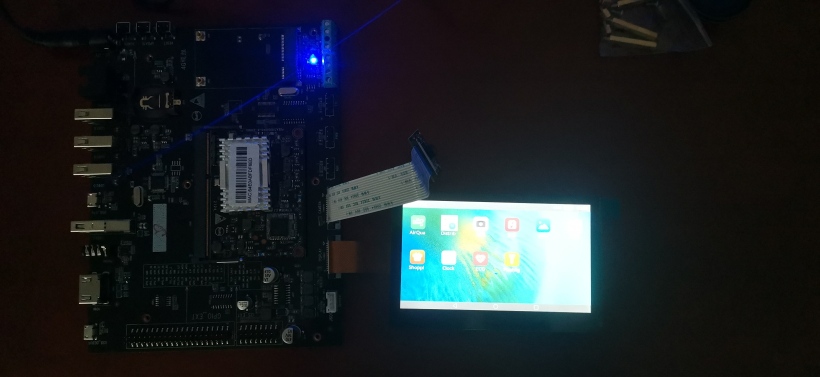
5、组装点亮
连接摄像头和屏幕上电即可使用。
二、编译环境搭建
本人编译环境为win11+WSL2+Ubuntu20.04+MobaXterm(开源SSH工具)。
主要参考链接。
搭建标准系统环境。
步骤整理如下:
1、安装所需的库和工具:
建议操作前先更新ubuntu20.04源提高安装效率。
(1)换清华源:
备份原来的源/etc/apt/sources.list并编辑。
sudo cp /etc/apt/sources.list /etc/apt/sources.list.bak
sudo vi /etc/apt/sources.list
将以下内容复制到sources.list。
deb http://mirrors.tuna.tsinghua.edu.cn/ubuntu/ focal main restricted
deb http://mirrors.tuna.tsinghua.edu.cn/ubuntu/ focal-updates main restricted
deb http://mirrors.tuna.tsinghua.edu.cn/ubuntu/ focal universe
deb http://mirrors.tuna.tsinghua.edu.cn/ubuntu/ focal-updates universe
deb http://mirrors.tuna.tsinghua.edu.cn/ubuntu/ focal multiverse
deb http://mirrors.tuna.tsinghua.edu.cn/ubuntu/ focal-updates multiverse
deb http://mirrors.tuna.tsinghua.edu.cn/ubuntu/ focal-backports main restricted universe multiverse
deb http://mirrors.tuna.tsinghua.edu.cn/ubuntu/ focal-security main restricted
deb http://mirrors.tuna.tsinghua.edu.cn/ubuntu/ focal-security universe
deb http://mirrors.tuna.tsinghua.edu.cn/ubuntu/ focal-security multiverse
(2)添加32位源
使用以下指令添加32位源。
sudo dpkg --add-architecture i386(3)重启并更新系统源
重启并执行以下指令。
sudo apt-get update
sudo apt-get upgrade
需要等待一段时间,视网络和电脑速度影响。
(4)安装所需的库和工具
依ubunt版本不同以下会依赖库会有一些差异,以下依赖库基于ubunt20.04。
sudo apt-get update && sudo apt-get install binutils binutils-dev git git-lfs gnupg flex bison gperf build-essential zip curl zlib1g-dev gcc-multilib g++-multilib libc6-dev-i386 libc6-dev-amd64-cross lib32ncurses-dev x11proto-core-dev libx11-dev lib32z1-dev ccache libgl1-mesa-dev libxml2-utils xsltproc unzip m4 bc gnutls-bin python3 python3-pip ruby genext2fs device-tree-compiler make libffi-dev e2fsprogs pkg-config perl openssl libssl-dev libelf-dev libdwarf-dev u-boot-tools mtd-utils cpio doxygen liblz4-tool openjdk-8-jre gcc g++ texinfo dosfstools mtools default-jre default-jdk libncurses5 apt-utils wget scons python3-distutils tar rsync git libxml2-dev lib32z1-dev grsync xxd libglib2.0-dev libpixman-1-dev kmod jfsutils reiserfsprogs xfsprogs squashfs-tools pcmciautils quota ppp libtinfo-dev libtinfo5 libncurses5-dev libncursesw5 libstdc++6 gcc-arm-none-eabi vim ssh locales(5)将python 3.8设置为默认python版本。
方法有多种我这边使用的是先移除原来python的,再做软链接指向python3.8。
sudo rm /usr/bin/python
sudo ln -s /usr/bin/python3.8 /usr/bin/python
三、源码下载
主要参考以下这个链接。
注意目前要参考以下这个链接,下载OpenHarmony-3.1-Release才能编译过,具体源码下载编译步骤如下文整理。
https://gitee.com/algoideas/device_unionpi/tree/OpenHarmony-3.1-Release这个链接是master的还没有合完整,目前会遇到执行prebuilt,npm error 暂时先不要用。
https://gitee.com/openharmony-sig/device_unionpi错误提示如下:
npm WARN tar ENOENT: no such file or directory, open '/home/soon/openharmony/developtools/ace-ets2bundle/compiler/node_modules/.staging/mocha-351cb54b/lib/runner.js'
npm ERR! code ETARGET
npm ERR! notarget No matching version found for [email protected].
npm ERR! notarget In most cases you or one of your dependencies are requesting
npm ERR! notarget a package version that doesn't exist.
npm ERR! notarget
npm ERR! notarget It was specified as a dependency of 'compiler'
npm ERR! notarget

npm ERR! A complete log of this run can be found in:
npm ERR!     /home/soon/.npm/_logs/2022-05-22T13_44_56_114Z-debug.log
1、下载前的准备工作
(1)注册码云gitee帐号。
(2)注册码云SSH公钥,请参考码云帮助中心。
(3)配置用户信息。
git和git-lfs前面已安装,这边需要再配置用户信息。
git config --global user.name "yourname"
    git config --global user.email "your-email-address"
    git config --global credential.helper store
(4)执行如下命令安装码云repo工具。
curl https://gitee.com/oschina/repo/raw/fork_flow/repo-py3 -o ~/repo
  sudo mv ~/repo /usr/bin/repo
    chmod a+x /usr/bin/repo
    pip3 install -i https://repo.huaweicloud.com/repository/pypi/simple requests
2、源码下载
mkdir openharmony
cd openharmony
repo init -u https://gitee.com/algoideas/unionpi -b OpenHarmony-3.1-Release -m devboard_unionpi.xml --no-repo-verify
repo sync -c
repo forall -c 'git lfs pull'
./build/prebuilts_download.sh --skip-ssl

# 打入unionpi相关补丁到openharmony中
./device/unionpi/build/patch-unionpi.sh
3、编译指令
./build.sh --product-name a311d --ccache编译成功提示如下:
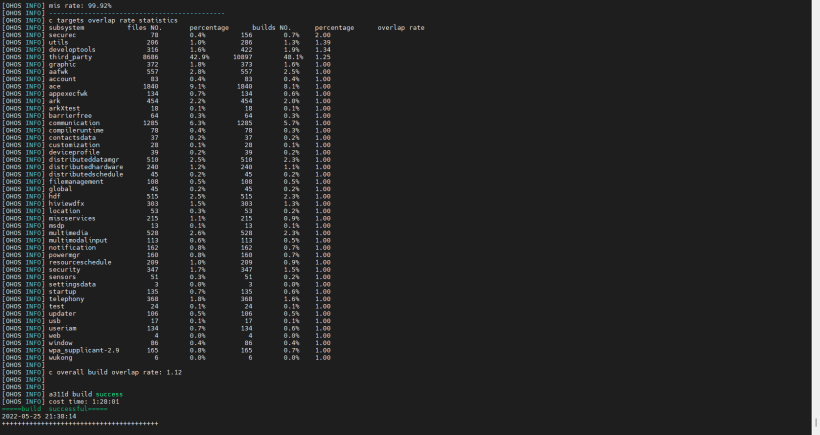
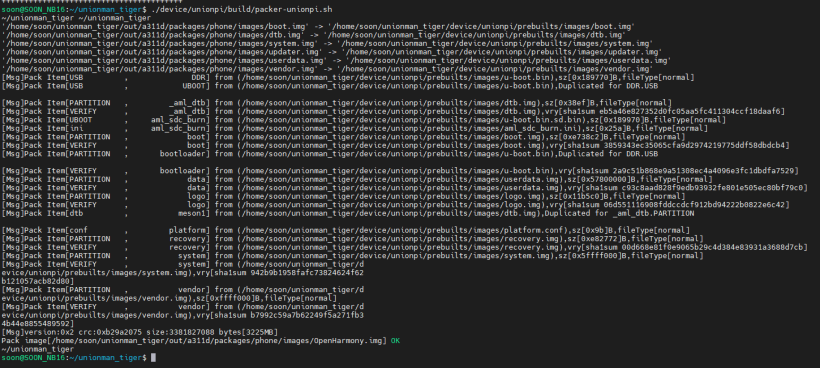
4、生成镜像
./device/unionpi/build/packer-unionpi.sh生成成功后,在 out/a311d/packages/phone/images/ 目录下将生成 OpenHarmony.img 镜像文件。
镜像生成log截图如下:
1、安装USB_Burning_Tool工具
工具可以从gitee上获取下载链接。
下载后按提示安装即可。
2、进入烧录模式
有两种手法
(1)①在断电情况下按住UPDATE按键插上电源
(2)②在已经通电的情况下按住UPDATE按键,短按Reset重启
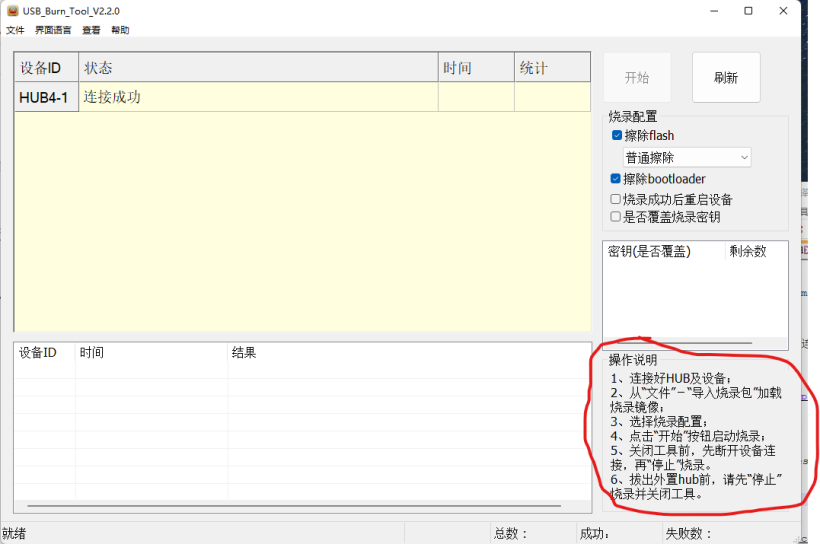
4、开始烧录
步骤参考USB_Burning_Tool右下角说明。
(1)OTG接口连接
用将Micro USB 数据线将开发板的USB_OTG接口连接到电脑。

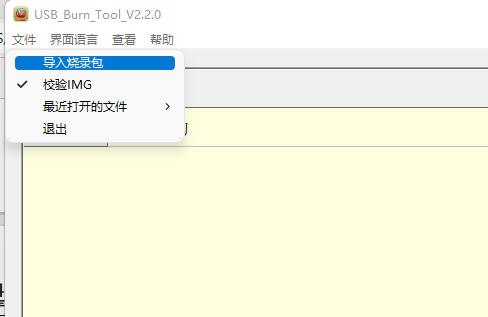
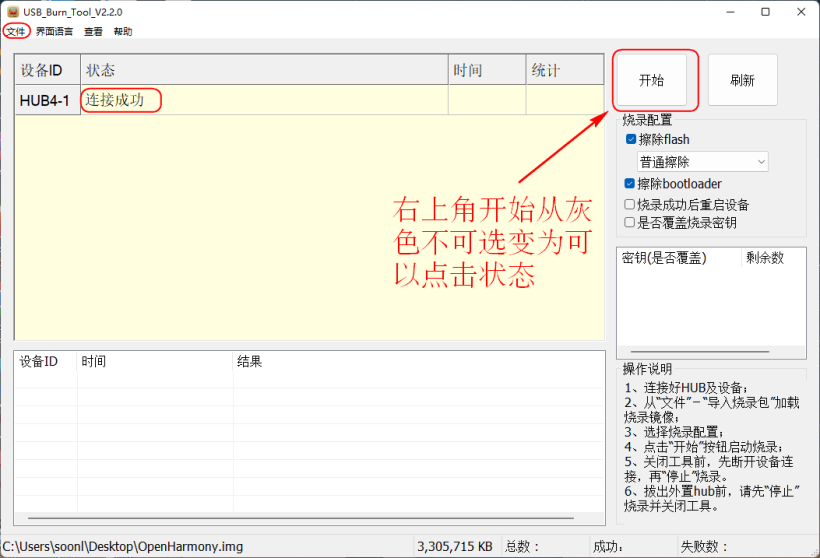
(2)导入烧录包
从“文件”-“导入烧录包”选择加载要烧录的镜像文件,导入后会有校验提示。等待提示结束,右上角开始从灰色不可选变为可以点击状态。
(3)点击开始
点击USB_Burning_Tool右上侧开始按钮。
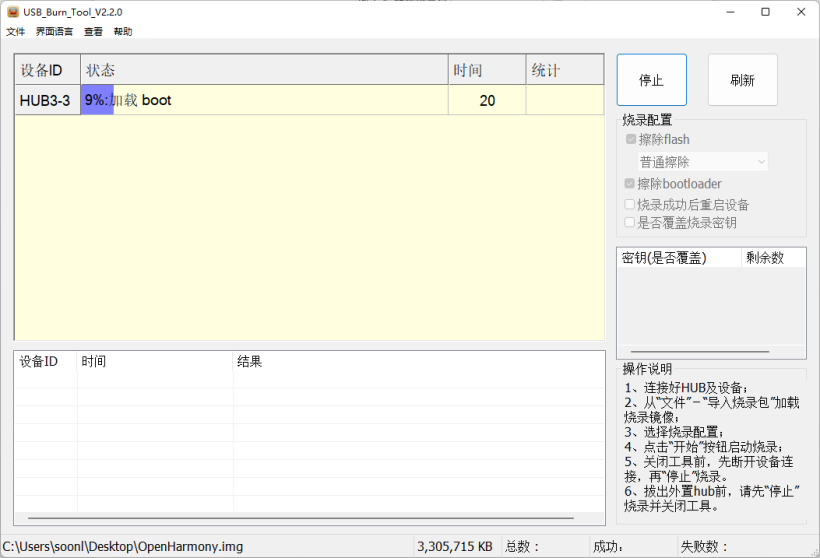
开始烧录烧录过程状态会有紫色进度条提示当前进度。
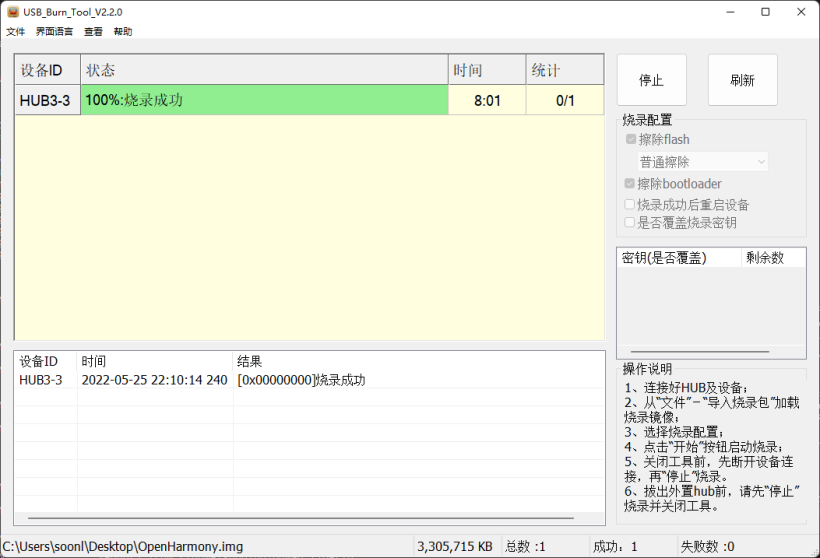
(4)烧录成功
大概需要8分钟烧录,数据线电脑配置不一样可能会有影响,烧录成共提示 100%,需要手动按reset键或者插拔电源重启。
以上九联Unionpi Tiger开发套件开箱及编译环境搭建编译及烧录分享,感谢阅读。
Recommend
About Joyk
Aggregate valuable and interesting links.
Joyk means Joy of geeK