

Installing Private S3 Storage With MinIO - DZone Cloud
source link: https://dzone.com/articles/installing-private-s3-storage-with-minio-on-alibab
Go to the source link to view the article. You can view the picture content, updated content and better typesetting reading experience. If the link is broken, please click the button below to view the snapshot at that time.
Installing Private S3 Storage With MinIO on Alibaba Cloud Kubernetes
In this article, explore the step-by-step installation of a private, S3-compatible storage server, MinIO, on Alibaba Cloud Container Service Kubernetes.
Join the DZone community and get the full member experience.
Join For FreeIn this article, we will explore the step-by-step installation of private S3-compatible storage server MinIO on Alibaba Cloud Container Service Kubernetes. We will expose MinIO web UI to the internet and make MinIO API available for MC CLI in the Cloud Shell.
MinIO is an open-source, high-performance, S3-compatible object storage. It allows building AWS S3 compatible data infrastructure.
Alibaba Cloud Container Service Kubernetes is a managed Kubernetes service available on Alibaba Cloud.
Helm is a package manager for Kubernetes. Helm Charts helps you manage Kubernetes applications.
Prerequisites:
- Access to Alibaba Cloud console
- Deployed Alibaba Kubernetes cluster
Let's get started with installation!
Install Helm Release
For this guideline, we will use Cloud Shell. You need to login to Alibaba Cloud Console then navigate to "Container Service - Kubernetes", select "more" at the right side of your cluster, and click on "Open Cloud Shell."
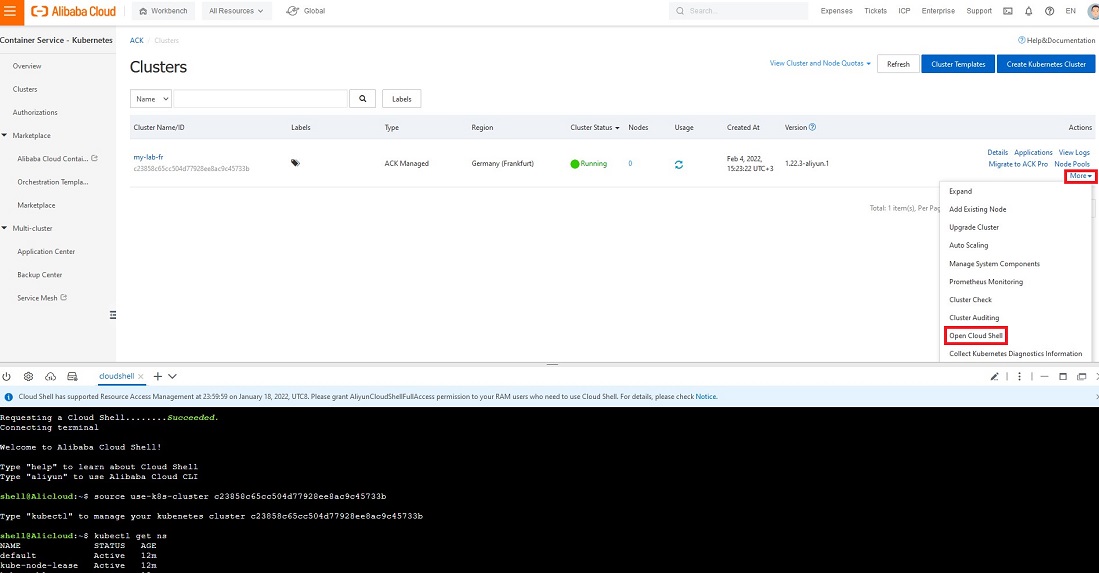 Cloud Shell is a nice way to access your Kubernetes cluster.
Helm binary is already installed in Cloud Shell.
Firstly, we will add MinIO Helm chart repository.
helm repo add minio https://charts.min.io/
Then we need to install MinIO chart with a set of parameters:
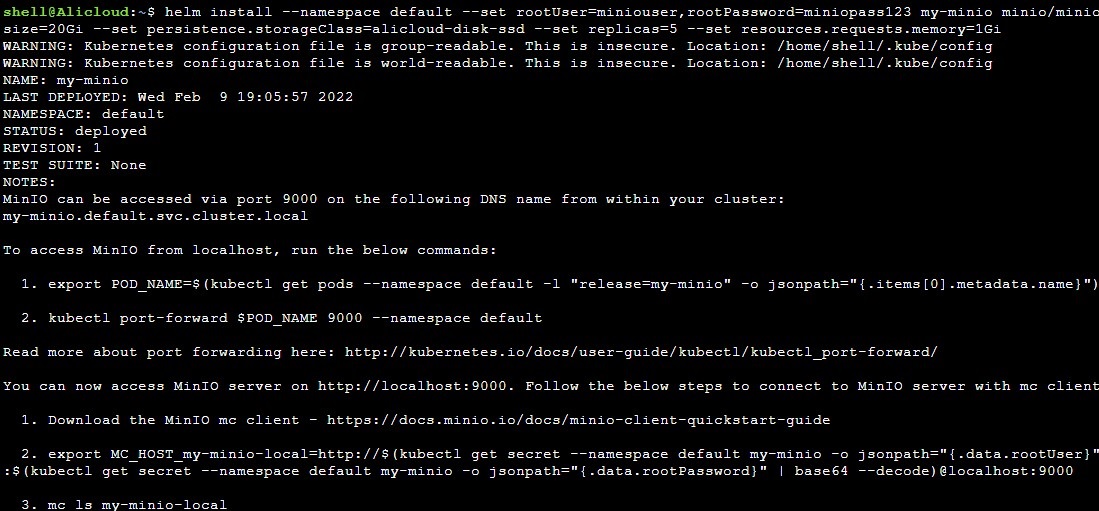
helm install --namespace default --set rootUser=miniouser,rootPassword=miniopass123 my-minio minio/minio --set persistence.size=20Gi --set persistence.storageClass=alicloud-disk-ssd --set replicas=5 --set resources.requests.memory=1Gi
Let's break down arguments in that command:
--namespace defaultmeans that we are specifying default namespace.rootUser=miniouser,rootPassword=miniopass123is defining username and password.my-miniois a custom name of the Helm release which we are going to install.minio/miniois the Helm chart that we are going to use.--set persistence.size=20Gi: For this tutorial, we are going to use the minimum size of the disk on Alibaba Cloud which is 20 GB, the default value is 500 GB. This argument is optional.--set persistence.storageClass=alicloud-disk-ssd: You must set up the storage class name of your cloud provider. Without it, the persistence volume claim will be in "Pending" status forever.--set replicas=5means only 5 MinIO containers will be deployed and 5 corresponding disks will be created. By default, it will deploy 16. 4, which is the minimum amount needed for MinIO servers to create a cluster. This argument is optional.--set resources.requests.memory=1Gi: MinIO container will ask for 1GB of RAM from Kubernetes nodes. The default value is 16 GB for each container. This argument is optional.
Here is the expected output from the helm install command:
To get a sense of resources being deployed we can navigate to Alibaba Cloud console UI.
Overview of pods deployed:
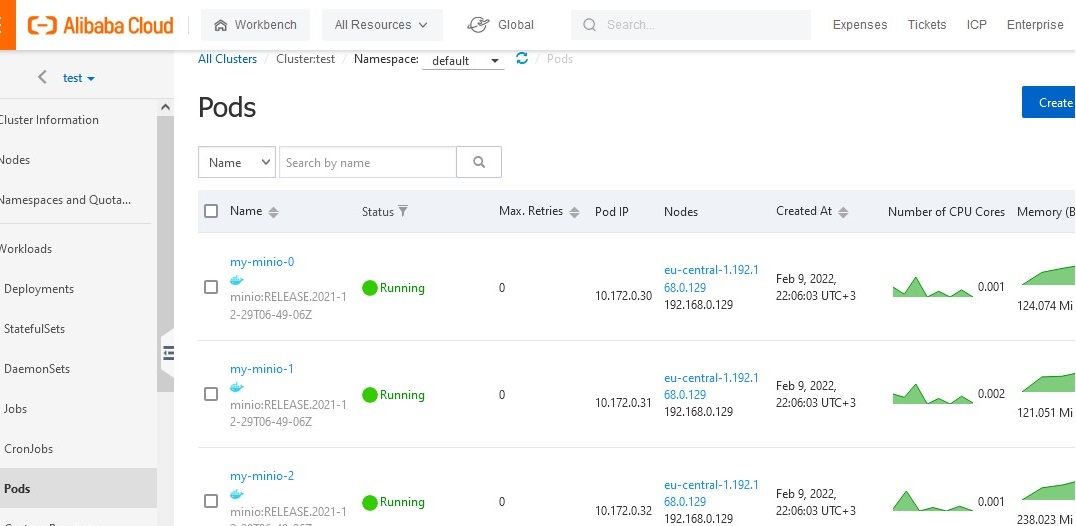
MinIO pods
Overview of services created. Service "my-minio" with port 9000 exposed will be used for API access. "my-minio-console" service with port 9001 exposed will be used for web UI access.
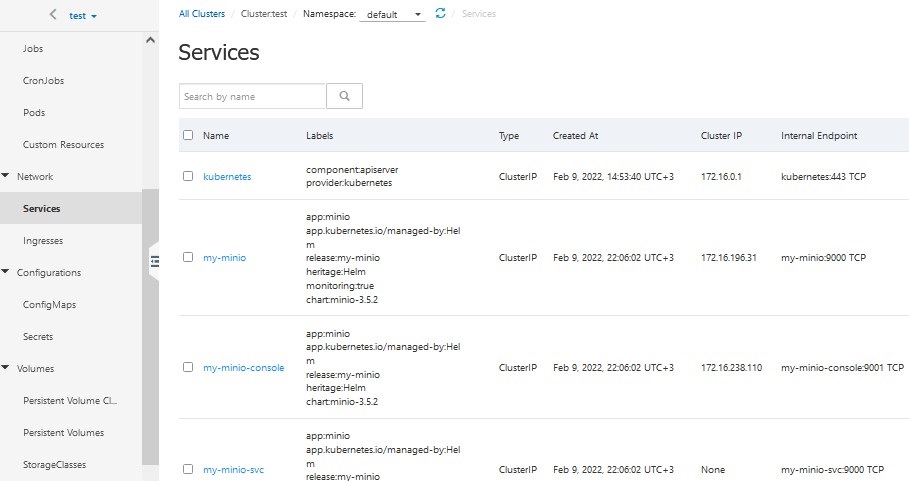 MinIO Services
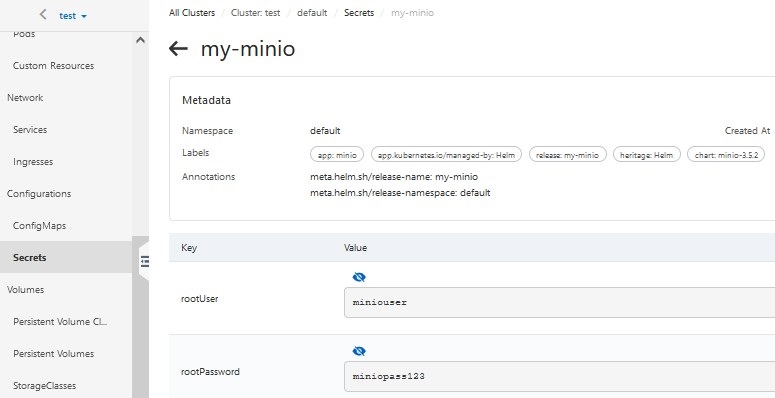
In the secrets section, you can double-check that the credentials we defined in the helm install command were created as secrets.
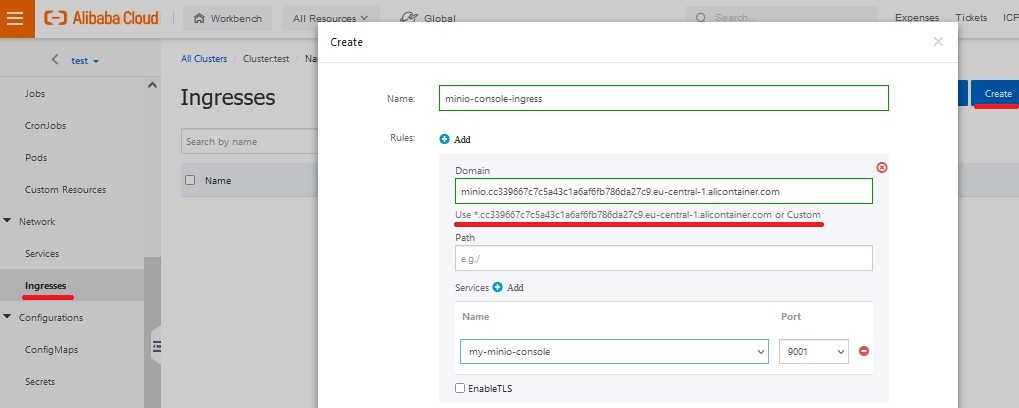
Expose MinIO Externally
To access MinIO UI we need to expose it with Ingress. In order to do that, we need to navigate to the Ingress menu of the cluster and click on Create. Then we need to provide a custom name and domain. In the following example, I'm going to use a domain created by AliCloud. After that, we just need to select the my-minio-console service from a drop-down menu.
Welcome to the MinIO Console
Open URL you defined in Ingress and MinIO UI will appear!
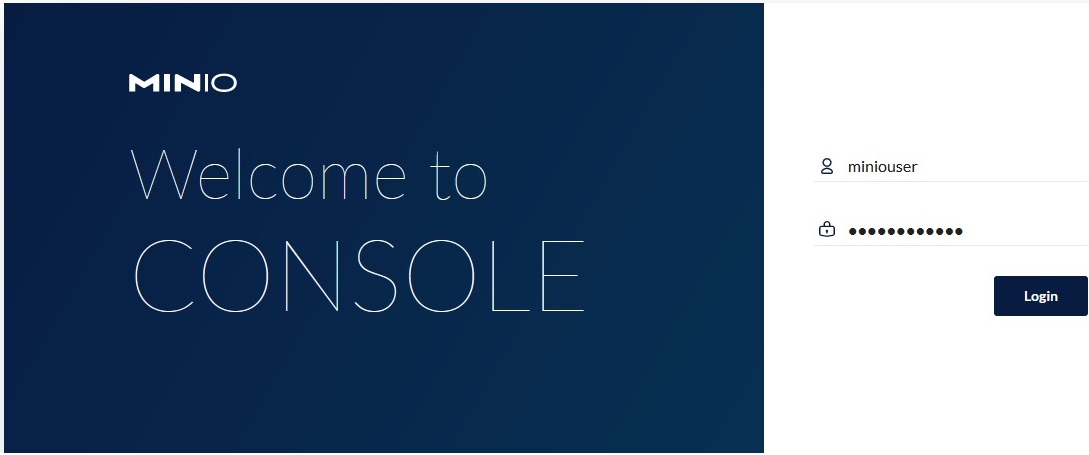 Welcome to the MinIO console
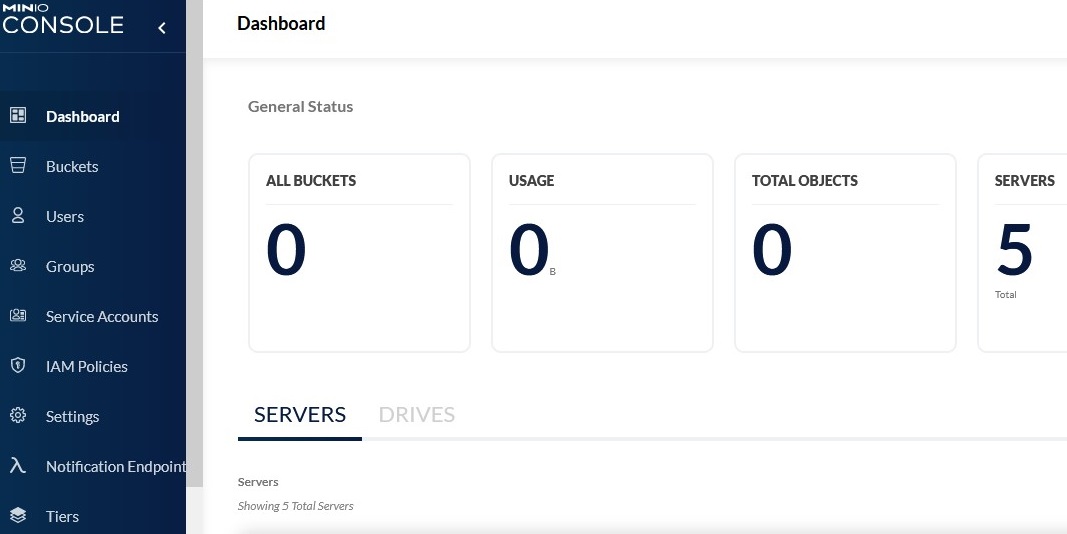
MinIO dashboard:
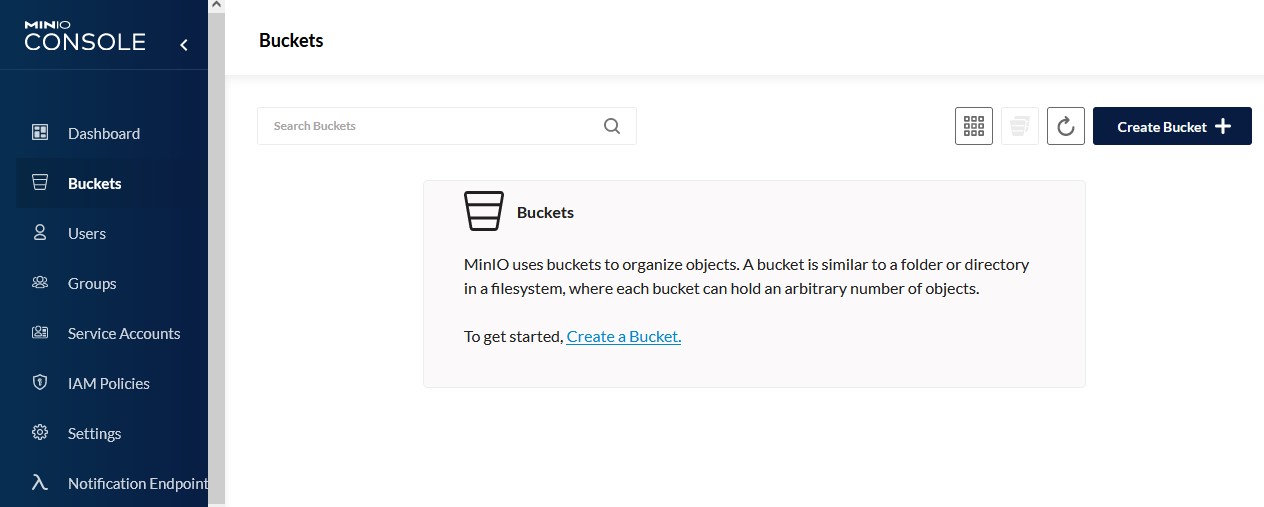
Let's create our first bucket. Navigate to the Buckets section of the left menu and click on Create Bucket button on the right side. In the pop-up menu, you need to define the Bucket Name and enable optional parameters like Versioning.
After our very first bucket is created we can upload a new file.
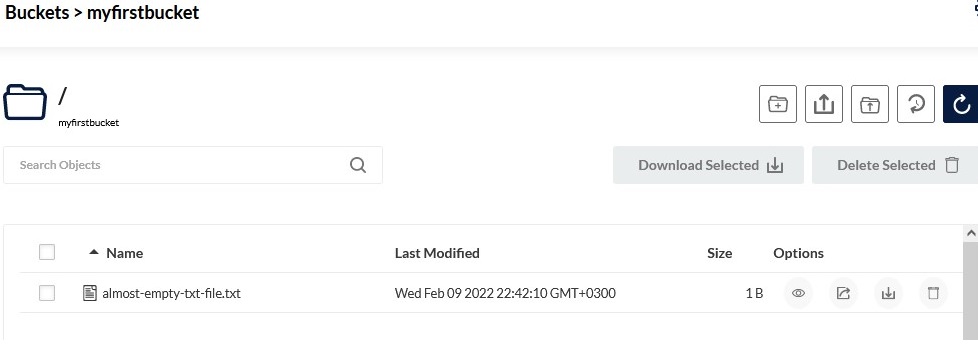
By the way, you can preview text files if needed right into the MinIO web page.
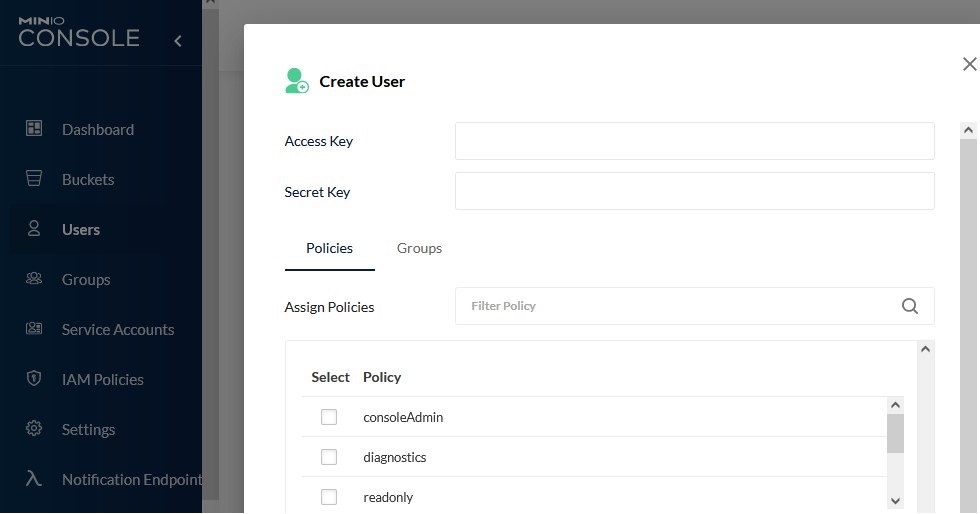
From MinIO UI you can manage users, define policies.
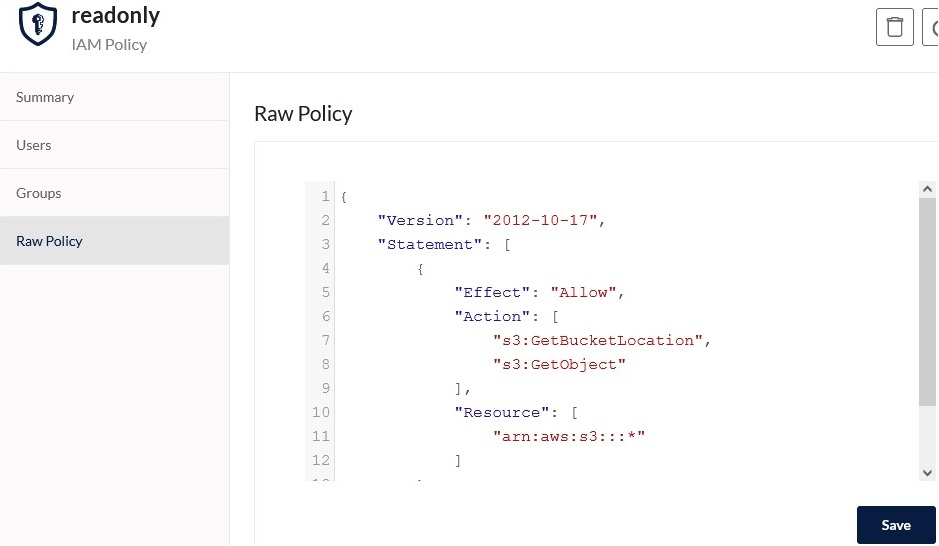
Here is a MinIO Raw Policy example. It is compatible with AWS S3 and shares the same syntax.
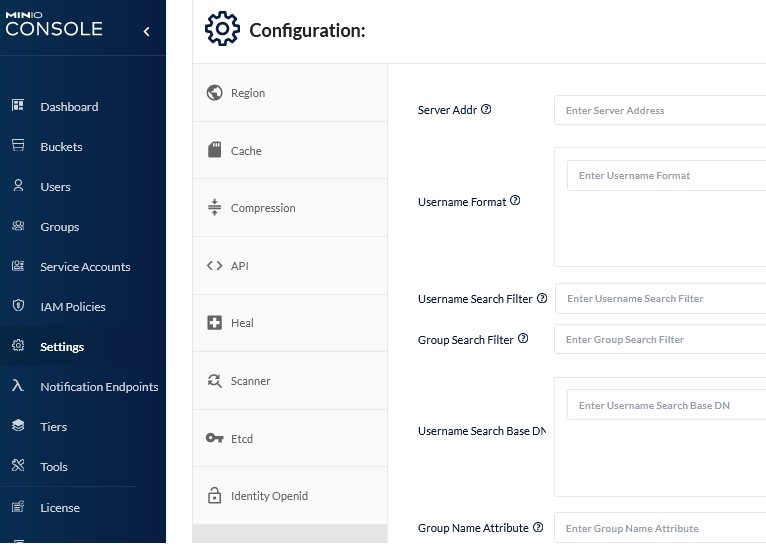
In MinIO UI you can set up LDAP or Open ID integration.
MinIO CLI
Let's explore MinIO Command Line Interface capabilities.
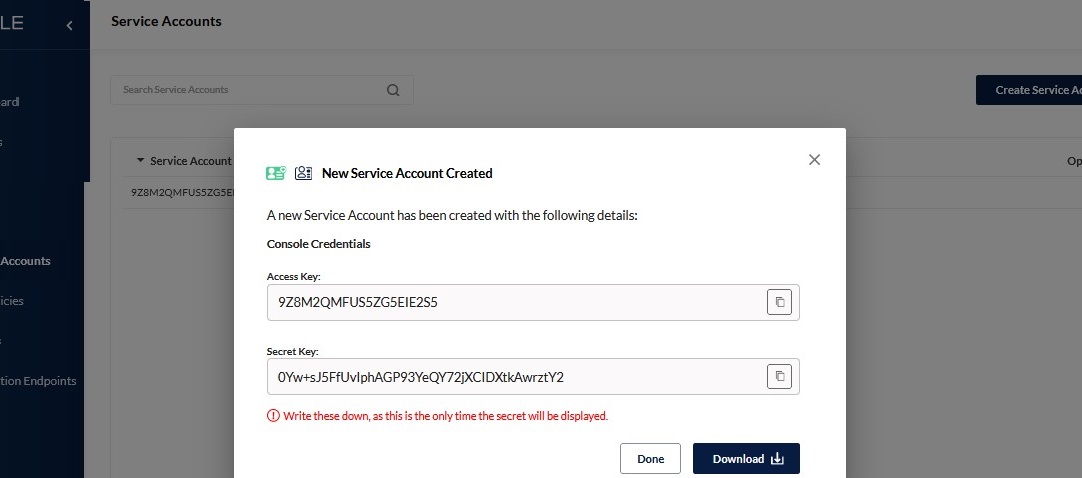
To use MinIO CLI we need to create a service account. Navigate to the Service Accounts in the left menu and click on Create Service Account. Copy credentials.
To play around with MinIO CLI we will use a Cloud Shell.
Install MC CLI
Download the MinIO MC client with the following command:
wget https://dl.min.io/client/mc/release/linux-amd64/mc chmod +x mc
Expose MinIO API locally
Since we did not expose MinIO API to the internet, we will use the kubectl port-forward feature to get access to the MinIO API port on localhost.
To access MinIO from localhost, run the below commands:
export POD_NAME=$(kubectl get pods --namespace default -l "release=my-minio" -o jsonpath="{.items[0].metadata.name}") kubectl port-forward $POD_NAME 9000 --namespace default

To confirm that port-forwarding is working, we will create another session in the Cloud Shell and run the following command:
netstat -tunlpa | grep 9000

MC CLI Login
You can now access the MinIO server on http://localhost:9000. Follow the below steps to connect to MinIO server with MC client:
/mc alias set minio http://localhost:9000 --api S3v4
When prompted, provide the Access Key and Secret key of your service account that you created in MinIO console and you will be able to list files in MinIO buckets withthe ./mc ls miniocommand.

Now we have a private S3 bucket deployed on top of Alibaba Cloud-managed Kubernetes service.
Recommend
About Joyk
Aggregate valuable and interesting links.
Joyk means Joy of geeK