

Confluent Kafka Installation and Demo
source link: https://dzone.com/articles/confluent-kafka-installation-and-demo
Go to the source link to view the article. You can view the picture content, updated content and better typesetting reading experience. If the link is broken, please click the button below to view the snapshot at that time.
About KAFKA and Confluent
Apache Kafka is an open-source community distributed event streaming platform used by thousands of corporations for high-performance streaming, data pipelines, and critical applications. Kafka was developed by the Apache Software Foundation written in Scala and Java.
Confluent Open Source is a developer-optimized distribution of Apache Kafka. Confluent Platformis a full-scale data streaming platform that enables you to easily access, store, and manage data as continuous, real-time streams. Confluent is a more complete distribution of Apache Kafka. It streamlines the admin operations procedures with much ease.
Confluent Kafka Installation And Demo
The goal is to insert rows to SQLite-DB and show those rows on an auto-created topic on Kafka via the JDBC-source connector.
Environment: Red Hat Linux 7.x
- Download Tarball
curl -O http://packages.confluent.io/archive/6.0/confluent-6.0.1.tar.gz - Extract tar.gz
tar -xvf tar/confluent-6.0.1.tar.gz - Define Confluent variables
export CONFLUENT_HOME=/mydata/myuser/confluent-6.0.1export PATH=$PATH:$CONFLUENT_HOME/bin - Install confluent-hub and kafka connect jdbc
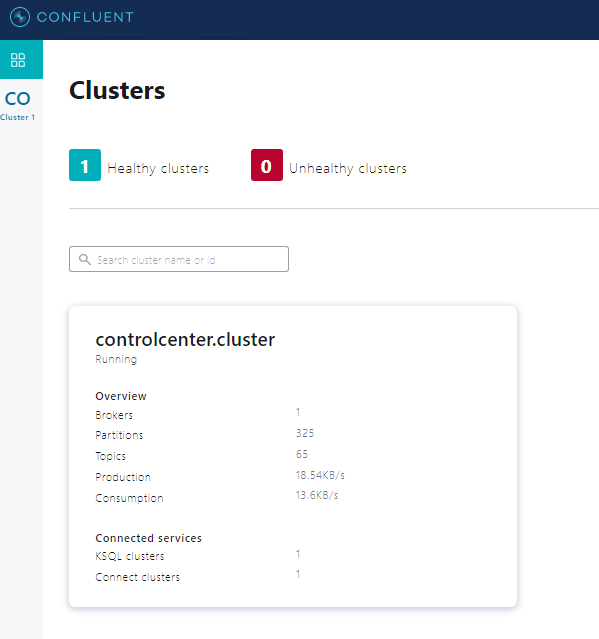
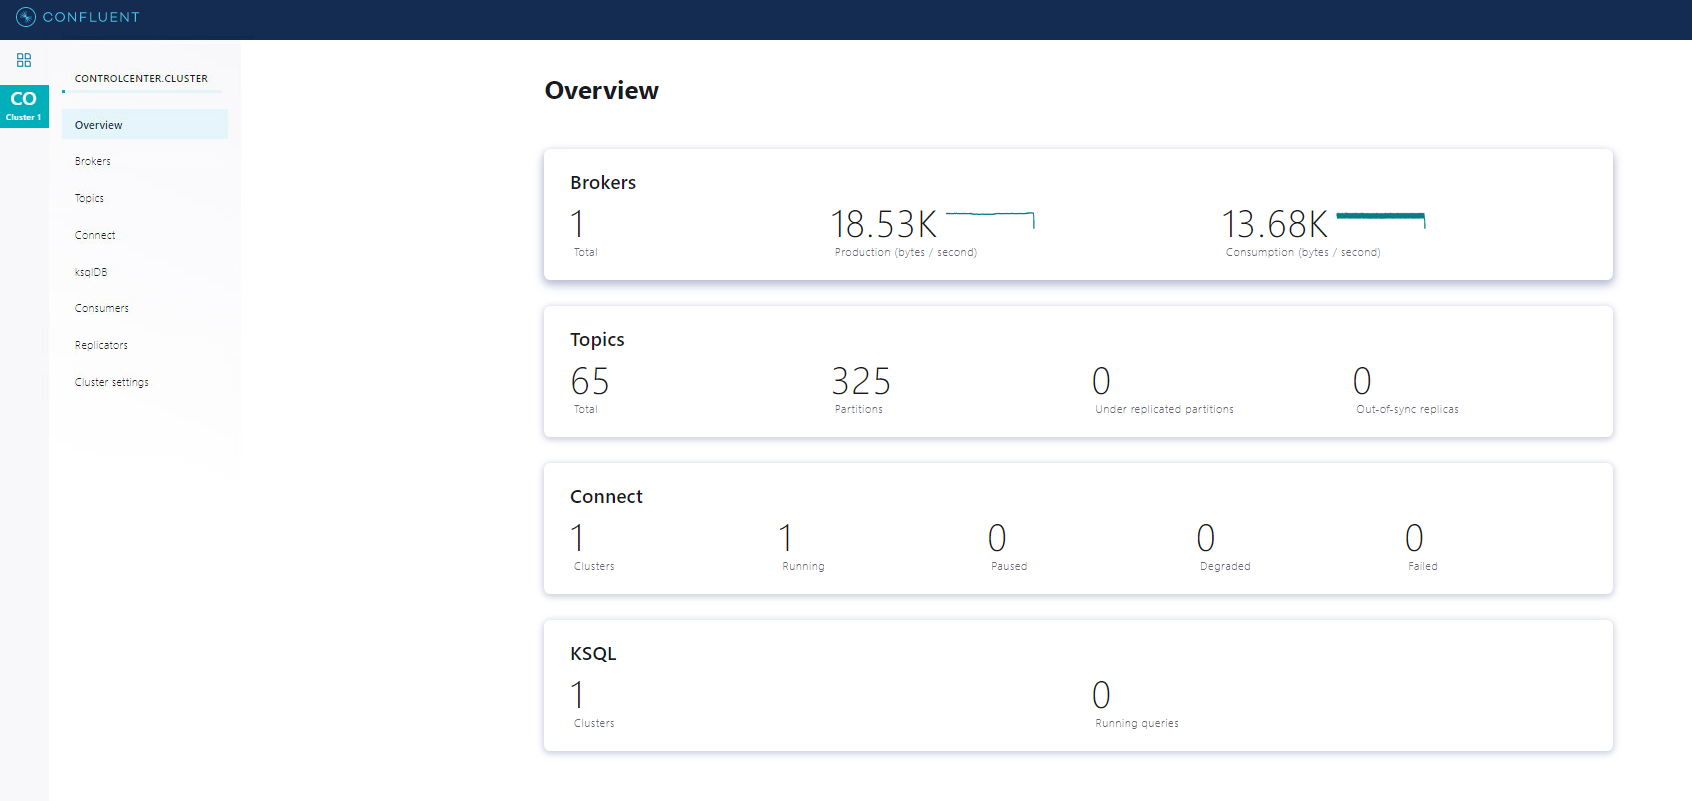
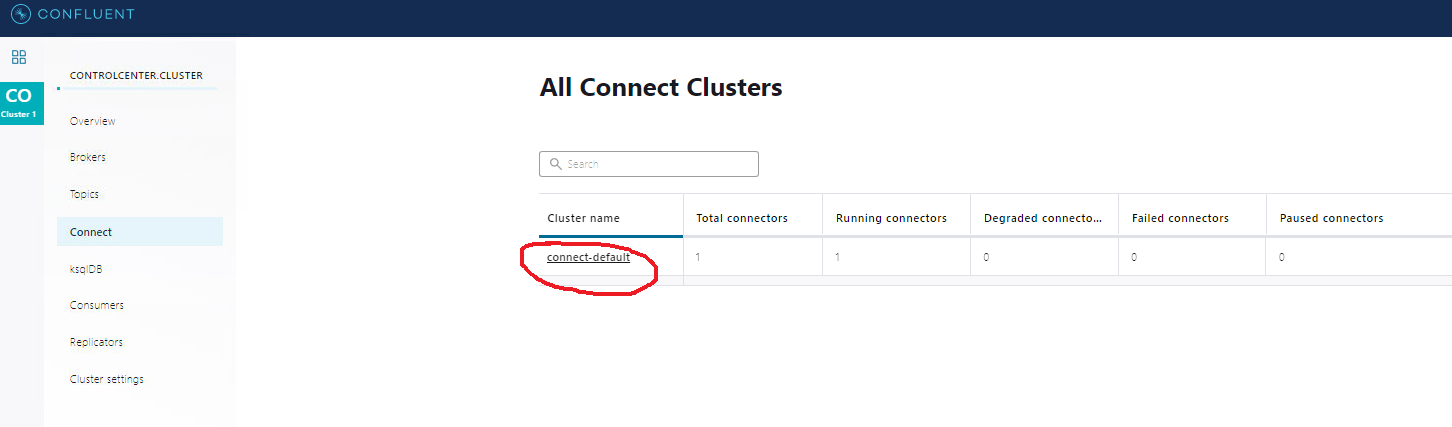
$CONFLUENT_HOME/bin/confluent-hub install --no-prompt confluentinc/kafka-connect-datagen:latestconfluent-hub install confluentinc/kafka-connect-jdbc:10.0.1You can see the confluent hub on your local web.
http://localhost:9021/clusters - Define JDBC-source file to /mydata/myuser/confluent-6.0.1/etc/kafka-connect-jdbc/:
name=test-sqlite-jdbc-autoincrementconnector.class=io.confluent.connect.jdbc.JdbcSourceConnectorvalue.converter=org.apache.kafka.connect.json.JsonConvertervalue.converter.schemas.enable=falsetasks.max=1connection.url=jdbc:sqlite:test.dbmode=incrementingincrementing.column.name=idtopic.prefix=turkcell.sqlite-jdbc- - Run confluent services up:
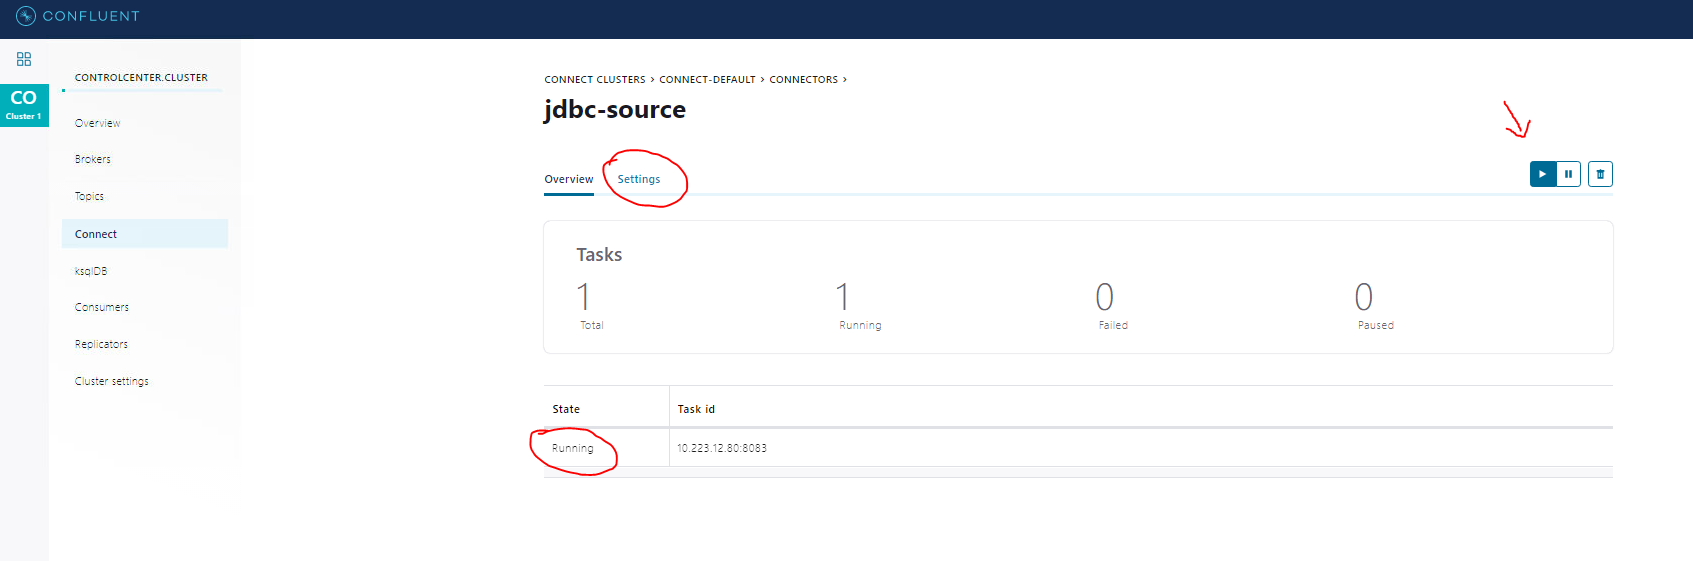
confluent local services connect startThe output like below:
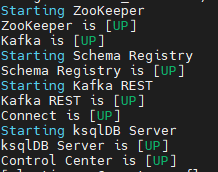
- Load jdbc-source to the connector:
confluent local services connect connector load jdbc-source -c /mydata/myuser/confluent-6.0.1/etc/kafka-connect-jdbc/source-quickstart-sqlite.properties - You can create SQLite-DB; create a table and insert rows:
cd confluent-6.0.1/sqlite3 test.dbsqlite> CREATE TABLE ttech(id INTEGER PRIMARY KEY AUTOINCREMENT NOT NULL, name VARCHAR(255));sqlite> INSERT INTO ttech(name) VALUES('turkcell');You can see a row like this:

- Look at the connect log to see if Kafka-source-JDBC fails or works successfully:
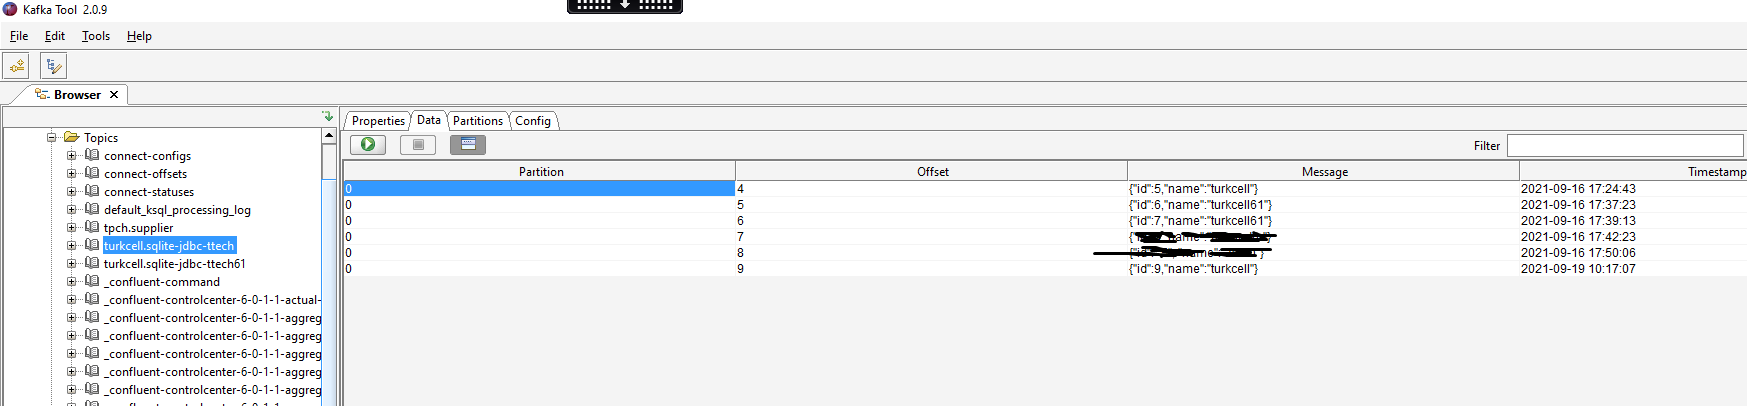
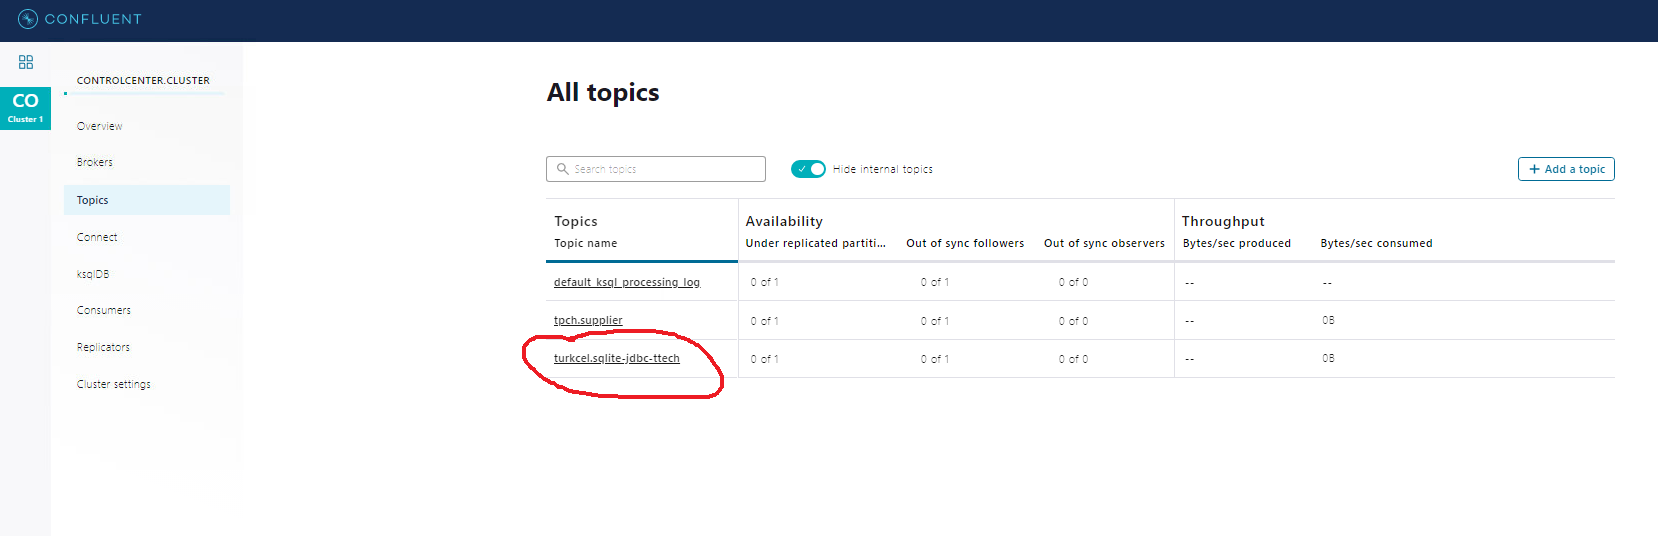
confluent local services connect log - Finally, look at Kafka topic to see your newly-added record. I use Kafka Tool to check:
Some Useful Commands and Screenshots
- See connector list:
confluent local services connect connector --list - See connector content:
confluent local services connect connector config jdbc-source - Unload connector:
confluent local services connect connector unload jdbc-source - See connect log:
confluent local services connect log - Change formatter from Avro to JSON in this file:
/mydata/myuser/confluent-6.0.1/etc/kafka/connect-distributed.properties - If you use schema-registry:
- Add key-value schema:
-
curl -X POST -H "Content-Type: application/vnd.schemaregistry.v1+json" --data '{"schema": "{\"type\":\"record\",\"name\":\"your_table\",\"fields\":[{\"name\":\"ID\",\"type\":\"long\"}]}"}' http://localhost:8091/subjects/your_table-key/versions
-
- Check it is installed:
-
curl -X GET http://localhost:8091/subjects
-
- Add the connector to sync to the Oracle table:
-
curl -XPOST --header "Content-Type: application/json"  localhost:8083/connectors  -d
'{
    "name": "sink_my_table",
    "config": {
        "connector.class": "io.confluent.connect.jdbc.JdbcSinkConnector",
		"tasks.max": 3,
		"connection.url": "jdbc:oracle:thin:@my.db:1961:MYSERVICE",
        "connection.user": "ora_user",
        "connection.password": "XXXXXX",
		"table.name.format": "my_table",
        "topics": "my_table",
        "auto.create": "false",
		"delete.enabled": "true",
		"pk.mode": "record_key",
		"pk.fields": "ID",
		"insert.mode": "upsert",
		"transforms": "TimestampConverter1,TimestampConverter2,TimestampConverter3",
		"transforms.TimestampConverter1.type": "org.apache.kafka.connect.transforms.TimestampConverter$Value",
		"transforms.TimestampConverter1.field": "RECORDDATE",
		"transforms.TimestampConverter1.target.type": "Timestamp",
		"transforms.TimestampConverter2.type": "org.apache.kafka.connect.transforms.TimestampConverter$Value",
		"transforms.TimestampConverter2.field": "STARTDATE",
		"transforms.TimestampConverter2.target.type": "Timestamp",
		"transforms.TimestampConverter3.type": "org.apache.kafka.connect.transforms.TimestampConverter$Value",
		"transforms.TimestampConverter3.field": "ENDDATE",
		"transforms.TimestampConverter3.target.type": "Timestamp"

    }
}'
-
- Look at connector config information:
-
curl -X GET http://localhost:8083/connectors/sink_my_table
-
- Look connector status:
-
curl -X GET http://localhost:8083/connectors/sink_my_table/status
-
- Delete connector:
-
curl -X DELETE http://localhost:8083/connectors/sink_my_table
-
- Add key-value schema:
Hope it helps you!
Recommend
About Joyk
Aggregate valuable and interesting links.
Joyk means Joy of geeK