

❤️分享一个基于SpringCloud的微服务项目【源码+视频教程】【保姆式教程】【建议收藏】...
source link: https://blog.csdn.net/mengchuan6666/article/details/120170958
Go to the source link to view the article. You can view the picture content, updated content and better typesetting reading experience. If the link is broken, please click the button below to view the snapshot at that time.
前面已经分享了很多不错的项目,有ssm的、springboot的,为了帮助大家的学习,还出了详细的视频教程!
当然我会不断的更新各种干货!没关注猛哥的,关注一波。防止错失干货!
最近有小伙伴私信孟哥,想要一个微服务的项目,必须安排呀!
1、 系统搭建步骤
1.1、安装Redis服务端和客户端
1.2、导入数据库
创建数据库ry-cloud并导入数据脚本ry_20210108.sql(必须),quartz.sql(可选)
[外链图片转存失败,源站可能有防盗链机制,建议将图片保存下来直接上传(img-mySZFRRr-1631055968558)(images\01.png)]
导入数据脚本ry_config_20201222.sql
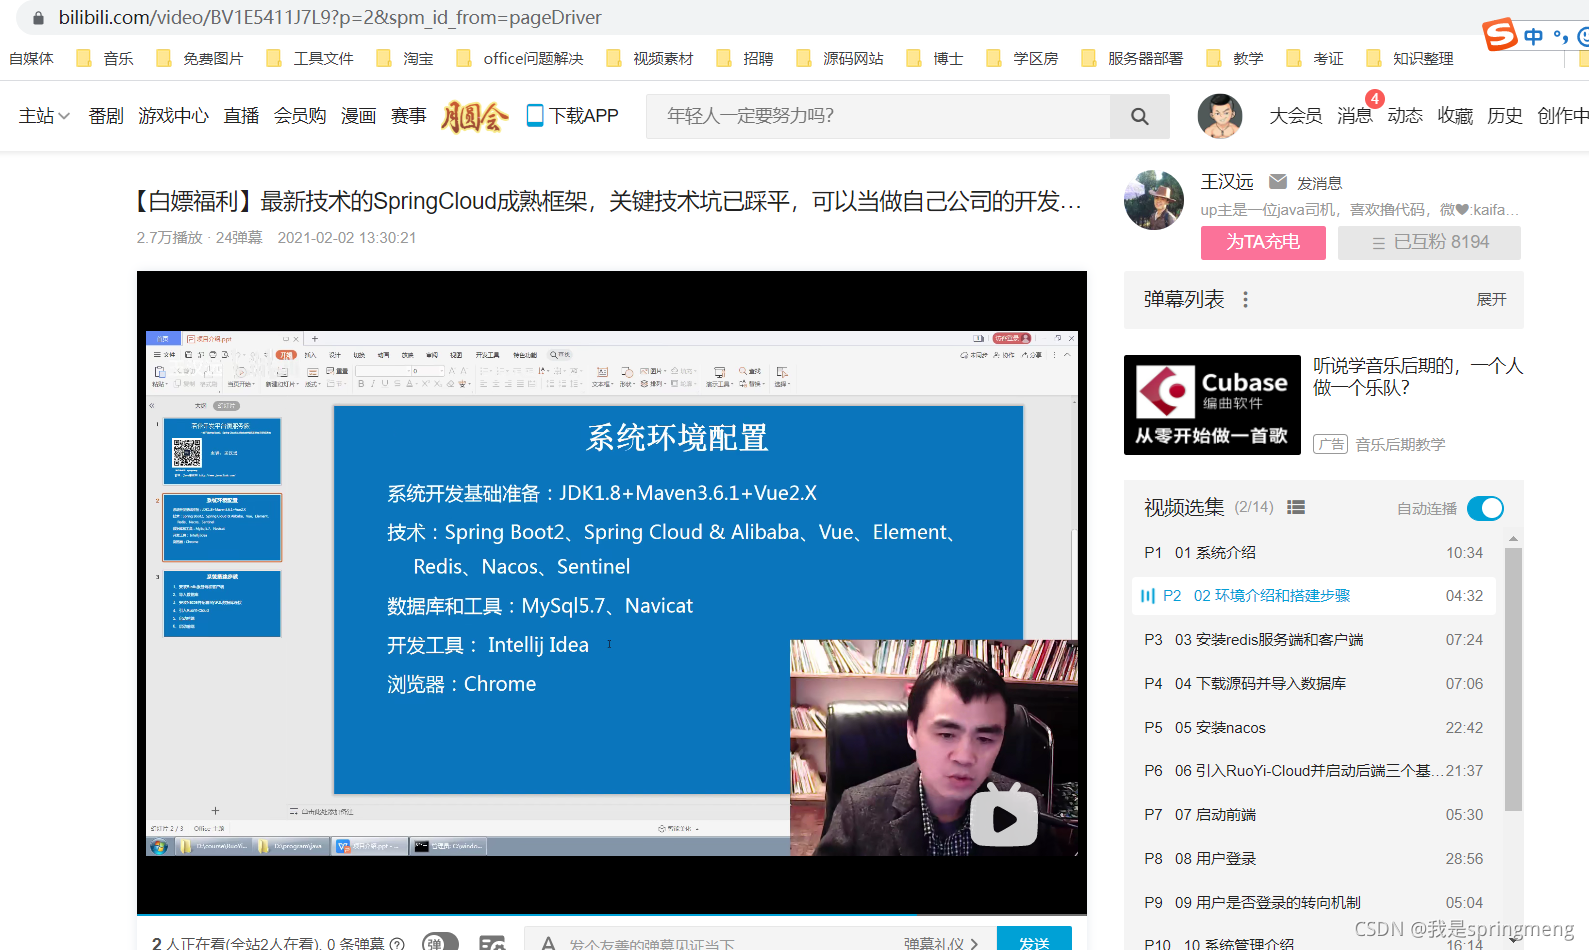
系统的视频教程:
https://www.bilibili.com/video/BV1E5411J7L9?p=2&spm_id_from=pageDriver
1.3、安装Nacos并配置MySQL数据库连接
Nacos中文文档地址:
https://nacos.io/zh-cn/docs/quick-start.html
![[外链图片转存失败,源站可能有防盗链机制,建议将图片保存下来直接上传(img-479nF3mt-1631055968561)(images\02.png)]](https://img-blog.csdnimg.cn/17a0d484e6894b269b49d1c6fa07e8be.png?x-oss-process=image/watermark,type_ZHJvaWRzYW5zZmFsbGJhY2s,shadow_50,text_Q1NETiBA5oiR5pivc3ByaW5nbWVuZw==,size_20,color_FFFFFF,t_70,g_se,x_16)
下载地址:
https://github.com/alibaba/nacos/releases

修改E:\program\nacos-server-1.4.1\nacos\conf\application.properties的第43行如下:
spring.datasource.platform=mysql
db.num=1
db.url.0=jdbc:mysql://localhost:3306/ry-config?characterEncoding=utf8&connectTimeout=1000&socketTimeout=3000&autoReconnect=true&useUnicode=true&useSSL=false&serverTimezone=UTC
db.user=root
db.password=123456

修改E:\program\nacos-server-1.4.1\nacos\bin\startup.cmd,设置启动模式为单机模式

双击startup.cmd启动nacos:

访问地址:http://localhost:8848/nacos
账号nacos密码nacos

1.4、引入RuoYi-Cloud
[外链图片转存失败,源站可能有防盗链机制,建议将图片保存下来直接上传(img-HhTUnXBs-1631055968570)(images\08.png)]
maven要配置成本地的路径

maven要使用国内镜像,用aliyun的:
<mirror>
	<id>alimaven</id>
	<name>aliyun maven</name>
	<url>http://maven.aliyun.com/nexus/content/groups/public/</url>
	<mirrorOf>central</mirrorOf>
</mirror>
1.5、启动后端
修改数据库连接信息:

启动后端:
打开运行基础模块(启动没有先后顺序)
- RuoYiGatewayApplication (网关模块 必须)
- RuoYiAuthApplication (认证模块 必须)
- RuoYiSystemApplication (系统模块 必须)
- RuoYiMonitorApplication (监控中心 可选)
- RuoYiGenApplication (代码生成 可选)
- RuoYiJobApplication (定时任务 可选)
- RuoYFileApplication (文件服务 可选)
启动三个基础模块:

在Nacos里显示已经启动的三个基础模块:

1.6、启动前端
# 进入项目目录
cd ruoyi-ui

# 安装依赖
npm install

# 强烈建议不要用直接使用 cnpm 安装,会有各种诡异的 bug,可以通过重新指定 registry 来解决 npm 安装速度慢的问题。
npm install --registry=https://registry.npm.taobao.org

# 本地开发 启动项目
npm run dev

打开浏览器,输入:(http://localhost ) 默认账户/密码 admin/admin123)
若能正确展示登录页面,并能成功登录,菜单及页面展示正常,则表明环境搭建成功
2、nginx配置
启动nginx:直接双击nginx.exe
重启nginx:nginx -s reload
杀死nginx: taskkill /f /t /im nginx.exe
/conf/nginx.conf修改如下:
worker_processes  1;

events {
    worker_connections  1024;
}

http {
    include       mime.types;
    default_type  application/octet-stream;
    sendfile        on;
    keepalive_timeout  65;
    server {
        listen       80;
        server_name  localhost;

        location / {
            root   D:/course/RuoYi-Cloud/code/RuoYi-Cloud/ruoyi-ui/dist;
            try_files $uri $uri/ /index.html;
            index  index.html index.htm;
        }

        location /prod-api/{
            proxy_set_header Host $http_host;
            proxy_set_header X-Real-IP $remote_addr;
            proxy_set_header REMOTE-HOST $remote_addr;
            proxy_set_header X-Forwarded-For $proxy_add_x_forwarded_for;
            proxy_pass http://localhost:8080/;
        }

        error_page   500 502 503 504  /50x.html;
        location = /50x.html {
            root   html;
        }
    }
 }
有的小伙伴喜欢看文档,有的小伙伴喜欢看视频教程:
https://www.bilibili.com/video/BV1E5411J7L9?p=2&spm_id_from=pageDriver
搞完这个项目,面试再也不怕问:说下你微服务的经验?
我是小孟,记得点个赞支持下,谢了!
想联系我,可以去主页。
小伙伴们点赞、收藏、评论,一键三连走起呀,下期见~~**

Recommend
About Joyk
Aggregate valuable and interesting links.
Joyk means Joy of geeK