

How to Publish Python package at PyPi using Twine module?
source link: https://www.geeksforgeeks.org/how-to-publish-python-package-at-pypi-using-twine-module/
Go to the source link to view the article. You can view the picture content, updated content and better typesetting reading experience. If the link is broken, please click the button below to view the snapshot at that time.

Python is so flexible and easy to use because of its available packages that are hosted on pypi.org, Let’s see how to publish your own package on PyPi using Twine module.
Requirements:
- You must have account of pypi.org, if don’t create an account
- The twine library is created to simplify uploading packages in pypi. To install twine library.
pip install twine
- Get your package ready.
Steps to publish package:
Step 1: Prepare and organize the package
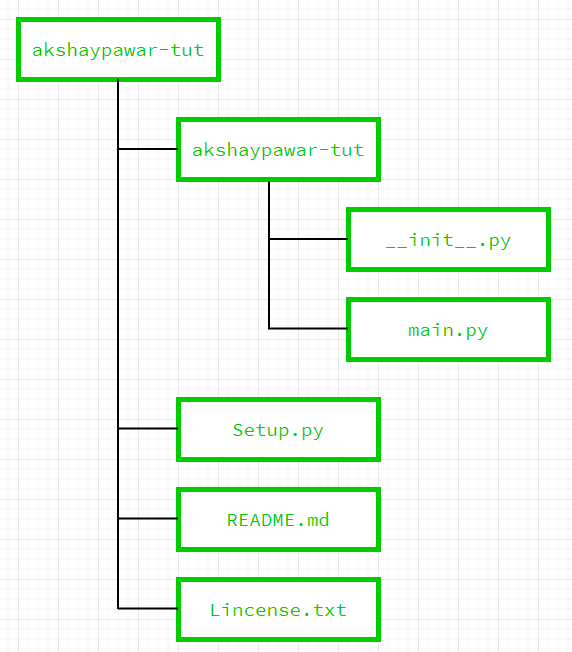
- Create a folder name must be same as package name. (Ensure that the name of your package does not pre-exist in PyPi)
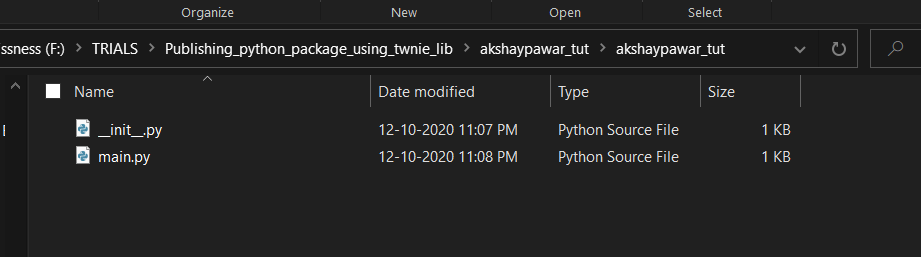
- Inside this create another folder with same name or same package name, inside that put all the .py files with a single compulsorily __init__.py file and all folders/programs must be imported in __init__.py .
- Now outside of programs folder and inside the root folder, Setup.py file, README.md file and Liscense.txt file must be created. Below is the flow diagram of the hierarchy:
For the sub-folder akshaypawar-tut:

Step 2: Creating README.md file
The .md files are mark down files just as markup languages, it has it’s own syntax,it is used as a User-Friendly Readme file which will be displayed on home page.
You may use extensions for VS Code or any online editors like https://dillinger.io/ to create Readme.md .
Step3: Creating License.txt file
Your package must have license, If you don’t have any concern to sharing it all over world you may use License.txt. If your package has policies you may use any online license maker website like https://choosealicense.com/ .
Step 4: Create Setup.py File
Your package must have a Setup.py file as it’s one of binding component of package, It describes dependencies of the package and author version, etc.
Below is the code for general Setup.py . One needs to use their own credentials.
- Python3
import setuptoolswith open("README.md", "r") as fh:long_description = fh.read()setuptools.setup(# Here is the module name.name="akshaypawar_tut",# version of the moduleversion="0.0.1",# Name of Authorauthor="Akshay Pawar",# your Email address# #Small Description about module# description="adding number",# long_description=long_description,# Specifying that we are using markdown file for descriptionlong_description=long_description,long_description_content_type="text/markdown",# Any link to reach this module, ***if*** you have any webpage or github profile# url="https://github.com/username/",packages=setuptools.find_packages(),# if module has dependecies i.e. if your package rely on other package at pypi.org# then you must add there, in order to download every requirement of package# install_requires=[# "package1",# "package2",# ],license="MIT",# classifiers like program is suitable for python3, just leave as it is.classifiers=["Programming Language :: Python :: 3","License :: OSI Approved :: MIT License","Operating System :: OS Independent",],)Step 5: Final Stage
Here you have to create account on pypi.org also we will be using twine library. The whole package is uploaded in the form of .dist file.
To create .dist file use command:
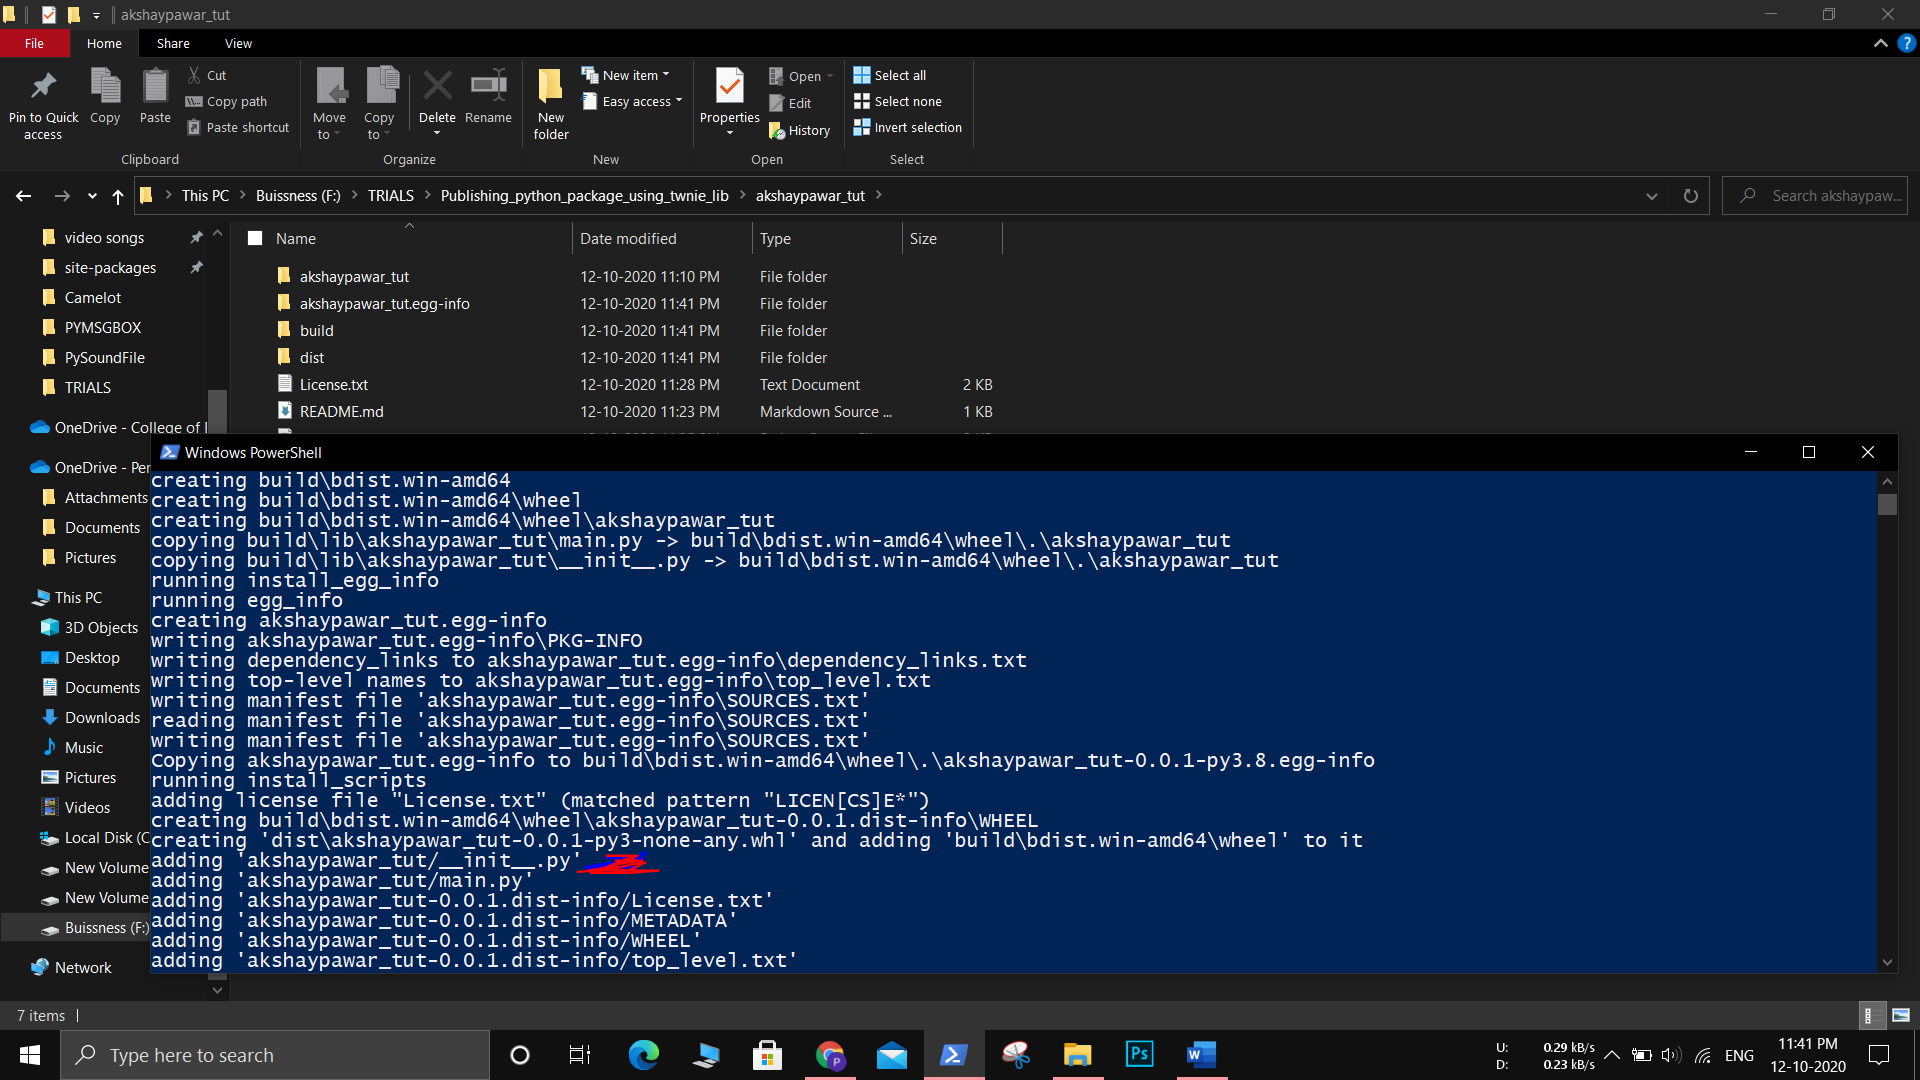
# Windows
python setup.py bdist_wheel
# Linux/Mac
python3 setup.py bdist_wheel
You will observe this message on Powershell when the above commands are executed.
Now our binary .dist file is created, now we need to upload it using the below command:
twine upload dist/*
Enter the required credentials regarding pypi.org account and the package will be uploaded.
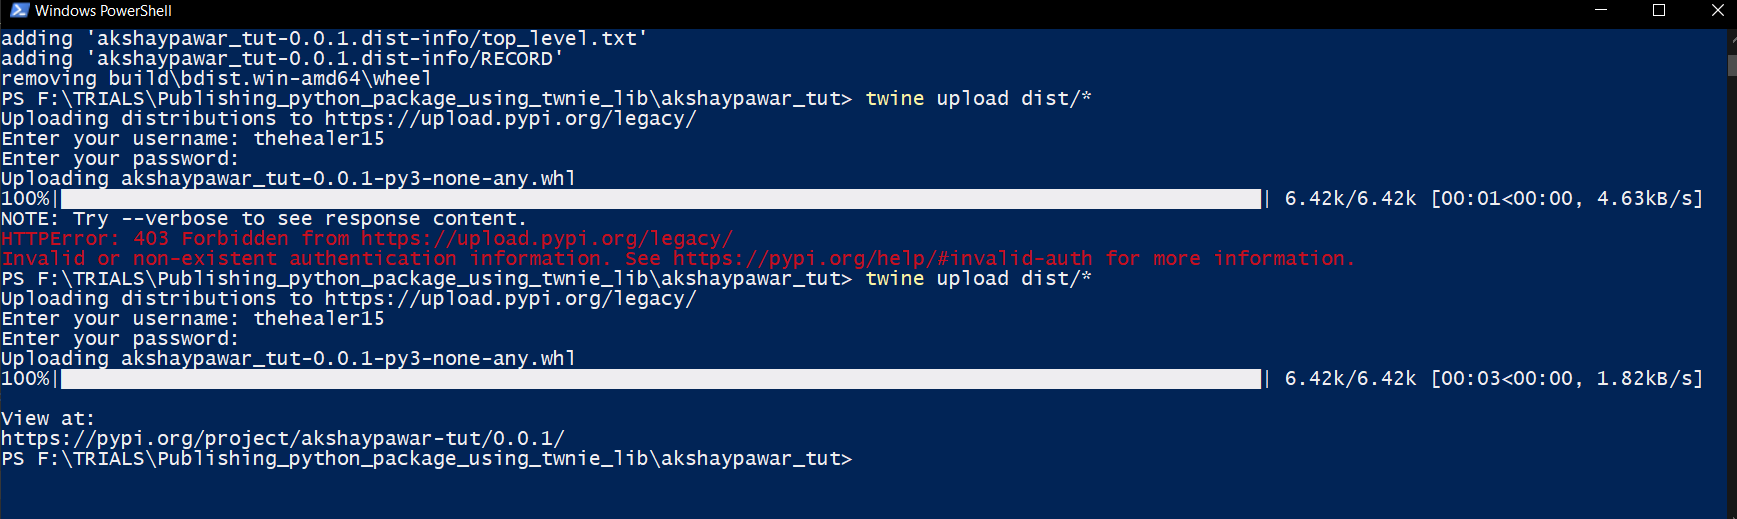
After successful upload you will get a link of your project and all the details
Click here to see the uploaded package discussed in the article.
Attention geek! Strengthen your foundations with the Python Programming Foundation Course and learn the basics.
To begin with, your interview preparations Enhance your Data Structures concepts with the Python DS Course. And to begin with your Machine Learning Journey, join the Machine Learning – Basic Level Course
Recommend
About Joyk
Aggregate valuable and interesting links.
Joyk means Joy of geeK