

教你使用Unity实现录屏生成GIF的功能,录个妹子跳舞的GIF吧
source link: https://blog.csdn.net/linxinfa/article/details/118054075
Go to the source link to view the article. You can view the picture content, updated content and better typesetting reading experience. If the link is broken, please click the button below to view the snapshot at that time.

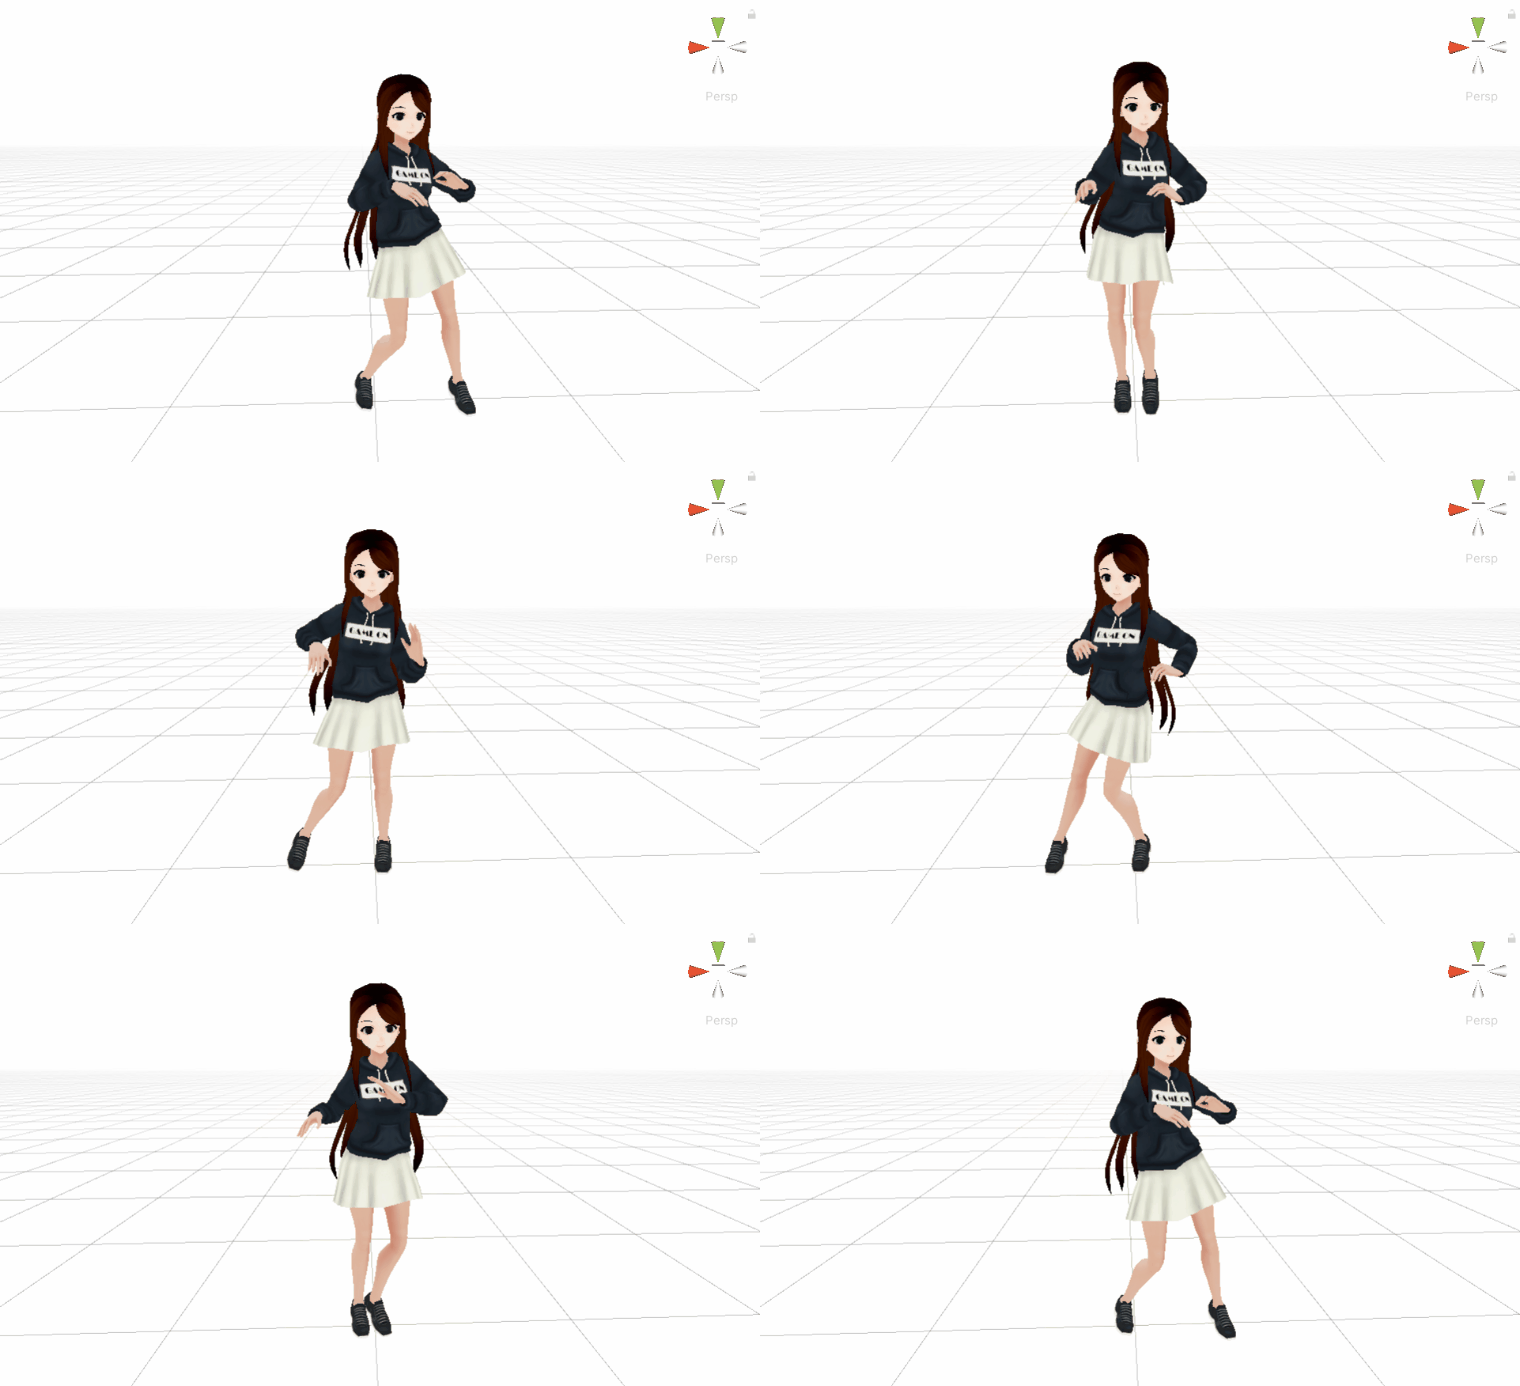
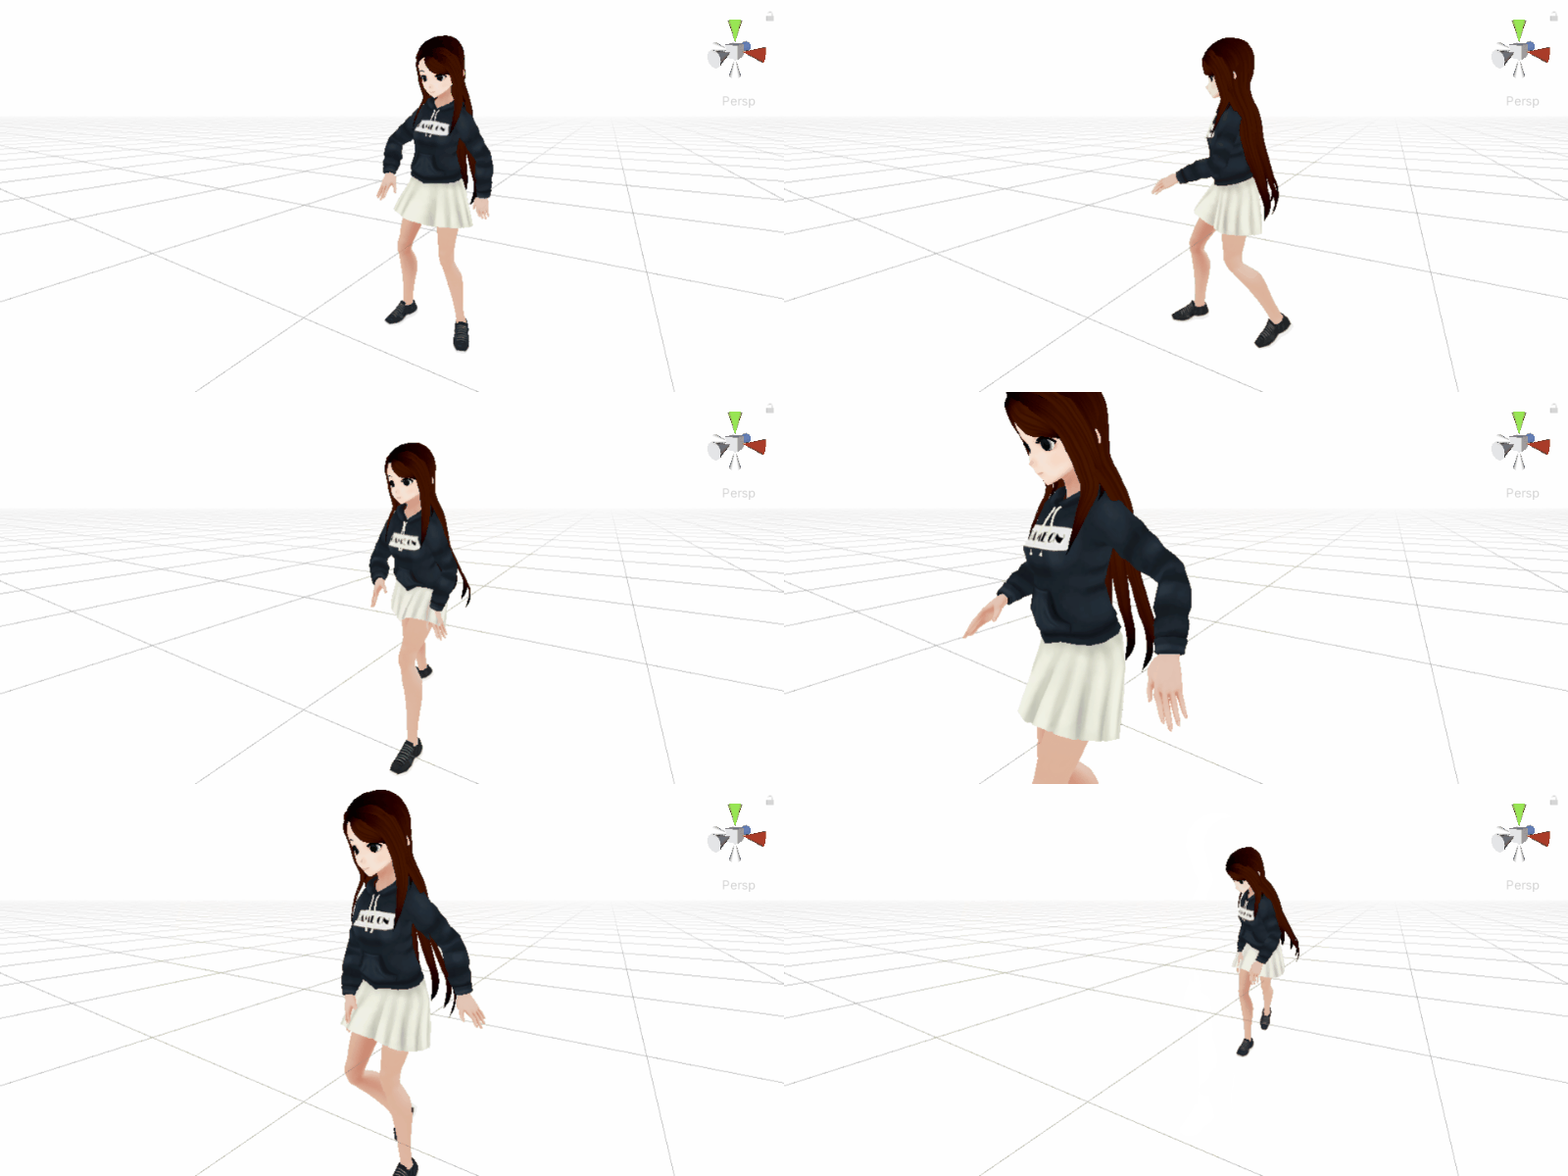
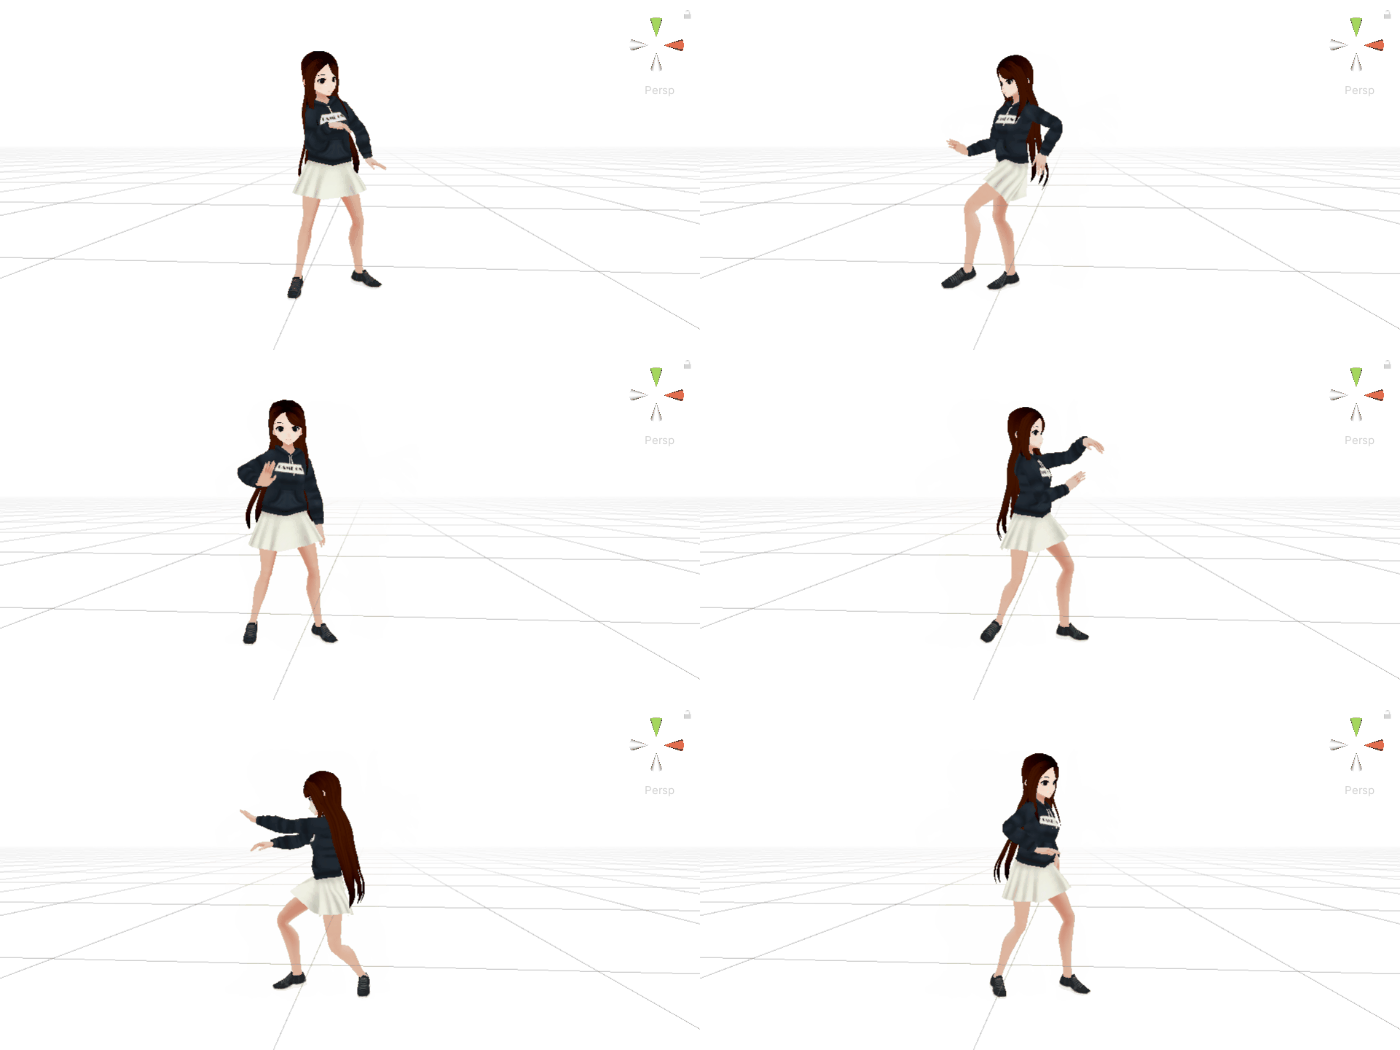
嗨,大家好,我是新发。
昨天有同学私信我问我如何在Unity中实现录屏的功能,
作为一个热心的博主,我今天就来实现这个功能吧,希望可以帮到这位同学~
二、思考与解决方案
首先思考一下,要实现录屏功能,我们需要先思考这两个问题:
1 如何获取屏幕图像信息?
2 这些屏幕图像如何采样并保存为可播放格式的文件呢?
2、解决方案
2.1、问题一的解决方案
先回答第一个问题,如何获取屏幕图像信息?
最好先了解一下Unity的渲染流程,我这里简单啰嗦几句。
我们游戏画面的最终的呈现是由CPU与GPU相互配合运算产生的效果,这个过程是一个流水线的模式,也称之为渲染流水线,我们可将其分为三个阶段:应用程序阶段、几何阶段、光栅化阶段,画成图是这样子: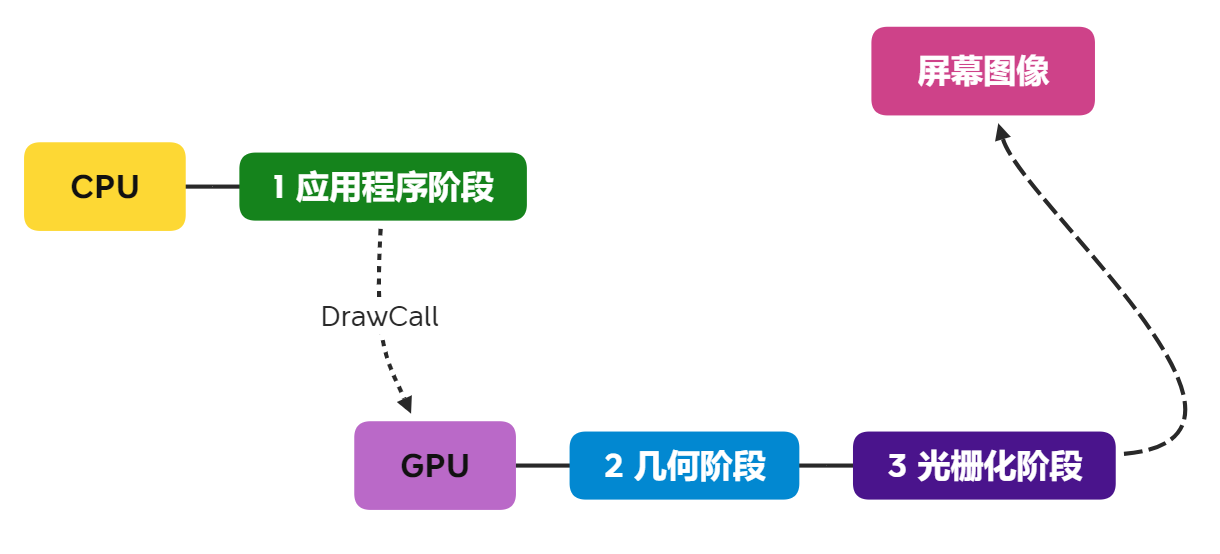
在最后一步屏幕图像这里,Unity提供了后处理回调接口给开发者:OnRenderImage回调。
关于后处理我之前写了一篇演示的文章,感兴趣的同学可以看看:https://blog.csdn.net/linxinfa/article/details/108283232OnRenderImage接口如下:
// 注:OnRenderImage是Mono的函数,需要放在MonoBehaviour的脚本中
void OnRenderImage(RenderTexture source, RenderTexture dest)
Unity会把当前渲染的图像存储在source纹理中,我们可以使用Graphics.Blit和特定的Shader对当前图像进行处理,再把dest显示在屏幕上。Graphics.Blit函数模型如下,它的功能就是使用着色器将源纹理复制到目标渲染纹理上。
// Graphics.cs
public static void Blit (Texture source, RenderTexture dest);
public static void Blit (Texture source, RenderTexture dest, Material mat, int pass= -1);
public static void Blit (Texture source, Material mat, int pass= -1);
public static void Blit (Texture source, RenderTexture dest, Vector2 scale, Vector2 offset);
如果不做任何后处理,其实就是直接把source复制到dest上,如下:
void OnRenderImage(RenderTexture source, RenderTexture dest)
{
	Graphics.Blit(source, dest);
}
所以,这个source或dest就是我们要拿的屏幕图像了。
不过,我在测试Graphics.Blit接口的时候,发现了一个秘密,当我通过RenderTexture.GetTemporary获取临时纹理,并Bilt一个null给它,即:
RenderTexture rt = RenderTexture.GetTemporary(with, height, 0);
Graphics.Blit(null, rt);
这样子拿到的rt就是屏幕后备缓冲区的图像了,也就是我们屏幕显示的图像了。
2.2、问题二的解决方案
要把图像帧保存为可播放的格式的文件,我们比较常见的就是视频格式或者GIF格式。如果是保存为视频格式(比如.avi),需要用到OpenCV库:OpenCVSharp,可以在GitHub上找到,
不过,因为我之前对GIF有做过一点点研究,实现起来比较简单,所以我决定保存为GIF格式,不使用OpenCV。
三、撸起袖子开干
1、找个妹子
在做录屏功能之前,我们得先有屏幕内容,嘛,那就找个妹子模型吧。
关于找资源,我之前写了一篇文章:《Unity游戏开发——新发教你做游戏(二):60个Unity免费资源获取网站》,有了这些找资源的渠道,相信足够你平时学习使用了~
我找了下面这个妹子模型,喜欢的可以自行从Asset Store上免费下载:传送门。
不过光有模型不会动,这不行,我们要让她动起来~
2、给妹子加动画
给人物模型加动画,我给大家推荐一个宝藏网站Mixamo:https://www.mixamo.com/Mixamo是Adobe旗下的一个产品,可以上传静态人形模型文件,在网站上绑定人形模板动画,并可以下载绑定动画后的模型文件,可以直接在Unity中使用。
我们点击UPLOAD CHARACTER按钮,上传我们的妹子模型FBX文件。
把.fbx文件拖到如下框框中,

上传成功后,选择你喜欢的动作,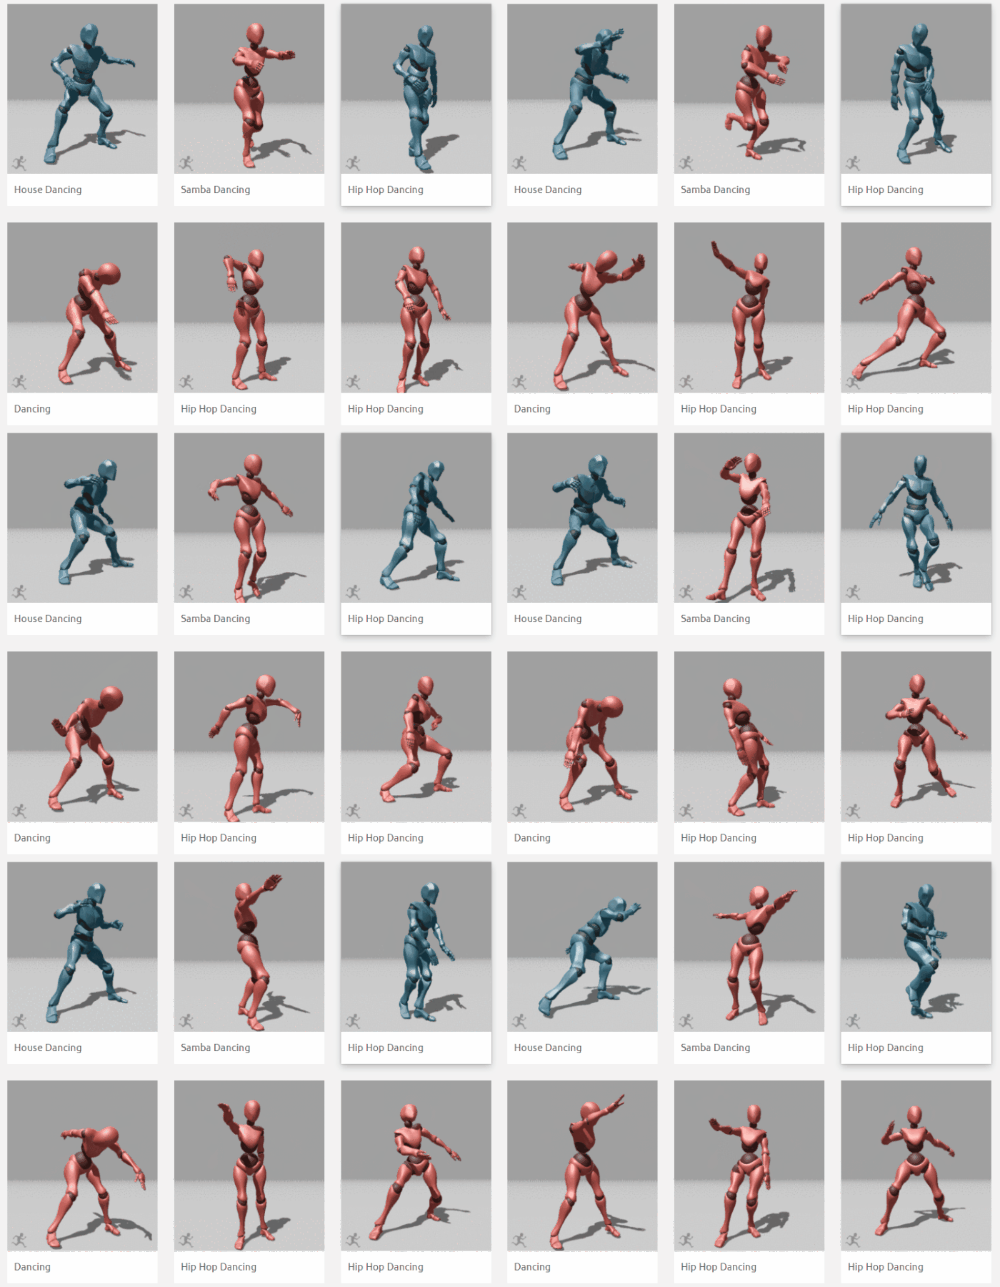
效果如下,这样子看好像有点吓人,
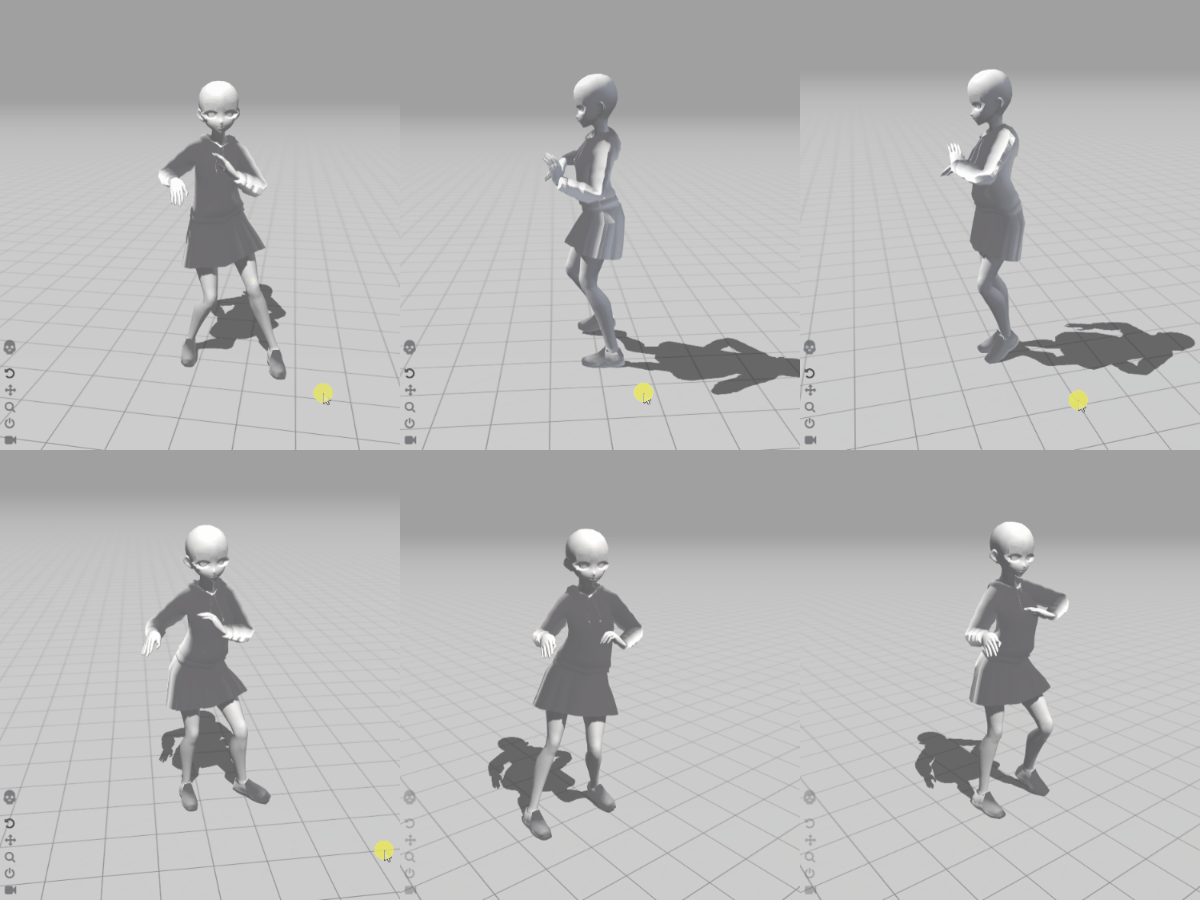
我们点击DOWNLOAD按钮,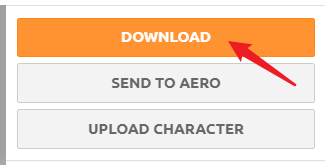
格式选择FBX,Skin选择With Skin,点击DOWNLOAD下载,
把FBX文件导入到Unity工程中,可以看到里面有一个动画文件,
把动画文件拖给我们的模型妹子,
生成的动画状态机如下:
此时我们播放动画会发现这个跳舞动画不会循环播放,我们需要设置一下循环播放,选中动画文件,
点击Edit按钮,
勾选Loop Time,点击Apply按钮,
重新播放动画,可以循环播放了,如下:
可以多试几个舞蹈动作,

3、程序设计
到了写代码的环节了,不过写代码之前,我们先设计一下程序模块,如下:
4、屏幕图像采样:Recorder.cs
我们先从Recorder模块写起,先定义我们需要的成员变量,
// Recorder.cs

public class Recorder : MonoBehaviour
{
   internal enum RecordingState
    {
        OnHold = 0,
        Recording = 1,
    }

    // 录制状态
    internal RecordingState CurrentState;

    /// <summary>
    /// 每秒采样次数
    /// </summary>
    public int captureFrameRate = 20;

    /// <summary>
    /// 最帧数量
    /// </summary>
    public int maxCapturedFrames = 1000;

    /// <summary>
    /// 每秒播放帧数
    /// </summary>
    public int playbackFrameRate = 20;

    /// <summary>
    /// 生成的GIF是否循环播放
    /// </summary>
    public bool loopPlayback = true;

    /// <summary>
    /// 主摄像机
    /// </summary>
    public Camera capturedCamera;


    /// <summary>
    ///  计时器
    /// </summary>
    private float _elapsedTime;

    /// <summary>
    /// 生成的GIF尺寸与原图的尺寸比例
    /// </summary>
    private static double RESIZE_RATIO = 0.5;

    /// <summary>
    /// 生成的GIF ID
    /// </summary>
    private string _captureId;
    /// <summary>
    /// GIF保存路径
    /// </summary>
    private string _resultFilePath;

    /// <summary>
    /// 生成的GIF保存文件夹
    /// </summary>
    private const string GeneratedContentFolderName = "GifOutput";

    /// <summary>
    /// 录制协程
    /// </summary>
    private Coroutine _recordCoroutine;
	// ...
}
用协程实现屏幕图像采样,
/// <summary>
/// 运行录制
/// </summary>
/// <returns></returns>
IEnumerator RunRecord()
{
    while (true)
    {
        yield return new WaitForEndOfFrame();
        _elapsedTime += Time.unscaledDeltaTime;
        if (_elapsedTime >= 1.0f / captureFrameRate)
        {
            _elapsedTime = 0;
            RenderTexture rt = GetTemporaryRenderTexture();
            Graphics.Blit(null, rt);
            // TODO 将rt存到帧队列中

        }
    }
}

// 获取临时渲染纹理
private RenderTexture GetTemporaryRenderTexture()
{
    var rt = RenderTexture.GetTemporary(capturedCamera.pixelWidth, capturedCamera.pixelHeight, 0, RenderTextureFormat.ARGB32);
    rt.wrapMode = TextureWrapMode.Clamp;
    rt.filterMode = FilterMode.Bilinear;
    rt.anisoLevel = 0;
    return rt;
}
上面RenderTexture.GetTemporary是获取临时渲染纹理,因为每次使用的纹理尺寸是一样的,我们不需要每次重复构建纹理对象,可以利用Unity提供给我们的临时渲染纹理来重复使用,这样可以提升性能。
给这张临时纹理Blit一个null,即Graphics.Blit(null, rt);,此时rt就是屏幕图像了。
开始录制和停止录制就是开启协程和停止协程,
/// <summary>
/// 开始录制
/// </summary>
public void StartRecord()
{
    _recordCoroutine = StartCoroutine(RunRecord());
}

/// <summary>
/// 停止录制
/// </summary>
public void StopRecord()
{
    StopCoroutine(_recordCoroutine);
}
5、帧队列缓存:StoreWorker.cs
先定义下针对列缓存的成员,最关键的就是队列变量StoredFrames,
/// <summary>
/// 帧队列缓存
/// </summary>
public sealed class StoreWorker
{
	// 帧队列
    public FixedSizedQueue<GifFrame> StoredFrames { get; private set; }

    internal static StoreWorker Instance
    {
        get { return _instance ?? (_instance = new StoreWorker()); }
    }

    private static StoreWorker _instance;
}
实现塞入帧数据的接口,如下:
/// <summary>
/// 缓存帧数据到队列中
/// </summary>
/// <param name="renderTexture"></param>
/// <param name="resizeRatio"></param>
internal void StoreFrame(RenderTexture renderTexture, double resizeRatio)
{
    var newWidth = Convert.ToInt32(renderTexture.width * resizeRatio);
    var newHeight = Convert.ToInt32(renderTexture.height * resizeRatio);
    renderTexture.filterMode = FilterMode.Bilinear;

    var resizedRenderTexture = RenderTexture.GetTemporary(newWidth, newHeight);
    resizedRenderTexture.filterMode = FilterMode.Bilinear;

    RenderTexture.active = resizedRenderTexture;
    Graphics.Blit(renderTexture, resizedRenderTexture);

    // 转化为Texture2D
    var resizedTexture2D =
        new Texture2D(newWidth, newHeight, TextureFormat.RGBA32, false)
        {
            hideFlags = HideFlags.HideAndDontSave,
            wrapMode = TextureWrapMode.Clamp,
            filterMode = FilterMode.Bilinear,
            anisoLevel = 0
        };

    resizedTexture2D.ReadPixels(new Rect(0, 0, newWidth, newHeight), 0, 0);
    resizedTexture2D.Apply();
    RenderTexture.active = null;

    var frame = new GifFrame
    {
        Width = resizedTexture2D.width,
        Height = resizedTexture2D.height,
        Data = resizedTexture2D.GetPixels32()
    };

    resizedRenderTexture.Release();
    Object.Destroy(resizedTexture2D);

    StoredFrames.Enqueue(frame);
}
其中,GifFrame为帧数据结构,如下:
public class GifFrame
{
	public int Width;
	public int Height;
	public Color32[] Data;
}
我们要把采样的图像RenderTexture转成Color32[],上面用到的方法是先把采样的RenderTexture赋值给RenderTexture.active,然后构建Texture2D对象,通过ReadPixels方法读取像素,最后再通过GetPixels32方法得到Color32[],画成图是这样子:
6、生成GIF:GeneratorWorker.cs
生成GIF需要一些运算时间,为了不卡住主线程,我们使用Thread线程来处理。
internal sealed class GeneratorWorker
{
	private readonly Thread _thread;

	internal GeneratorWorker(...)
	{
		// ...
		_thread = new Thread(Run) { Priority = priority };
	}

	internal void Start()
	{
		// ...
         _thread.Start();
	}

	private void Run()
	{
		// TODO 开始执行
	}
}
核心的运算模块是GifEncoder,我们通过它来编码生成GIF文件,
// ...
private GifEncoder _encoder;

private void Run()
{
    var startTimestamp = DateTime.Now;
    _encoder.Start(_filePath);
    _encoder.BuildPalette(ref _capturedFrames);
    for (int i = 0; i < _capturedFrames.Count(); i++)
    {
        _encoder.AddFrame(_capturedFrames.ElementAt(i));
    }
    _encoder.Finish();
    Debug.Log("GIF生成完毕,耗时: " + (DateTime.Now - startTimestamp).Milliseconds + " 毫秒");
    _onFileSaved?.Invoke();
}
这个GIF编码器GifEncoder就是按照GIF的编码格式进行写入即可。
比如,GIF文件的头部标识(header)为GIF89a,
所以要给头部写入对应的字节:
WriteString("GIF89a");

protected void WriteString(String s)
{
    char[] chars = s.ToCharArray();

    for (int i = 0; i < chars.Length; i++)
        m_FileStream.WriteByte((byte)chars[i]);
}
补充一下其他二进制格式的头部标识:
封装其他写入的接口:
protected void WriteGraphicCtrlExt()
{
    m_FileStream.WriteByte(0x21); // Extension introducer
    m_FileStream.WriteByte(0xf9); // GCE label
    m_FileStream.WriteByte(4);    // Data block size

    // Packed fields
    m_FileStream.WriteByte(Convert.ToByte(0 |     // 1:3 reserved
                                          0 |     // 4:6 disposal
                                          0 |     // 7   user input - 0 = none
                                          0));    // 8   transparency flag

    WriteShort(m_FrameDelay); // Delay x 1/100 sec
    m_FileStream.WriteByte(Convert.ToByte(0)); // Transparent color index
    m_FileStream.WriteByte(0); // Block terminator
}

// Writes Image Descriptor.
protected void WriteImageDesc()
{
    m_FileStream.WriteByte(0x2c); // Image separator
    WriteShort(0);                // Image position x,y = 0,0
    WriteShort(0);
    WriteShort(m_Width);          // image size
    WriteShort(m_Height);

    // Packed fields
    if (m_IsFirstFrame)
    {
        m_FileStream.WriteByte(0); // No LCT  - GCT is used for first (or only) frame
    }
    else
    {
        // Specify normal LCT
        m_FileStream.WriteByte(Convert.ToByte(0x80 |           // 1 local color table  1=yes
                                              0 |              // 2 interlace - 0=no
                                              0 |              // 3 sorted - 0=no
                                              0 |              // 4-5 reserved
                                              m_PaletteSize)); // 6-8 size of color table
    }
}

// Writes Logical Screen Descriptor.
protected void WriteLSD()
{
    // Logical screen size
    WriteShort(m_Width);
    WriteShort(m_Height);

    // Packed fields
    m_FileStream.WriteByte(Convert.ToByte(0x80 |           // 1   : global color table flag = 1 (gct used)
                                          0x70 |           // 2-4 : color resolution = 7
                                          0x00 |           // 5   : gct sort flag = 0
                                          m_PaletteSize)); // 6-8 : gct size

    m_FileStream.WriteByte(0); // Background color index
    m_FileStream.WriteByte(0); // Pixel aspect ratio - assume 1:1
}

// Writes Netscape application extension to define repeat count.
protected void WriteNetscapeExt()
{
    m_FileStream.WriteByte(0x21);    // Extension introducer
    m_FileStream.WriteByte(0xff);    // App extension label
    m_FileStream.WriteByte(11);      // Block size
    WriteString("NETSCAPE" + "2.0"); // App id + auth code
    m_FileStream.WriteByte(3);       // Sub-block size
    m_FileStream.WriteByte(1);       // Loop sub-block id
    WriteShort(m_Repeat);            // Loop count (extra iterations, 0=repeat forever)
    m_FileStream.WriteByte(0);       // Block terminator
}

// Write color table.
protected void WritePalette()
{
    m_FileStream.Write(m_ColorTab, 0, m_ColorTab.Length);
    int n = (3 * 256) - m_ColorTab.Length;

    for (int i = 0; i < n; i++)
        m_FileStream.WriteByte(0);
}

// Encodes and writes pixel data.
protected void WritePixels()
{
    LzwEncoder encoder = new LzwEncoder(m_Width, m_Height, m_IndexedPixels, m_ColorDepth);
    encoder.Encode(m_FileStream);
}

// Write 16-bit value to output stream, LSB first.
protected void WriteShort(int value)
{
    m_FileStream.WriteByte(Convert.ToByte(value & 0xff));
    m_FileStream.WriteByte(Convert.ToByte((value >> 8) & 0xff));
}

// Writes string to output stream.
protected void WriteString(String s)
{
    char[] chars = s.ToCharArray();

    for (int i = 0; i < chars.Length; i++)
        m_FileStream.WriteByte((byte)chars[i]);
}
封装添加帧的方法:
public void AddFrame(GifFrame frame)
{
     if ((frame == null))
         throw new ArgumentNullException("Can't add a null frame to the gif.");

     if (!m_HasStarted)
         throw new InvalidOperationException("Call Start() before adding frames to the gif.");

     // Use first frame's size
     if (!m_IsSizeSet)
         SetSize(frame.Width, frame.Height);

     m_CurrentFrame = frame;
     GetImagePixels();
     AnalyzePixels();

     if (m_IsFirstFrame)
     {
         WriteLSD();
         WritePalette();

         if (m_Repeat >= 0)
             WriteNetscapeExt();
     }

     WriteGraphicCtrlExt();
     WriteImageDesc();

     if (!m_IsFirstFrame)
         WritePalette();

     WritePixels();
     m_IsFirstFrame = false;
 }
再封装一个结束的方法,把GIF的结束标识0x3b写入文件末尾,
 public void Finish()
 {
     if (!m_HasStarted)
         throw new InvalidOperationException("Can't finish a non-started gif.");

     m_HasStarted = false;

     try
     {
         m_FileStream.WriteByte(0x3b); // Gif trailer
         m_FileStream.Flush();

         if (m_ShouldCloseStream)
         {
             m_FileStream.Close();
             m_FileStream.Dispose();
         }

     }
     catch (IOException e)
     {
         throw e;
     }

     // Reset for subsequent use
     m_FileStream = null;
     m_CurrentFrame = null;
     m_Pixels = null;
     m_IndexedPixels = null;
     m_ColorTab = null;
     m_ShouldCloseStream = false;
     m_IsFirstFrame = true;
 }
7、UI交互:RecordCtrler.cs
制作下简单的UI,如下:
写下UI交互的脚本,
using UnityEngine;
using UnityEngine.UI;
using ScreenRecorder;

public class RecordCtrler : MonoBehaviour
{
    public Recorder capture;
    public Button btn;
    public Text txt;
    private bool recording = false;

    void Start()
    {
        btn.onClick.AddListener(() =>
        {
            recording = !recording;
            txt.text = recording ? "停止录制" : "开始录制";

            if (recording)
            {
                capture.StartRecord();
            }
            else
            {
                capture.StopRecord();
                // 生成gif
                capture.GenerateGif((gifBytes, gifSavePath) =>
                {
                	Debug.Log("gif生成成功,保存路径:" + gifSavePath);
                    // TODO 分享之类的
                });
            }
        });
    }
}
8、运行测试
给主摄像机添加Recorder组件,设置好参数,
给MainPanel添加RecordCtrler组件,设置好参数,
最后运行Unity,效果如下:
看下生成GIF耗时488毫秒,
生成的GIF文件保存在GifOutput文件夹中:

如下:
四、工程源码
本工程源码已上传到CodeChina,感兴趣的同学可自行下载学习。
地址:https://codechina.csdn.net/linxinfa/ScreenRecordToGif
注:我使用的Unity版本:Unity 2020.1.14f1c1 (64-bit)。

好了,今天就写到这里吧,如果有什么技术上的问题,欢迎留言或私信,我是新发,拜拜~
Recommend
About Joyk
Aggregate valuable and interesting links.
Joyk means Joy of geeK