

Your First Steps with Stream Chat on Android
source link: https://getstream.io/blog/android-chat-first-steps/?
Go to the source link to view the article. You can view the picture content, updated content and better typesetting reading experience. If the link is broken, please click the button below to view the snapshot at that time.

Your First Steps with Stream Chat on Android
In this tutorial, we’ll look at how you can set up an Android project with Stream Chat and initialize the environment of your newly created Stream Chat application.
Márton B.
•7 days ago
Previously, in Get up and Running With Stream Chat, we looked at how to register your organization for Stream Chat, and get an API key and secret for your app. Now it's time to create a new Android project, add the Stream Chat Android SDK to it, and create your first users and channels!
If you'd rather create this data from the command line, take a look at Setting up your Chat environment with Stream CLI.
Enabling dev mode on the dashboard
For the initial development setup, we don't want to deal with user authentication. Go to your Stream dashboard and put your app into development mode by clicking on Options → Edit in the upper right corner.
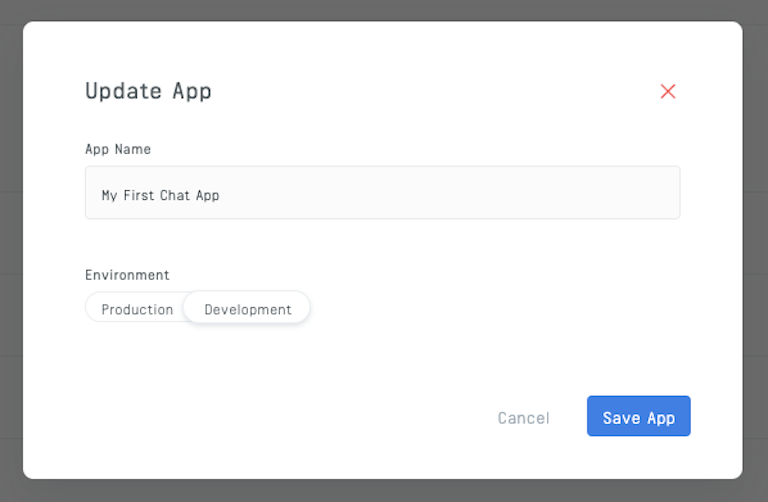
Then, click on the app's name to open the app, and go to the Chat Overview page.
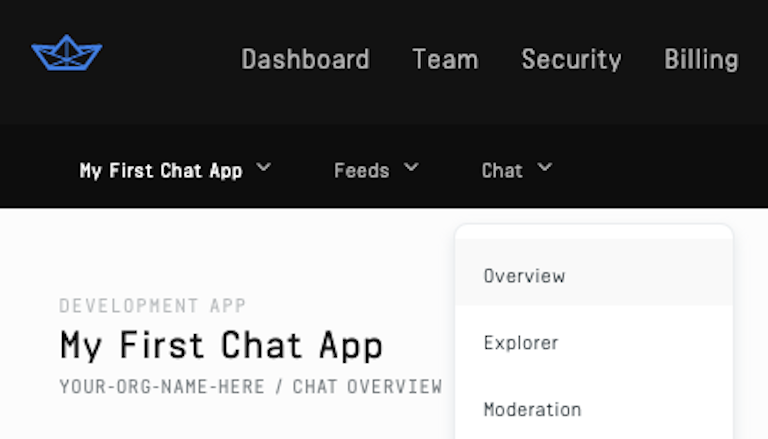
Scroll down to the Authentication section, and flip the Disable Auth Checks toggle on.

This will let you use development tokens generated on the client side for login.
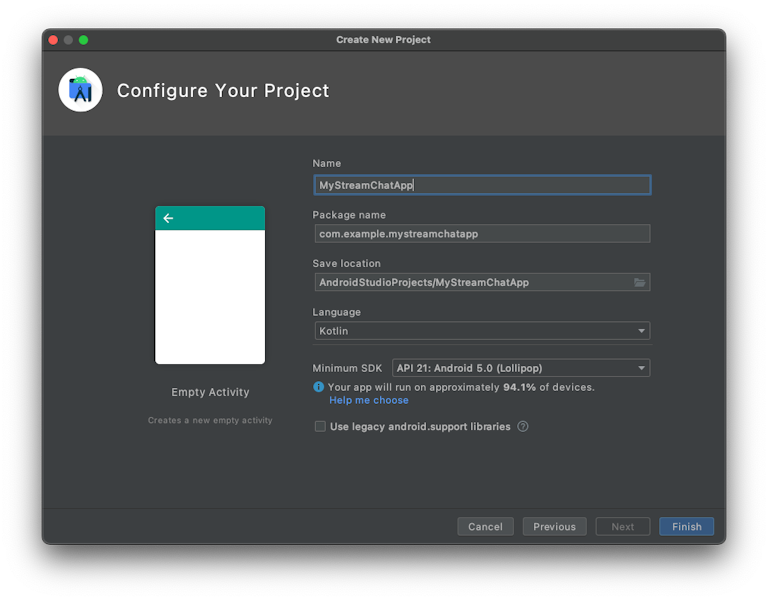
Creating a project
Let's get to the code! Create a new Android Studio project. Make sure to use a min SDK of 21 or higher, and do not use support libraries.
Go to the project level build.gradle file, which contains the list of available repositories. Add the MavenCentral entry to this list:
1allprojects {
2    repositories {
3        ...
4        mavenCentral()
5    }
6}
Then, go to the module level build.gradle file to add the Stream Chat Android dependency:
1dependencies {
2    implementation "io.getstream:stream-chat-android-client:4.8.1"
3}
For the latest available version, see the releases page. This dependency includes only our low-level API client for Android. Check out the GitHub repository for the other available packages, including our fully-featured UI components.
Creating a user with the Android client API
As a first step, you'll have to initialize a ChatClient instance. You'd usually do this in your custom Application class. However, for simplicity, you can put all the code of this tutorial in the onCreate method of MainActivity instead. Just keep in mind that all your actions will be re-executed every time you run the app.
Be sure to replace the API key in this next snippet with your actual API key - you'll find this on the dashboard.
1val client = ChatClient.Builder(apiKey = "bacjxe7af6wr", applicationContext).build()With the client ready, you can proceed to creating your first user. The connectUser call of the SDK is used to establish a connection to the backend, and if the provided user doesn't exist yet, create it. See the Initialization & Users page of the documentation for more details.
At a bare minimum, you have to provide an ID for the user you're creating. It's also a good idea to set a nice display name. Since authentication is disabled, you can use the client.devToken method to generate a valid token for the user's ID.
1client.connectUser(
2    user = User().apply {
3        id = "chandler-bing"
4        name = "Chandler Bing"
5    },
6    token = client.devToken("chandler-bing")
7).enqueue { result ->
8    if (result.isSuccess) {
9        Log.d("User", result.data().user.toString())
10    } else {
11        Log.e("User", result.error().message.toString())
12    }
13}
Run the code above. You should see the details of your newly created user in the logs.
com.example.mystreamchatapp D/User: User(id=chandler-bing, role=user,...)After logging in with a user, you can also create channels using ChatClient, by calling createChannel. You'll have to provide the type of the channel (the simplest one is messaging), an ID, and the list of members to add. Again, it's a good idea to provide a nice display name for the channel, which you can do by including it in the extraData parameter.
(If you don't have all your users created yet, remember that members can also be added later using the addMembers method.)
1client.connectUser(
2    user = User().apply {
3        id = "joey-tribbiani"
4        name = "Joey Tribbiani"
5    },
6    token = client.devToken("joey-tribbiani")
7).enqueue { result ->
8    if (result.isSuccess) {
9        Log.d("User", result.data().user.toString())
10
11        client.createChannel(
12            channelType = "messaging",
13            channelId = "apartment-19",
14            members = listOf("chandler-bing", "joey-tribbiani"),
15            extraData = mapOf("name" to "Apartment 19")
16        ).enqueue { channelResult ->
17            if (channelResult.isSuccess) {
18                Log.d("Channel", channelResult.data().toString())
19            } else {
20                Log.e("Channel", channelResult.error().message.toString())
21            }
22        }
23    } else {
24        Log.e("User", result.error().message.toString())
25    }
26}
Pro tip: if you use coroutines, you can await() these calls instead of using enqueue(), which prevents having to nest callbacks.
Again, you can confirm that this worked by looking at the logs:
com.example.mystreamchatapp D/User: User(id=joey-tribbiani, role=user, ...)
com.example.mystreamchatapp D/Channel: Channel(cid=messaging:apartment-19, ...)
Checking your app state on the dashboard
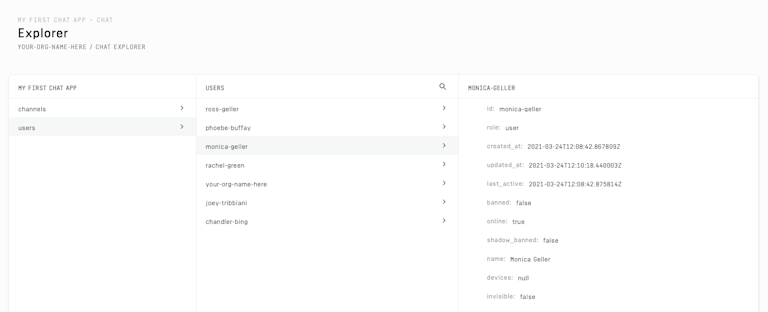
Having completed the previous steps, you should now have some users and channels available in your Stream Chat app. You can go to the Explorer page of the dashboard to check these out.
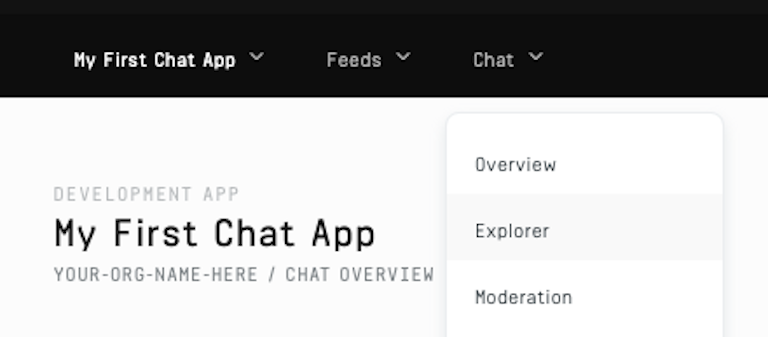
Here, you'll be able to list your users and their details.
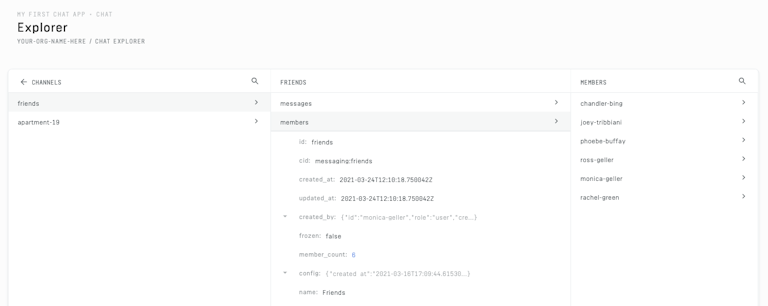
You also see the list of available channels, and you can dig down into the members inside an individual channel to see that you've correctly added your users to them.
Using your custom details in the sample app
With all of this set up, you can use the UI components sample app to log in with your custom details and start chatting. To try the sample app, clone the Stream Chat Android repository, open the project in Android Studio, and run the app in the stream-chat-ui-components-sample module.
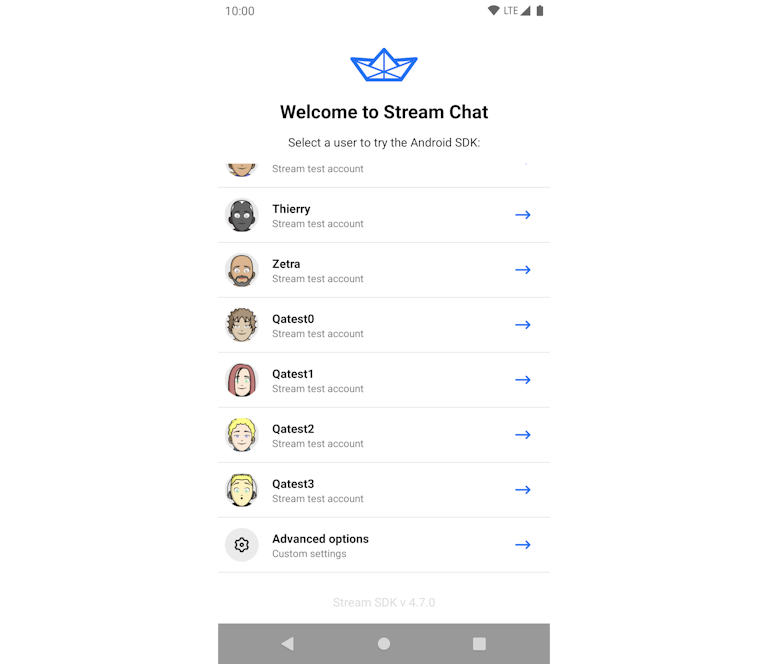
On the login page, scroll down to the bottom, and choose Advanced options.
Here, you'll have to provide your API key, user ID, user token, and a display name. To get a user token, you can use the token generator, where you have to provide your app's secret and the user ID you want to generate a token for.
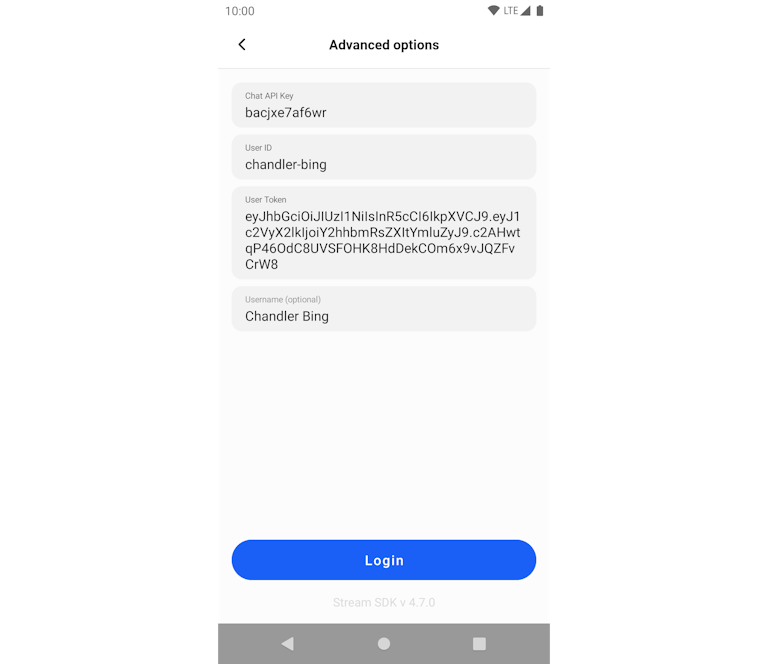
After logging in with these four pieces of information, you'll now see the list of channels that the user is a member of, and can start sending messages!

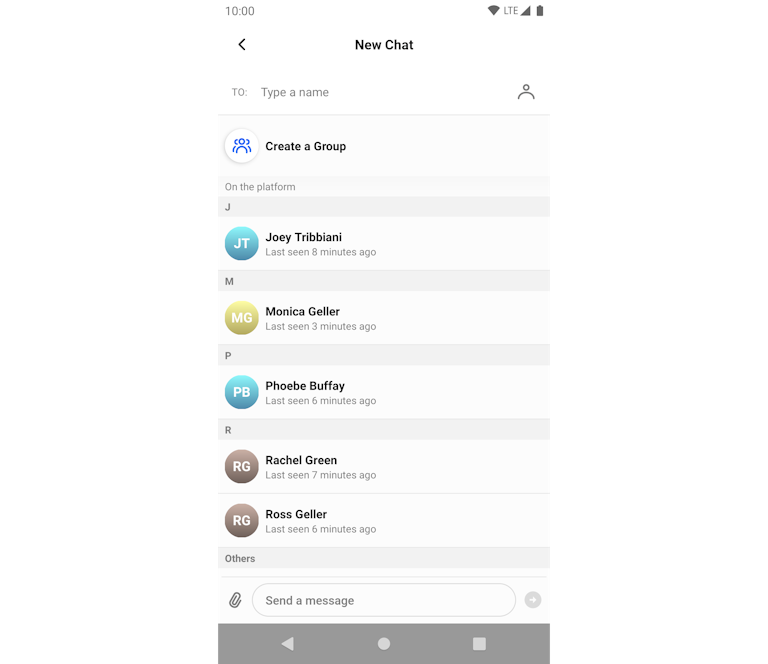
You can also use the Create chat button in the top right corner to create new channels, browsing from the users available in the app.
Log in on multiple devices with different users to really see Stream Chat in action.
Note: you can come up with a new user ID, put it in the token generator, and then use those details to log in to the sample app. If you're in dev mode, the new user will be created for you, as the sample app performs the same connectUser call that you've been using manually.
Conclusion
With your environment set up, you can also use your own details in the Android Chat tutorial at this point, if you want to build up a basic chat UI step-by-step.
As an alternative to setting up from the Android client, you can also perform most of these steps from the CLI. Check out Setting up your Chat environment with the Stream CLI tool to learn more about that.
To learn more about our Android SDK, check out the official documentation. If you're interested in Jetpack Compose, take a look at our article about building a chat app with it.
Recommend
About Joyk
Aggregate valuable and interesting links.
Joyk means Joy of geeK