

基于 Vue 的商品主图放大镜方案
source link: https://www.zoo.team/article/vue-item-magnifier
Go to the source link to view the article. You can view the picture content, updated content and better typesetting reading experience. If the link is broken, please click the button below to view the snapshot at that time.
基于 Vue 的商品主图放大镜方案
2019-09-18 发布于 基础知识 · 阅读量:1536
责任小编:猴哥
在做电商类应用时,难免会遇到商品主图实现放大镜效果的场景,现有的基于Vue的第三方包不多并且无法直接复用,今天,我来分享一种高稳定性的基于 Vue 的图片放大镜方法。
放大镜的原理用一句话概括,就是根据小图上的鼠标位置去定位大图。
图1 原理图(以2倍放大为例)
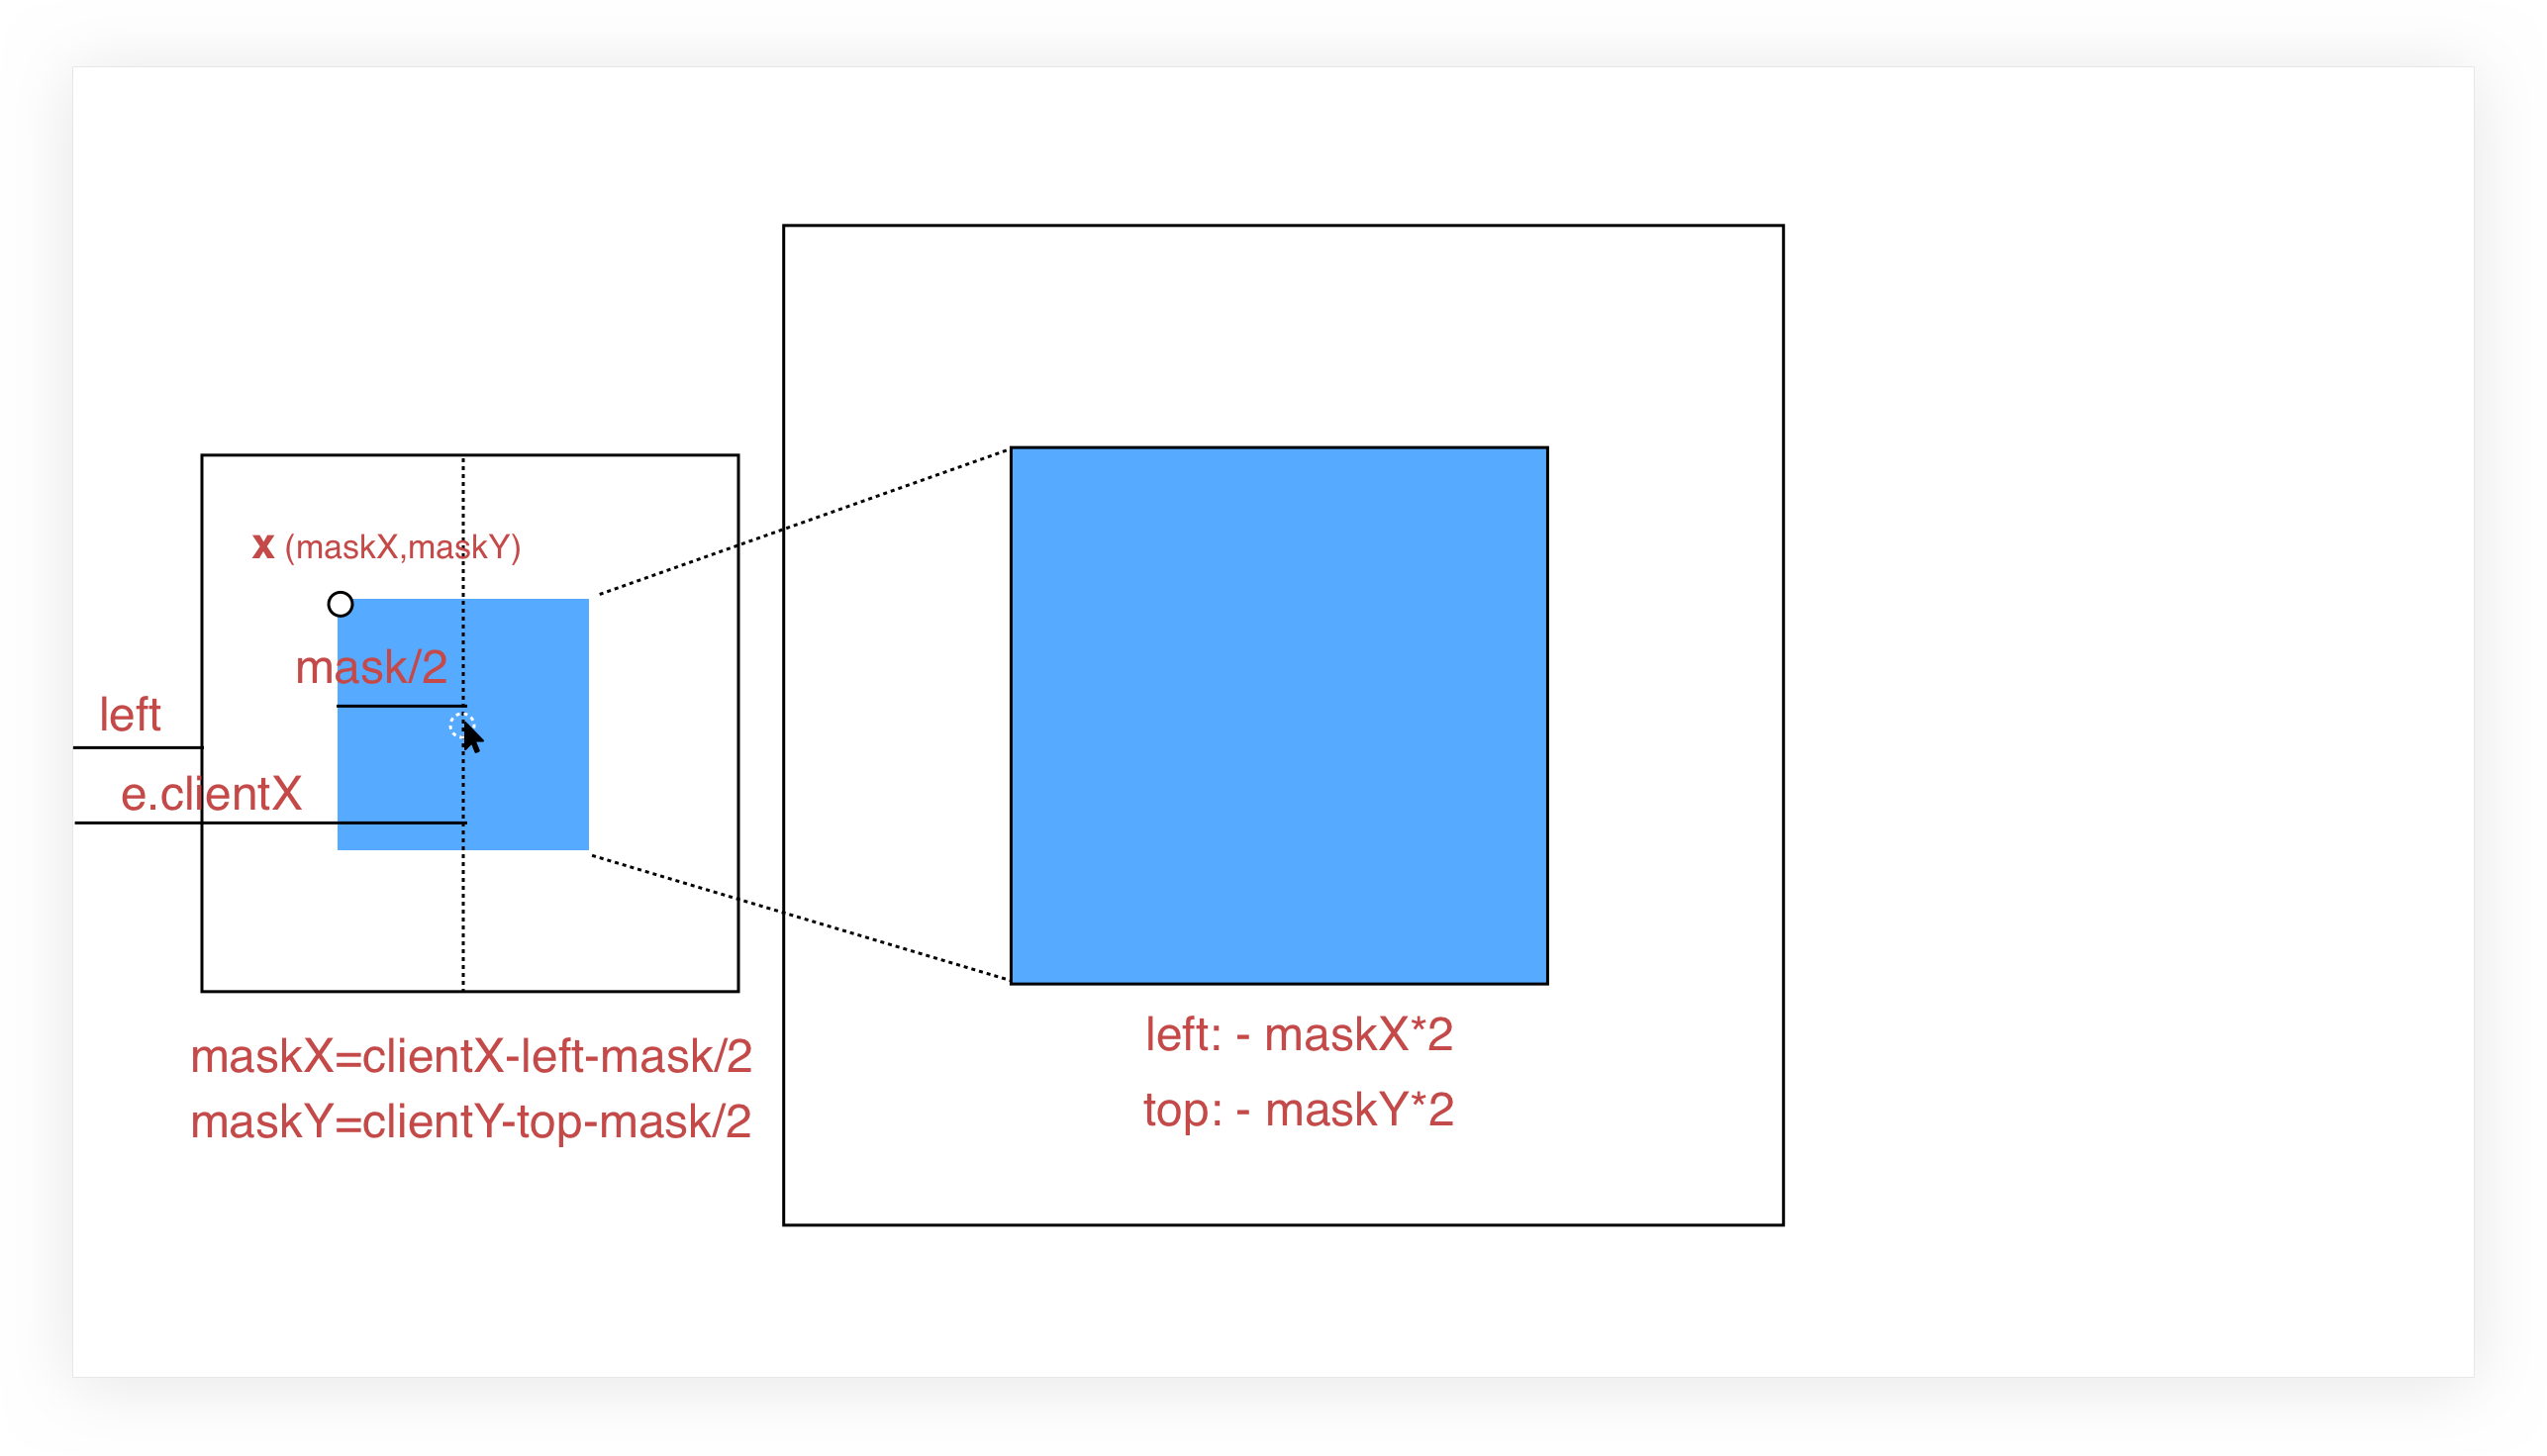
相信原理图已经画的很明白了, 图中,左侧框是小图框,其蓝色区域为图片遮罩层(需放大区域),右侧框是整个大图目前所在区域,其蓝色区域是放大区域,设置超出隐藏,就实现了放大遮罩区域的效果。
显然,两块蓝色区域存在着某种对应关系,即遮罩的左上角位置(相对于小图,以下称 X 坐标)和放大区域(相对于大图)的左上角位置是成比例的,即放大倍数。计算出 X 坐标后,适当调整背景图的位置,使大图向反方向移动 scale 倍的 X 坐标即可。
X 坐标为(maskX,maskY),以计算 maskX 为例:
鼠标移动中会产生 e.clientX ,标识鼠标与浏览器左侧的距离,小图与浏览器左侧的距离是 left ,由于遮罩始终是一个以鼠标为中心的正方形,所以:
maskX = e.clientX - left - mask/2
maskY = e.clientY - top - mask/2
大图的对应样式设置为:
  left: - maskX * scale + 'px';
  top: - maskY * scale + 'px';
图2 长图展示
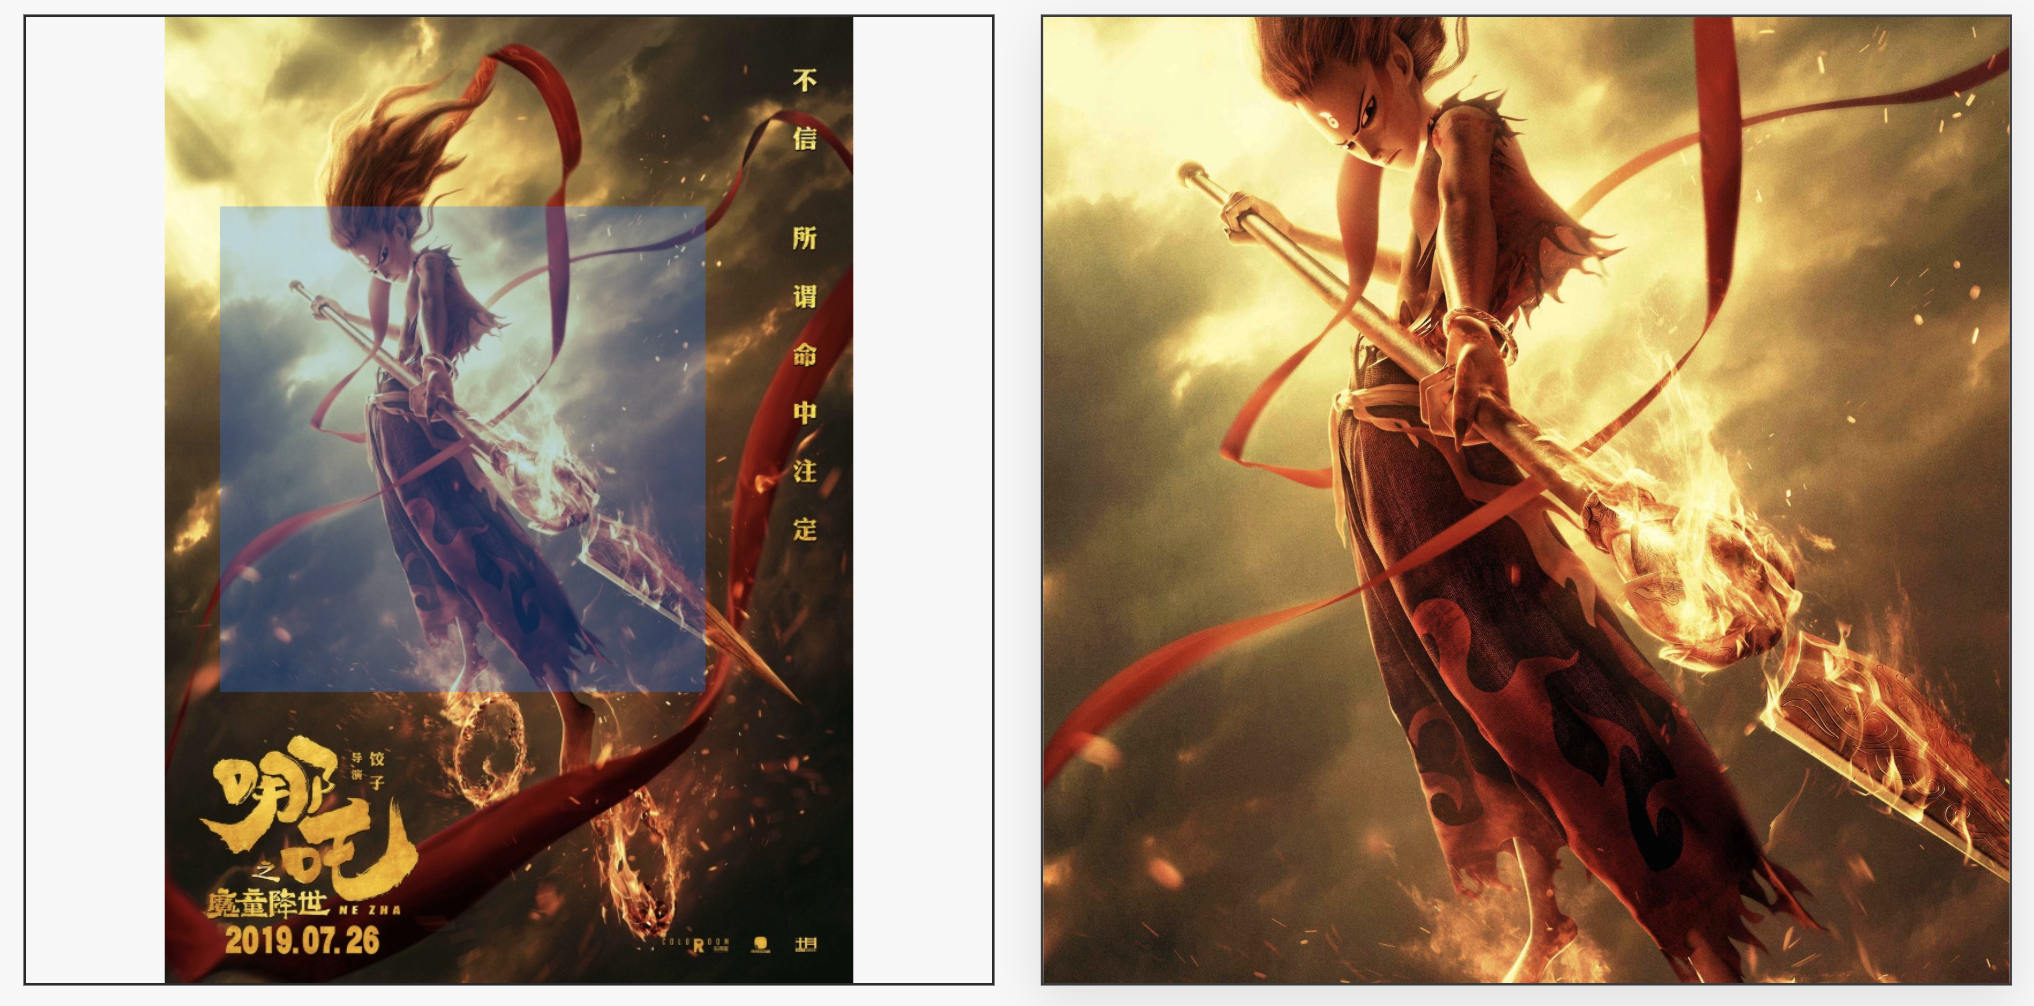
图3 宽图展示
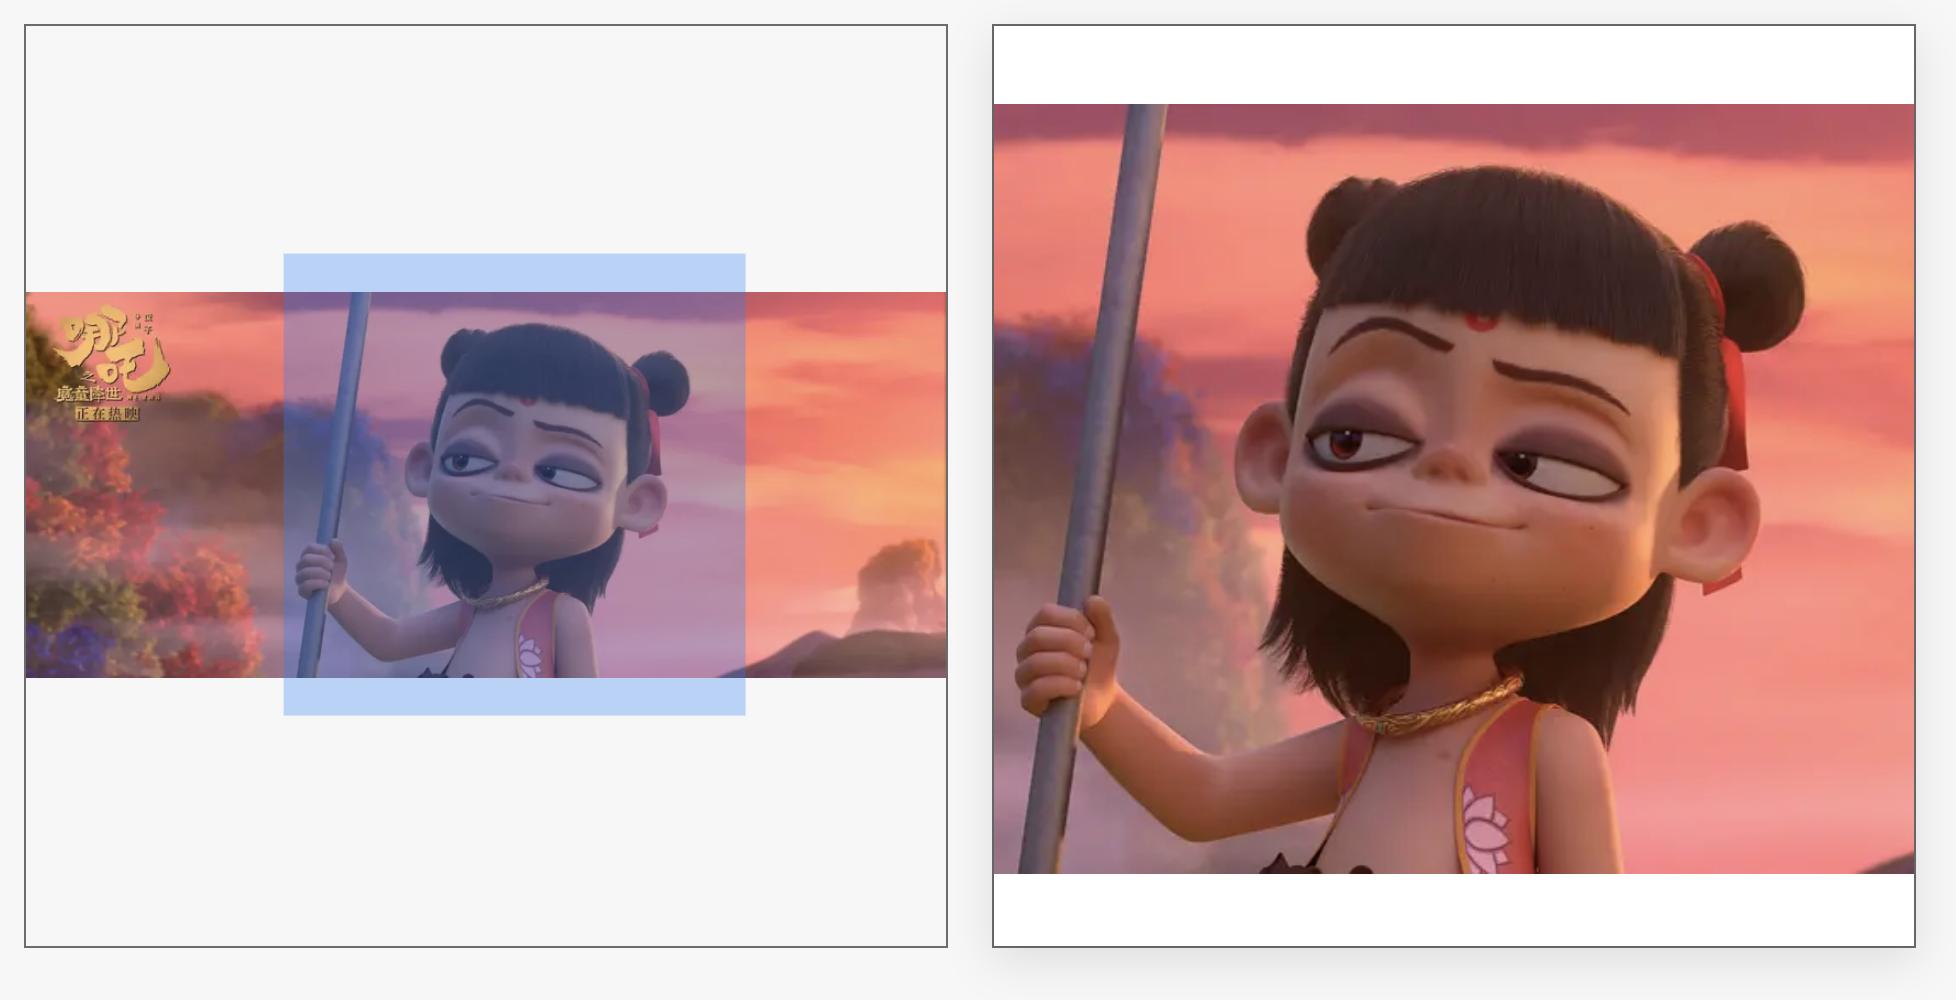
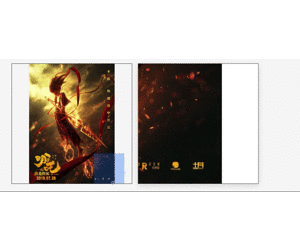
图4 两倍放大效果图
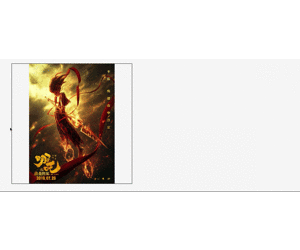
图5 四倍放大效果图
一般放大镜实现的是 1:1 等宽等高的正方形图片,这里兼容了其他比例的图片,设置图片为垂直居中对齐,包括小图,大图。如果小图不够充满整个小图框,余留下的空白部分也可以有放大效果,只不过放大结果依然是空白。 这样只需计算背景图的移动距离,不用过多的关注图片定位问题。
<template>
 <div class="magnifier">
    <!-- 小图 -->
    <div class="small-box" @mouseover="handOver"  @mousemove="handMove" @mouseout="handOut">
      <img class="smallPic" :src="`${src}?x-oss-process=image/resize,l_836`" />
      <div class="magnifier-zoom"
        v-show="showMask"
        :style="{
          background: configs.maskColor,
          height: configs.maskWidth + 'px',
          width: configs.maskHeight + 'px',
          opacity: configs.maskOpacity,
          transform: transformMask
      ></div>
    </div>
    <!-- 大图, 注意误差 -->
    <div class="magnifier-layer"
      v-show="showMagnifier"
      :style="{
        width: configs.width + 'px',
        height: configs.height + 'px',
        left: configs.width + 20 + 'px'
      <div class="big-box"
        :style="{
          width: bigWidth + 'px',
          height: bigHeight + 'px',
          left: moveLeft,
          top: moveTop
        <div class="big-box-img"
          :style="{
            width: bigWidth - 2  + 'px',
            height: bigHeight - 2 + 'px'
          <img
            :src="bigSrc"
            :style="{
              maxWidth: bigWidth - 2 + 'px',
              maxHeight: bigHeight -2 + 'px'
          />
        </div>
      </div>
    </div>
  </div>
</template>
这里主要有三个事件函数。
- handOver:鼠标进入到小图框上的事件,此时显示遮罩和放大区域,并计算小图框的位置信息。
handOver() {
  // 计算小图框在浏览器中的位置
  this.imgObj = this.$el.getElementsByClassName('small-box')[0];
  this.imgRectNow = this.imgObj.getBoundingClientRect();
  this.showMagnifier = true;
  this.showMask = true;
- handMove:鼠标在小图上的移动事件,此事件发生在 handOver 之后,计算数据,移动遮罩以及背景图;
handMove(e) {
  // 计算初始的遮罩左上角的坐标
  let objX = e.clientX - this.imgRectNow.left;
  let objY = e.clientY - this.imgRectNow.top;
  // 计算初始的遮罩左上角的坐标
  let maskX = objX - this.configs.maskWidth / 2;
  let maskY = objY - this.configs.maskHeight / 2;
  // 判断是否超出界限,并纠正
  maskY = maskY < 0 ? 0 : maskY;
  maskX = maskX < 0 ? 0 : maskX;
  if(maskY + this.configs.maskHeight >= this.imgRectNow.height) {
    maskY = this.imgRectNow.height - this.configs.maskHeight;
  if(maskX + this.configs.maskWidth >= this.imgRectNow.width) {
    maskX = this.imgRectNow.width - this.configs.maskWidth;
  // 遮罩移动
  this.transformMask = `translate(${maskX}px, ${maskY}px)`;
  // 背景图移动
  this.moveLeft = - maskX * this.configs.scale + "px";
  this.moveTop = - maskY * this.configs.scale + "px";
- handOut:鼠标离开小图事件,此时无放大镜效果,隐藏遮罩和放大区域。
handOut() {
  this.showMagnifier = false;
  this.showMask = false;
以上三个事件基本上就实现了图片的放大镜功能。
但仔细看,你会发现每次移入小图框都会触发一次 handOver 事件,并且计算一次小图框 dom (imgObj) 。
为了优化此问题,可以用 init 标识是否是页面加载后首次触发 handOver 事件,如果是初始化就计算imgObj 信息,否则不计算。
handOver() {
  if (!this.init) {
    this.init = true;
    // 原 handOver 事件
  this.showMagnifier = true;
  this.showMask = true;
在测试的过程中,发现页面滚动后,会出现遮罩定位错误的情况,原来是因为初始化时,我们固定死了小图框的位置信息(存放在 this.imgRectNow ),导致 handMove 事件中的移动数据计算错误。
解决这个问题有两种方案:
- 监听 scroll 事件,更新 this.imgRectNow;
- 在 handMove 事件中更新 this.imgRectNow。
这里选择了第二种。
handMove(e) {
  // 动态获取小图的位置(或者监听 scroll )
  let imgRectNow = this.imgObj.getBoundingClientRect();
  let objX = e.clientX - imgRectNow.left;
  let objY = e.clientY - imgRectNow.top;
  // 原 handMove 事件剩余内容
综合以上,我们已经实现了一个完美的图片放大镜功能。最终的 js 如下所示:
data() {
  return {
    imgObj: {},
    moveLeft: 0,
    moveTop: 0,
    transformMask:`translate(0px, 0px)`,
    showMagnifier:false,
    showMask:false,
    init: false,
computed: {
  bigWidth(){
    return this.configs.scale * this.configs.width;
  bigHeight(){
    return this.configs.scale * this.configs.height;
methods: {
  handMove(e) {
    // 动态获取小图的位置(或者监听 scroll )
    let imgRectNow = this.imgObj.getBoundingClientRect();
    let objX = e.clientX - imgRectNow.left;
    let objY = e.clientY - imgRectNow.top;
    // 计算初始的遮罩左上角的坐标
    let maskX = objX - this.configs.maskWidth / 2;
    let maskY = objY - this.configs.maskHeight / 2;
    // 判断是否超出界限,并纠正
    maskY = maskY < 0 ? 0 : maskY;
    maskX = maskX < 0 ? 0 : maskX;
    if(maskY + this.configs.maskHeight >= imgRectNow.height) {
      maskY = imgRectNow.height - this.configs.maskHeight;
    if(maskX + this.configs.maskWidth >= imgRectNow.width) {
      maskX = imgRectNow.width - this.configs.maskWidth;
    // 遮罩移动
    this.transformMask = `translate(${maskX}px, ${maskY}px)`;
    // 背景图移动
    this.moveLeft = - maskX * this.configs.scale + "px";
    this.moveTop = - maskY * this.configs.scale + "px";
  handOut() {
    this.showMagnifier = false;
    this.showMask = false;
  handOver() {
    if (!this.init) {
      this.init = true;
      this.imgObj = this.$el.getElementsByClassName('small-box')[0];
    this.showMagnifier = true;
    this.showMask = true;
本示例中的固定参数:小图框:420 * 420 。
程序可接受参数:
// 小图地址
src: {
  type: String,
// 大图地址
bigSrc: {
  type: String,
// 配置项
configs: {
  type: Object,
    default() {
    return {
      width:420,//放大区域
      height:420,//放大区域
      maskWidth:210,//遮罩
      maskHeight:210,//遮罩
      maskColor:'rgba(25,122,255,0.5)',//遮罩样式
      maskOpacity:0.6,
      scale:2,//放大比例
文中图 2 是一张长图,小图的最大边不超过 836px(二倍图) ,大图为了视觉效果,分辨率尽量高点,程序会根据配置项自动设置对应的 height , width ,长图与宽图的效果对比可参考图3。
配置项可根据应用场景自行设置,本文示例的配置项是 2 倍放大,效果可参考图 4,四倍放大效果可参考图 5。
其实图片放大镜的实现思路没有那么复杂,核心点有两点:
- 小图、大图的定位,遮罩和放大区域的创建方法
- 放大镜的原理理解,并用代码实现dom的移动等。
本文顺着这个思路,做了一个简单的实现,还有一些优化的空间,欢迎各位大佬在评论区讨论。虽然代码看起来不是非常优雅,但是足够明了,感兴趣的同学可以自己尝试一下。

Recommend
About Joyk
Aggregate valuable and interesting links.
Joyk means Joy of geeK