

simpleParallax - a JavaScript library for parallax effects
source link: https://simpleparallax.com/
Go to the source link to view the article. You can view the picture content, updated content and better typesetting reading experience. If the link is broken, please click the button below to view the snapshot at that time.
a JavaScript library for parallax effects
simpleParallax.js is a very simple and tiny Vanilla JS library that adds parallax animations on any images.
Where it may be laborious to get results through other plugins, simpleParallax.js stands out for its ease and its visual rendering. The parallax effect is directly applied to image tags, there is no need to use background images.
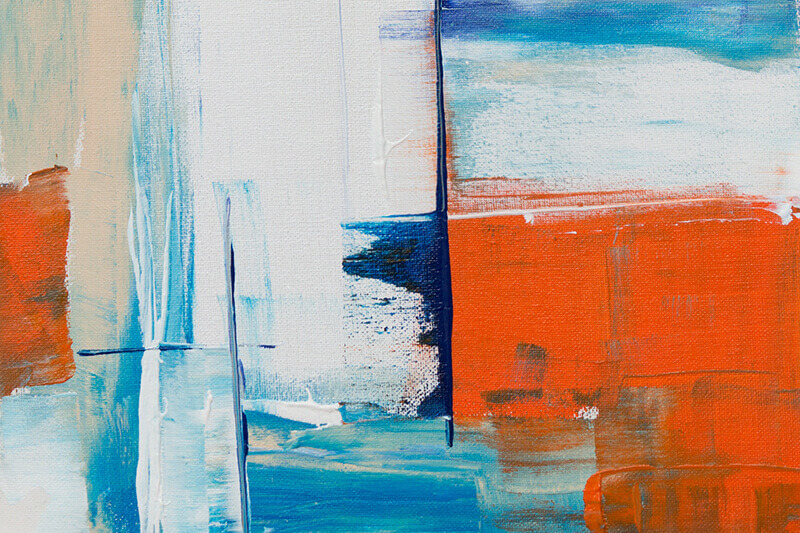
Any image will fit. Try it out!

Installation
Simply copy/paste the below snippet just before your closing tag:
<script src="simpleParallax.js"></script>or use the below CDN link provided by jsDelivr.com:
<script src="https://cdn.jsdelivr.net/npm/[email protected]/dist/simpleParallax.min.js"></script>You can also install it via npm/yarn
// npm
npm install simple-parallax-js

// yarn
yarn add simple-parallax-js
and then import it as follows:
// ES6 import
import simpleParallax from 'simple-parallax-js';

// CommonJS
const simpleParallax = require('simple-parallax-js');
Initialization
Giving the following HTML:
<img class="thumbnail" src="image.jpg" alt="image">
simply add the following JavaScript code:
var image = document.getElementsByClassName('thumbnail');
new simpleParallax(image);
and voilà!
You can also choose to apply the parallax on multiple images:
var images = document.querySelectorAll('img');
new simpleParallax(images);
Settings
| name | type | default | hint |
|---|---|---|---|
| orientation | String | up | up - right - down - left - up left - up right - down left - left right |
| scale | Number | 1.2 | need to be above 1.0 |
| overflow | Boolean | false | |
| delay | Number | 0.4 | the delay is in second |
| transition | String | 'cubic-bezier(0,0,0,1)' | any CSS transition |
| customContainer | String or Node | "" | |
| customWrapper | String | "" | |
| maxTransition | Number | 0 | it should be a percentage between 1 and 99 |
orientation-String-see example
This is the orientation (or direction) of the parallax effect. Choose up and when scrolling down, the image will translate from the bottom to the top (so the image will translate up). When scrolling up, the image will translate from the top to the bottom. Same logic apply for all others orientations (right, down, left, up left, up right, down left or down right). When 2 directions are combined (for example down right), the image will translate diagonally.
scale -Number-see example
The higher the scale is set, the more visible the parallax effect will be. In return, the image will lose in quality. To reduce the lossless effect, if the scale is set at 1.5 and your image is 500px width, do the simple math 500 * 1.5 = 750. So you can choose a 750px image to replace your 500px one, and don't see any quality leak. More information are available if you read the case study here.
overflow -Boolean-see example
By default, the image is scaled to apply a parallax effect without any overflow on the layout - you can check the case study to have a better understanding. When overflow is set to true, the image will translate out of its natural flow (so it may overlap with your content).
delay -Number-see example
When a delay is set, the translation of the image will continue during that delay when the user stops scrolling. That gives a very nice effect. The delay is in second.
transition -String-see example
The transition setting works closely with the delay setting. This setting will add any CSS transition to the delay setting. For example you can use ease or ease-in-out.
customContainer -String or Node
By default, the parallax calculation is done with the body scroll percentage. In some cases, the images may be in a container that has its own scroll area, so to have an accurate calculation, the custom container should be set.
customWrapper
StringIn some cases, you want to use your own wrapper instead of the one created by the plugin. If you specify your custom wrapper, the plugin will add the "simpleParallax" class along with an "overflow: hidden" style.
maxTransition -Number-see example
The maxTransition setting should be used to stop the parallax animation after a given percentage. By default, it translates from 0% to 100% of the user viewport. You can change it here to any percentage you want.
Methods
Destroy a simpleParallax instance:
 var images = document.querySelectorAll('img');
var instance = new simpleParallax(images);
instance.destroy();
See it live on
Want your website here? Just ask!
Examples
Basic config

var image = document.getElementsByClassName('thumbnail');
new simpleParallax(image);
with a different direction

var image = document.getElementsByClassName('thumbnail');
new simpleParallax(image, {
	orientation: 'right'
});
with a higher scale

var image = document.getElementsByClassName('thumbnail');
new simpleParallax(image, {
	scale: 1.5
});
with overflow

var image = document.getElementsByClassName('thumbnail');
new simpleParallax(image, {
	overflow: true
});
with delay and transition
var image = document.getElementsByClassName('thumbnail');
new simpleParallax(image, {
	delay: .6,
	transition: 'cubic-bezier(0,0,0,1)'
});
with maxTransition

var image = document.getElementsByClassName('thumbnail');
new simpleParallax(image, {
	maxTransition: 60
});
Spread the word! Share it via:
images from the awesome stocksnap.io
website powered by horizon-boilerplate and proudly checked withFront-End-Checklist
developed by geoffrey signorato
Recommend
About Joyk
Aggregate valuable and interesting links.
Joyk means Joy of geeK