

How to preview DSL layouts made using Anko layouts – Mindorks – Medium
source link: https://medium.com/mindorks/how-to-preview-dsl-layouts-made-using-anko-layouts-f885c6bf67b3
Go to the source link to view the article. You can view the picture content, updated content and better typesetting reading experience. If the link is broken, please click the button below to view the snapshot at that time.
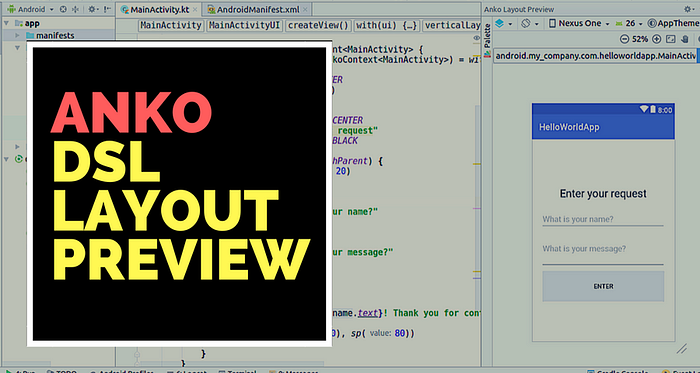
Anko Layout Preview Tool window
How to preview DSL layouts made using Anko layouts
This one is quickie about how to preview the layouts we make in DSL using Anko layouts. Before getting started it is probably wise to quickly go through what Anko, Anko layouts and DSL is for those who haven’t enjoyed them yet.
So Anko is a Kotlin library that helps make Android app development a pleasant experience by making development faster and code simple and concise to read. Anko layouts help us write dynamic layouts for our Android apps.
Here is a simple example activity, in which we use DSL layout instead of XML layout.
class MainActivity : AppCompatActivity() {

override fun onCreate(savedInstanceState: Bundle?) {
super.onCreate(savedInstanceState)
verticalLayout {
gravity = Gravity.CENTER
            padding = dip(20)

textView {
gravity = Gravity.CENTER
                text = "Enter your request"
textColor = Color.BLACK
                textSize = 24f
}.lparams(width = matchParent) {
margin = dip(20)
}

val name = editText {
hint = "What is your name?"
            }

editText {
hint = "What is your message?"
lines = 3
}

button("Enter") {
onClick {
toast( "Hey ${name.text}! Thank you for contacting us. We will get in touch with you soon.")
}
            }.lparams(dip(280), sp(80))

}
}
}
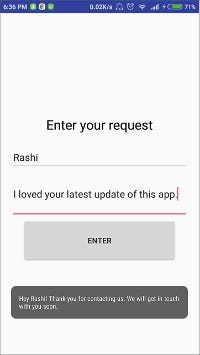
Run this activity and checkout the layout. It looks like below:
Now let us move to getting or preview of DSL layout, which is very important when working on complicated layouts. Another thing to note before moving on is that preview only works if we define our layout in an external class that implements AnkoComponent interface. Below is how we will modify our activity to define our view in a separate class:
class MainActivity : AppCompatActivity() {

override fun onCreate(savedInstanceState: Bundle?) {
super.onCreate(savedInstanceState)
        MainActivityUI().setContentView(this)
    }

class MainActivityUI : AnkoComponent<MainActivity> {
override fun createView(ui: AnkoContext<MainActivity>) = with(ui) {
verticalLayout {
gravity = Gravity.CENTER
                padding = dip(20)

textView {
gravity = Gravity.CENTER
                    text = "Enter your request"
textColor = Color.BLACK
                    textSize = 24f
}.lparams(width = matchParent) {
margin = dip(20)
}

val name = editText {
hint = "What is your name?"
                }

editText {
hint = "What is your message?"
lines = 3
}

button("Enter") {
onClick {
toast( "Hey ${name.text}! Thank you for contacting us. We will get in touch with you soon.")
}
                }.lparams(dip(280), sp(80))

}
        }
}
}
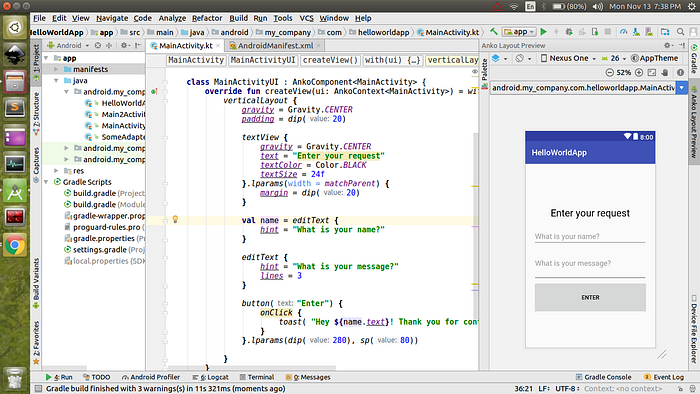
Now we need to install Anko support plugin. Go to plugins from Android Studio settings and search for Anko Support plugin and add it. Now put your cursor somewhere in the MainActivityUI declaration and then open the Anko Layout Preview tool window by going to View > Tool Windows > Anko Layout Preview and then pressing Refresh.
Now this might not work in the first go as we need to rebuild the project for the layout to render properly.
Below is how our screen finally looks like, with Anko Layout Preview tool window open.
And that is all it takes folks ;)
Follow me to get updates on what I am up to on medium. And don’t forget to tell me how much you liked/enjoyed/benefited from this post by 👏.
And keep CLAPPING… Until next time :)
Recommend
About Joyk
Aggregate valuable and interesting links.
Joyk means Joy of geeK