
1

SAP Output Management: setting custom Dunning Noti... - SAP Community
source link: https://community.sap.com/t5/enterprise-resource-planning-blogs-by-sap/sap-output-management-setting-custom-dunning-notice-form-in-sap-s-4hana/ba-p/13504663
Go to the source link to view the article. You can view the picture content, updated content and better typesetting reading experience. If the link is broken, please click the button below to view the snapshot at that time.
Introduction
This blog post describes the process of creation and customizing of Dunning Notice Form in SAP S/4HANA Cloud. This scenario includes following steps:- Search for suitable standard form
- Adjusting of the form in Adobe LiveCycle Designer
- Adjusting of master form in Adobe LiveCycle Designer
- Create sender address, footers and logo.
- Adjusting of Output Management settings for Dunning Notice
- Setting-up Master Form
- Review of the results in SAP S/4HANA Cloud
Search for suitable standard form
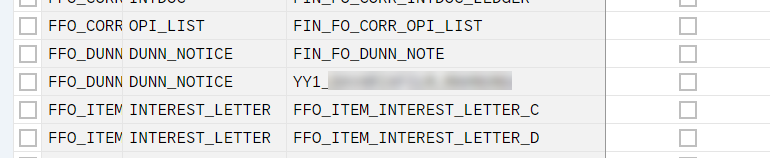
The list of all forms is available in SAP Best Practices for SAP S/4HANA (on premise), in Accelerators part - Forms.In this excel spreadsheet we need to find the name of the used for Dunning Notice Adobe Form Template (FIN_FO_DUNN_NOTE):

Adjusting of the form in Adobe LiveCycle Designer
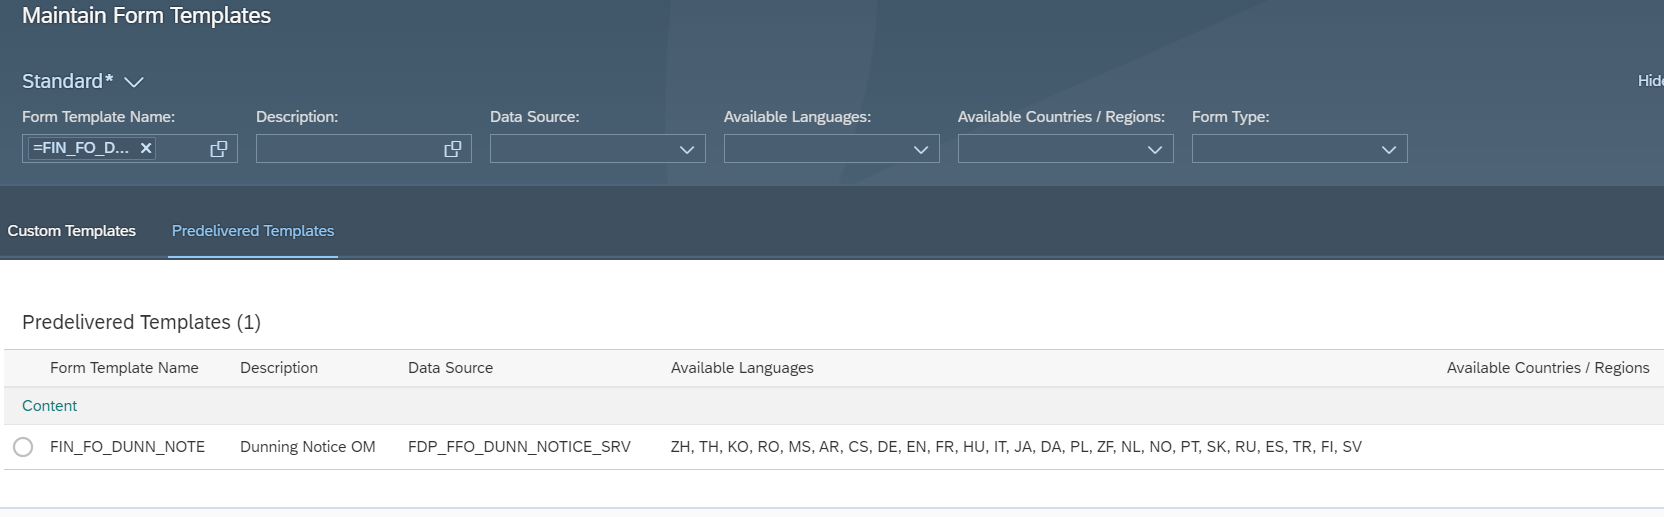
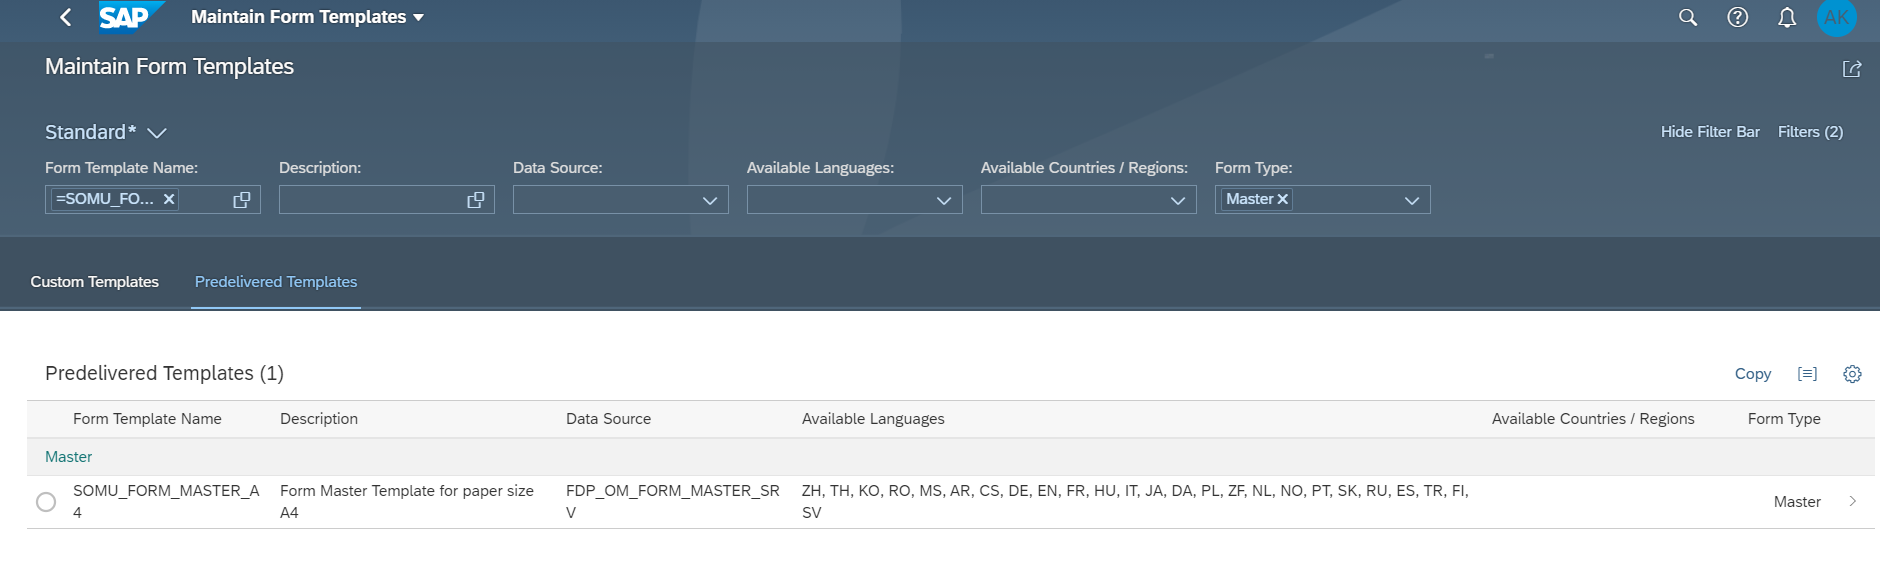
Now we need to go to SAP S/4HANA Cloud System and download the selected template.To do this we will use the App "Maintain Form Templates". Let´s go to the Pre-delivered Templates tab and search for the identified earlier FIN_FO_DUNN_NOTE Form template:

Before starting adapting the form in Adobe LiveCycle Designer, we need to download the tool from the app "Install Additional Software" and install it on local PC.
Once it is done, open the downloaded form via Adobe LiveCycle Designer:

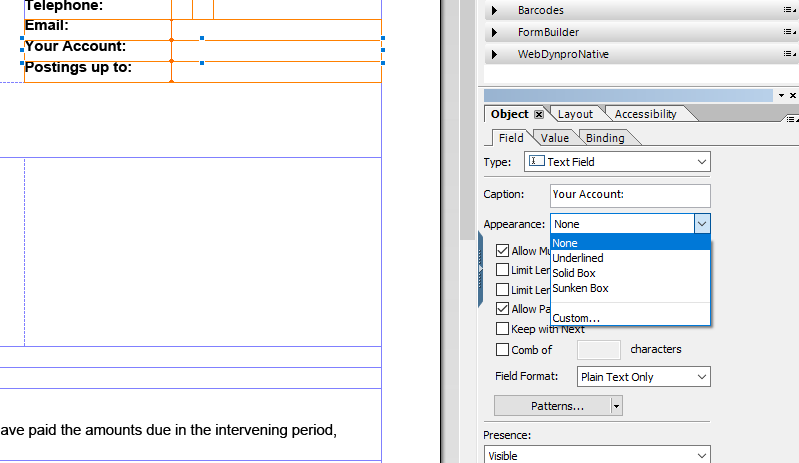
There are 3 main types of changes, which are the most frequently required to be implemented:
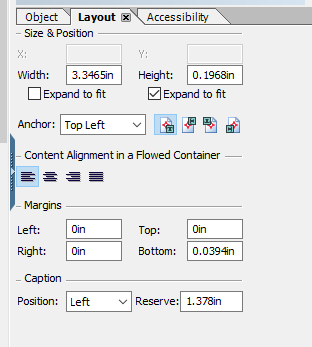
- Changes of styles of elements.

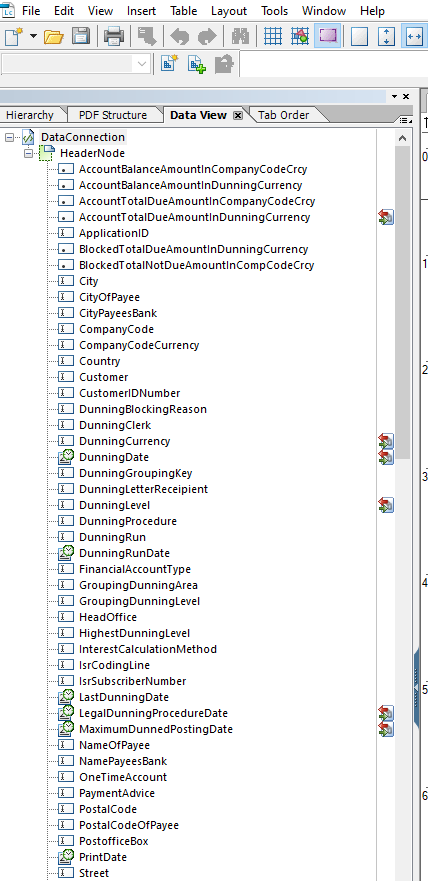
Sometimes it is necessary not only to add element from the left area, Data View tab:
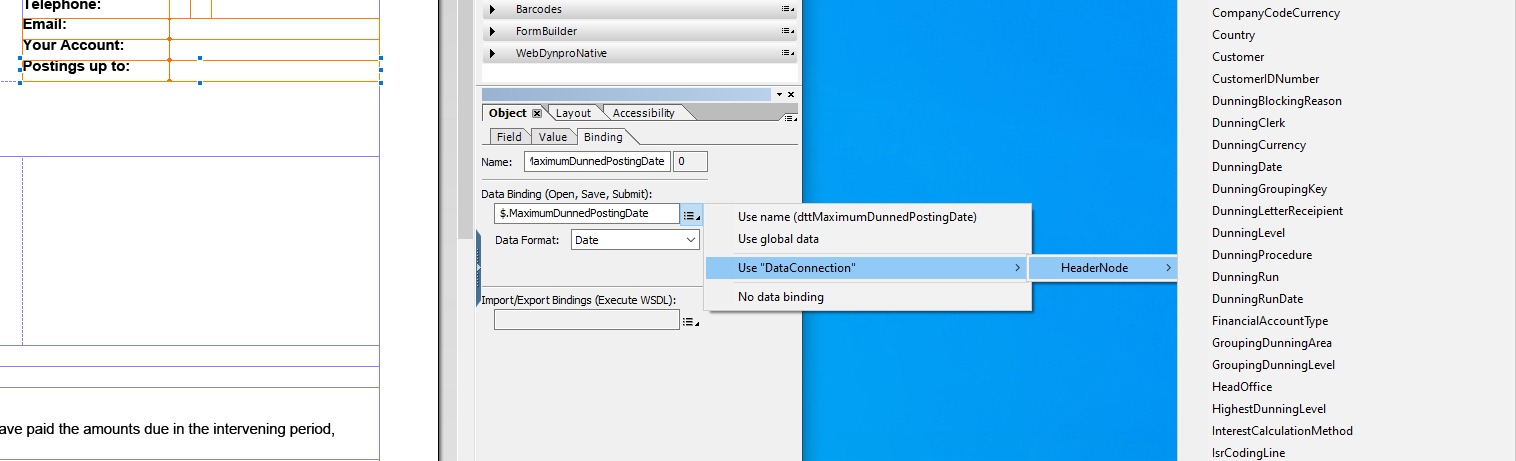
Some elements can be displayed based on conditions, or their content can change dynamically. It is possible to check and change such scenarios in scripting area:

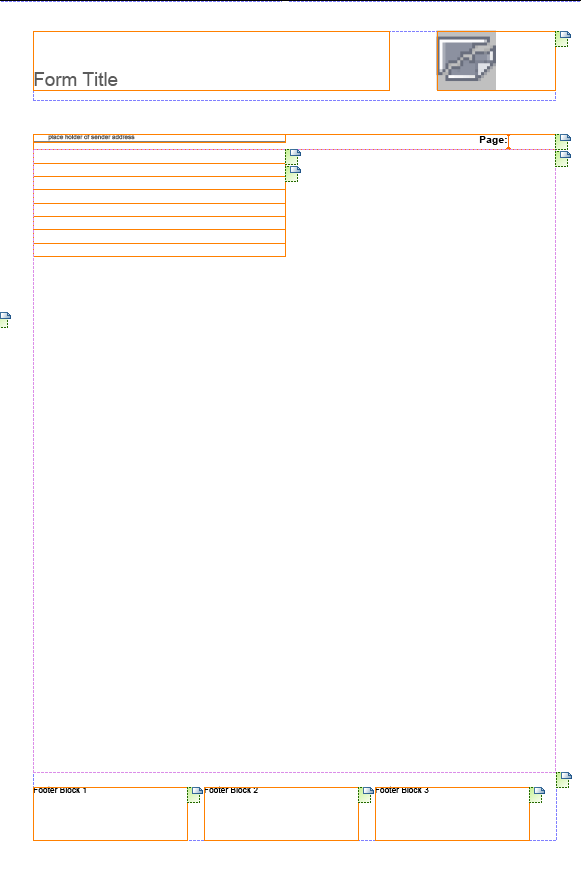
Adjusting of master form in Adobe LiveCycle Designer
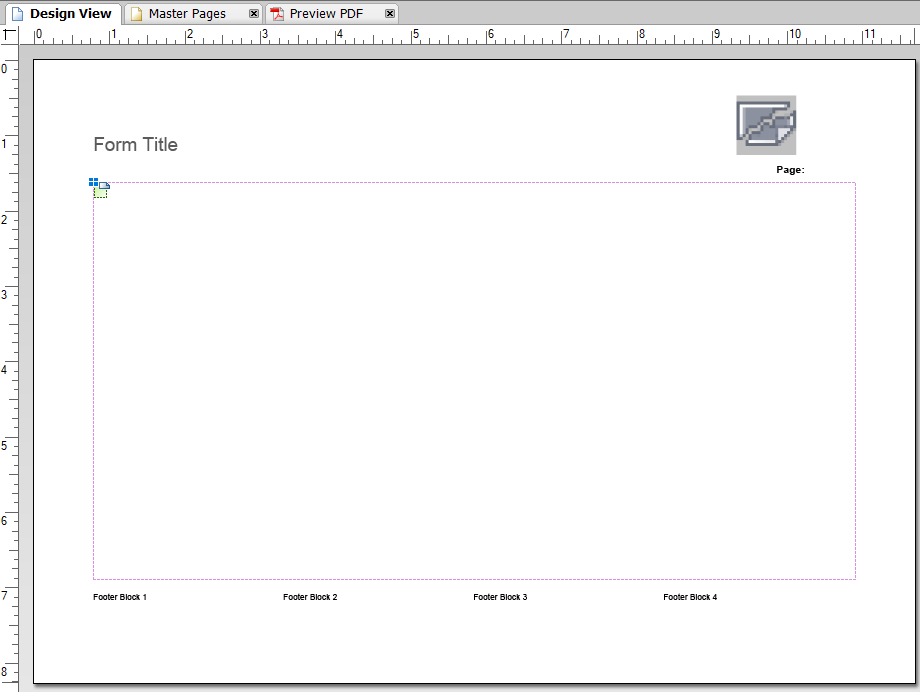
And some changes can be done only via changes in master form. One of such examples - changing the number of footers. There are 3 footers by default in master forms and in some cases 4 are necessary. Let´s take a look, how it can be done.Firstly we need to go back in SAP S/4HANA Cloud system, app "Maintain Form Templates".
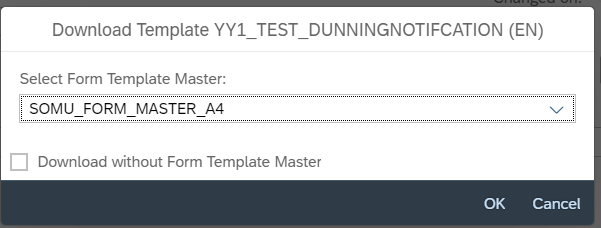
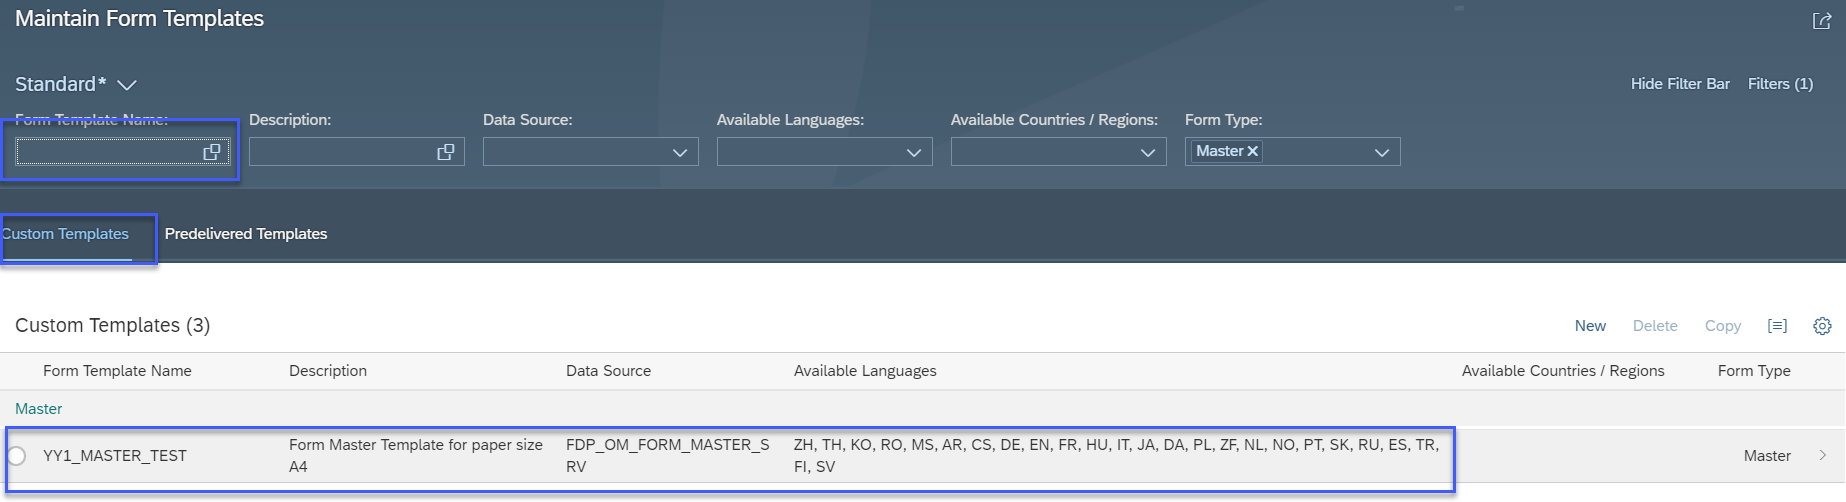
Then we need to switch to Pre-delivered Templates again and find master form, which we used for download of the main form - SOMU_FORM_MASTER_A4, select it and copy:
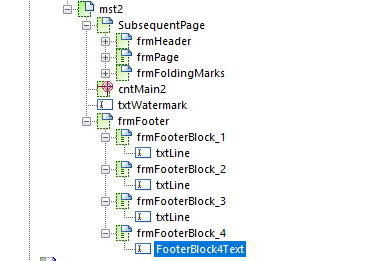
To do so, following steps are necessary:
- Resize evenly 3 existing footers, making them smaller.
- Regroup existing footers, making free space for the 4th footer.
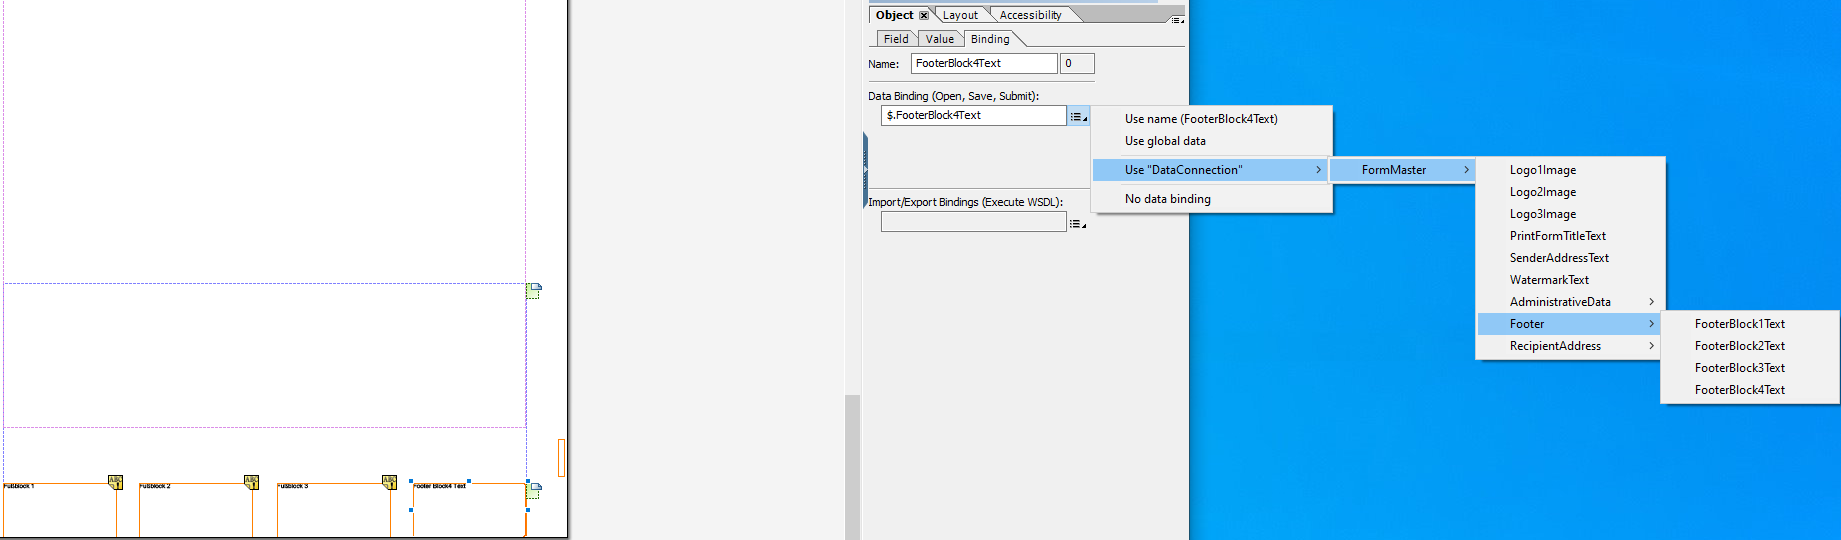
- Copy the 3rd footer (with the text field inside), and paste it correspondingly in the Hierarchy:
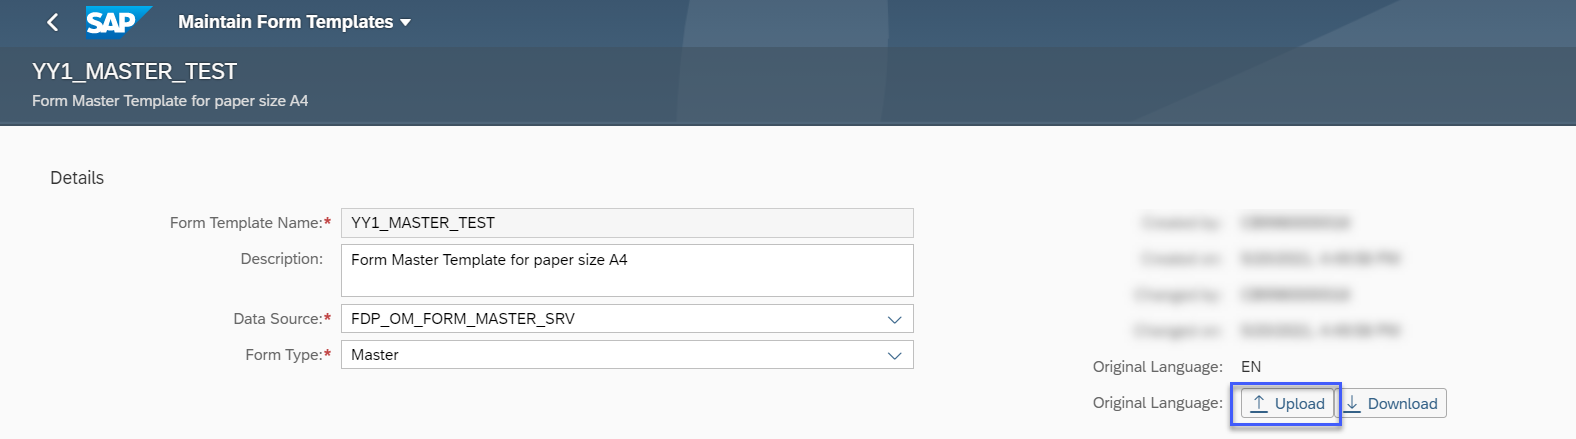
Uploading of changed forms
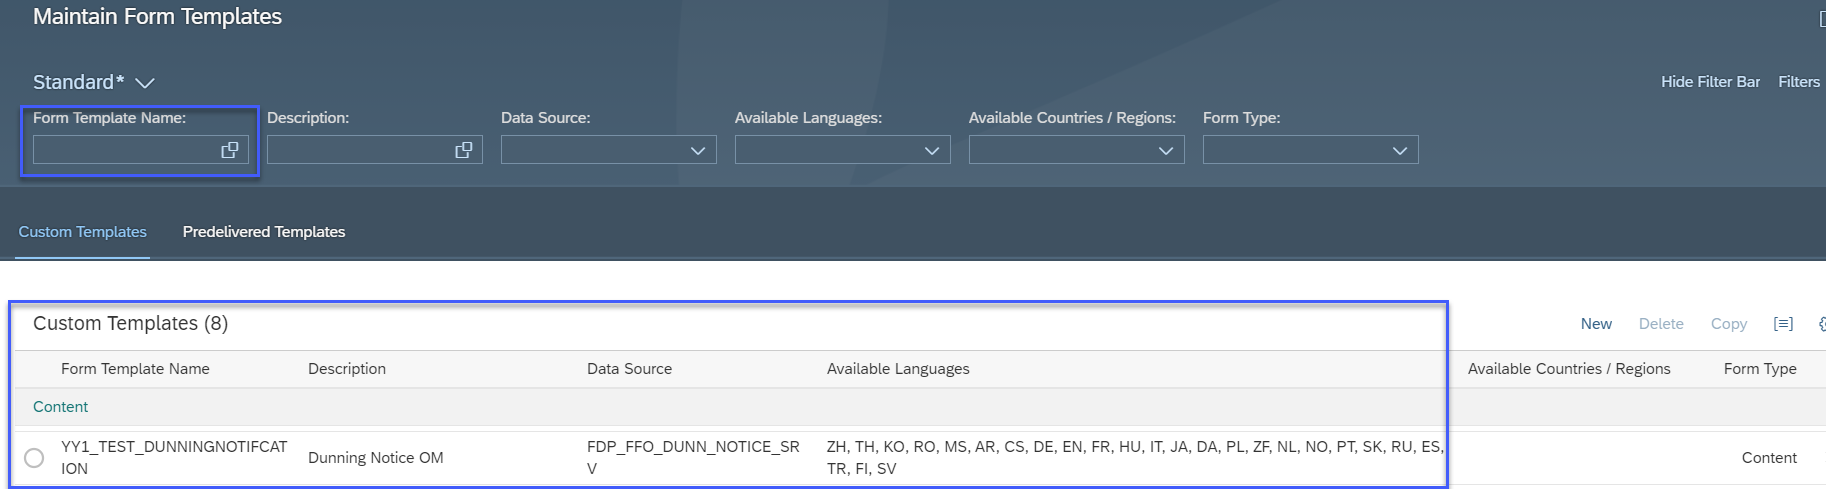
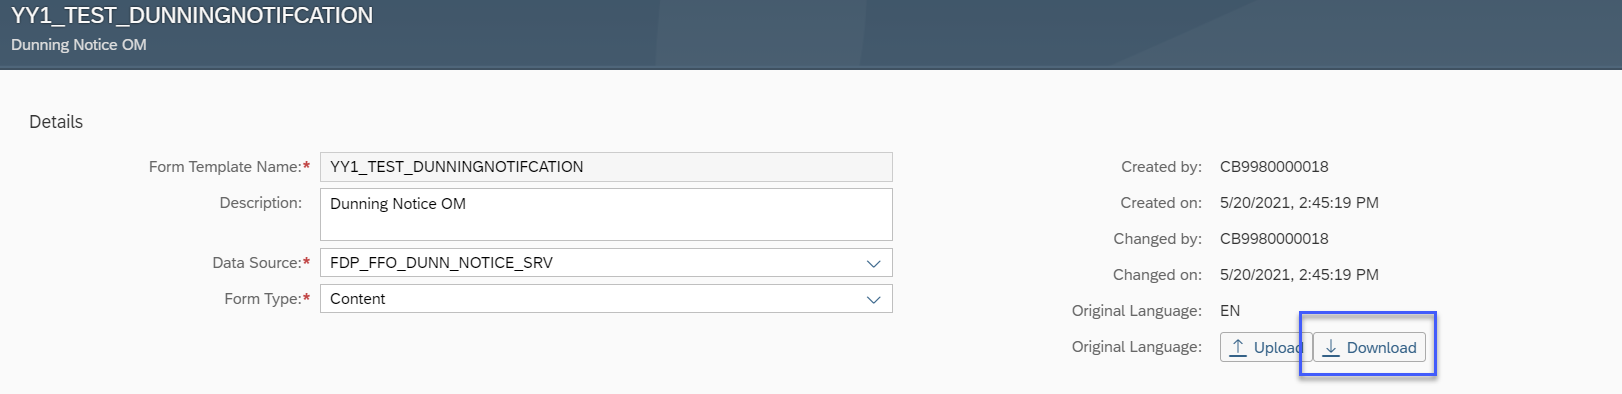
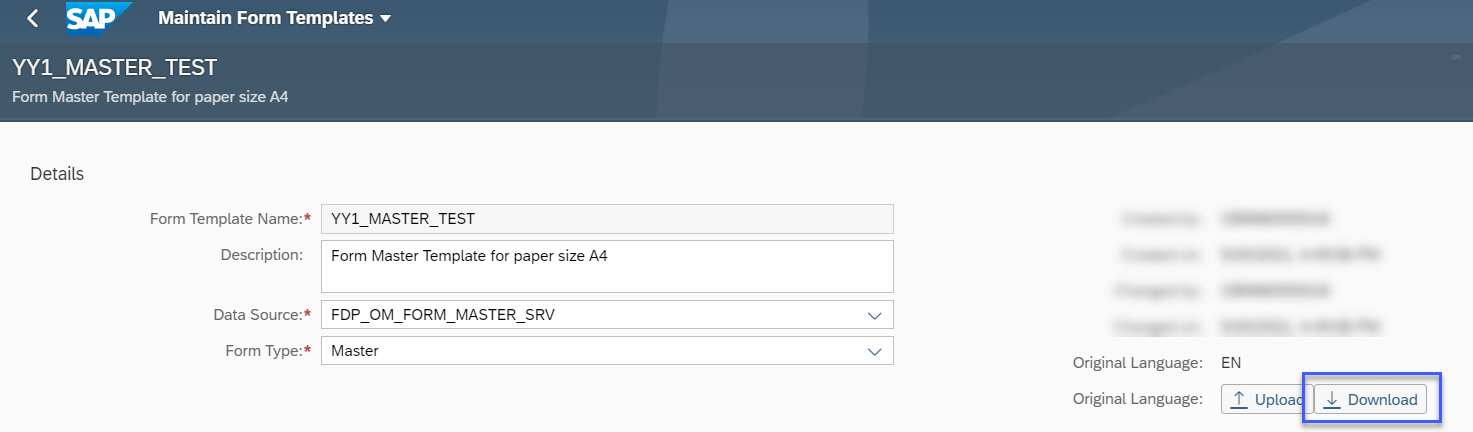
After the changes are done in Adobe LiveCycle Designer, we need to upload changed main and master form to SAP S/4HANA Cloud.In the same application, from where we downloaded the forms (Maintain Form Templates), go firstly to the main form, select Upload button and upload the changed version. Then repeat the same for the master form.
Create sender address, footers and logo
In terms of the last step of creation of our form, we need to create sender address, footers and upload logo.Manage Texts
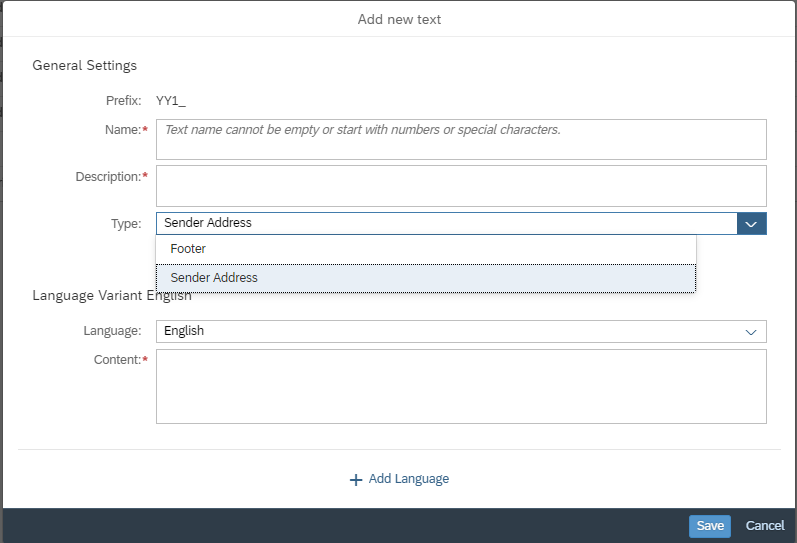
To create sender address and logo we use "Manage Texts" app. Click "+", once you enter it: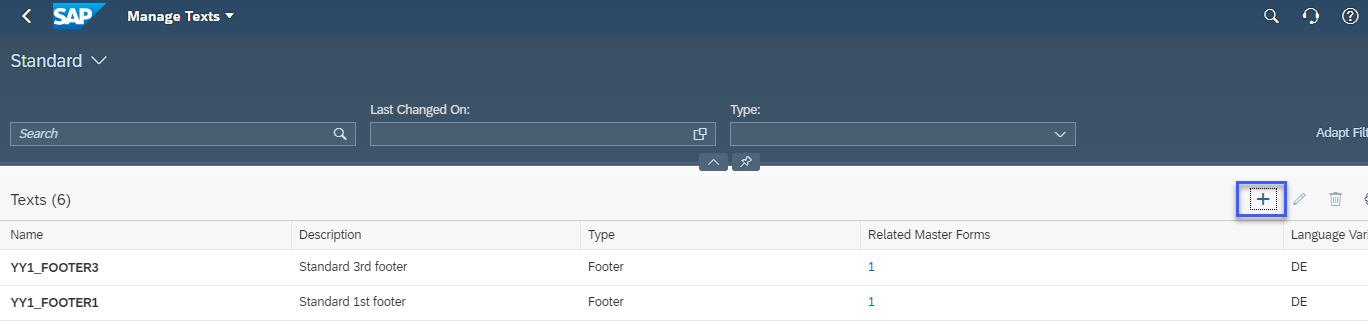
Based on our business scenario, we need 4 footers. You can create different footers for different languages.
Later, when we will adjust customizing for our forms, in the "Related Master Forms" column we will see number of master forms, which use the footers and the address. By clicking the number you will see the forms´ names.
Manage Logos
And now we need to switch to the "Manage Logos" app and upload the logo of our company:
Adjusting of Output Management settings for Dunning Notice
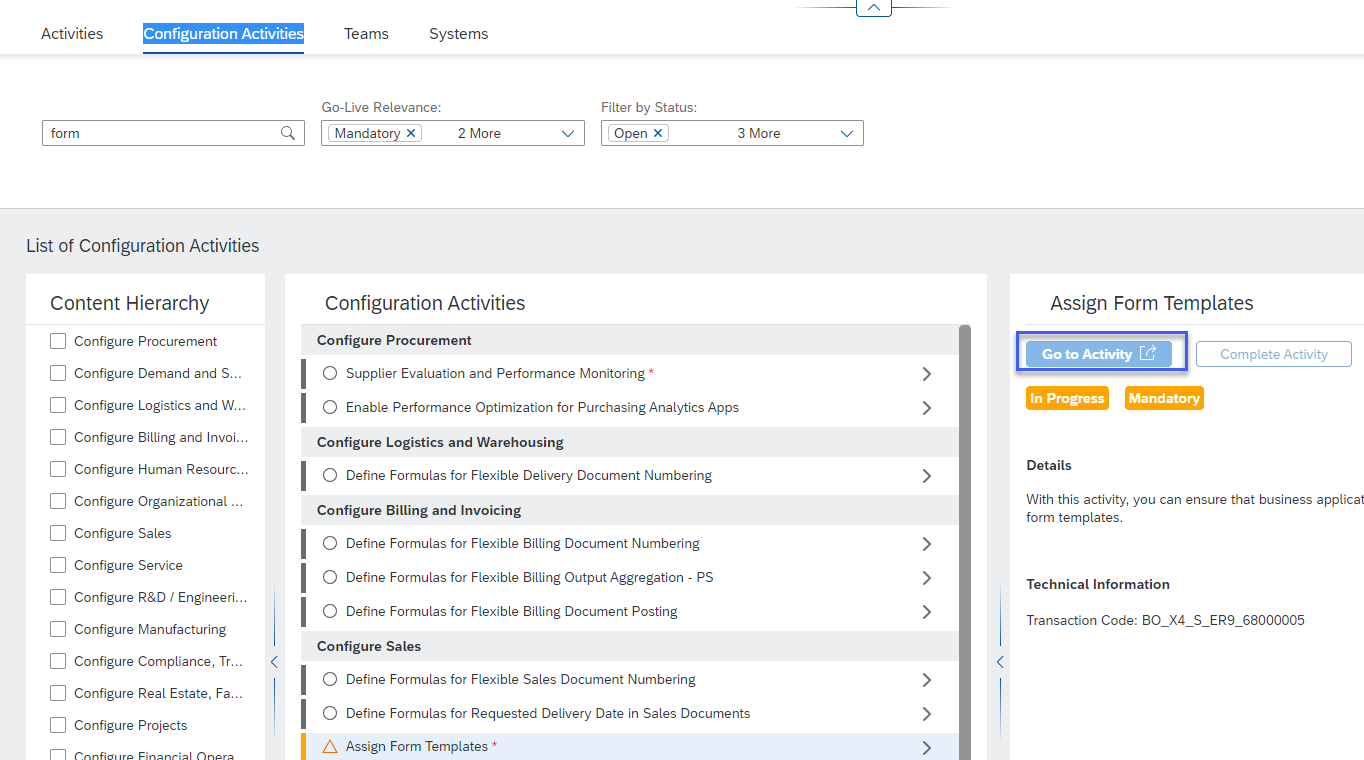
After changes in Adobe LiveCycle Designer are done, footers, sender address and logos are created, we need to set customizing in SAP S/4HANA Cloud system.Assign Form Template
We will start with "Assign Form Template" SSCUI. This customizing item available either in "Configure your solution" app -> search for " Assign Form Template" -> enter the 2nd item: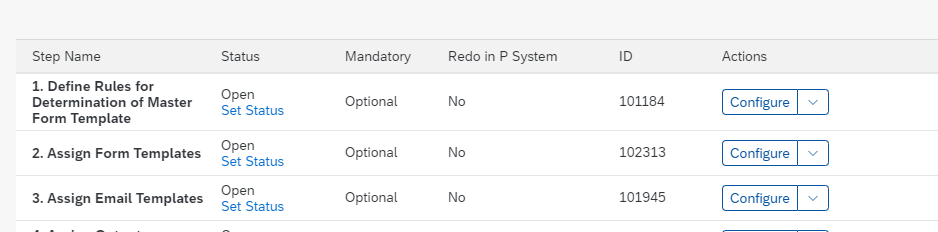


Define Rules for Determination of Master Form Template
In the next step we need SSCUI "Define Rules for Determination of Master Form Template" - you can find it either in "Configure your solution" app or in CBC:

In this activity, you can define rules that determine the master form template. Every time a document is printed/emailed by the end user in an application, these rules identify the master form template to be used.
Once you enter the customizing item, table with the rules is available. The higher number of a rule, the higher priority it has:

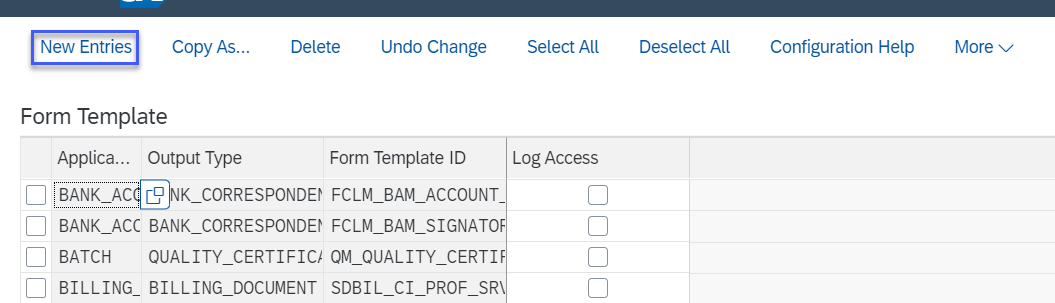
Click "New Entries" in the top left corner. On the new screen, provide the meaningful Rule ID and Number. Then select your earlier created Form Template name and the earlier created Master Form Template Name:
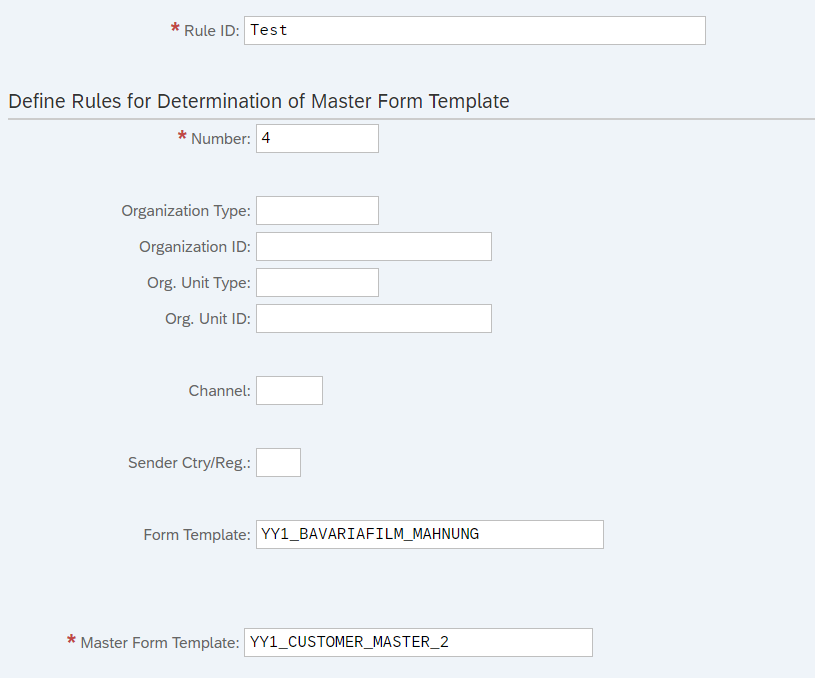
You can use other fields to restrict in which business-scenarios the forms will be used.
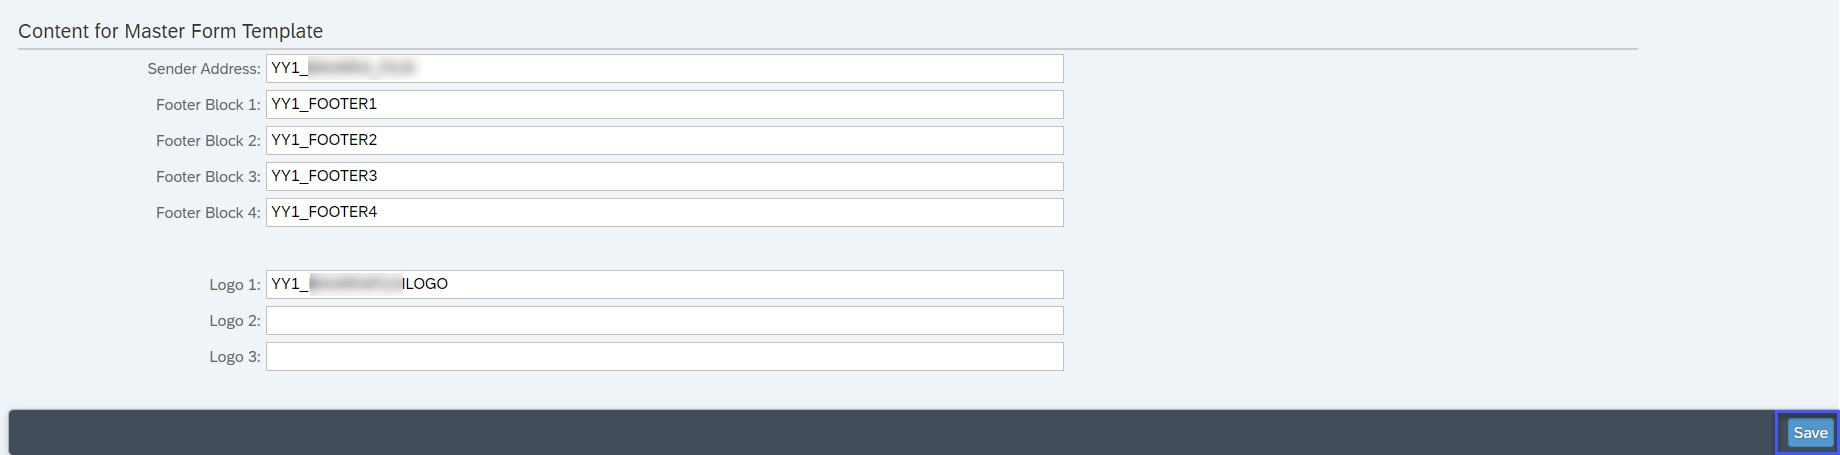
Furthermore we need to specify Sender Address, Footers and Logos we created earlier and save the rule:
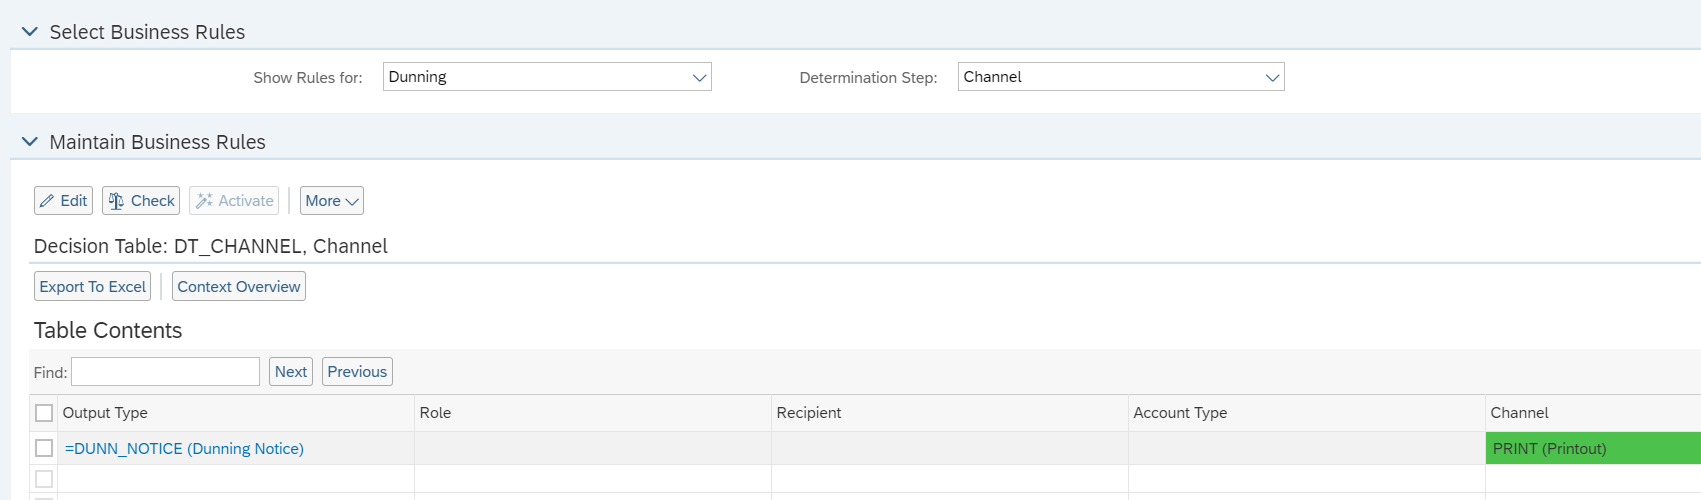
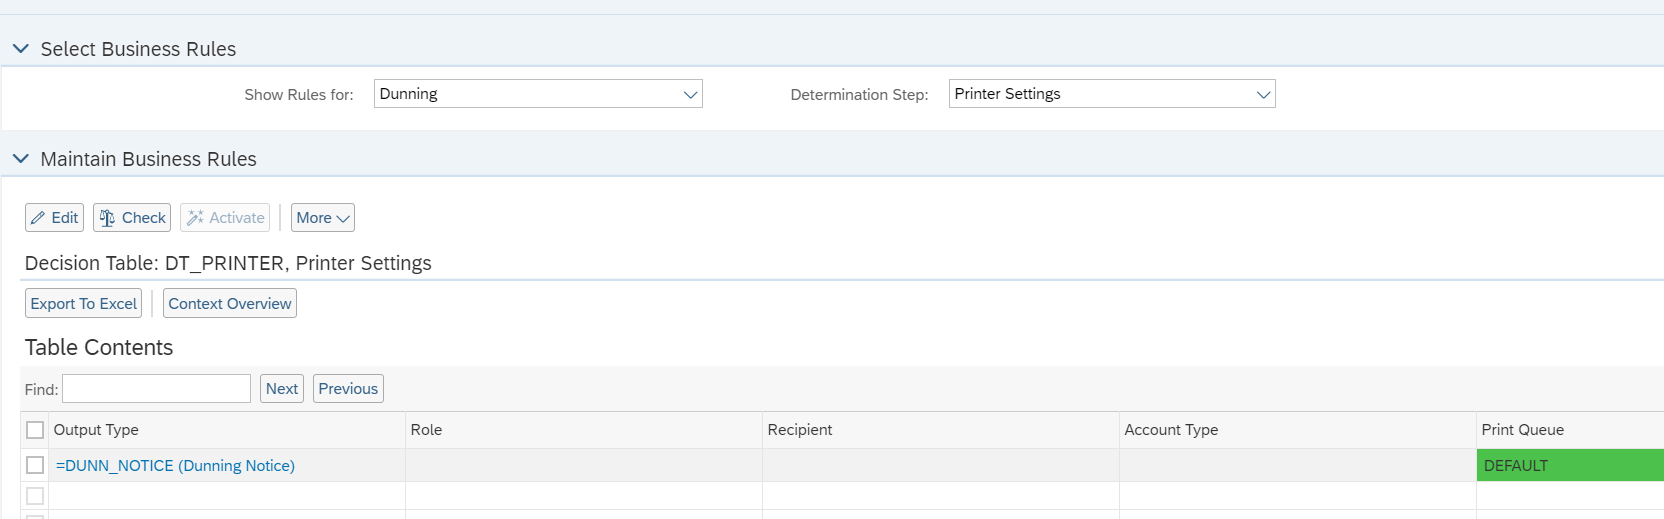
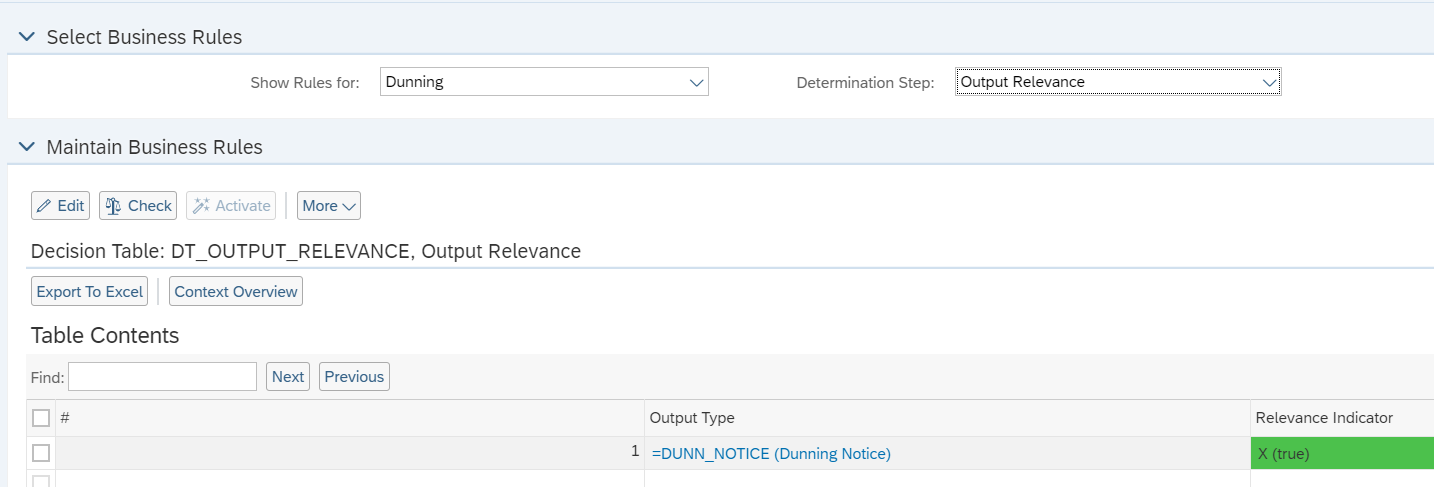
Output Parameter Determination
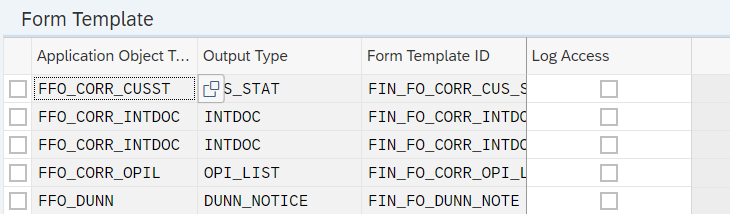
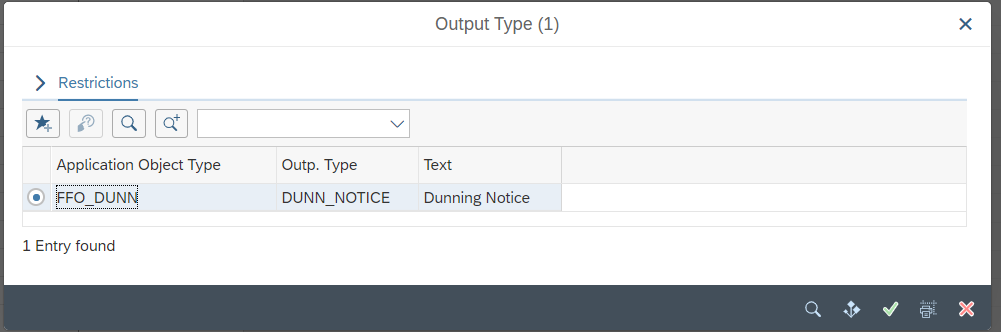
Now we will switch to the application "Output Parameter Determination". And we will work with Dunning there: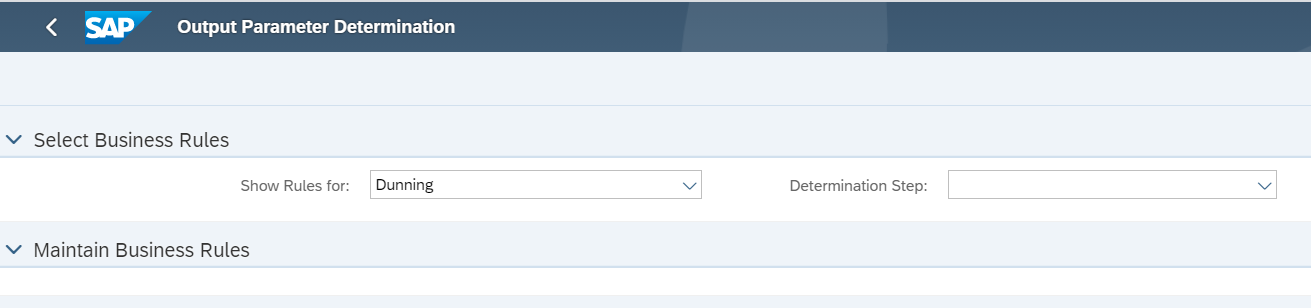

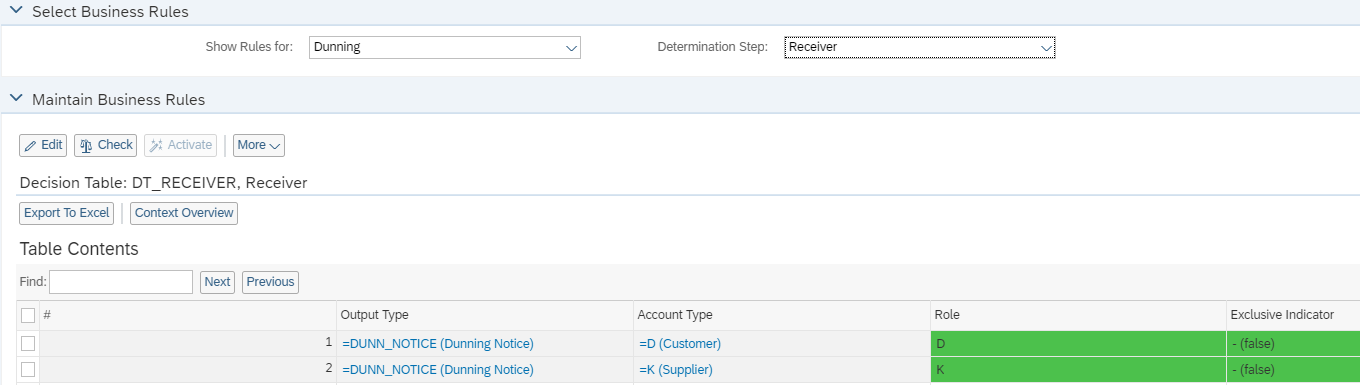
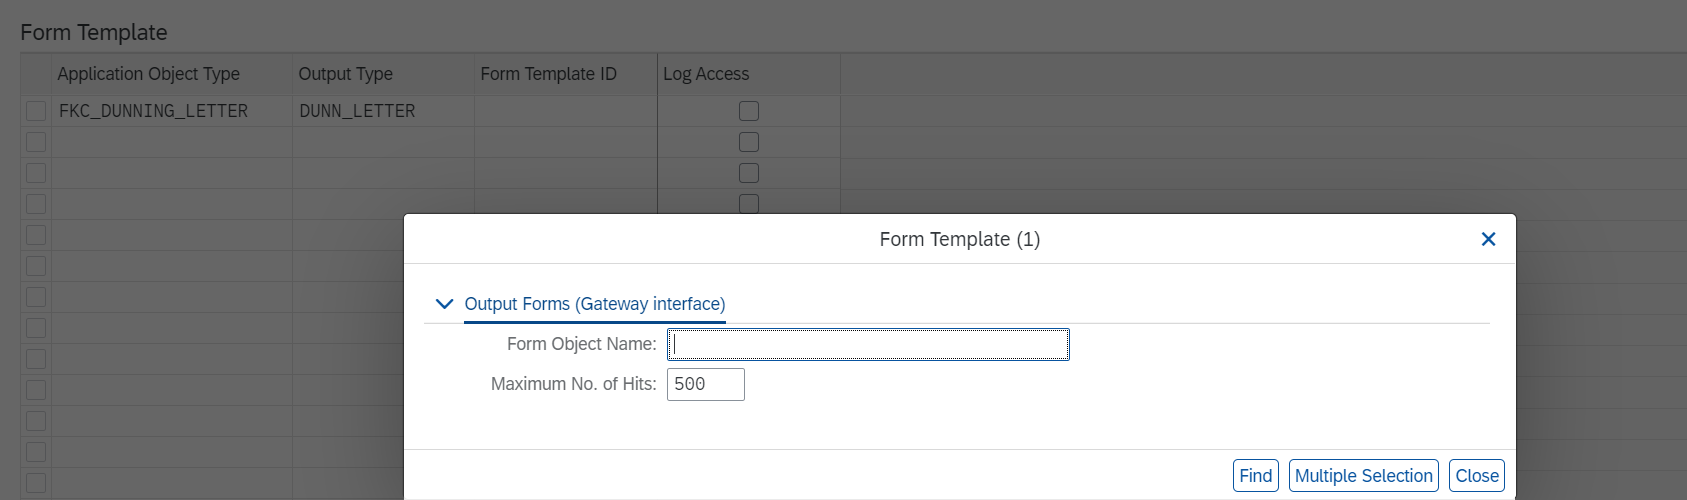
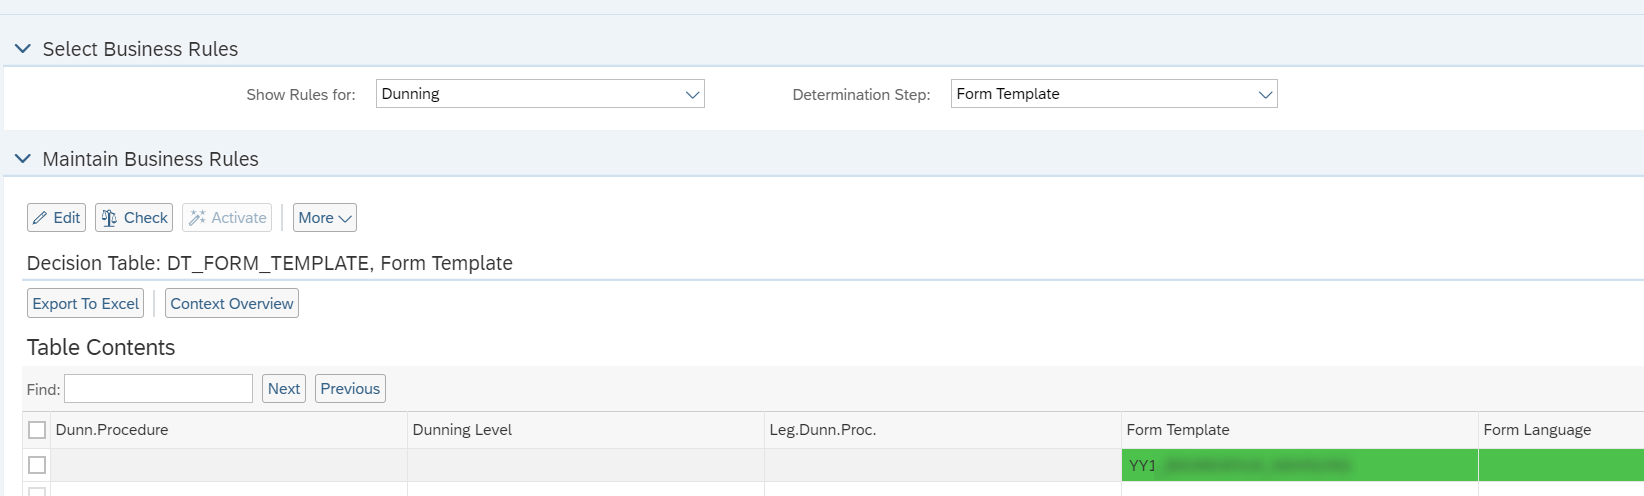
And in Form Template setting you need to specify via direct input name of your custom Form Template, you created earlier:
And we can leave default setting for Output Relevance:
Review of the results in SAP S/4HANA Cloud
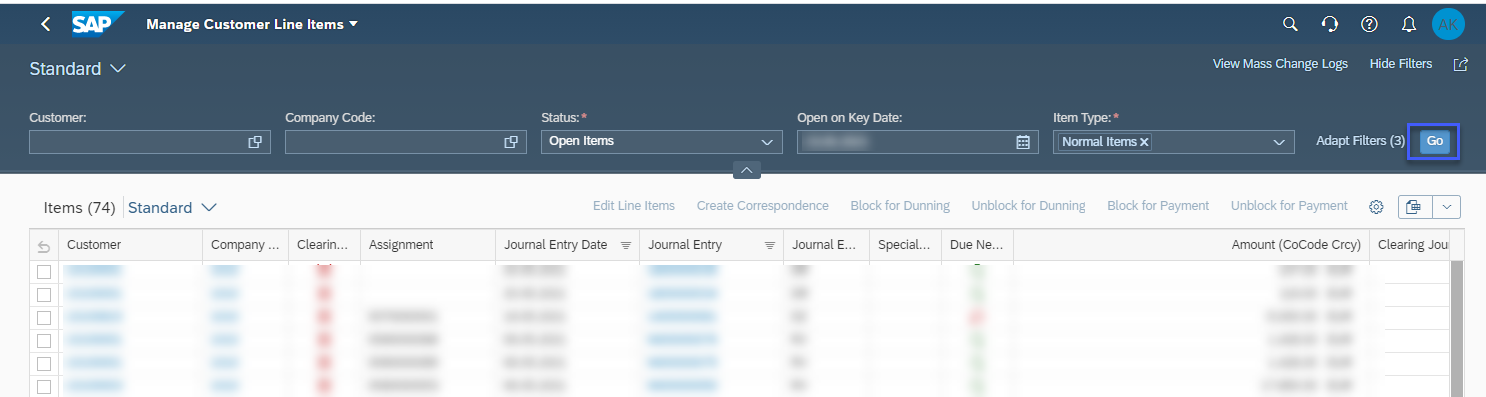
There are two ways to check, how the final result is look like. The one is described in this blog post. If this way does not work for you, or you need to check results for different items, you can use the way, described further.Manage Customer Line Items
First of all it is worse to mention, that you can use this method only in Starter or Q system, or on test data in P system.To review the resulting form, we need to implement several preparation steps.
We start with "Manage Customer Line Items" app. Click "Go" and display all available items:
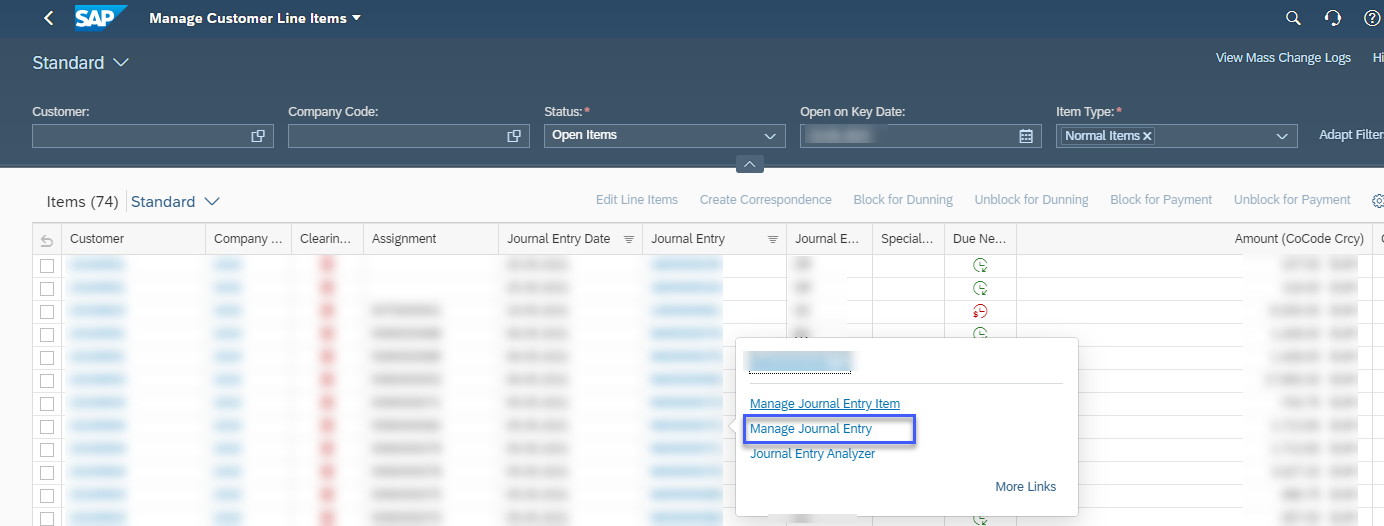
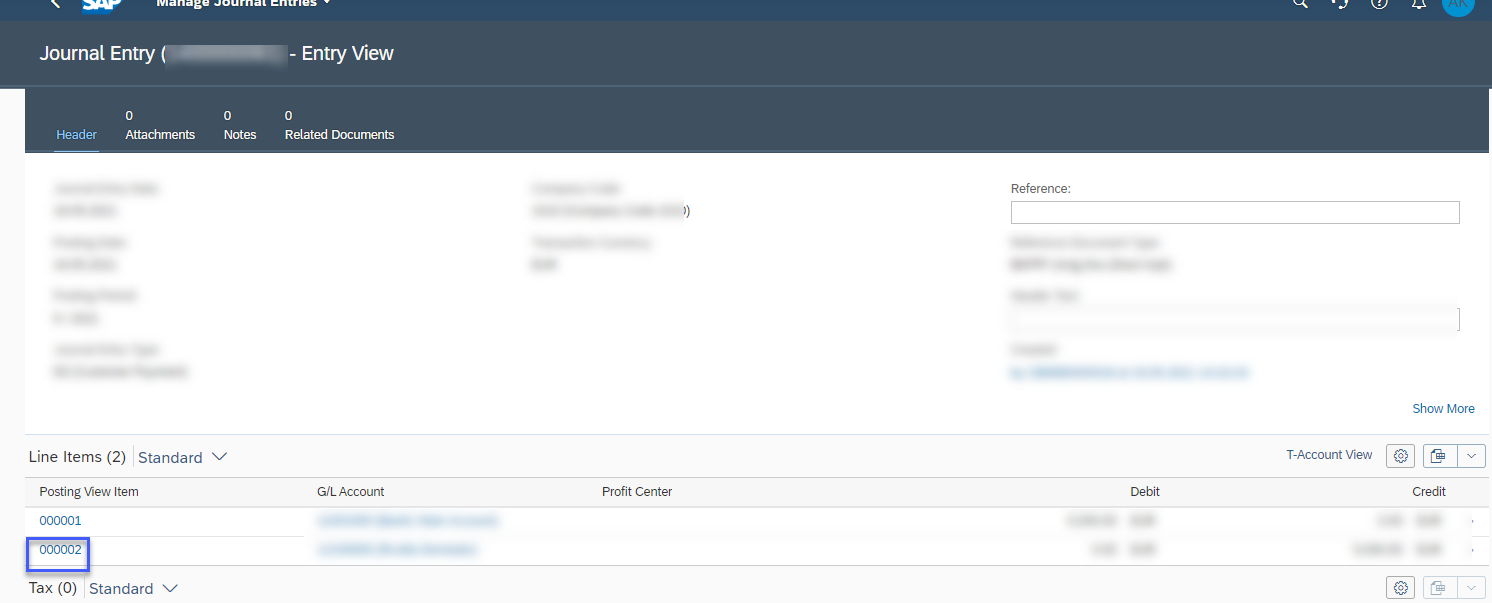
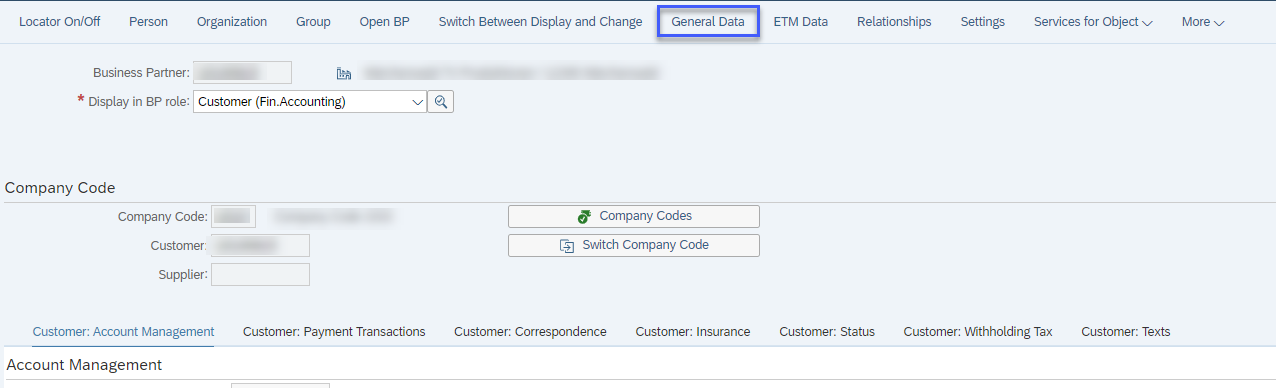
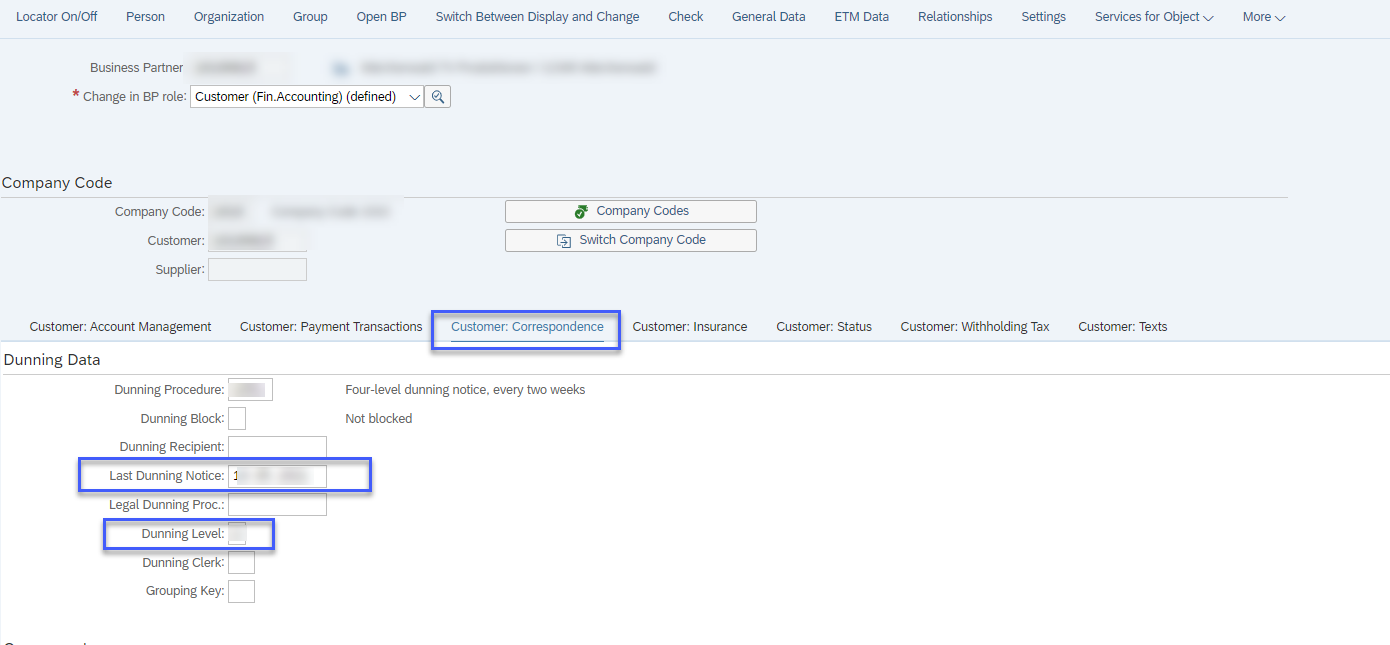
Maintain Business Partner
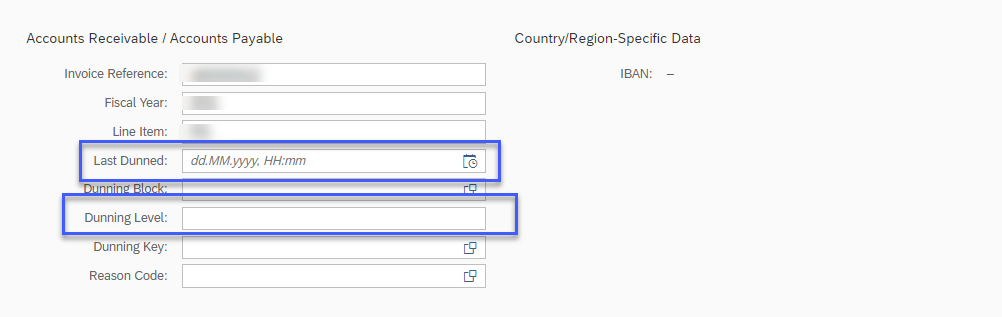
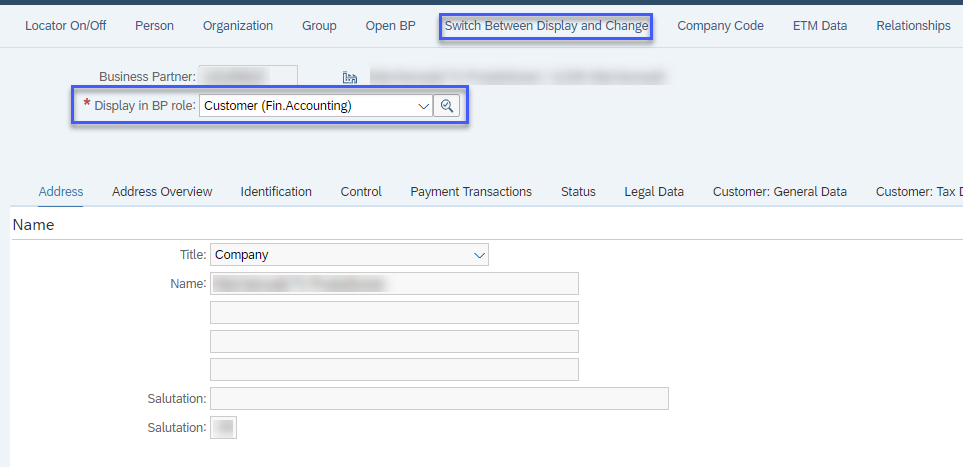
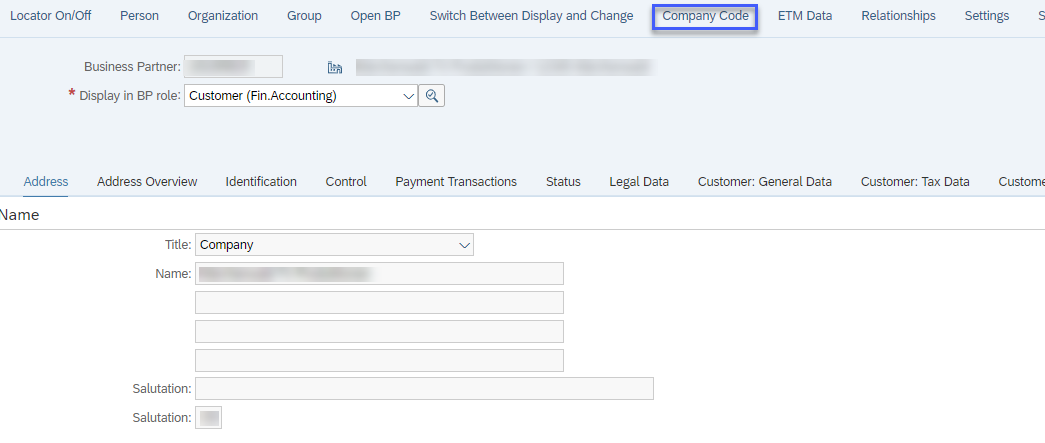
Further we need to go to the app "Maintain Business Partner" and select the Business Partner, for which we update the Journal Entry: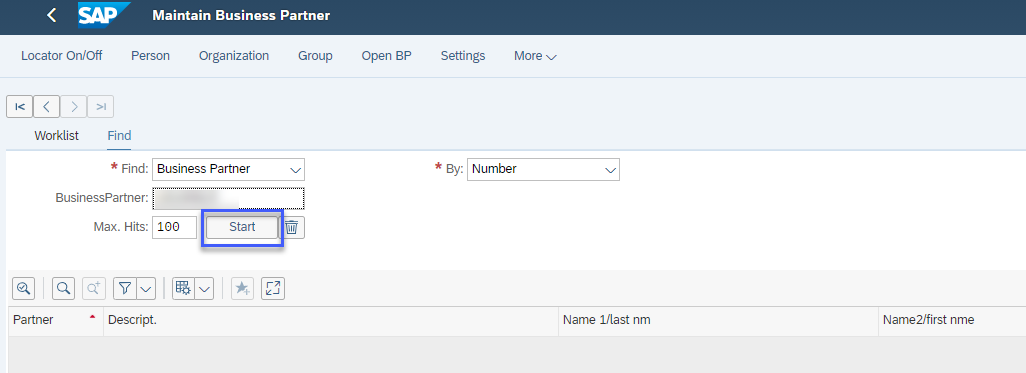
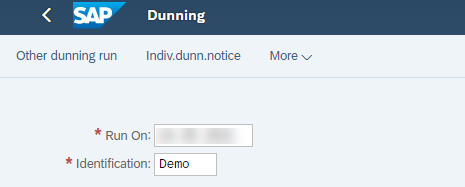
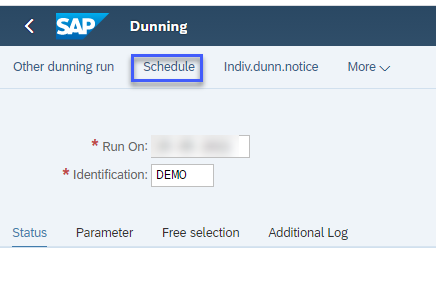
Create Dunning Notices
And the last application, which we will use is "Create Dunning Notices" app.Enter current date in the "Run on" field and any identification in the 2nd field:
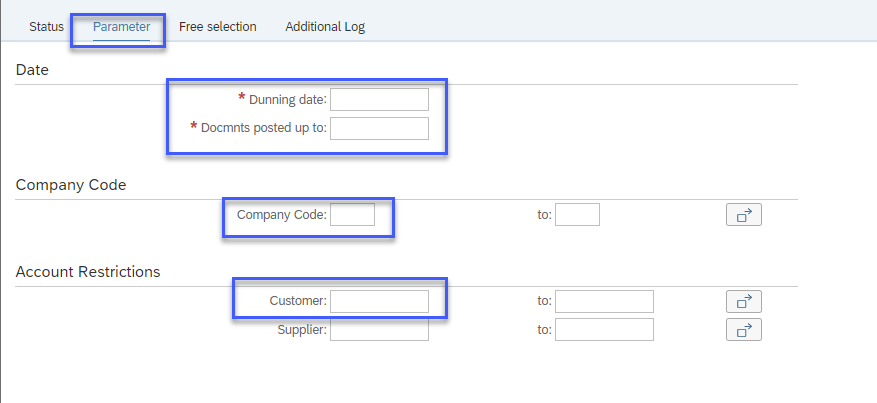


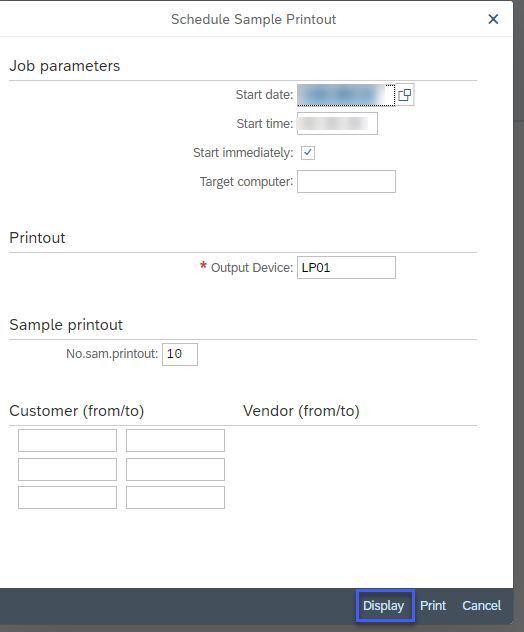
Finally, you can use Sample printout button to display the generated notification:

Conclusion
In this blog post we described end-to-end process of form creation and settings´ customizing for Dunning Notification. The closer you will keep to SAP standard forms and settings, the less efforts in Output Management are needed and many of these steps can be skip. Therefore it is always necessary to evaluate before starting forms´ creation, which business requirements are critical for different forms.Recommend
About Joyk
Aggregate valuable and interesting links.
Joyk means Joy of geeK