

Backbone.js Introduction and Installation
source link: https://www.geeksforgeeks.org/backbone-js-introduction-and-installation/
Go to the source link to view the article. You can view the picture content, updated content and better typesetting reading experience. If the link is broken, please click the button below to view the snapshot at that time.
Backbone.js Introduction and Installation
Backbone.js is a lightweight JavaScript library that allows to develop and structure the client-side applications on the web. It provides structure to the application by providing the model with key-value binding and custom events, collections with a rich API of enumerate functions, views with declarative event handling, and connect it all to your existing API over a RESTful JSON interface. It is designed for developing a single-page web application and for keeping various parts of web applications synchronized. Backbone was created by Jeremy Ashkenas.
Prerequisite: Backbone.js has a dependency on some JavaScript libraries, Some prerequisites for using Backbone.js are the following library:
- Underscore.js: Backbone.js has a hard dependency on Underscore.js. You can use this link to get Underscore.js.
- jQuery: Include this library for RESTful persistence and DOM manipulation with Backbone view.
Backbone.js can be used in 2 ways:
- Using Backbone CDN link.
- By downloading the Backbone file.
We will explore both the ways for the installation & accordingly, will see their illustrations through the examples.
By using CDN links: In this method, we will implement the CDN links, which require the internet connection for installation, because we are installing the Backbone files from an external link. It is recommended that you follow this method.
Approach:
Step 1: Go to this link and there you will find the CDN links.
Step 2: Copy the link and paste it into the head tag.
Step 3: After completing of above steps, the code will be like the following:
<!DOCTYPE html> <html> <head> <meta charset="UTF-8"> <title>Backbone.js Installation</title> <!-- Libraries --><script src= type="text/javascript"> </script> <script src= type="text/javascript"> </script> <script src= type="text/javascript"> </script> </head> <body> <div id="app"> </div> </body> </html> |
At this stage, we have completed the installation process and we can now start to implement the logic.
Example: This example will illustrate the use of backbone, where it initializes a function when an element is rendered on a page and append some values on-page.
<!DOCTYPE html> <html> <head> <meta charset="UTF-8" /> <title>Backbone.js</title> <!-- Libraries --><script src= type="text/javascript"> </script> <script src= type="text/javascript"> </script> <script src= type="text/javascript"> </script> </head> <body> <script type="text/javascript"> let geek = Backbone.View.extend({ initialize: function() { document.write( 'Hello geeks this is written by Backbone.js'); }, }); let N_geek = new geek({ el: $('app') }); </script> </body> </html> |
Output:

By downloading Backbone file: This method is easy, as we only required net connection at time of file download and after that we can run our backbone program offline.
Approach:
Step 1: Go to thislink download any version of we will use the production version. Also, download the jQuery & UnderscoreJS files.
Step 2: File will download put Backbone.js file in same working directory where all the prerequisite of backbone file reside. Under the head tag of the HTML file, Backbone file, jQuery file, and Underscore file need to be link. Make sure that HTML page and download file reside in same working directory.
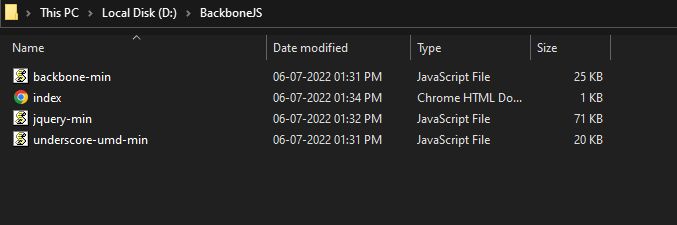
Step 3: After completing the above steps, the final code will look like the following code example. The final code after saving files under the same folder and adding a link to the head tag.
<!DOCTYPE html> <html> <head> <meta charset="UTF-8"> <title> Backbone.js Installation</title> <!-- Libraries --><script src="jquery.js"type="text/javascript"> </script> <script src="underscore.js" type="text/javascript"> </script> <script src="backbone-min.js" type="text/javascript"> </script> </head> <body></body> </html> |
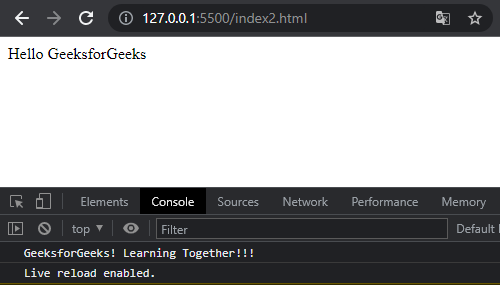
Example: In this example, It can be observed that the download files from Backbone and its prerequisites are included under the head section of the code. Now Backbone can be directly used. As it is downloaded, thus no need for an internet connection to load the Backbone in page.
<!DOCTYPE html> <html> <head> <title>Backbone.js</title> <script src="jquery-min.js" type="text/javascript"> </script> <script src="underscore-umd-min.js" type="text/javascript"> </script> <script src="backbone-min.js" type="text/javascript"> </script> </head> <body> <div id="geeks">Hello GeeksforGeeks</div> <script type="text/javascript"> var GFG = Backbone.View.extend({ el: '#geeks', initialize: function() { this.render(); }, render: function() { console.log("GeeksforGeeks! Learning Together!!!"); } }); var gfg = new GFG(); </script> </body> </html> |
Output:
Reference: https://backbonejs.org/
“This course was packed with amazing and well-organized content! The project-based approach of this course made it even better to understand concepts faster. Also the instructor in the live classes is really good and knowledgeable.”- Tejas | Deutsche Bank
With our revamped Full Stack Development Program: master Node.js and React that enables you to create dynamic web applications.
So get ready for salary hike only with our Full Stack Development Course.
Recommend
About Joyk
Aggregate valuable and interesting links.
Joyk means Joy of geeK