

部署本地的大语言模型,只需几分钟!
source link: https://www.51cto.com/article/786584.html
Go to the source link to view the article. You can view the picture content, updated content and better typesetting reading experience. If the link is broken, please click the button below to view the snapshot at that time.

2023 年是 AI 高速发展的一年,除了功能强大的商用大语言模型之外,也出现了很多不错的开源大语言模型。比如,Llama2、Codellama、Mistral 和 Vicuna 等。虽然商用的大语言模型 ChatGPT、Bard 和 Claude 功能很强大,但需要支付一定的费用,同时也存在一定的安全问题。对于某些场景,如果你要确保数据安全,那么你可以考虑部署本地大语言模型。
本文我将介绍如何利用 ollama[1] 这个开源项目,运行 Llama2 和其它的大语言模型。
安装 ollama
目前 ollama 只支持 macOS 和 Linux 系统,Windows 平台正在开发中。我们可以访问 Download Ollama[2] 这个链接下载指定平台的 ollama。

我下载的是 macOS 版本,成功下载后解压 「Ollama-darwin.zip」 文件,双击 Ollama 可执行文件,即可以开始安装。
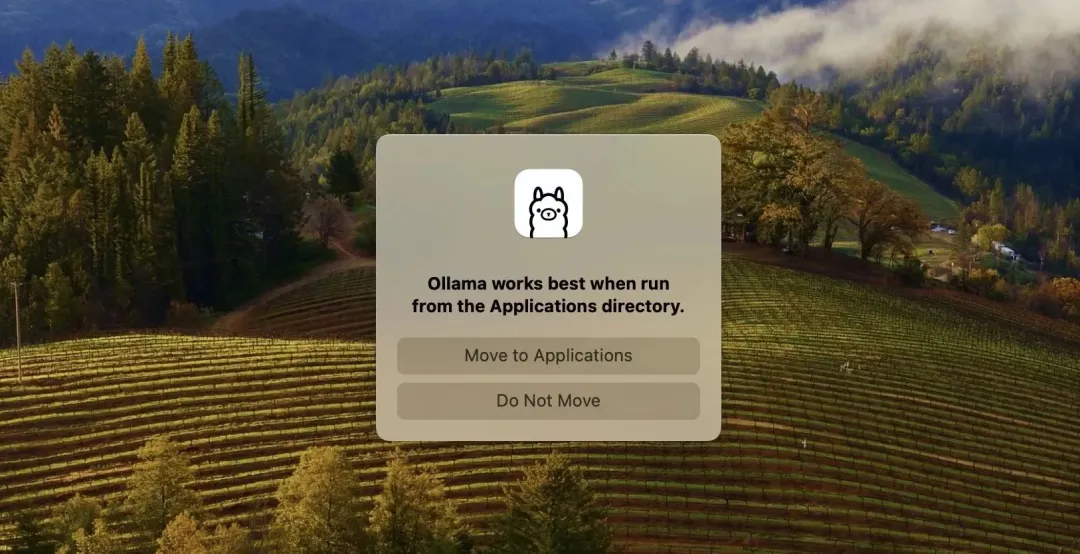
安装时会提示是否把 Ollama 应用移动到系统的 Applications 目录,这里我选择 「Move to Applications」:
接着,按照软件安装指南一步步操作即可。
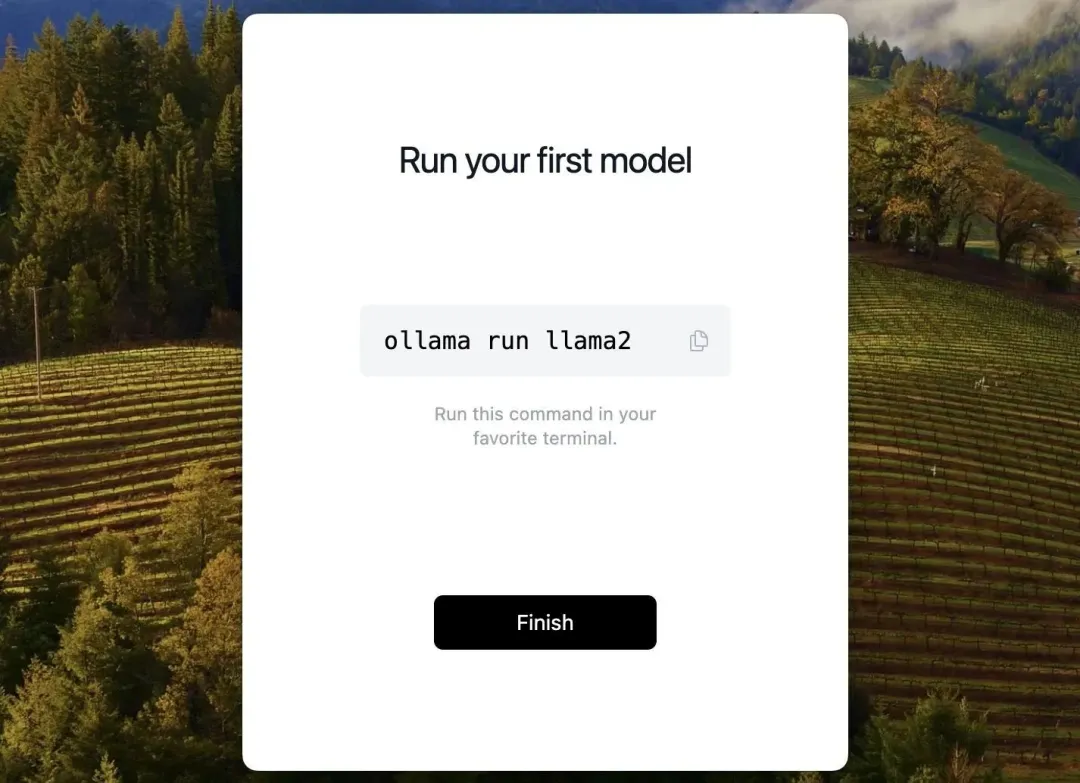
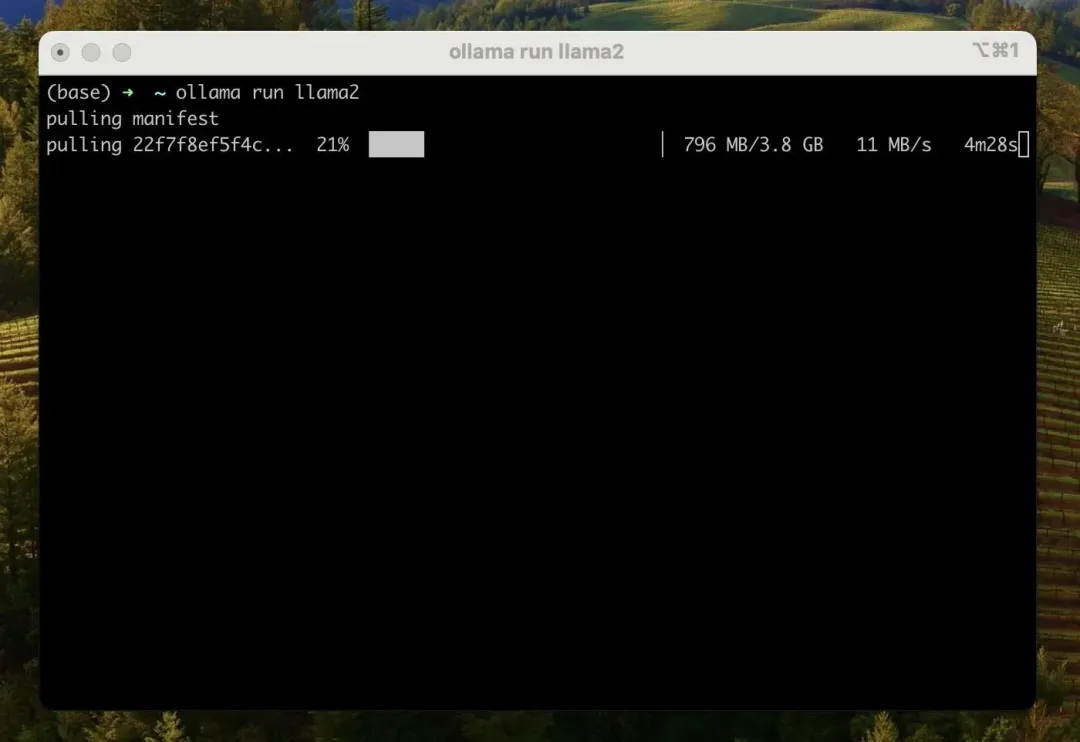
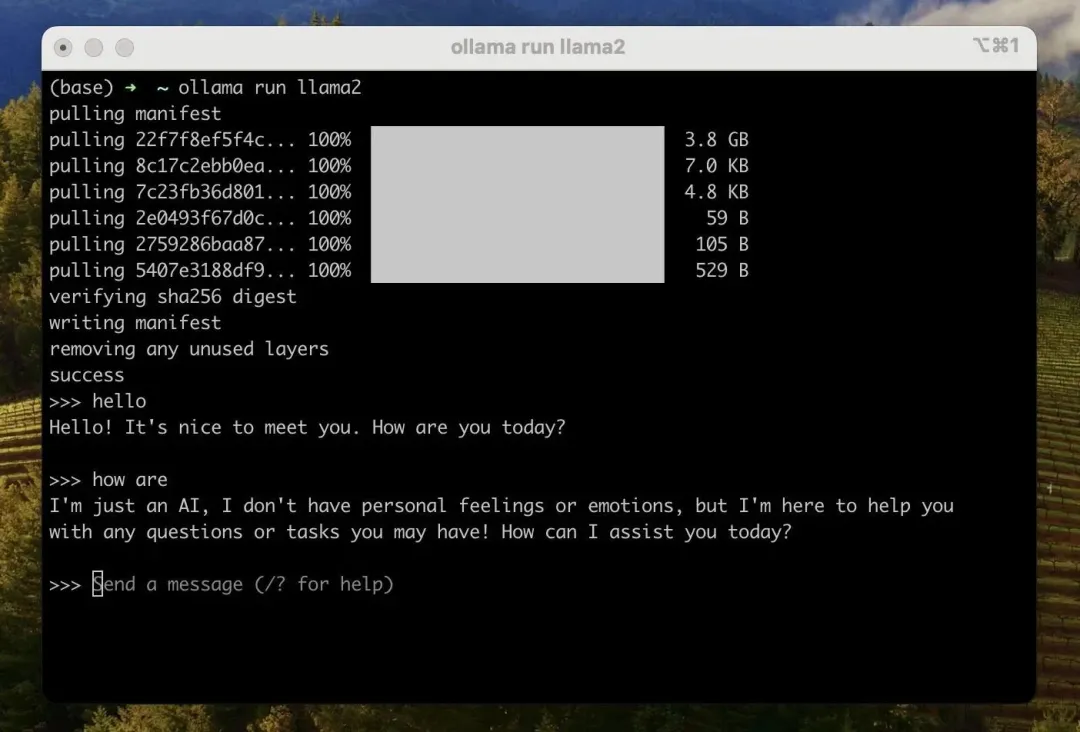
如果你想运行 llama2,只需在终端中运行 ollama run llama2 命令。运行该命令后,会自动下载 llama2 [3] 模型:
除了 llama2 模型之外,Ollama 还支持很多模型,完整的模型可以访问 模型列表[4] 查看。
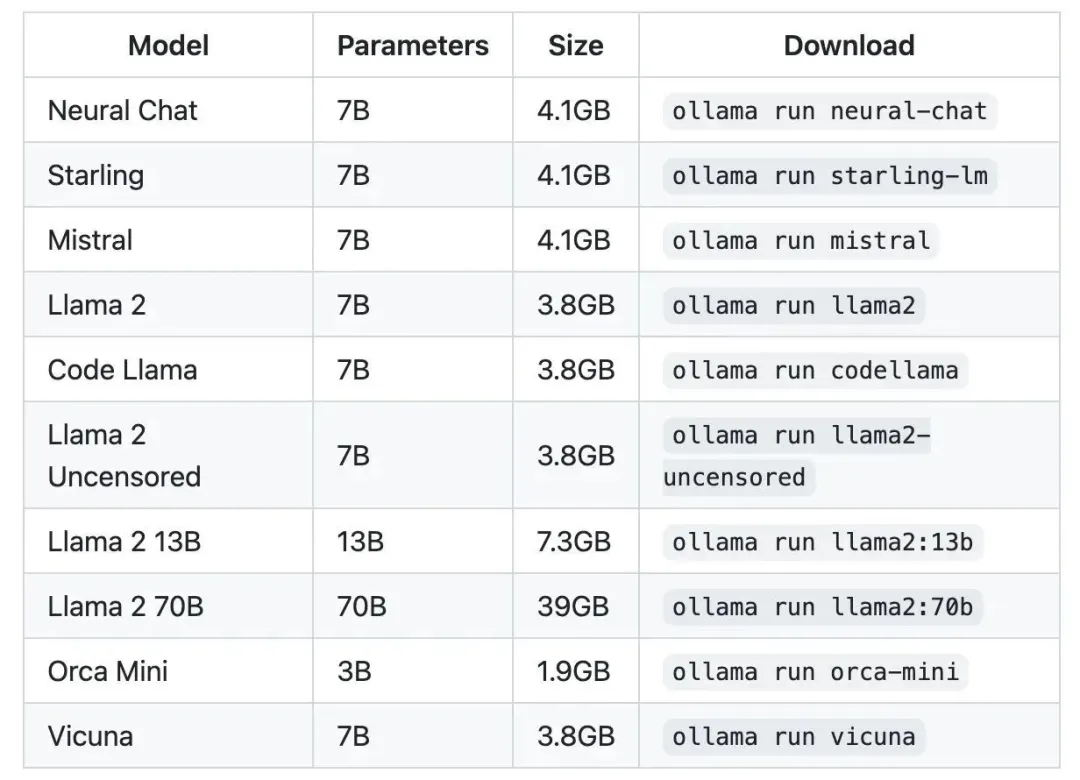
注意:你应该至少有 8 GB 的 RAM 来运行 3B 模型,16 GB 的 RAM 来运行 7B 模型,32 GB 的 RAM 来运行 13B 模型。
成功下载完模型之后,你就可以跟 llama2 模型交互了:
ollama CLI
利用 ollama CLI,我们可以方便地对模型执行各种操作。比如,创建模型、拉取模型、移除模型或复制模型等。
ollama create example -f Modelfileollama pull llama2此命令还可用于更新本地模型。只会拉取差异的部分。
ollama rm llama2ollama cp llama2 my-llama2除了上述的命令之外,ollama CLI 还提供了其它的命令,通过 ollama --help 就可以查看完整的命令:
(base) ➜  ~ ollama --help
Large language model runner

Usage:
  ollama [command]

Available Commands:
  serve       Start ollama
  create      Create a model from a Modelfile
  show        Show information for a model
  run         Run a model
  pull        Pull a model from a registry
  push        Push a model to a registry
  list        List models
  cp          Copy a model
  rm          Remove a model
  help        Help about any command

Flags:
  -h, --help      help for ollama
  -v, --version   version for ollama
启动本地服务器
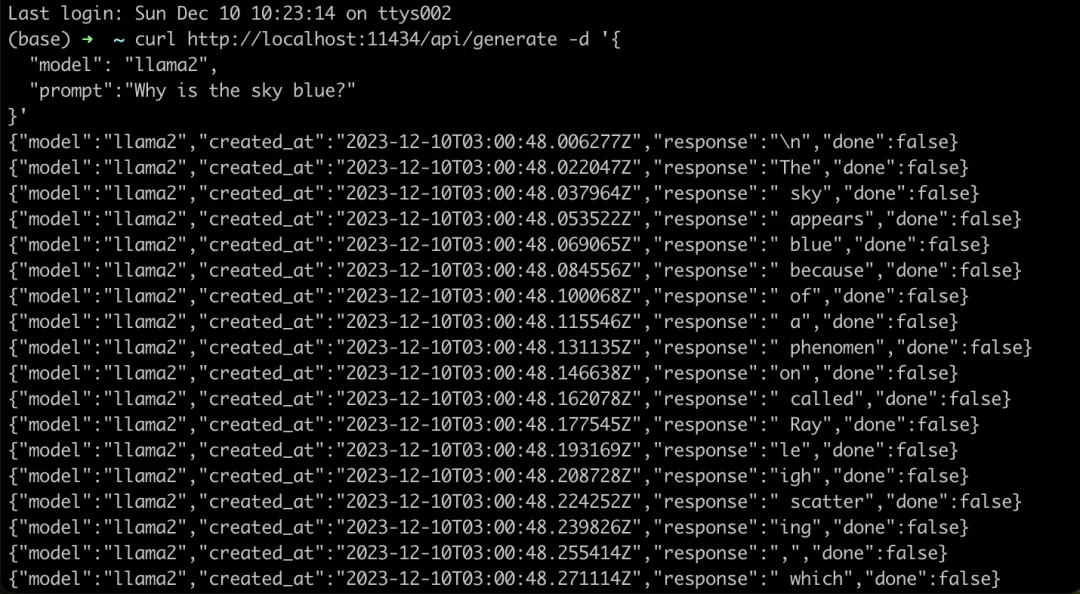
如果你不想在终端中与大语言模型交互,那么你可以通过 ollama serve 命令启动一个本地的服务器。成功运行该命令之后,你就可以通过 REST API 的形式跟本地的大语言模型交互:
curl http://localhost:11434/api/generate -d '{
  "model": "llama2",
  "prompt":"Why is the sky blue?"
}'
在实际项目中,我们可以利用 langchainjs[5] 封装的 ChatOllama[6] 对象来高效地与 Ollama 做交互。
ChatOllama
Ollama 还支持 JSON 模式,可以强制让大语言模型输出合法的 JSON。下面我们来介绍一下如何利用 langchainjs) 封装的 「ChatOllama」 对象实现文本翻译的功能。
初始化 ChatOllama 项目。
mkdir ChatOllama
npm init -y
安装 langchainjs。
npm install -S langchain # or
yarn add langchain # or
pnpm add langchainjs
创建 index.mjs 文件。
import { ChatOllama } from "langchain/chat_models/ollama";
import { ChatPromptTemplate } from "langchain/prompts";
const prompt = ChatPromptTemplate.fromMessages([
[
"system",
`You are an expert translator. Format all responses as JSON objects with two keys: "original" and "translated".`,
],
["human", `Translate "{input}" into {language}.`],
]);
const model = new ChatOllama({
baseUrl: "http://localhost:11434", // Default value
model: "llama2", // Default value
format: "json",
});
const chain = prompt.pipe(model);
const result = await chain.invoke({
input: "I love programming",
language: "Chinese",
});
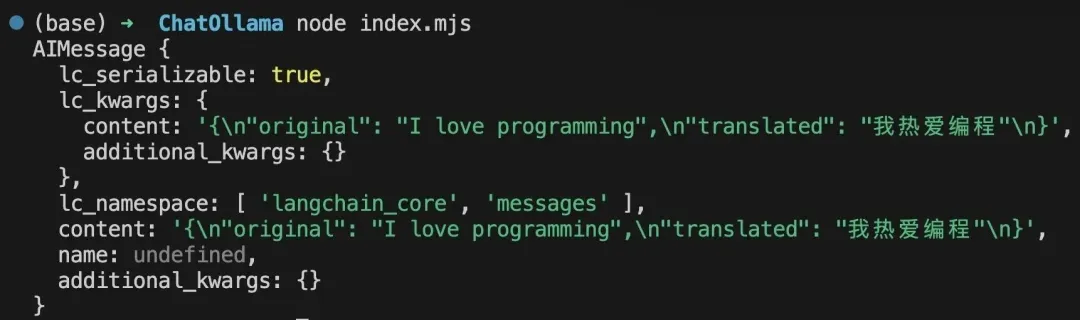
console.log(result);之后,在项目的根目录下,打开终端并执行 node index.mjs 命令。当成功运行上述命令后,终端会输出以下结果:
除了实现文本翻译的功能之外,你还可以实现很多不同功能。比如,开发 RAG(Retrieval Augmented Generation)应用来实现高效地信息检索。感兴趣的小伙伴,可以自行了解 RAG 相关内容。
本文介绍了如何利用 Ollama 在本地快速部署开源的大语言模型,并介绍了基于 langchainjs 封装的 ChatOllama 对象,实现文本翻译的功能。其实,Ollama 还支持我们自定义模型,它允许我们导入 GGUF 格式的模型。如果你对自定义模型感兴趣,可以阅读 Customize your own model[7] 这一部分的内容。
Reference
[1]ollama:https://github.com/jmorganca/ollama。
[2]Download Ollama:https://ollama.ai/download。
[3]llama2 :https://ollama.ai/library/llama2。
[4]模型列表:https://ollama.ai/library。
[5]langchainjs:https://github.com/langchain-ai/langchainjs。
[6]ChatOllama:https://js.langchain.com/docs/integrations/chat/ollama。
[7]Customize your own model:https://github.com/jmorganca/ollama?tab=readme-ov-file#customize-your-own-model。
Recommend
About Joyk
Aggregate valuable and interesting links.
Joyk means Joy of geeK