

DTeam 技术日志
source link: https://blog.dteam.top/posts/2023-11/passport-js.html
Go to the source link to view the article. You can view the picture content, updated content and better typesetting reading experience. If the link is broken, please click the button below to view the snapshot at that time.

Passport认证小记
Passport 是 NodeJS 的认证中间件,它将多种(539 种)认证方式打包成单独的模块,称之为策略(Strategy)。开发者可根据实际情况选择策略。本文以 Discord、Google 为例,介绍 Passpord 的认证过程。
认证流程如下:
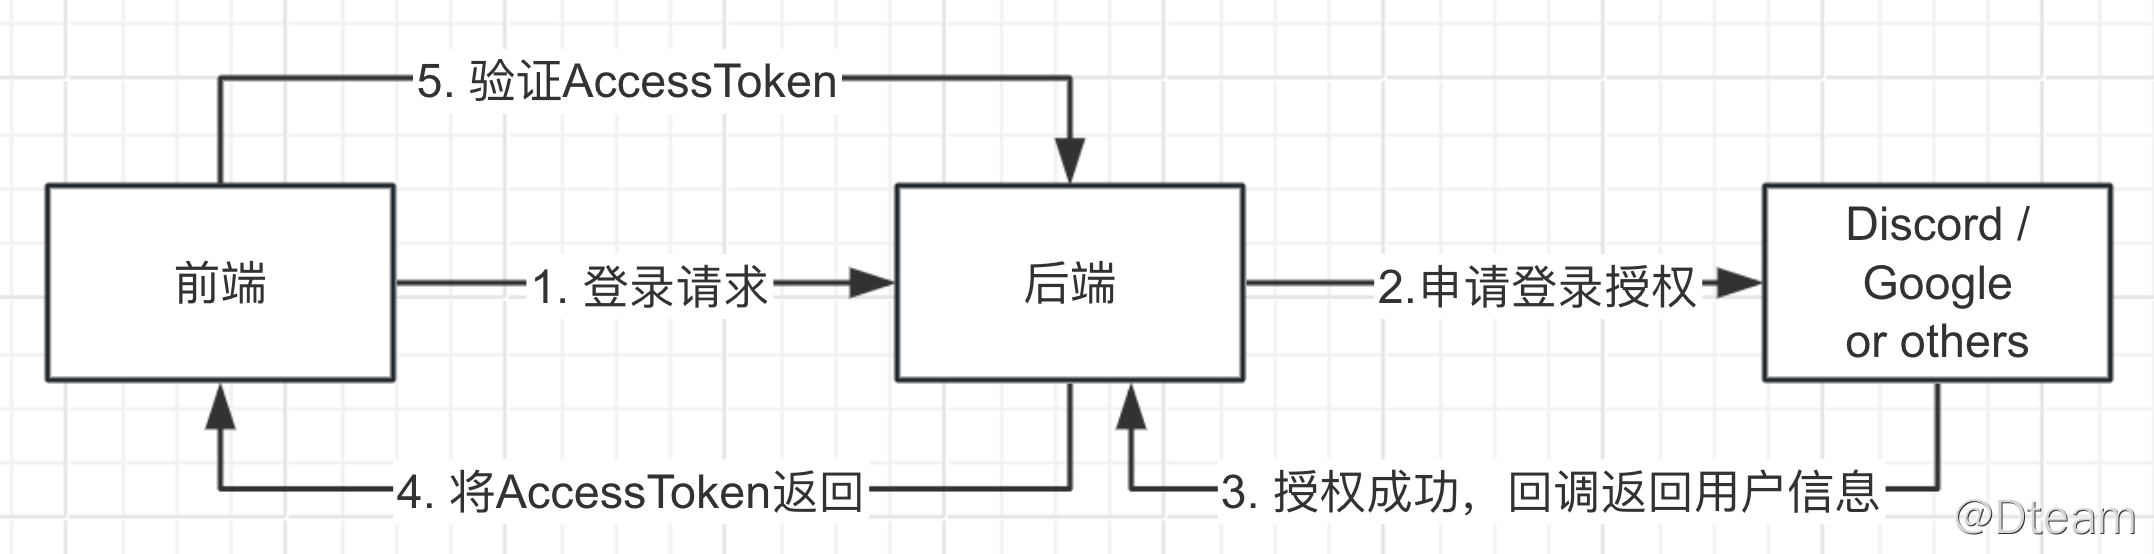
在开发前,需要准备一个使用 fastifyJWT 的后端 Node 应用以及一个前端应用。同时准备好 Discord 和 Google 的 ClientID 和 ClientSecret。我们先来看下 Discord 和 Google 的配置。
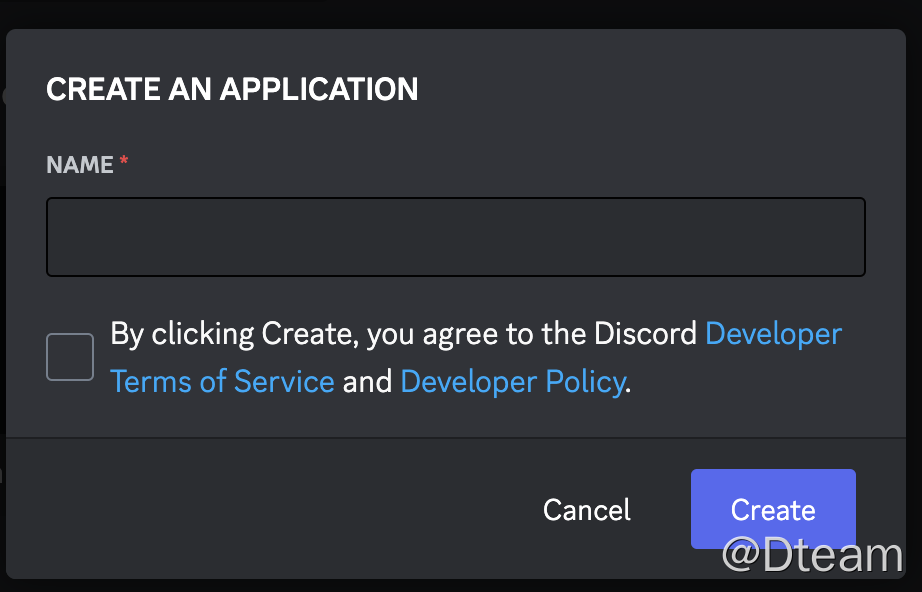
配置 Discord
访问 https://discord.com/developers/applications, 创建 Application。
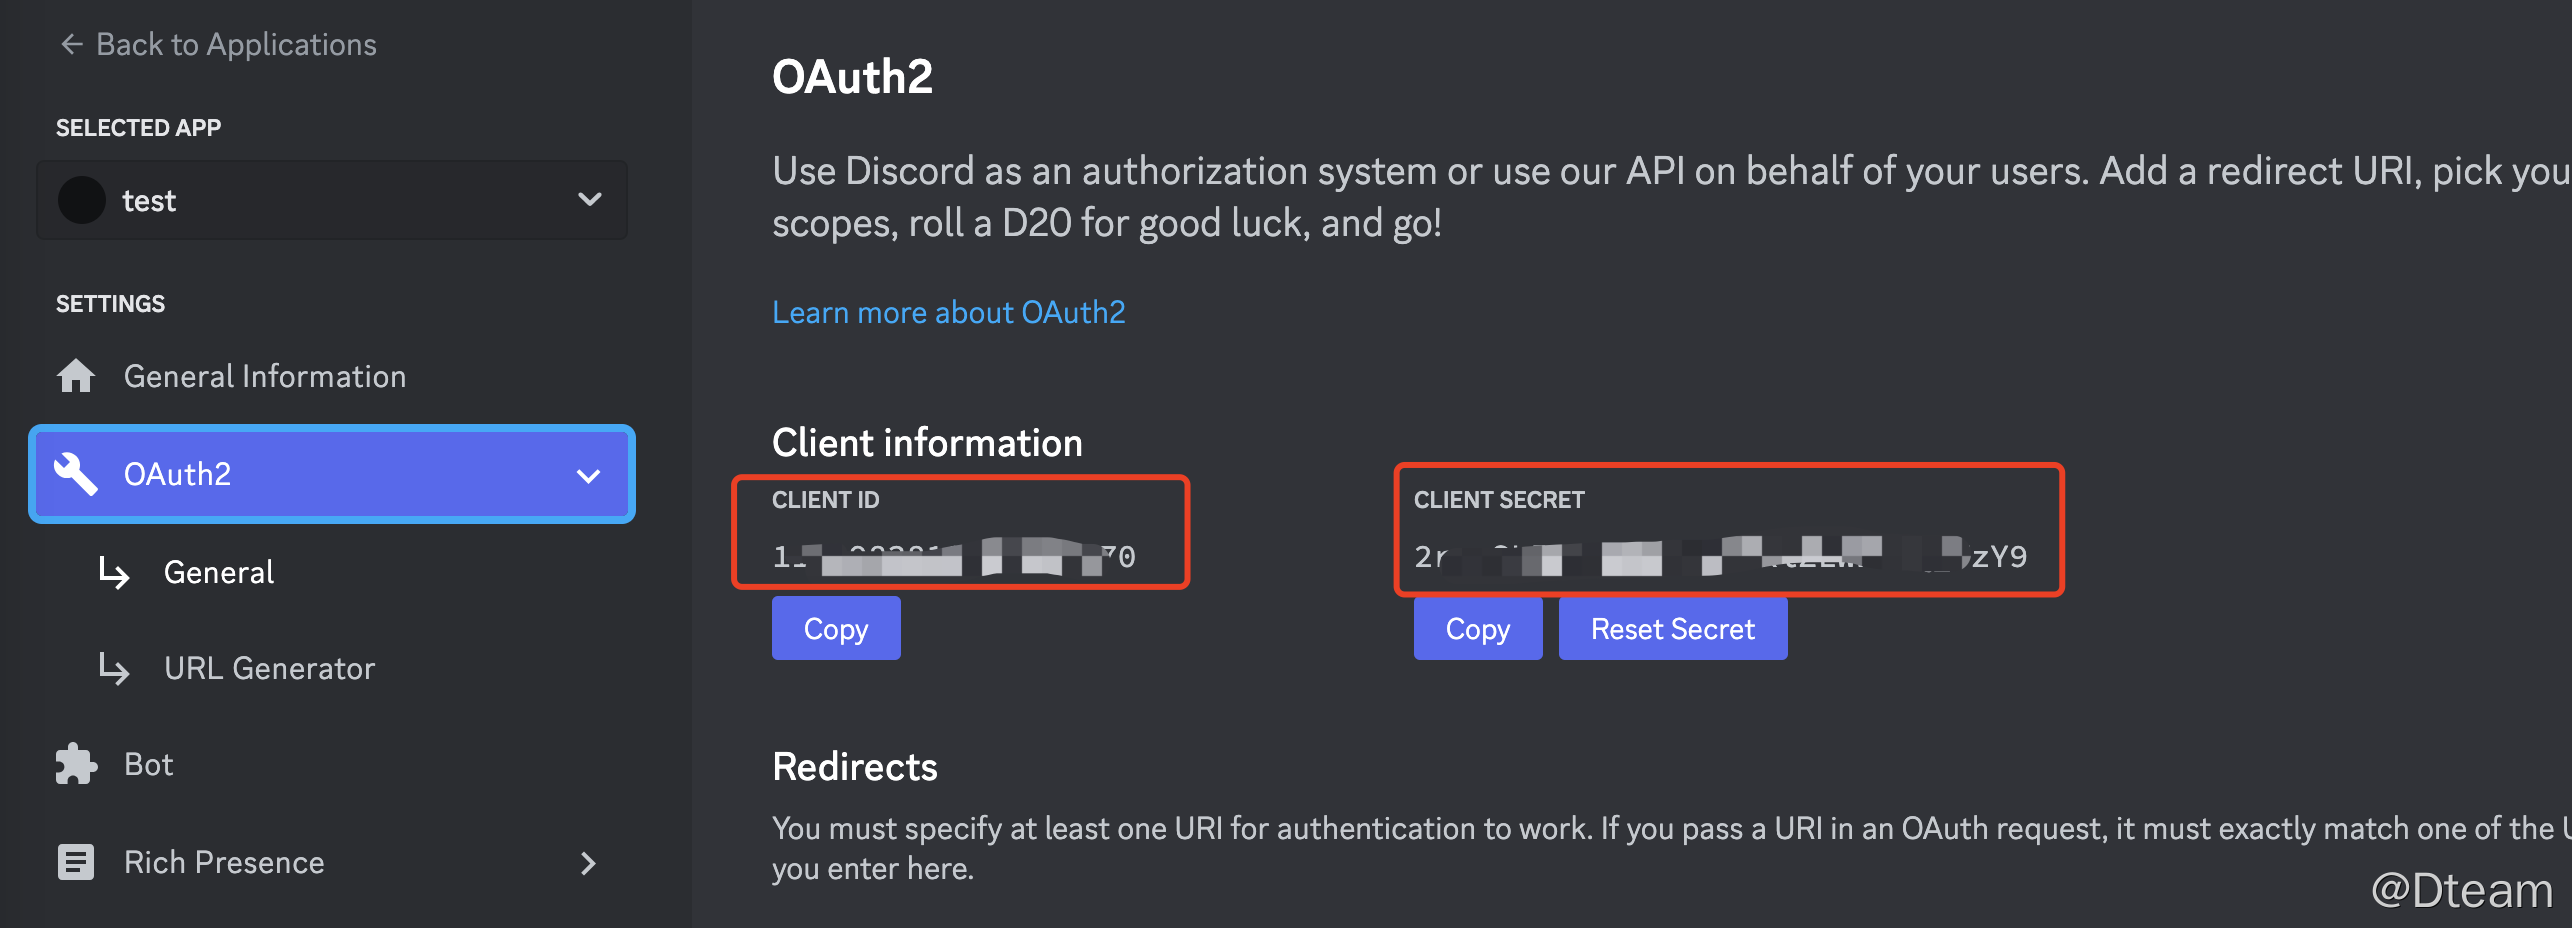
进入OAuth2页面,将 CLIENT ID 和 CLIENT SECRET 保存下来。
单击Add Redirect,添加回调地址:
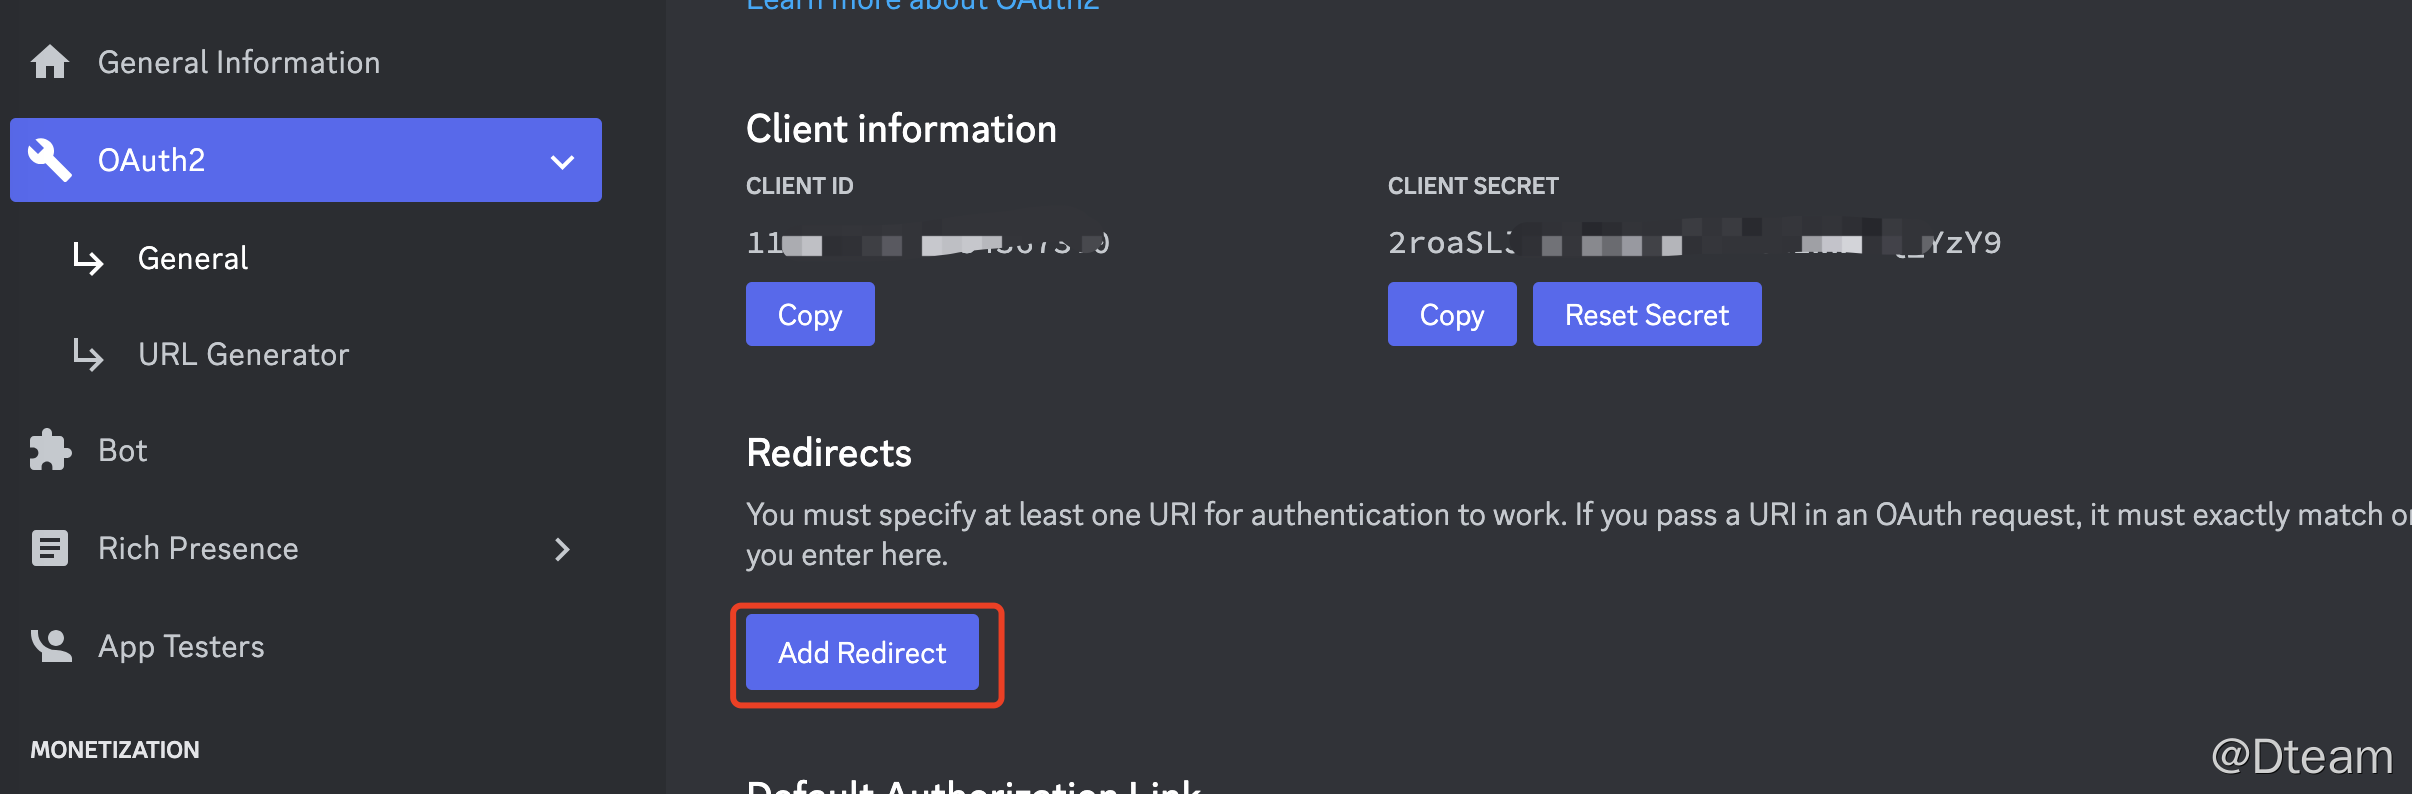
这里的回调地址是后端应用提供的,这里可以添加多个:

配置 Google
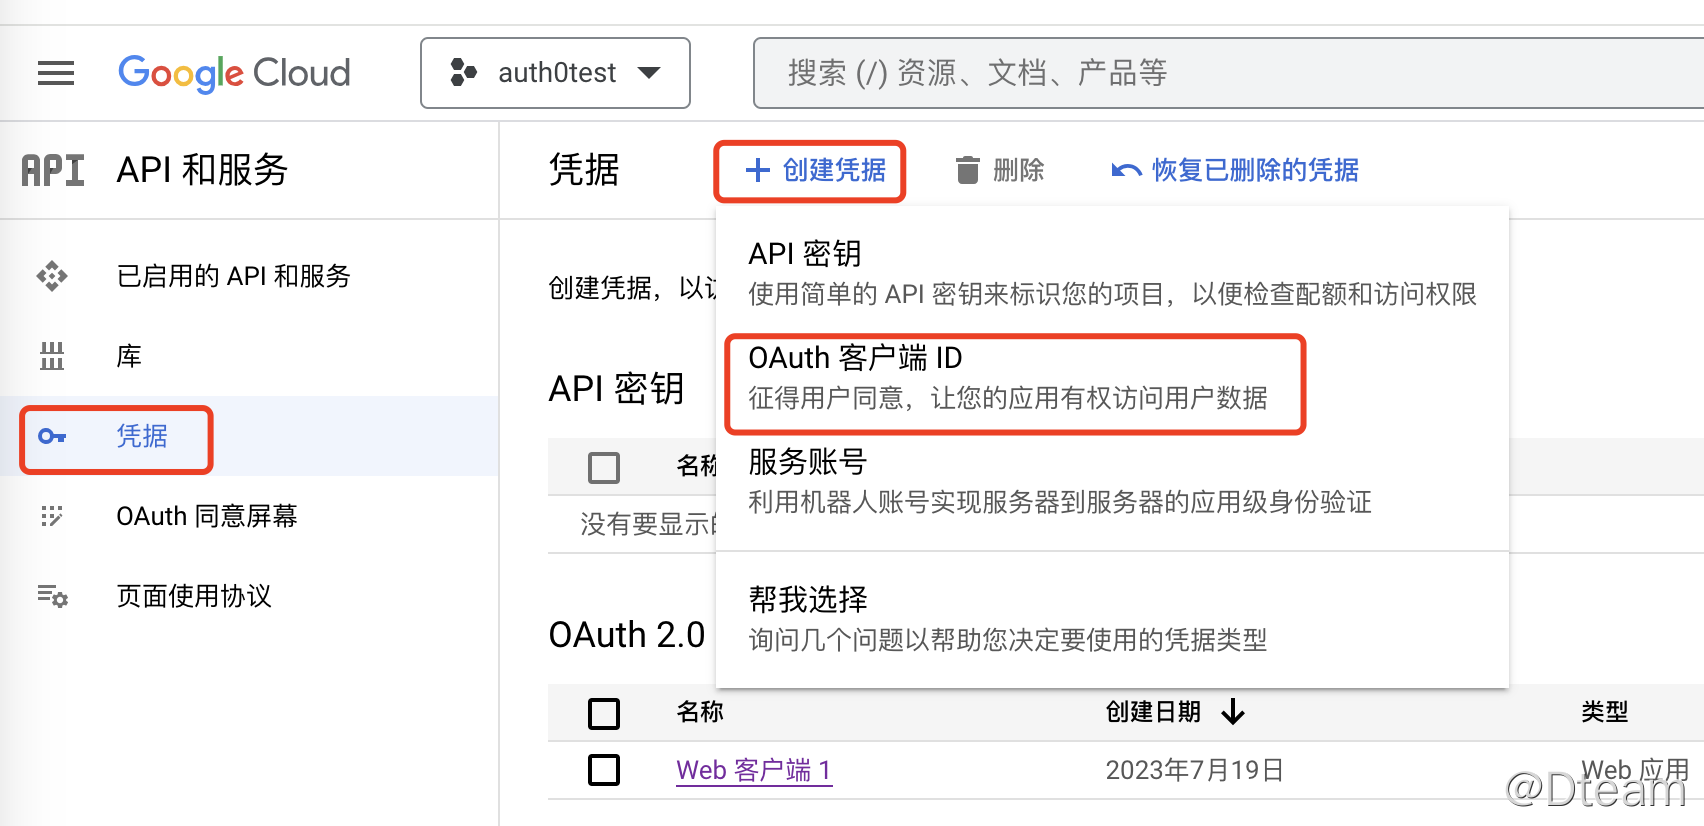
访问 https://console.cloud.google.com,创建Project, 进入API和服务->凭证,创建凭证:

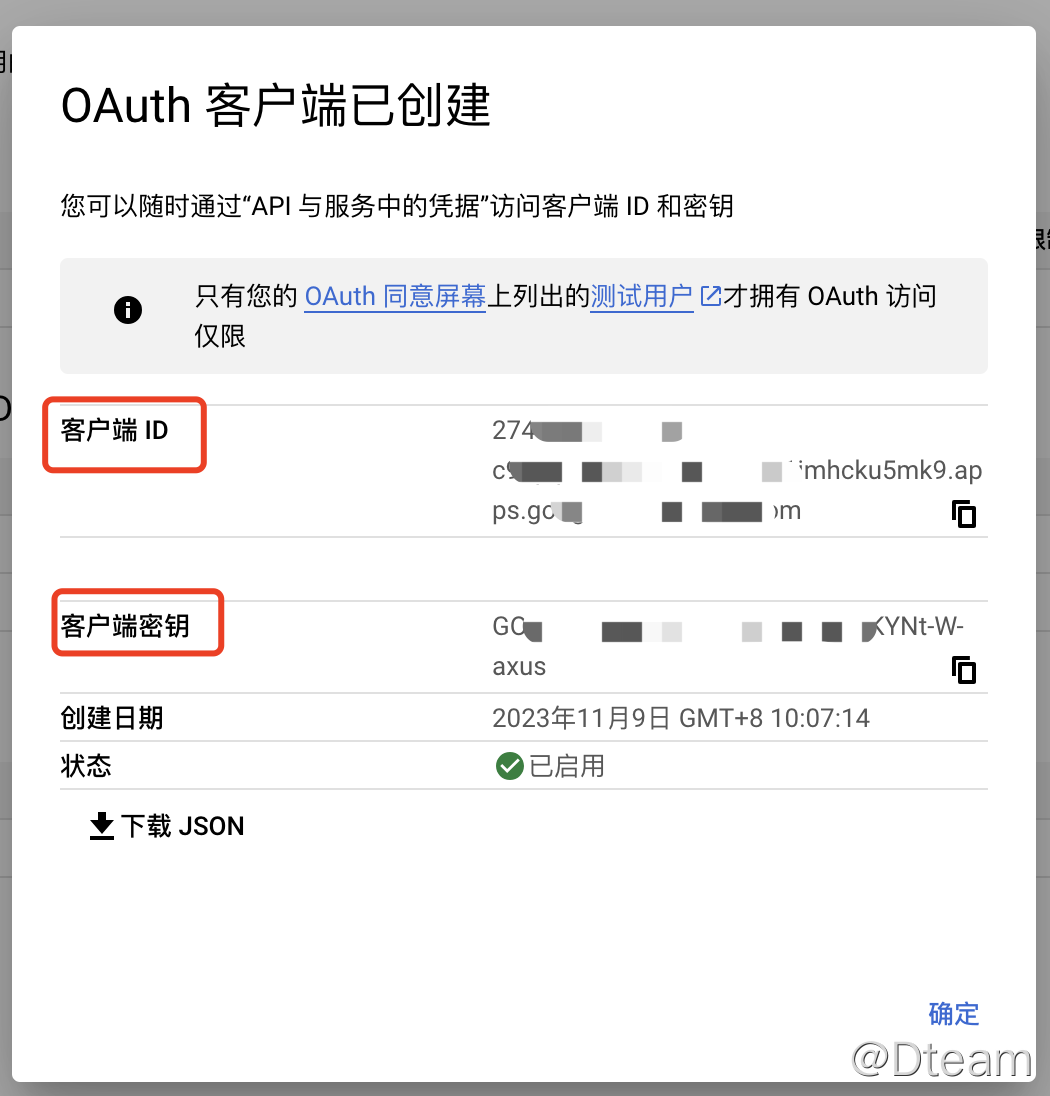
创建完成后,保存好客户 ID(CLENT ID)和客户密钥(CLENT SECRET)。
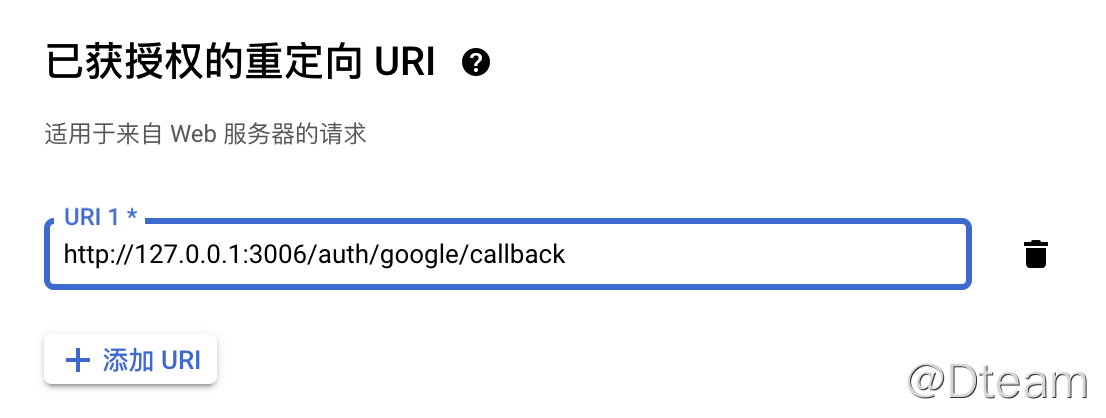
进入刚创建的凭证号中,添加回调地址,同样这里的回调地址是后端提供的,可以添加多个:
使用 Discord 进行认证
得到了 CLIENT ID 和 CLIENT SECRET 后,我们就可以开始写代码了。
在代码中安装 Passport、Discord Strategy。
npm install @fastify/passport passport-discord @types/passport-discord --save
创建文件 auth.ts 文件,用来设置 Discord Strategy:
import passport from "@fastify/passport";
import Strategy from "passport-discord";

export function useDiscord() {
  passport.use(
    "discord",
    new Strategy(
      {
        clientID: YOUR_DISCORD_CLIENT_ID,
        clientSecret: YOUR_DISCORD_CLIENT_SECRET,
        callbackURL: `${YOUR_CALLBACK_URL_ROOT}/auth/discord/callback`, // 这里需要注意,回调地址需要跟 Discord 控制台上设置的内容保持一致
        scope: ["identify", "email"],
      },
      async (
        accessToken: string,
        refreshToken: string,
        profile: any,
        done: any
      ) => {
        //Discord授权成功后,会将此处设置信息通过回调地址返回(可以根据实际需求,将profile中的内容返回)。
        return done(null, {
          accessToken: accessToken,
          email: profile.email,
          given_name: profile.global_name,
          id: profile.id,
        });
      }
    )
  );
}
在 Server 中注册 Passport 服务。
useDiscord();
this.server = fastify({
  logger: LOGGER,
  trustProxy: true,
  bodyLimit: 10485760,
});

this.server
  .register(require("@fastify/secure-session"), {
    secret: YOUR_DISCORD_SESSION_SECRET, //这个可以自行设置
    cookieName: "session_cookie",
  })
  .register(passport.initialize())
  .register(passport.secureSession())
  .register(fastifyJWT, { secret: YOUR_JWT_SECRET, decoratorName: "jwt-user" });
接着就是指定登录的 url 和 回调地址,这里需要注意:回调地址需要跟 Discord 控制台上设置的内容保持一致:
this.server.get(
  "/auth/discord",
  passport.authenticate("discord", { scope: ["identify", "email"] })
);

this.server.get(
  "/auth/discord/callback",
  passport.authenticate(
    "discord",
    {
      failureRedirect: "/",
    },
    async (request, reply, err, user, info, status) => {
      if (user) {
        //此处的user内容就是useDiscord中done返回的内容,我们这里将其转成JWT后作为accessToken返回给前端
        const token = await jwt.sign(user, YOUR_JWT_SECRETE);
        reply.redirect(YOR_FRONTEND_URL + `/?access_token=${token}`);
      }
    }
  )
);
我们还需要在后端添加一个验证 AccessToken 的 Api:
export const authorize: Action = {
  path: '/api/authorize',
  method: 'post',
  options: {
    schema: {
      response: {
        200: z.object({...}),
      },
      security: [{jwt: []}],
    },
  },
  handler: authorizeHandler,
};

async function authorizeHandler(
  this: FastifyInstance,
  request: FastifyRequest,
  reply: FastifyReply
) {
  const userData = await request.jwtVerify();

  if (!userData.accessToken)
    return reply
      .status(400)
      .send({message: 'Failed to get accessToken from JWT token'});

  const validateData = verifyAccessTokenForDiscord(userData.accessToken)

  if (validateData.id !== userData.id || validateData.email !== userData.email)
    return reply
      .status(400)
      .send({message: 'Failed to vidate JWT token'});

  ...
  return {
    ...
  };
}

async function verifyAccessTokenForDiscord(accessToken: string) {
  try {
    const res = await axios.get(
      'https://discord.com/api/v8/users/@me', {
      headers: {
        Authorization: `Bearer ${accessToken}`,
      },
    });
    return res.data;
  } catch (err: any) {
    throw new Error(err);
  }
}
前端我们使用 Svelte。
<script lang="ts">
  const discordHandler = () => {
    //调用后端的auth地址
    window.open(`${YOUR_BACKEND_ROOT}/auth/discord`, "_self");
  };
</script>

<main class="max-w-2xl mx-auto pt-8 sm:px-4 ssm:px-4">
  <section class="py-4">
    <button
      class="cursor-pointer rounded-md bg-indigo-600 hover:bg-indigo-500 py-2 px-3 font-semibold leading-5 text-white w-40"
      on:click={discordHandler}>Lgoin by Discord</button
    >
  </section>
</main>
Discord 授权登录成功后,通过回调返回到前端页面,前端可以将获得的 accessToken 发送给后端进行验证:
<script lang="ts">
  import { authorize } from "../services/Api";
  import { onMount } from "svelte";

  let userData: any;

  onMount(async () => {
    const url = new URL(window.location.href);
    const accessToken = url.searchParams.get('accesst_token');
    if (accessToken) {
      userData = await authorize(accessToken);
    }
  });

</script>

<main class="max-w-2xl mx-auto pt-8 sm:px-4 ssm:px-4">
  This is Discord account's info:
  <div>
    userData:
    {#if userData === undefined}
      Loading ...
    {:else}
      {JSON.stringify(userData)}
    {/if}
  </div>
</main>
//Api.ts

import axios from "axios";

export async function authorize(accessToken: string) {
  return await axios.post(
    `${YOUR_BACKEND_ROOT}/api/authorize`,
    {},
    {
      headers: {
        Authorization: `Bearer ${accessToken}`,
        "Content-Type": "application/json",
      },
    }
  );
}
使用 Google 进行认证
Goole 的认证跟 Discord 认证过程类似,这里仅提供后端代码:
//后端
useGoogle();
this.server.get(
  "/auth/google",
  passport.authenticate("google", { scope: ["email", "profile"] })
);

this.server.get(
  "/auth/google/callback",
  passport.authenticate(
    "google",
    {
      failureRedirect: "/",
    },
    async (request, reply, err, user, info, status) => {
      if (user) {
        const token = await jwt.sign(user, YOUR_JWT_SECRETE);
        reply.redirect(YOR_FRONTEND_URL + `/?access_token=${token}`);
      }
    }
  )
);

//Auth.ts
export function useGoogle() {
  passport.use(
    "google",
    new GoogleStrategy(
      {
        clientID: GOOGLE_CLIENT_ID,
        clientSecret: GOOGLE_CLIENT_SECRET,
        callbackURL: `${YOUR_CALLBACK_URL_ROOT}/auth/google/callback`, //这里的地址需要与Google中配置的保持一致
      },
      async (
        accessToken: string,
        refreshToken: string,
        profile: any,
        done: any
      ) => {
        return done(null, {
          accessToken: accessToken,
          email: profile._json.email,
          given_name: profile._json.given_name,
          id: profile.id,
        });
      }
    )
  );
}

//验证AccessToken
async function verifyAccessTokenForGoogle(accessToken: string) {
  try {
    const res = await axios.get(
      `https://www.googleapis.com/oauth2/v1/userinfo?access_token=${accessToken}`
    );
    return res.data;
  } catch (err: any) {
    throw new Error(err);
  }
}
Passport 使用方便,且提供了大量 Strategy, 开发者可根据需求,自行组装。
觉得有帮助的话,不妨考虑购买付费文章来支持我们 🙂 :
付费文章Recommend
About Joyk
Aggregate valuable and interesting links.
Joyk means Joy of geeK