
3

通过图像和 ChatGPT 聊天
source link: https://xugaoxiang.com/2023/03/19/visual-chatgpt/
Go to the source link to view the article. You can view the picture content, updated content and better typesetting reading experience. If the link is broken, please click the button below to view the snapshot at that time.
- windows 10 64bit
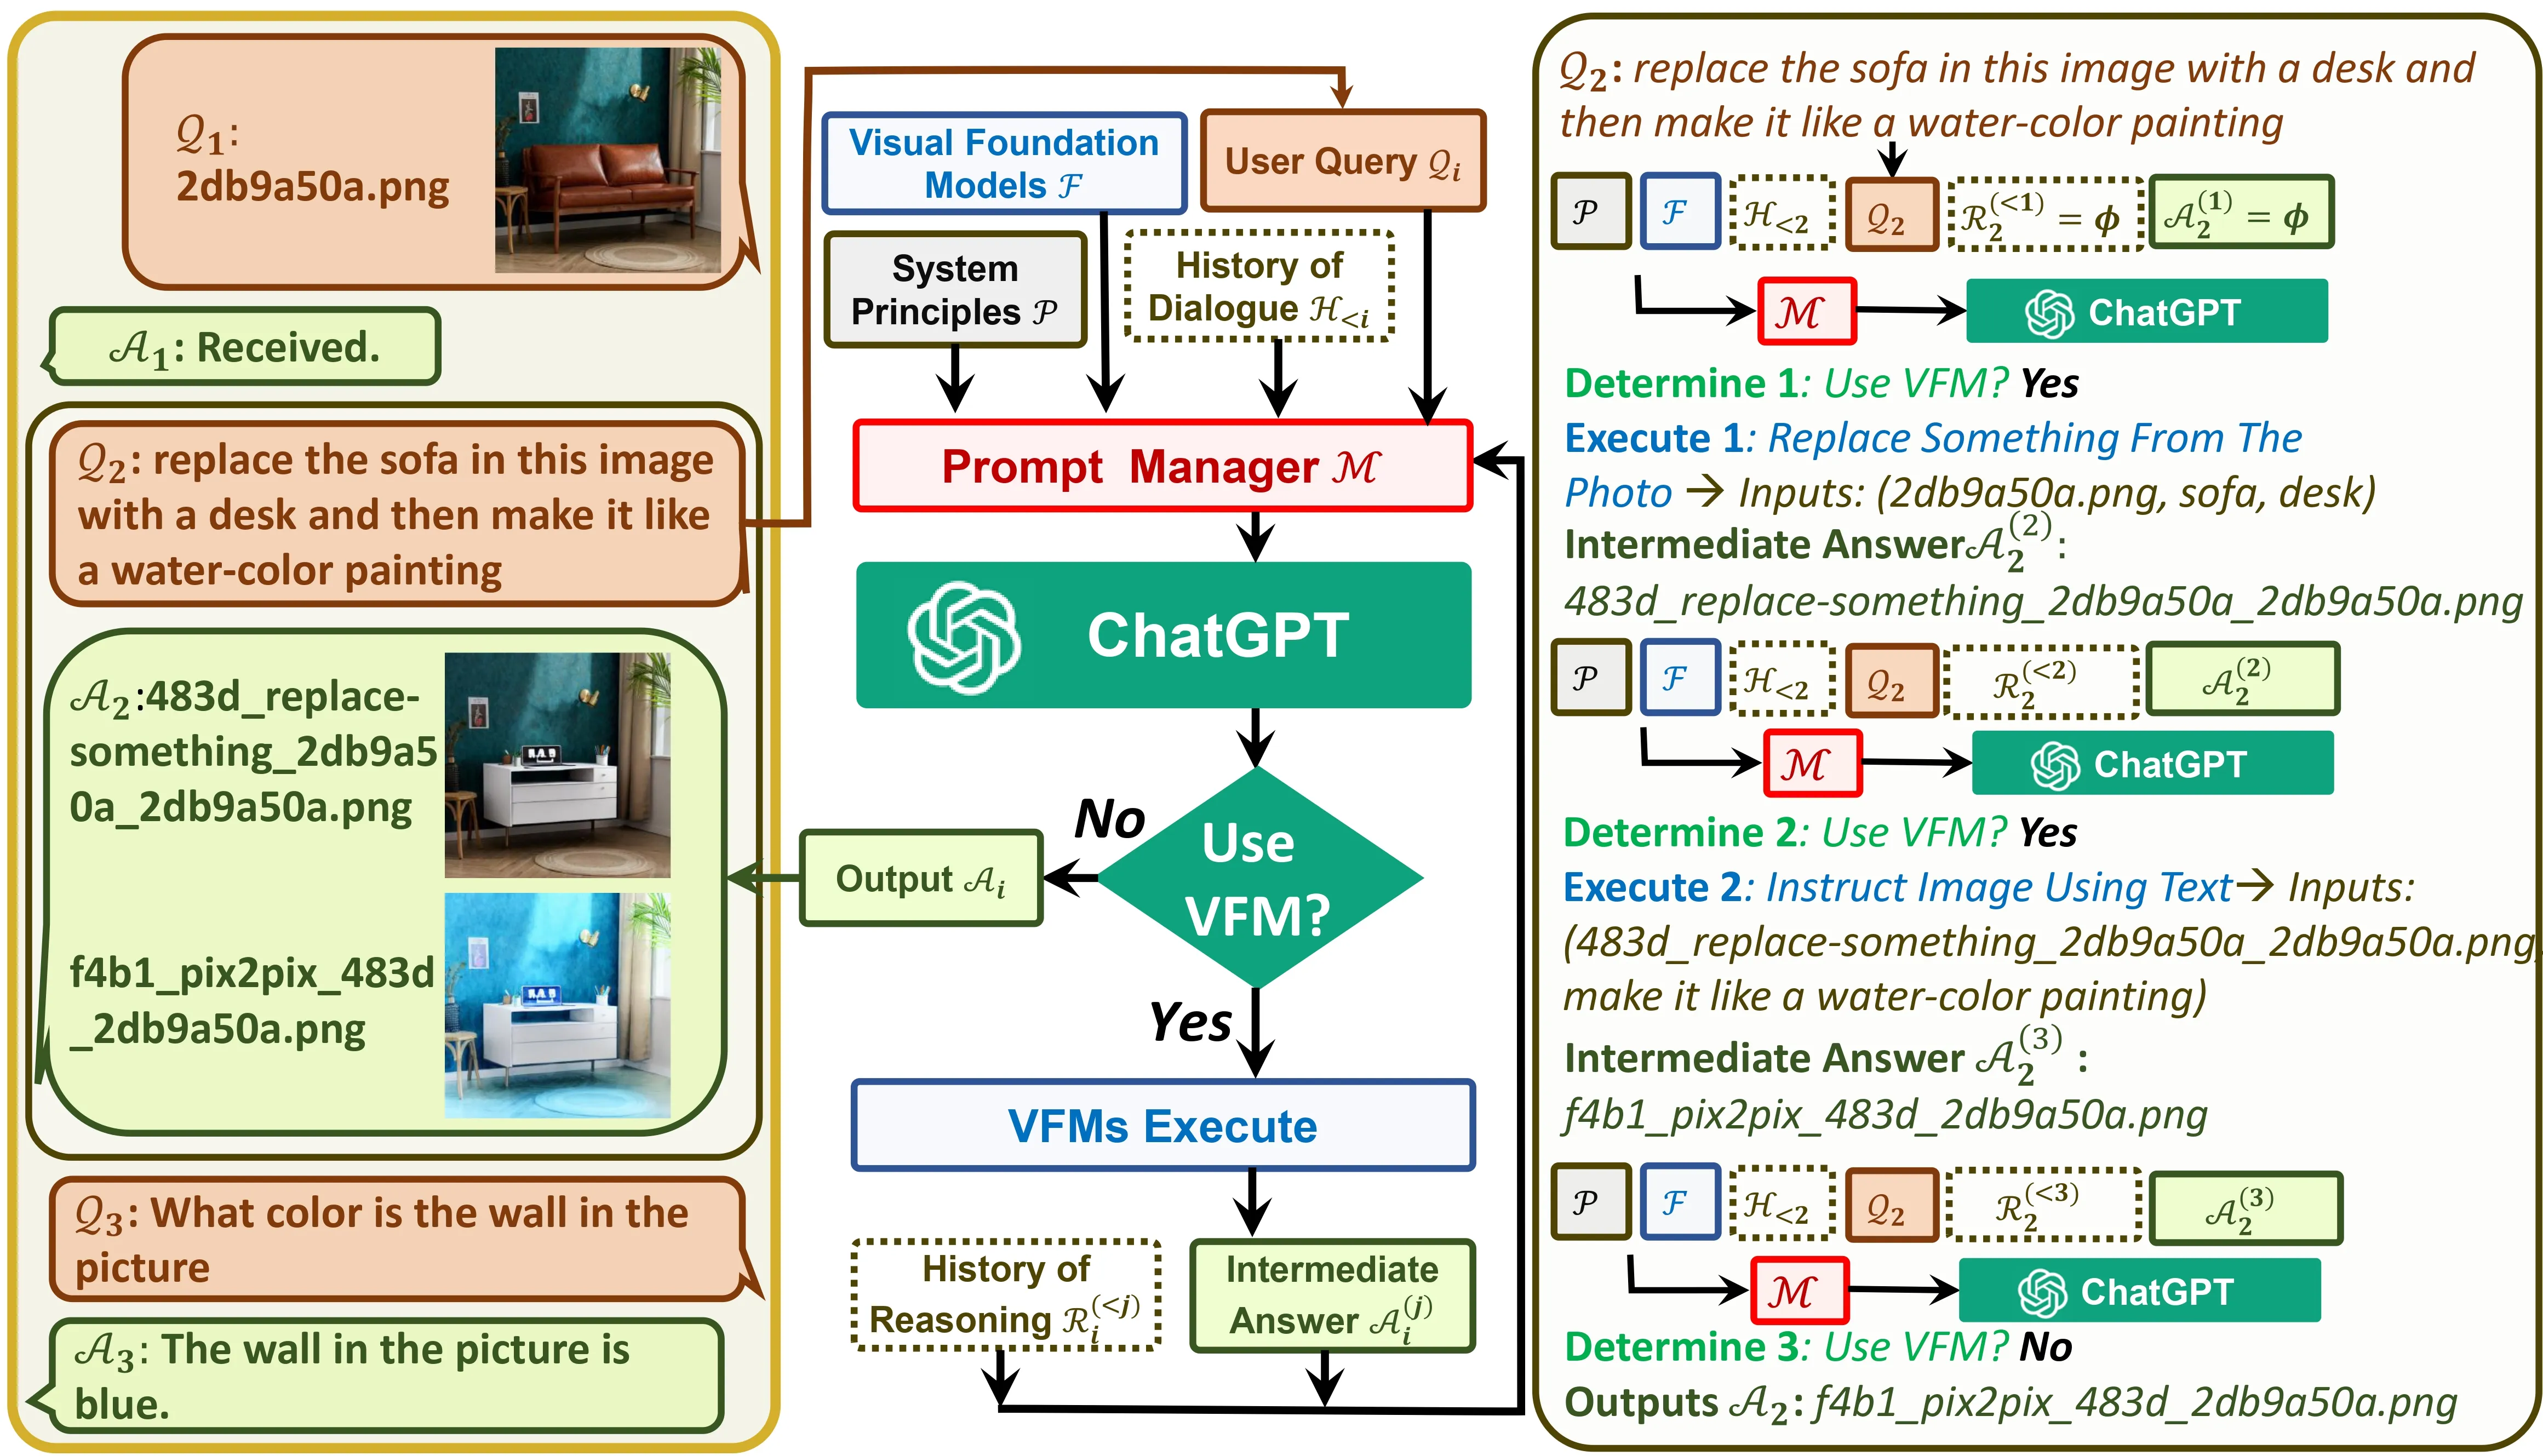
最近微软开源了一个叫 visual-chatgpt 的项目,将大火的 chatgpt 和不同类型的视觉基础模型结合起来,以便在聊天过程中发送和接收图像。
首先,创建一个全新的虚拟环境
conda create -n chatgpt python=3.8
conda activate chatgpt
然后拉取代码
git clone https://github.com/microsoft/visual-chatgpt.git
cd visual-chatgpt
# 安装所有项目依赖
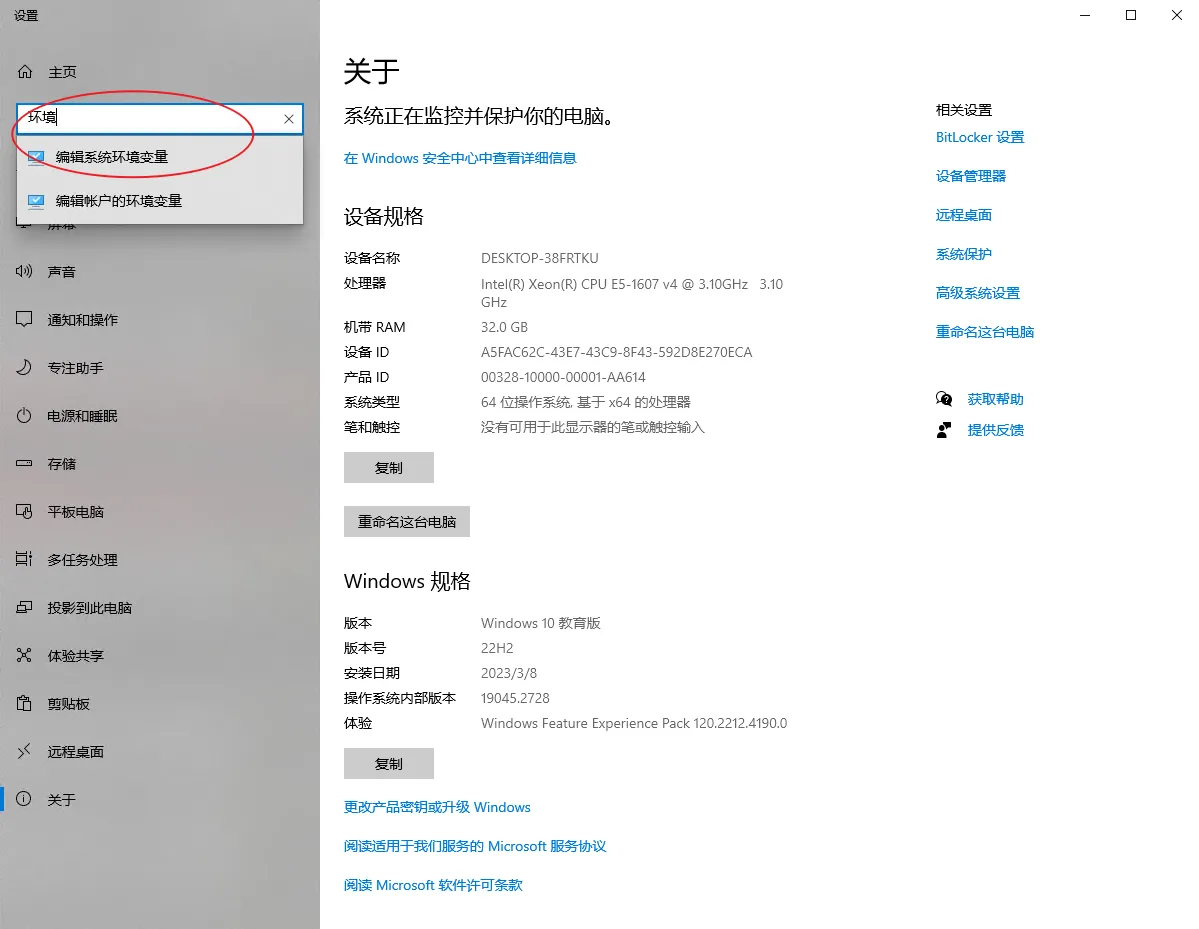
pip install -r requirements.txt鼠标右键点击 我的电脑,选择 属性,在左侧搜索栏里输入 环境,匹配 编辑系统环境变量
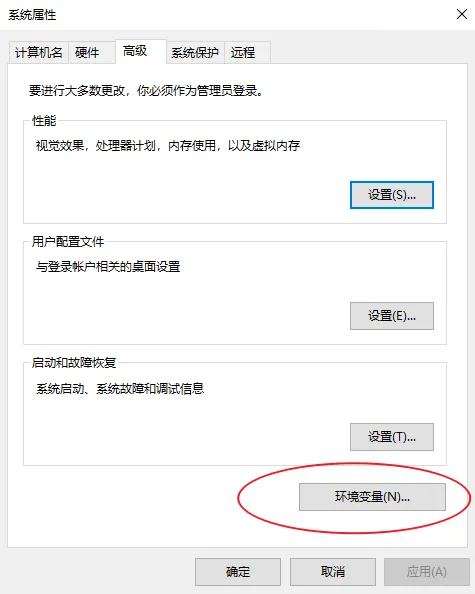
点击 环境变量
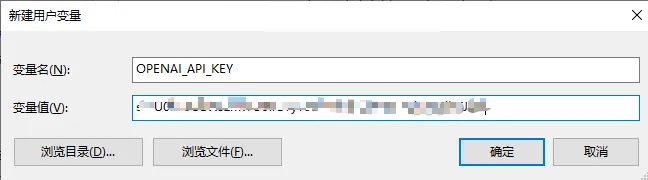
点击 新建(N)
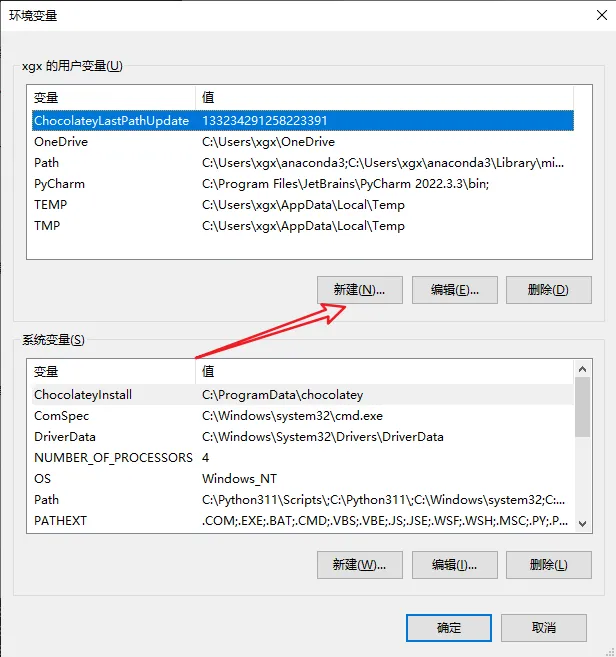
变量名写上 OPENAI_API_KEY,变量值从 chatGPT 账号里获取,每个人不一样
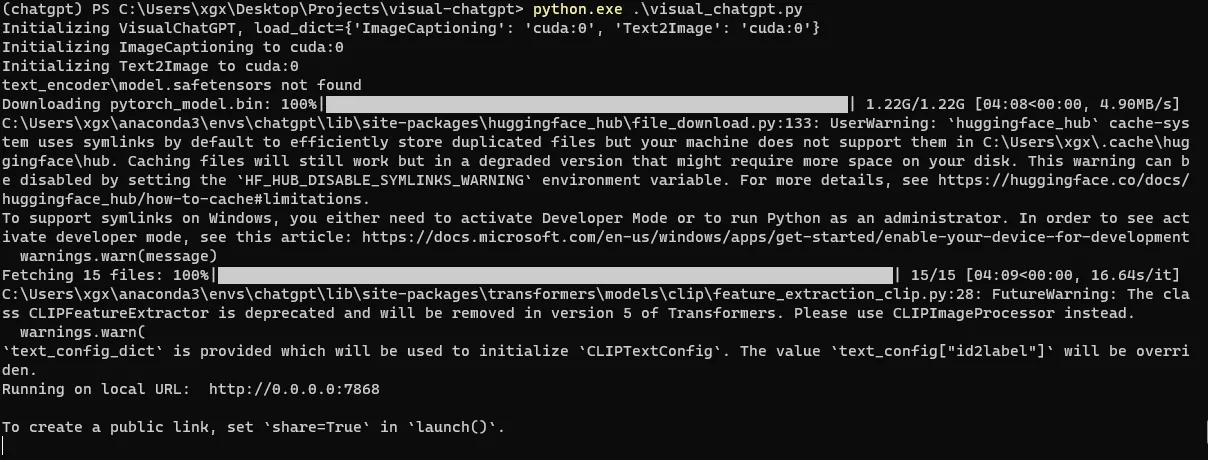
然后,重新打开终端,这是为了让设置的环境变量生效,然后执行脚本
python visual_chatgpt.py脚本会下载一堆的模型文件,慢慢等待吧,如果下载过程中断开,就重试
然后,打开浏览器,输入 http://127.0.0.1:7868
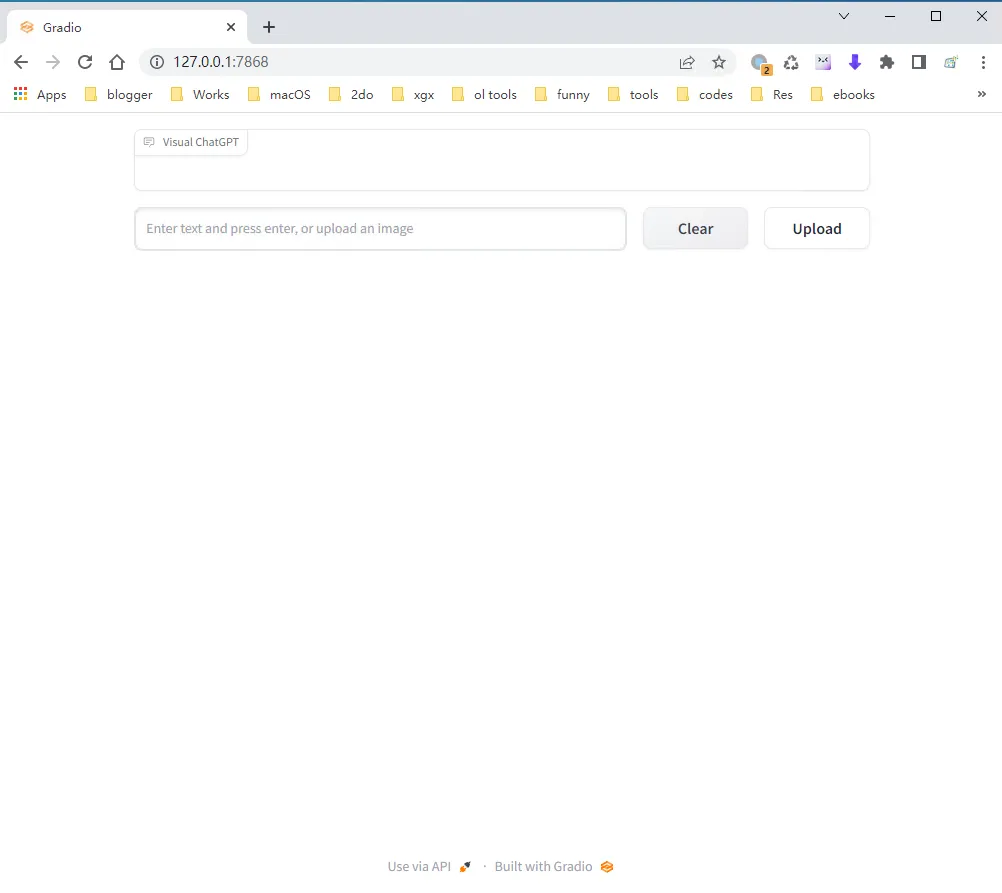
上传一张图片,然后开始对话吧
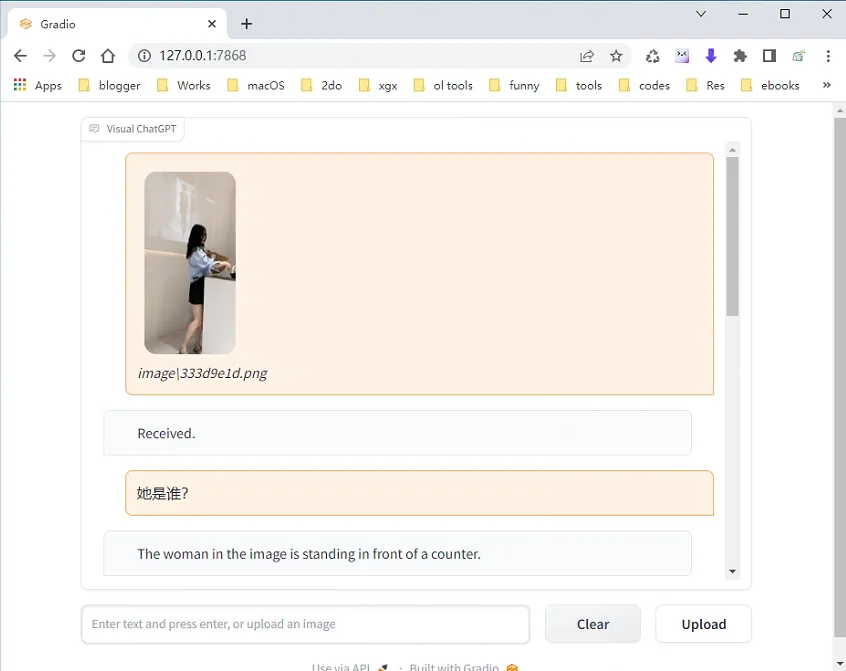
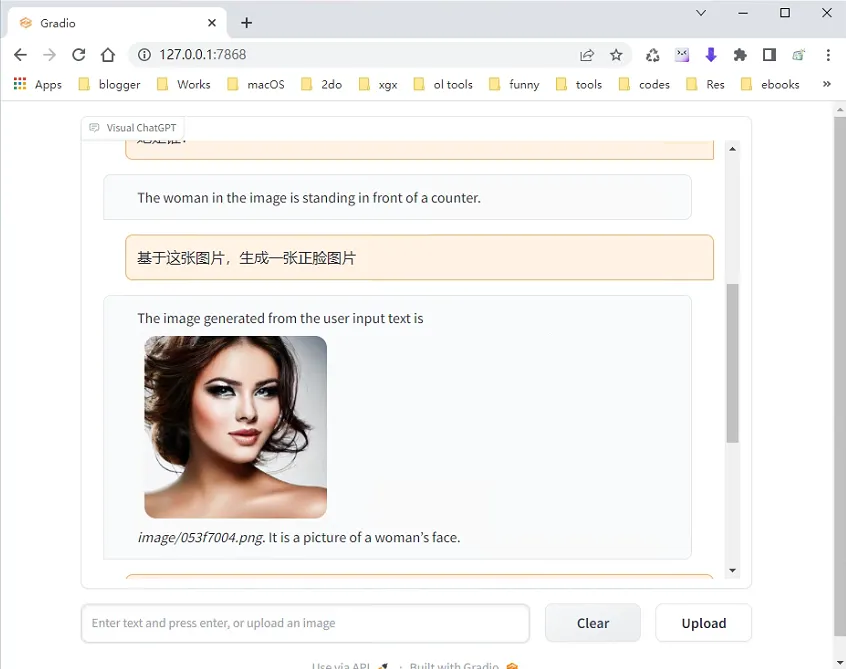

需要注意的是,需要打开全局代理才可以使用,使用 clash 的朋友可以参考链接2。
Recommend
About Joyk
Aggregate valuable and interesting links.
Joyk means Joy of geeK