

listmonk搭建和使用
source link: https://www.bboy.app/2023/03/09/listmonk%E6%90%AD%E5%BB%BA%E5%92%8C%E4%BD%BF%E7%94%A8/
Go to the source link to view the article. You can view the picture content, updated content and better typesetting reading experience. If the link is broken, please click the button below to view the snapshot at that time.
listmonk搭建和使用
Listmonk 是一个开源、自托管的时事通讯和邮件列表管理器
首先搭建一下postgresql,我习惯在nas上搭建各种数据库,所以postgresql是直接使用docker compose 启动的
version: "3"
services:
  postgresql:
    image: "postgres:14-alpine"
    container_name: "postgresql"
    restart: "always"
    environment:
      - "POSTGRES_PASSWORD=password"
      - "POSTGRES_HOST_AUTH_METHOD=trust"
    shm_size: 256mb
    ports:
      - "5432:5432"
    volumes:
      - "/etc/localtime:/etc/localtime"
      - "./data:/var/lib/postgresql/data"
搭建完成之后创建一个名字叫listmonk的数据库
之后初始化这个数据库
首先创建listmonk的配置文件
vim config.toml
[app]
# Interface and port where the app will run its webserver.
address = "0.0.0.0:9000"
admin_username = "xxx"
admin_password = "xxxxxxx"

# Database.
[db]
host = "host"
port = 5432
user = "listmonk"
password = "pass"
database = "listmonk"
ssl_mode = "disable"
max_open = 25
max_idle = 25
max_lifetime = "300s"
导入表结构
docker run -v /root/config.toml:/listmonk/config.toml listmonk/listmonk:v2.3.0 ./listmonk --install --yes
接着就是在k8s里面创建listmonk这个应用
创建deployment
vim deploy.yaml
apiVersion: apps/v1
kind: Deployment
metadata:
  name: listmonk
  namespace: app
spec:
  selector:
    matchLabels:
      app: listmonk
  template:
    metadata:
      labels:
        app: listmonk
    spec:
      imagePullSecrets:
      - name: regcred
      containers:
      - name: listmonk
        image: listmonk/listmonk:v2.3.0
        ports:
        - containerPort: 9000
        env:
          - name: TZ
            value: "Asia/Shanghai"
        volumeMounts:
          - mountPath: /listmonk/config.toml
            name: listmonk-config
            subPath: config.toml
        resources:
          limits:
            memory: "128Mi"
            cpu: "500m"
      volumes:
        - name: listmonk-config
          configMap:
            name: listmonk-config
            items:
              - key: config.toml
                path: config.toml
创建kustomization的配置
vim kustomization.yaml
resources:
- deploy.yaml
- svc.yaml
- ingress.yaml
- certificare.yaml
- configmap.yaml
应用的configmap
vim configmap.yaml
apiVersion: v1
kind: ConfigMap
metadata:
  name: listmonk-config
  namespace: app
data:
  config.toml: |-
    [app]
    # Interface and port where the app will run its webserver.
    address = "0.0.0.0:9000"
    admin_username = "xxx"
    admin_password = "xxxxxxx"

    # Database.
    [db]
    host = "ip"
    port = 5432
    user = "listmonk"
    password = "pass"
    database = "listmonk"
    ssl_mode = "disable"
    max_open = 25
    max_idle = 25
    max_lifetime = "300s"
应用的service
vim svc.yaml
apiVersion: v1
kind: Service
metadata:
  name: listmonk
  namespace: app
spec:
  type: ClusterIP
  selector:
    app: listmonk
  ports:
  - port: 80
    targetPort: 9000
    name: http
应用的ingress
vim ingress.yaml
apiVersion: networking.k8s.io/v1
kind: Ingress
metadata:
  name: listmonk-ingress
  namespace: app
  annotations:
    kubernetes.io/ingress.class: "nginx"
    nginx.ingress.kubernetes.io/ssl-passthrough: "true"
    nginx.ingress.kubernetes.io/force-ssl-redirect: "true"
spec:
  rules:
  - host: "listmonk.xxx.com"
    http:
      paths:
      - pathType: Prefix
        path: "/"
        backend:
          service:
            name: listmonk
            port:
              number: 80
  tls:
  - hosts:
    - listmonk.xxx.com
    secretName: listmonk-xxx-com-tls
argocd相关的东西
vim argocd.yaml
apiVersion: argoproj.io/v1alpha1
kind: Application
metadata:
  name: listmonk
spec:
  destination:
    name: ''
    namespace: ''
    server: 'https://kubernetes.default.svc'
  source:
    path: k8s/listmonk
    repoURL: 'https://git.xxxx.com/xxxx/kubernetes-yaml'
    targetRevision: HEAD
  project: default
  syncPolicy:
    automated: null
使用certmanager直接去申请证书
vim certificare.yaml
apiVersion: cert-manager.io/v1
kind: Certificate
metadata:
  name: listmonk.xxx.com
  namespace: app
spec:
  dnsNames:
  - listmonk.xxx.com # 要签发证书的域名
  issuerRef:
    kind: ClusterIssuer
    name: letsencrypt-dns01 # 引用 ClusterIssuer,指示采用 dns01 方式进行校验
  secretName: listmonk-xxx-com-tls # 最终签发出来的证书会保存在这个 Secret 里面
最后直接在argocd里面把应用创建好就好了
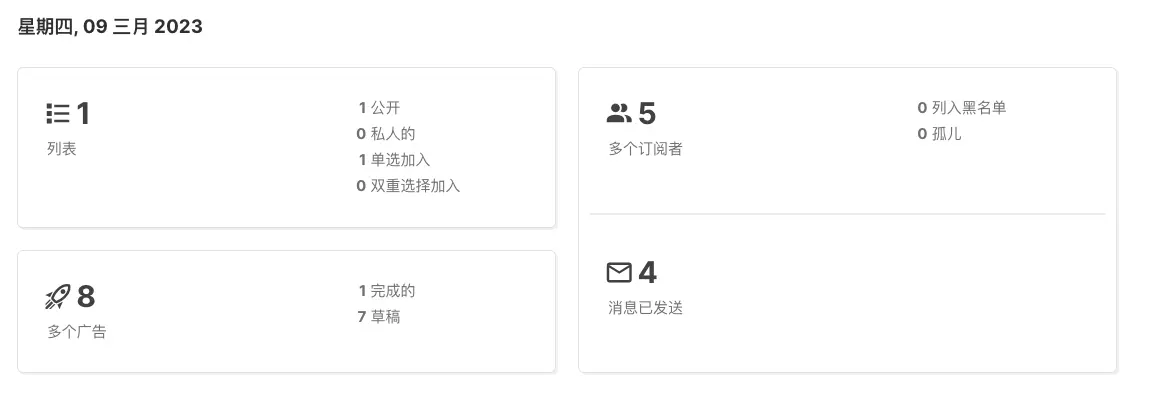
登录之后的第一件事情就是配置邮箱
首先配置默认“发件人”电子邮件,之后配置smtp服务器,如果你和我一样是163邮箱的身份验证协议使用的是plain
我的订阅地址是
https://listmonk.bboysoul.cn/subscription/form
虽然目前我也不知道可以给大家发什么样的信息
欢迎关注我的博客www.bboy.app
Have Fun
Recommend
About Joyk
Aggregate valuable and interesting links.
Joyk means Joy of geeK