
3

ABP微服务系列学习-对接前端界面 - 饭勺oO
source link: https://www.cnblogs.com/fanshaoO/p/17174498.html
Go to the source link to view the article. You can view the picture content, updated content and better typesetting reading experience. If the link is broken, please click the button below to view the snapshot at that time.
前面我们把后端的微服务架子基本搭建完成并成功启动了,现在我们可以对接前端界面了。
这里我们直接用ABP模板里面的Angular的前端界面。
创建应用程序模板#
使用ABPCli创建一个应用程序模板,前端选择Angular,选择参数--separate-identity-server,分离身份认证和API。其他参数随意,因为我们只需要Angular的前端。
abp new FunShow -u angular --separate-identity-server
创建完后目录会有两个文件夹
把Angualr目录赋值到我们微服务项目的APP目录下。
修改Angular配置#
打开Angular的src/environments目录下的environment.ts文件。
修改oAuth配置和API配置,改成我们微服务框架的认证服务器地址和网关地址。以及修改scope,授权需要访问的服务资源。
import { Environment } from '@abp/ng.core';

const baseUrl = 'http://localhost:4200';

export const environment = {
  production: false,
  application: {
    baseUrl,
    name: 'FunShow',
    logoUrl: '',
  },
  oAuthConfig: {
    issuer: 'https://localhost:44322/',
    redirectUri: baseUrl,
    clientId: 'FunShow_Angular',
    responseType: 'code',
    scope: 'offline_access AccountService IdentityService AdministrationService LoggingService',
    requireHttps: true,
  },
  apis: {
    default: {
      url: 'https://localhost:44325',
      rootNamespace: 'FunShow',
    },
  },
} as Environment;
启动项目#
启动后端项目,执行run-tye.ps1文件一件启动微服务。
启动angular项目,执行angular目录下的start.ps1文件。
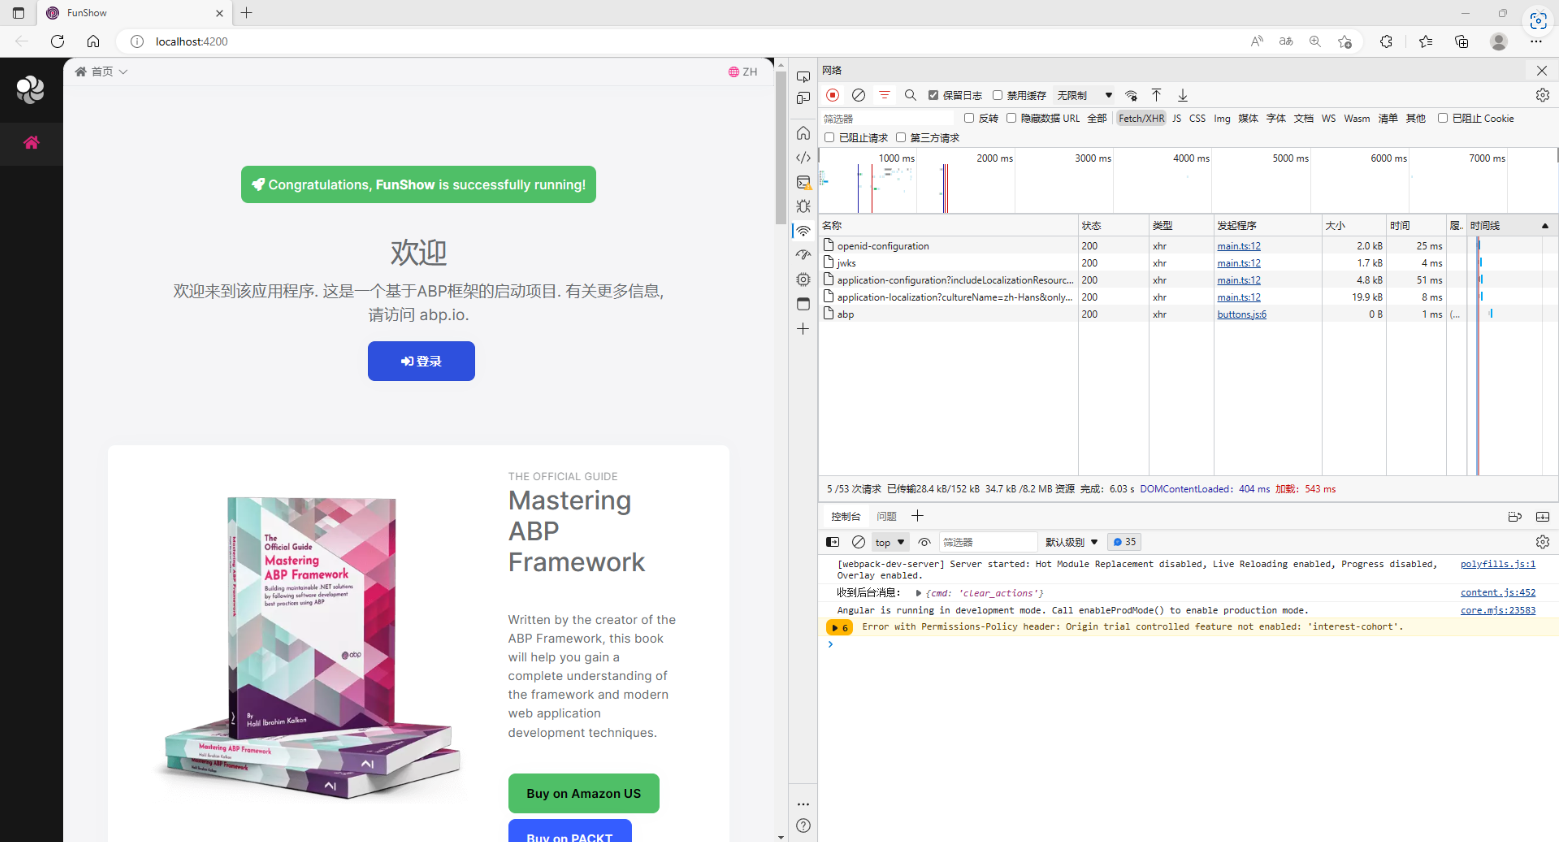
可以看到访问认证服务和API的接口都正常访问。
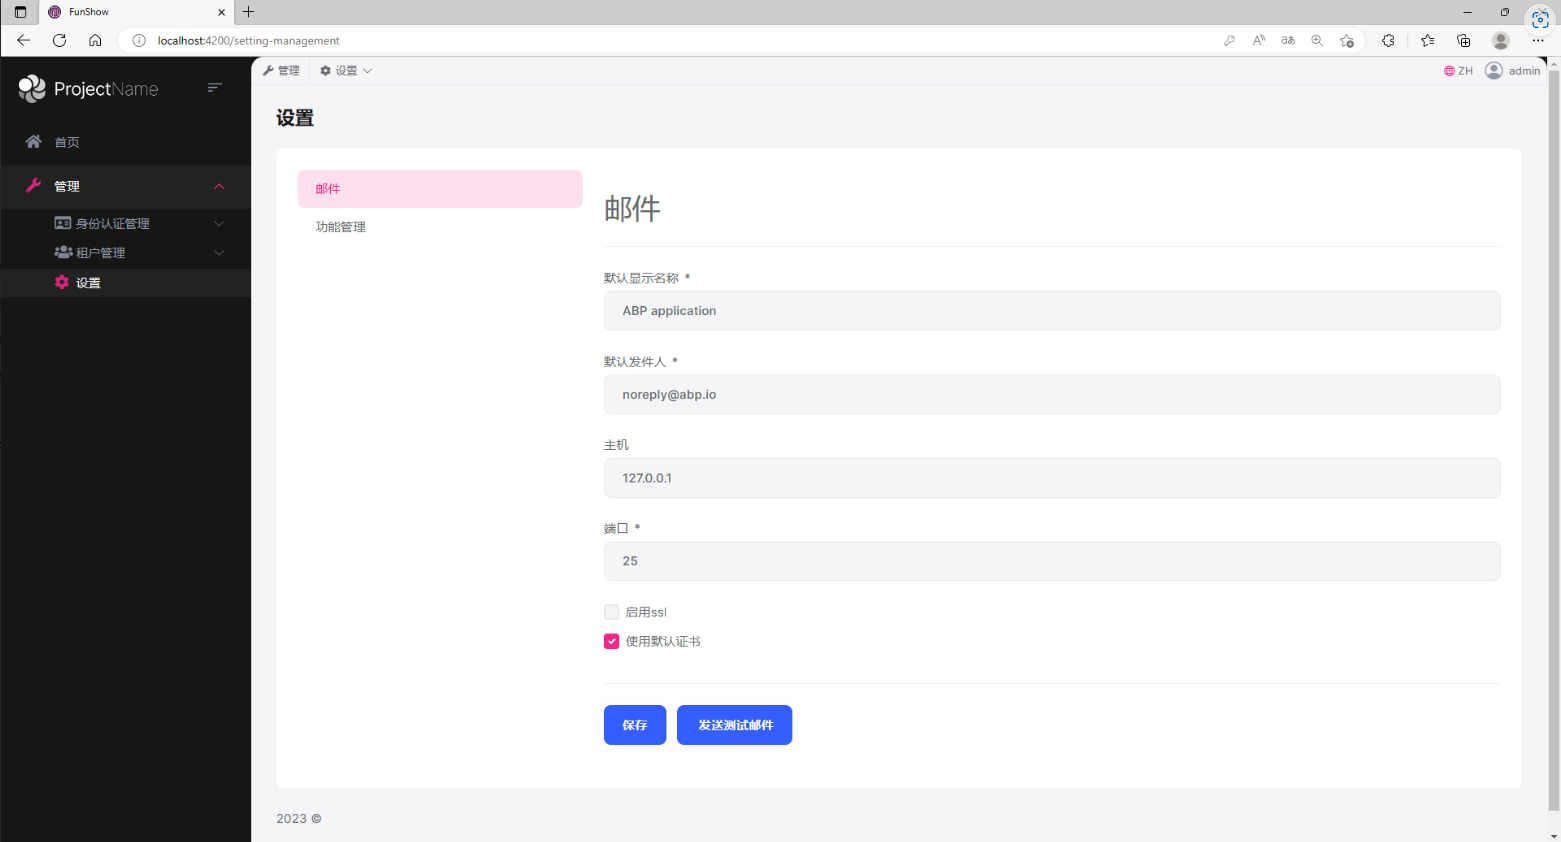
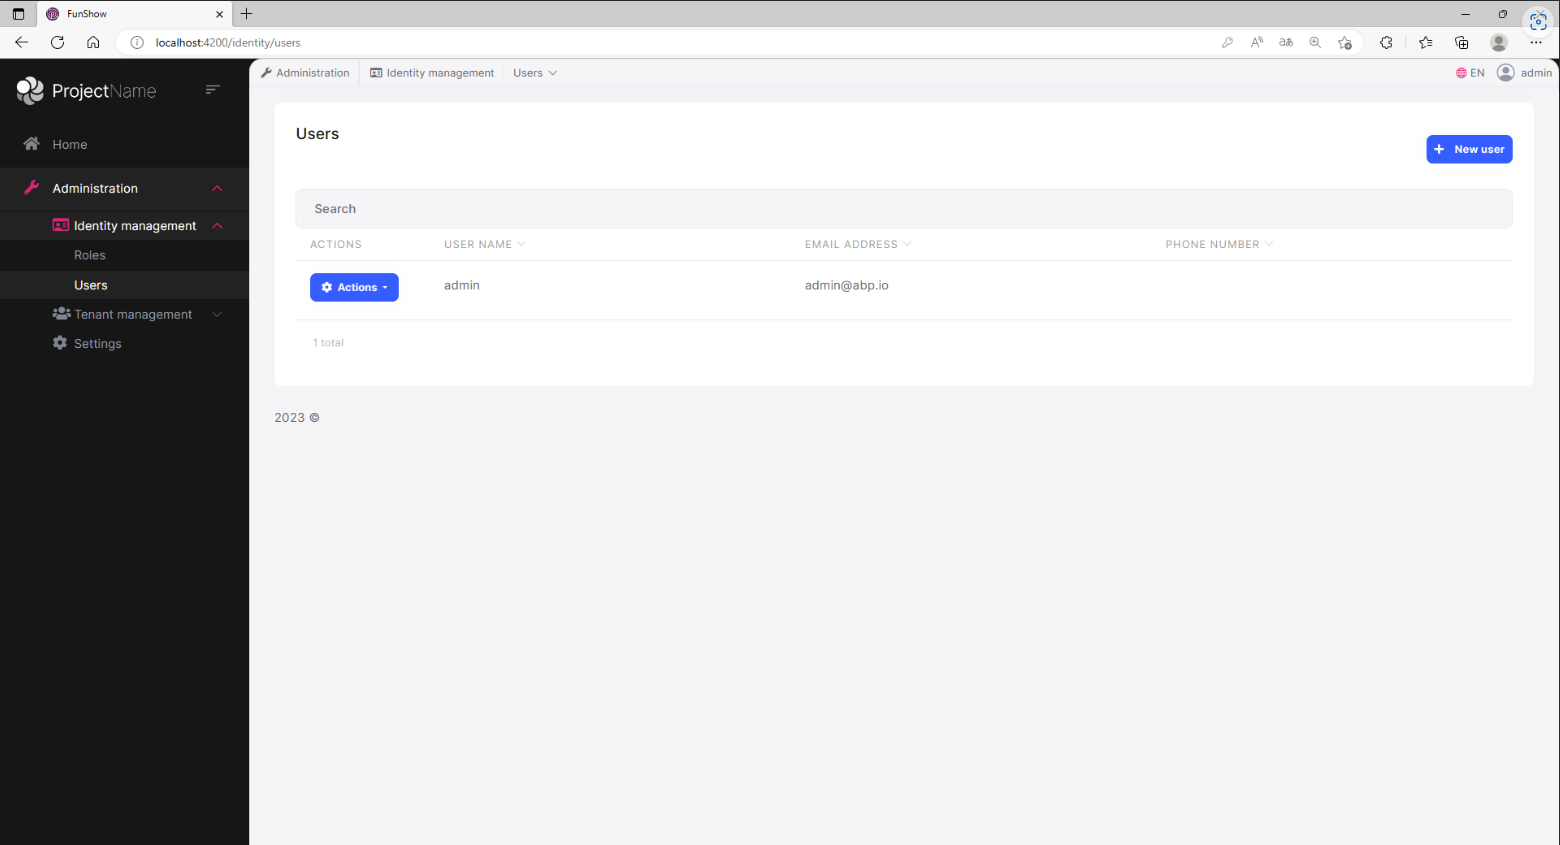
点击登录会跳转到认证服务进行登录。
登陆后查看功能,正常显示。

到这我们前端对接也完成了,后面就可以愉快的开发自己功能了。
Recommend
About Joyk
Aggregate valuable and interesting links.
Joyk means Joy of geeK