

Configure Stickers for Windows 11 SE
source link: https://learn.microsoft.com/en-us/education/windows/edu-stickers?tabs=intune
Go to the source link to view the article. You can view the picture content, updated content and better typesetting reading experience. If the link is broken, please click the button below to view the snapshot at that time.
Configure Stickers for Windows 11 SE
- Article
- 11/11/2022
- 2 minutes to read
- Applies to: ✅ Windows 11 SE
In this article
Starting in Windows 11 SE, version 22H2, Stickers is a new feature that allows students to decorate their desktop with digital stickers. Students can choose from over 500 cheerful, education-friendly digital stickers. Stickers can be arranged, resized, and customized on top of the desktop background. Each student's stickers remain, even when the background changes.
Similar to the education theme packs, Stickers is a personalization feature that helps the device feel like it was designed for students.
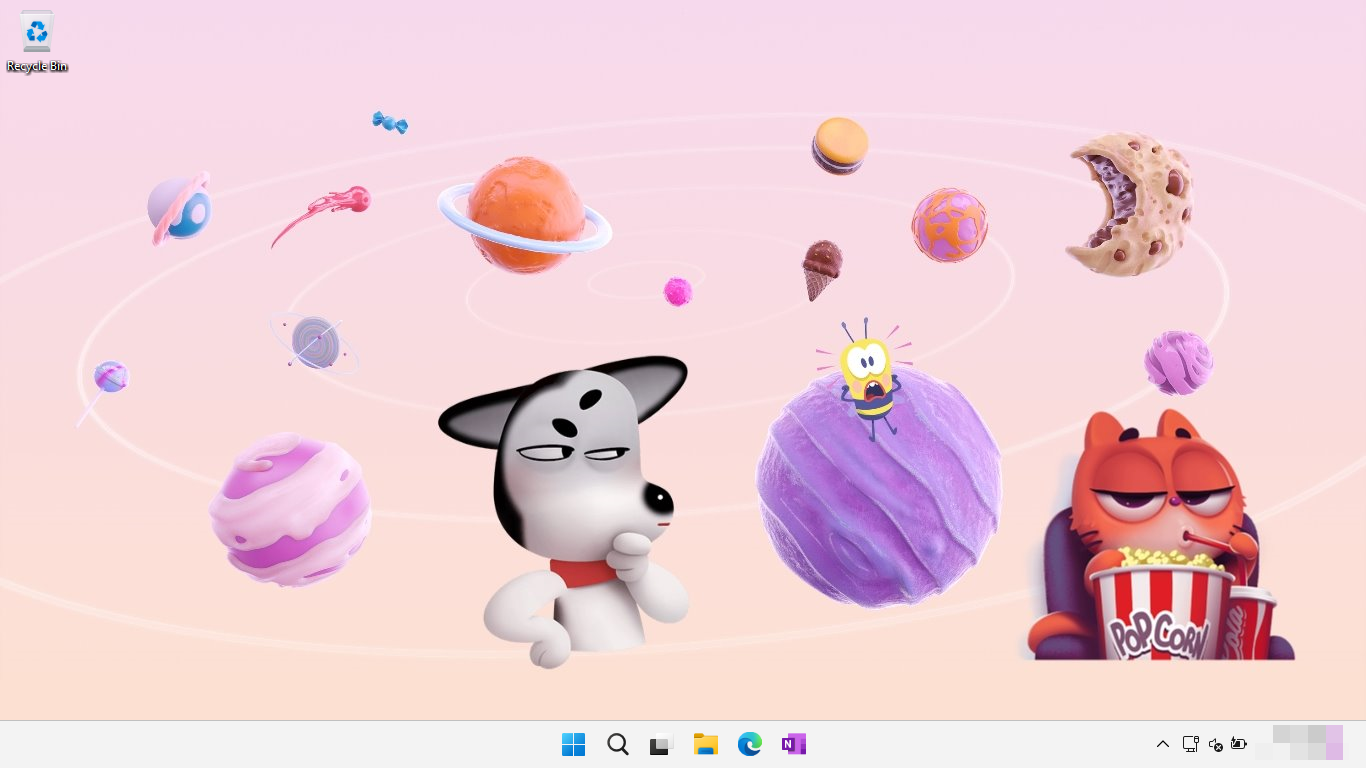
Stickers are simple to use, and give students an easy way to express themselves by decorating their desktop, helping to make learning fun.
Benefits of Stickers
When students feel like they can express themselves at school, they pay more attention and learn, which benefits students, teachers, and the school community. Self-expression is critical to well-being and success at school. Customizing a device is one way to express a personal brand.
With Stickers, students feel more attached to the device as they feel as if it's their own, they take better care of it, and it's more likely to last.
Enable Stickers
Stickers aren't enabled by default. Follow the instructions below to configure your devices using either Microsoft Intune or a provisioning package (PPKG).
To configure devices with Microsoft Intune, use a custom policy:
If you're browsing with an account that can create Intune policies, you can skip to step 5 by using this direct link to create a custom policy (opens in a new tab).
- Go to the Microsoft Endpoint Manager admin center
- Select Devices > Configuration profiles > Create profile
- Select Platform > Windows 10 and later and Profile type > Templates > Custom
- Select Create
- Specify a Name and, optionally, a Description > Next
- Add the following settings:
| Setting |
|---|
OMA-URI: ./Vendor/MSFT/Policy/Config/Stickers/EnableStickers Data type: Integer Value: 1 |
- Select Next
- Assign the policy to a security group that contains as members the devices or users that you want to configure > Next
- Under Applicability Rules, select Next
- Review the policy configuration and select Create
For more information about how to create custom settings using Intune, see Use custom settings for Windows devices in Intune.
How to use Stickers
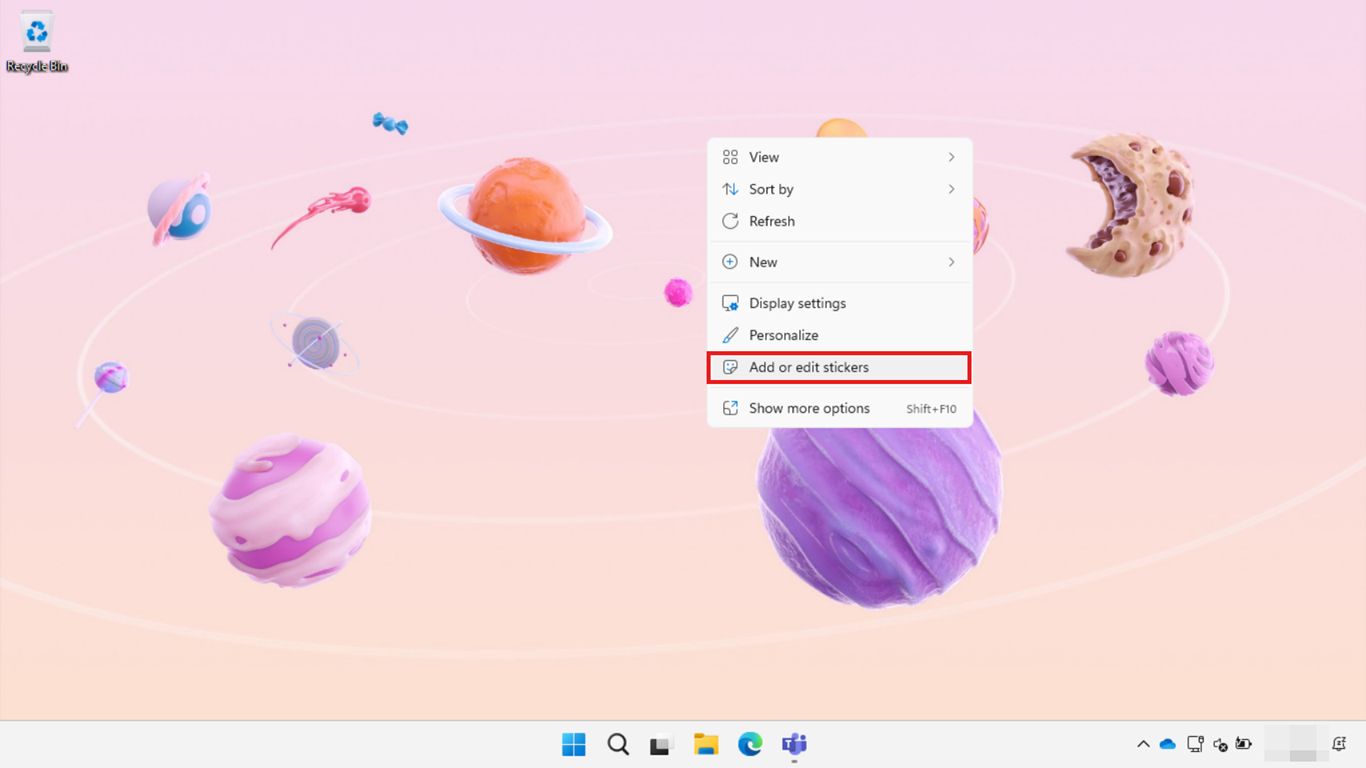
Once the Stickers feature is enabled, the sticker editor can be opened by either:
- using the contextual menu on the desktop and selecting the option Add or edit stickers
- opening the Settings app > Personalization > Background > Add stickers
Multiple stickers can be added from the picker by selecting them. The stickers can be resized, positioned or deleted from the desktop by using the mouse, keyboard, or touch.

Select the X button at the top of the screen to save your progress and close the sticker editor.
Recommend
About Joyk
Aggregate valuable and interesting links.
Joyk means Joy of geeK