

Create a mac menu bar app in SwiftUI with MenuBarExtra
source link: https://sarunw.com/posts/swiftui-menu-bar-app/
Go to the source link to view the article. You can view the picture content, updated content and better typesetting reading experience. If the link is broken, please click the button below to view the snapshot at that time.

Create a mac menu bar app in SwiftUI with MenuBarExtra
Table of Contents
In the previous post on How to make a macOS menu bar app, we learn how to make a mac menu bar app in AppKit.
This year in WWDC22 with iOS 16, Apple made it easy to create a menu bar app in SwiftUI.
I will replicate the toy app we created in How to make a macOS menu bar app using SwiftUI.
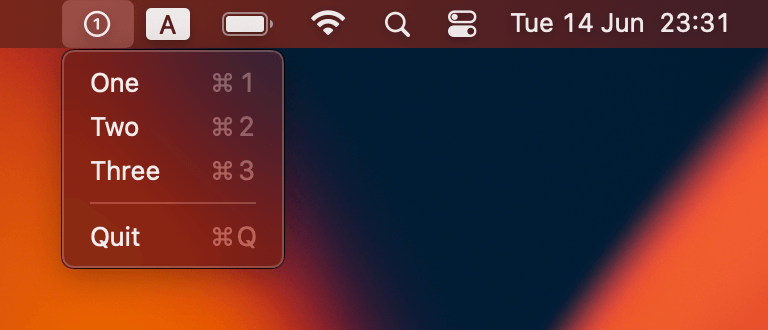
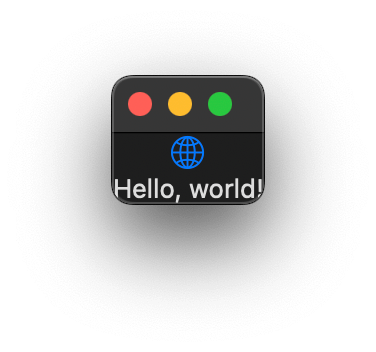
This is what the final result looks like.
It is an app that shows a number from 1 to 3, and you change it by tapping it and selecting the new number from the menu item.

The final result of our menu bar app.
You can easily support sarunw.com by checking out this sponsor.
Sponsor sarunw.com and reach thousands of iOS developers.
How to make a mac menu bar app in SwiftUI
We need to do three things to create a mac menu app.
Create a macOS project
Let's start by creating a new macOS project.
Select File > New > Project... then select App under macOS platform.
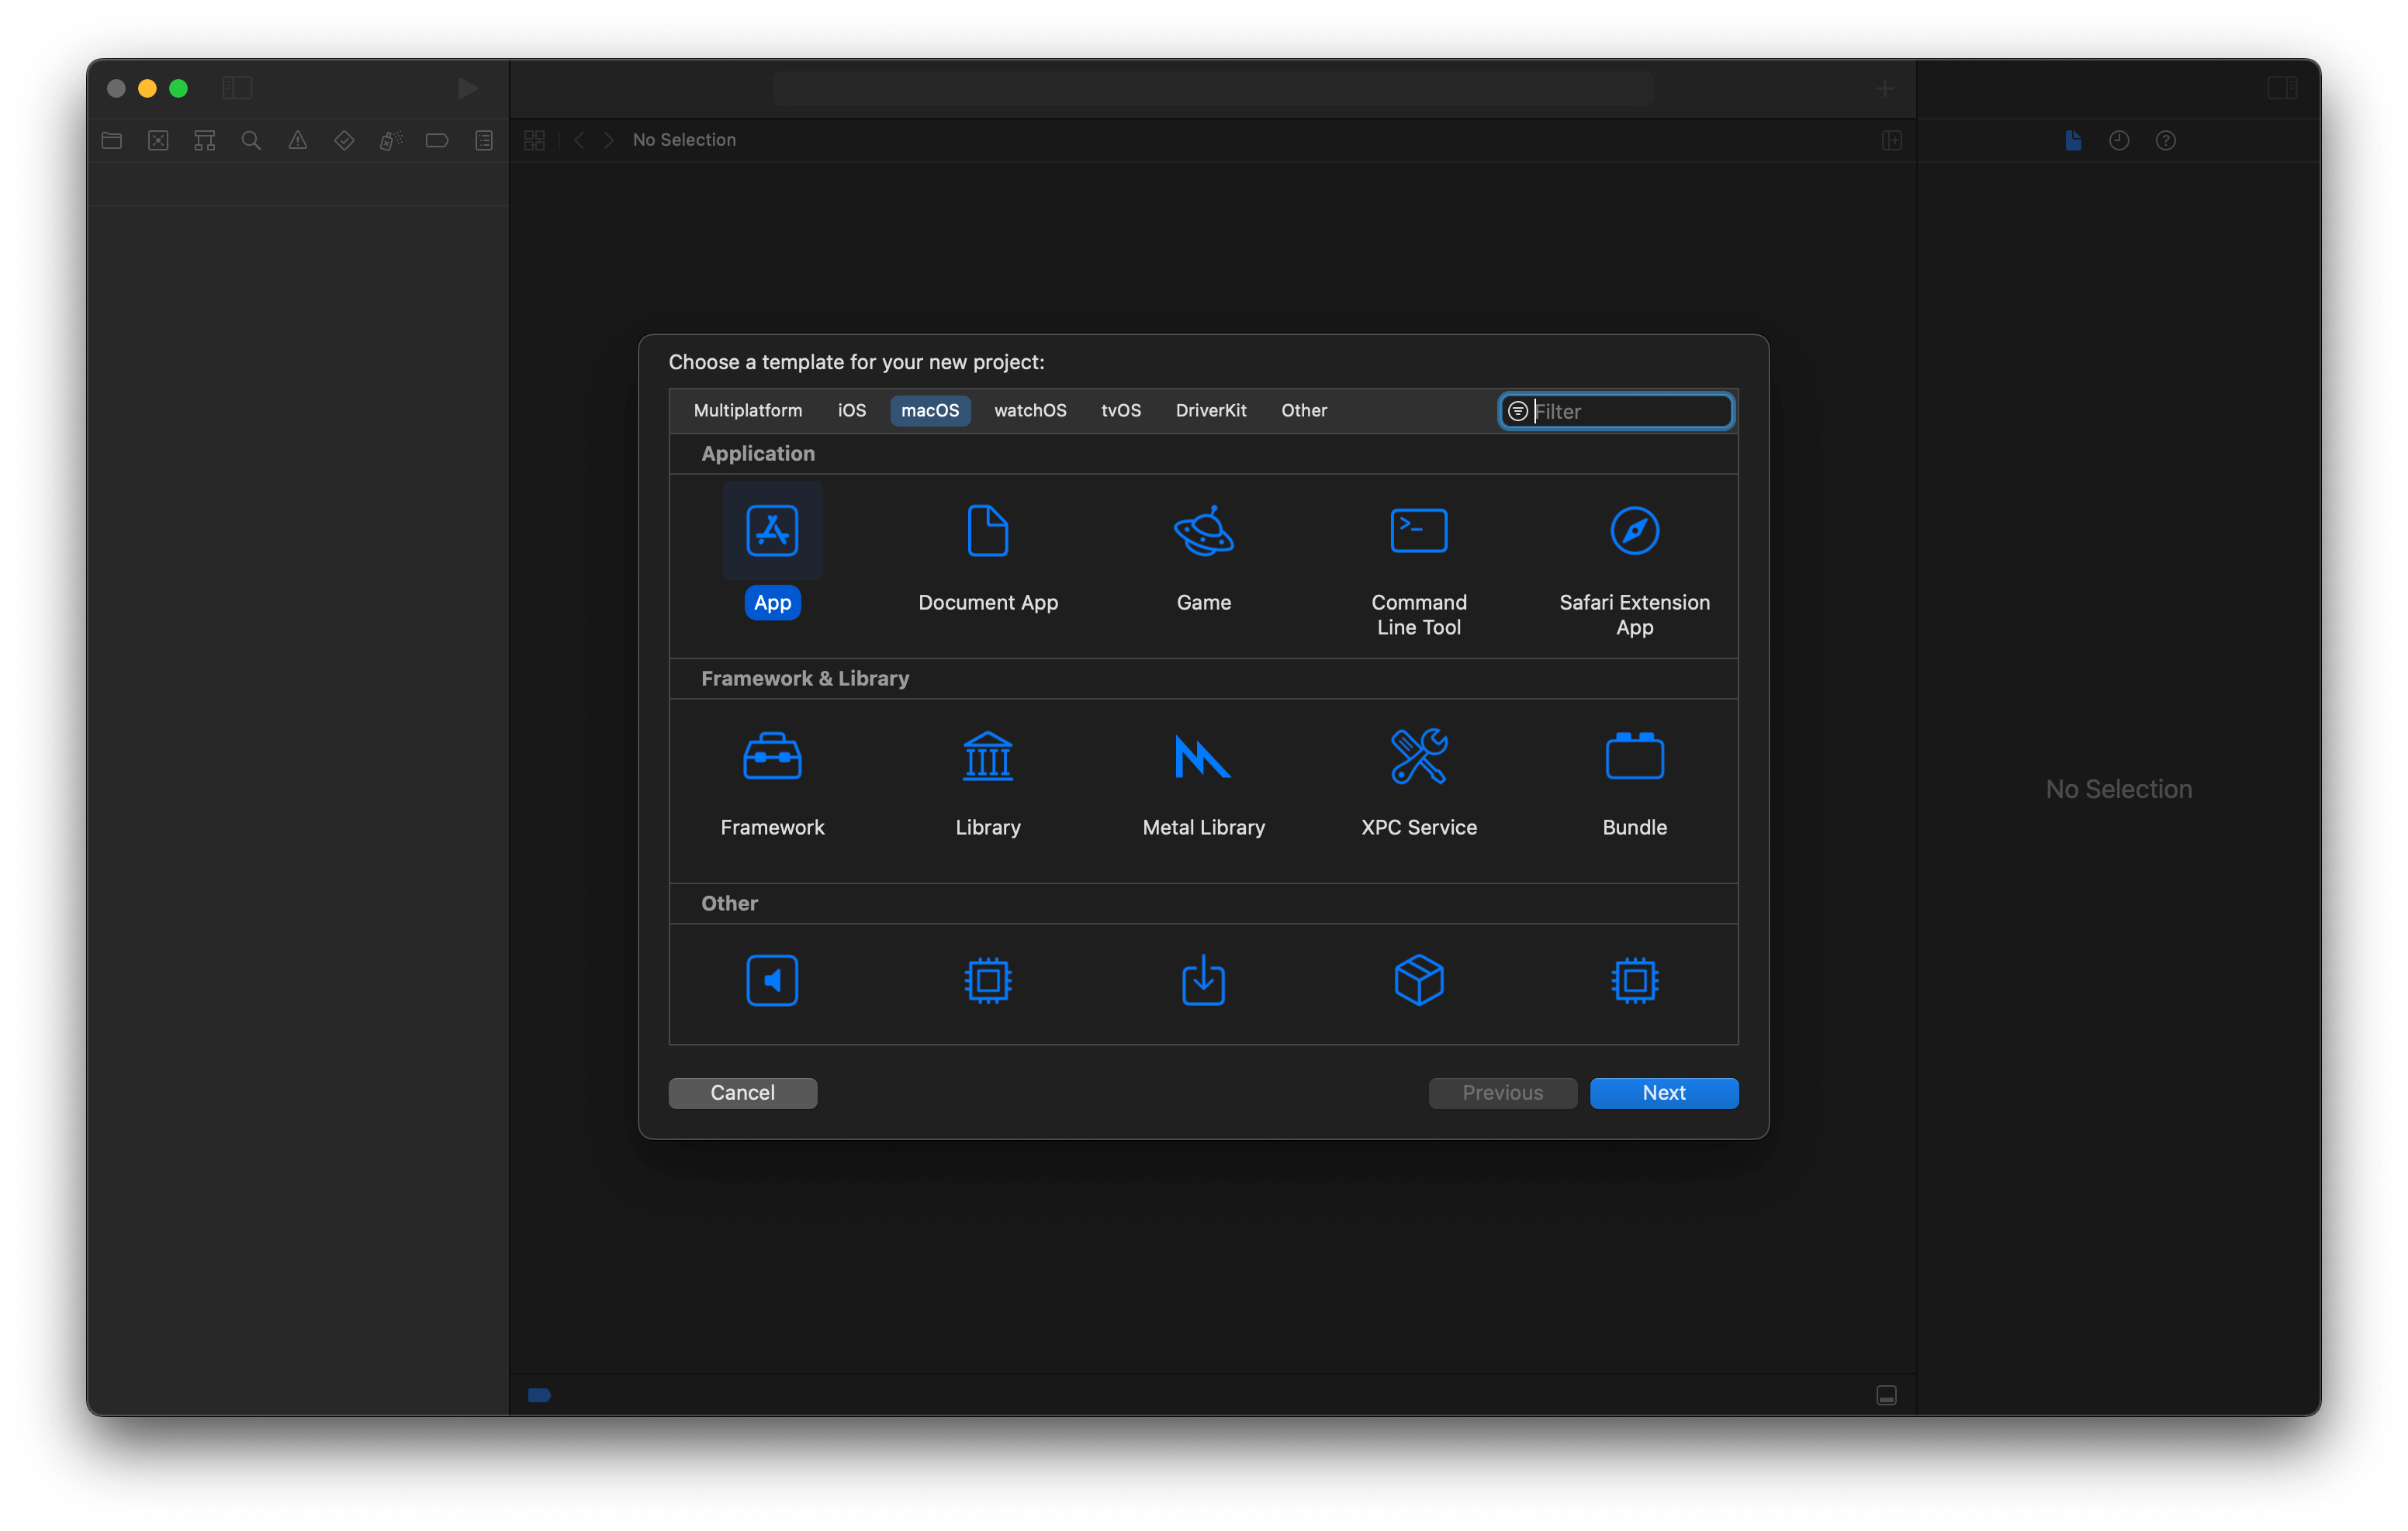
New macOS project.
Add a menu bar extra
A menu bar extra is the name for a menu bar that sits in the trailing end of the menu bar.
This is where we want to put a menu bar for a utility app.
We can easily add this with a new Scene called MenuBarExtra.
import SwiftUI

@main
struct swiftui_menu_barApp: App {
    // 1
    @State var currentNumber: String = "1"

var body: some Scene {
        WindowGroup {
            ContentView()
        }
        // 2
        MenuBarExtra(currentNumber, systemImage: "\(currentNumber).circle") {
            // 3
            Button("One") {
                currentNumber = "1"
            }
            Button("Two") {
                currentNumber = "2"
            }
            Button("Three") {
                currentNumber = "3"
            }
        }
    }
}
1 We want our menu bar label to be changable based on user selection, so we create a state variable to keep the current number selection.
2 MenuBarExtra scene with a SF Symbols as a label. It can rotate between "1.circle", "2.circle", and "3.circle" based on user selection.
3 We populate our menu bar with three buttons which will render as a menu item. In the action, we change currentNumber which in-turn change the menu bar label.
With these few lines of code, we got a menu bar extra working.
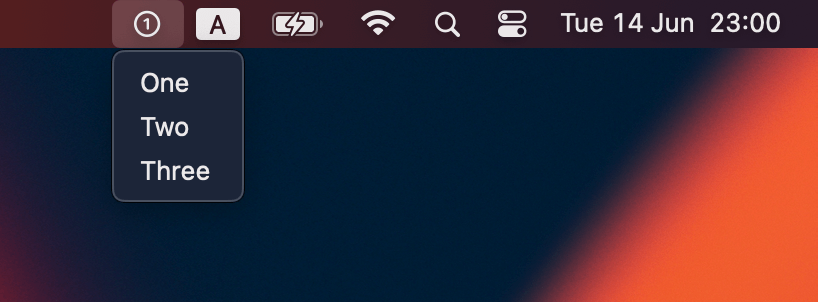
A menu bar app with three items.
Add a keyboard shortcut to each menu item
We can add a keyboard shortcut to a button using the .keyboardShortcut view modifier.
import SwiftUI

@main
struct swiftui_menu_barApp: App {
    @State var currentNumber: String = "1"

var body: some Scene {
        WindowGroup {
            ContentView()
        }
        MenuBarExtra(currentNumber, systemImage: "\(currentNumber).circle") {
            Button("One") {
                currentNumber = "1"
            }
            .keyboardShortcut("1")
            Button("Two") {
                currentNumber = "2"
            }
            .keyboardShortcut("2")
            Button("Three") {
                currentNumber = "3"
            }
            .keyboardShortcut("3")
        }
    }
}
Keyboard shortcuts are usually composed of modifier keys, e.g., command, and another key, e.g., c, to form a shortcut.
.keyboardShortcut has a default .command modifier, so we don't need to specify that. We only need to specify a key that works with a command key.
The result shortcut key would be ⌘1, ⌘2, and ⌘3.
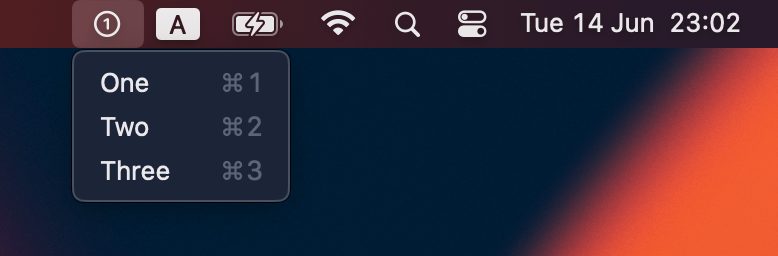
Add keyboard shortcuts with .keyboardShortcut modifier.
Add a way to quit
The final act is to add a way for users to quit your app.
This is just a matter of adding another button.
@main
struct swiftui_menu_barApp: App {
    @State var currentNumber: String = "1"

var body: some Scene {
        WindowGroup {
            ContentView()
        }
        MenuBarExtra(currentNumber, systemImage: "\(currentNumber).circle") {
            Button("One") {
                currentNumber = "1"
            }
            .keyboardShortcut("1")
            Button("Two") {
                currentNumber = "2"
            }
            .keyboardShortcut("2")
            Button("Three") {
                currentNumber = "3"
            }
            .keyboardShortcut("3")
            Divider()
            Button("Quit") {
                NSApplication.shared.terminate(nil)
            }.keyboardShortcut("q")
        }
    }
}
We add a divider to separate the primary function from the quit menu. I use NSApplication.shared.terminate(nil) as a way to quit the app (not sure if there is a more SwiftUI way to doing this or not).
With this last change, we have a working menu bar app.
A menu bar app.
Now, it is time to clean up unused code. We need to do two things.
Remove the main window
To remove the main window app, we remove WindowGroup from <ProjectName>App.swift.
A boilerplate app.
@main
struct swiftui_menu_barApp: App {
    @State var currentNumber: String = "1"

var body: some Scene {
        // Remove this
        // WindowGroup {
        //     ContentView()
        // }
        MenuBarExtra(currentNumber, systemImage: "\(currentNumber).circle") {
            Button("One") {
                currentNumber = "1"
            }
            .keyboardShortcut("1")
            Button("Two") {
                currentNumber = "2"
            }
            .keyboardShortcut("2")
            Button("Three") {
                currentNumber = "3"
            }
            .keyboardShortcut("3")
            Divider()
            Button("Quit") {
                NSApplication.shared.terminate(nil)
            }.keyboardShortcut("q")
        }
    }
}
You can easily support sarunw.com by checking out this sponsor.
Sponsor sarunw.com and reach thousands of iOS developers.
Remove the dock icon
Even though we remove the main window scene, the app icon still shows in the Dock or the application switcher.
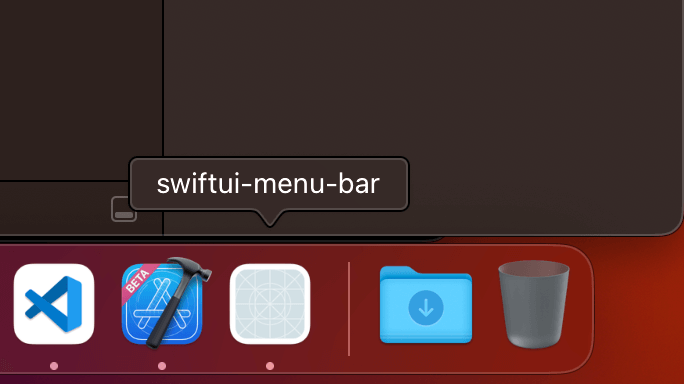
App icon still shows in the Dock.
It is common for the menu bar app not to show that.
To remove the Dock icon.
- open Info.plist or open up the Info tab under your app target.
- Then add a new key "Application is agent (UIElement)" (
LSUIElementflag), and sets the value toYES.
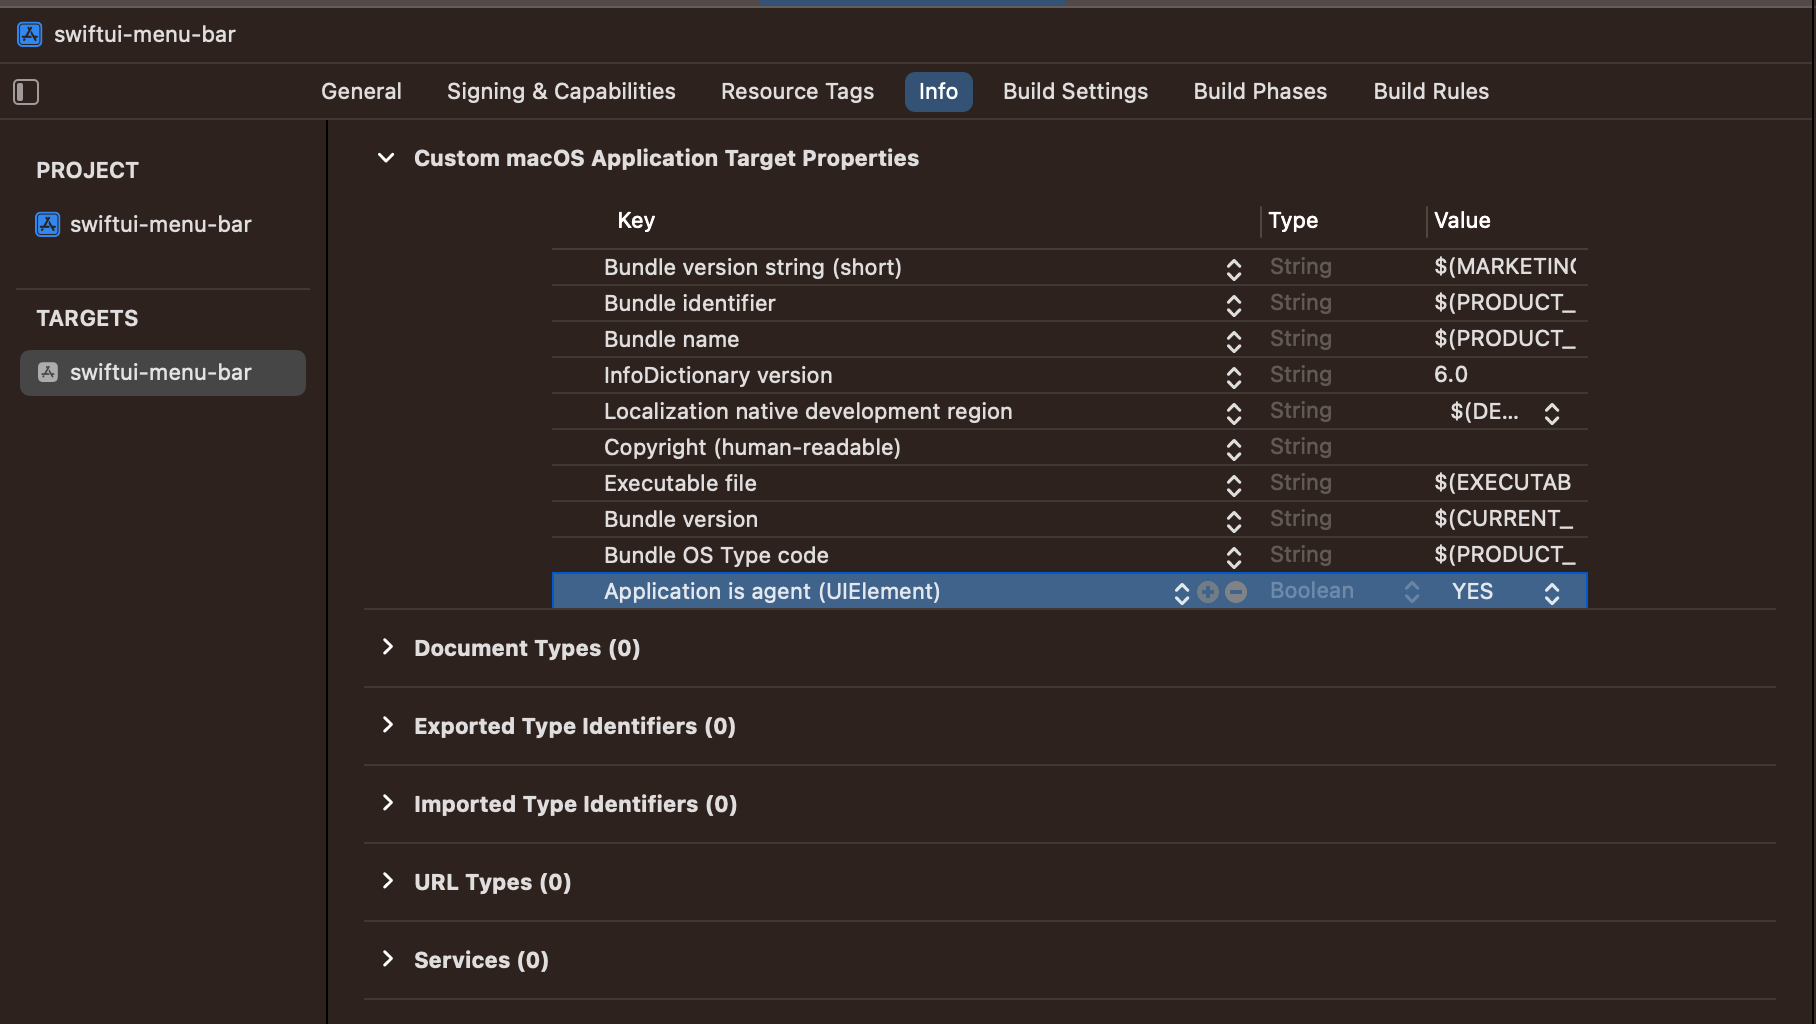
Set "Application is agent (UIElement)" to Yes.
And that's all you need to do to create a menu bar app on macOS with SwiftUI.
Recommend
About Joyk
Aggregate valuable and interesting links.
Joyk means Joy of geeK