

Getting Started with Nuxi (Nuxt CLI)
source link: https://vueschool.io/articles/vuejs-tutorials/getting-started-with-nuxi-nuxt-cli/
Go to the source link to view the article. You can view the picture content, updated content and better typesetting reading experience. If the link is broken, please click the button below to view the snapshot at that time.
Nuxt 3 comes with tons of features to improve performance and developer experience of Vue.js apps. A Nuxt CLI (nicknamed Nuxi) was introduced to provide a no dependency experience for easily scaffolding your Nuxt projects.
This article seeks to explore Nuxi and introduce you to some of its features. I will also demonstrate how to use some of the commands offered by Nuxi.
Nuxi Installation
Prerequisites
Let’s start with the requirements. Nuxi runs with Nuxt.js 3 which requires Node.js 16.11+ versions.
You can install the latest version of Node.js in various ways:
- By downloading the binaries for your system from the official website.
- By using the official package manager for your system.
- Using a version manager. This is probably the easiest way, as it allows you to manage multiple versions of Node on the same machine. I prefer nvm due to its awesome functionality.
With our required Node.js version installed, let’s jump right into seeing Nuxi in action.
Useful Commands
Creating a Nuxt Project
We can create a new Nuxt 3 project with the nuxi init command
//npm
npx nuxi init nuxi-tutorial

//pnpm
pnpm dlx nuxi init nuxi-tutorial
Note: nuxi-tutorial is the the name of our test project so can be replaced with any name you see fit.
we can also add optional flags to our nuxi init command like:
--template: to specify a template name or git repository as a template--offline: to only use our local cache
Nuxi Add
The Nuxi add command usually adds a template of a file to your Nuxt project. This can either be a page, composable, plugin, or middleware.
npx nuxi add [--cwd] [--force] <TEMPLATE> <NAME>cwd : current working directory which is the path you will like the file to be created. This is optional
—force: override file if file already exists (optional)
TEMPLATE: type of file (page, plugin, component etc)
NAME: name of file
Now let’s try some examples;
- Add a header component
npx nuxi add component TheNavbarThis creates a new component in our components folder with name TheHeader.vue

- Add a new page
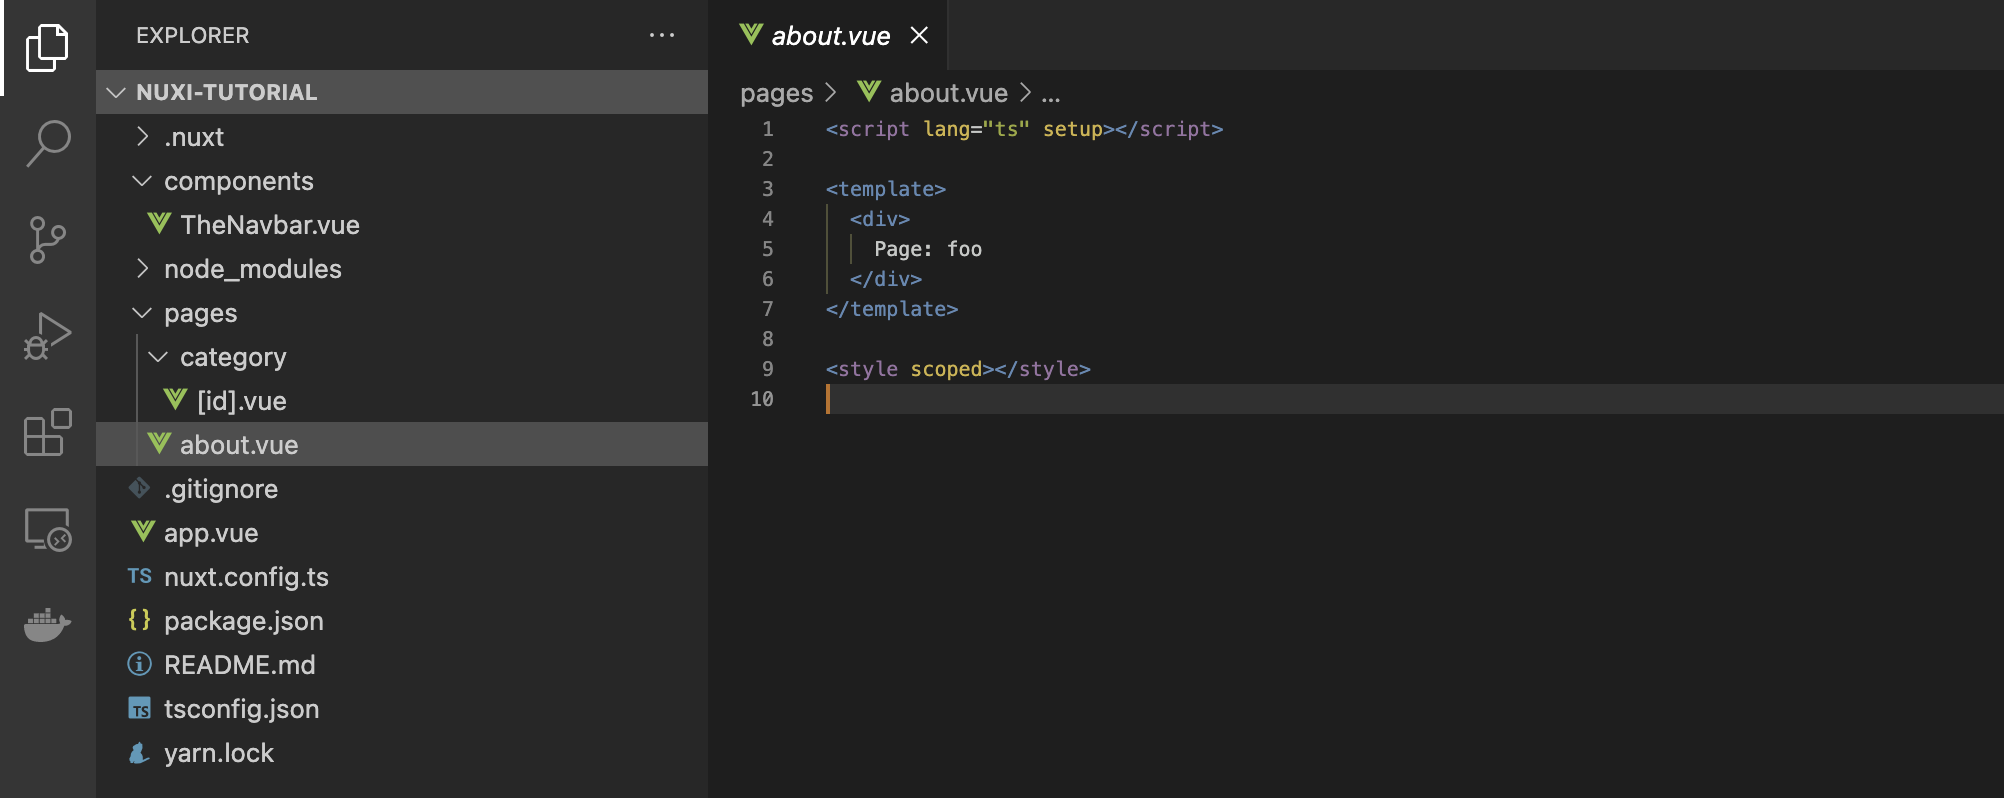
# Generates `pages/about.vue`
npx nuxi add page about

# Generates `pages/category/[id].vue`
npx nuxi add page "category/[id]"
Notice how we have to put our dynamic routes in quotes.
Since our pages folder is not created on initial creation of our project. Nuxi creates our pages folder before creating our about and category/id routes.
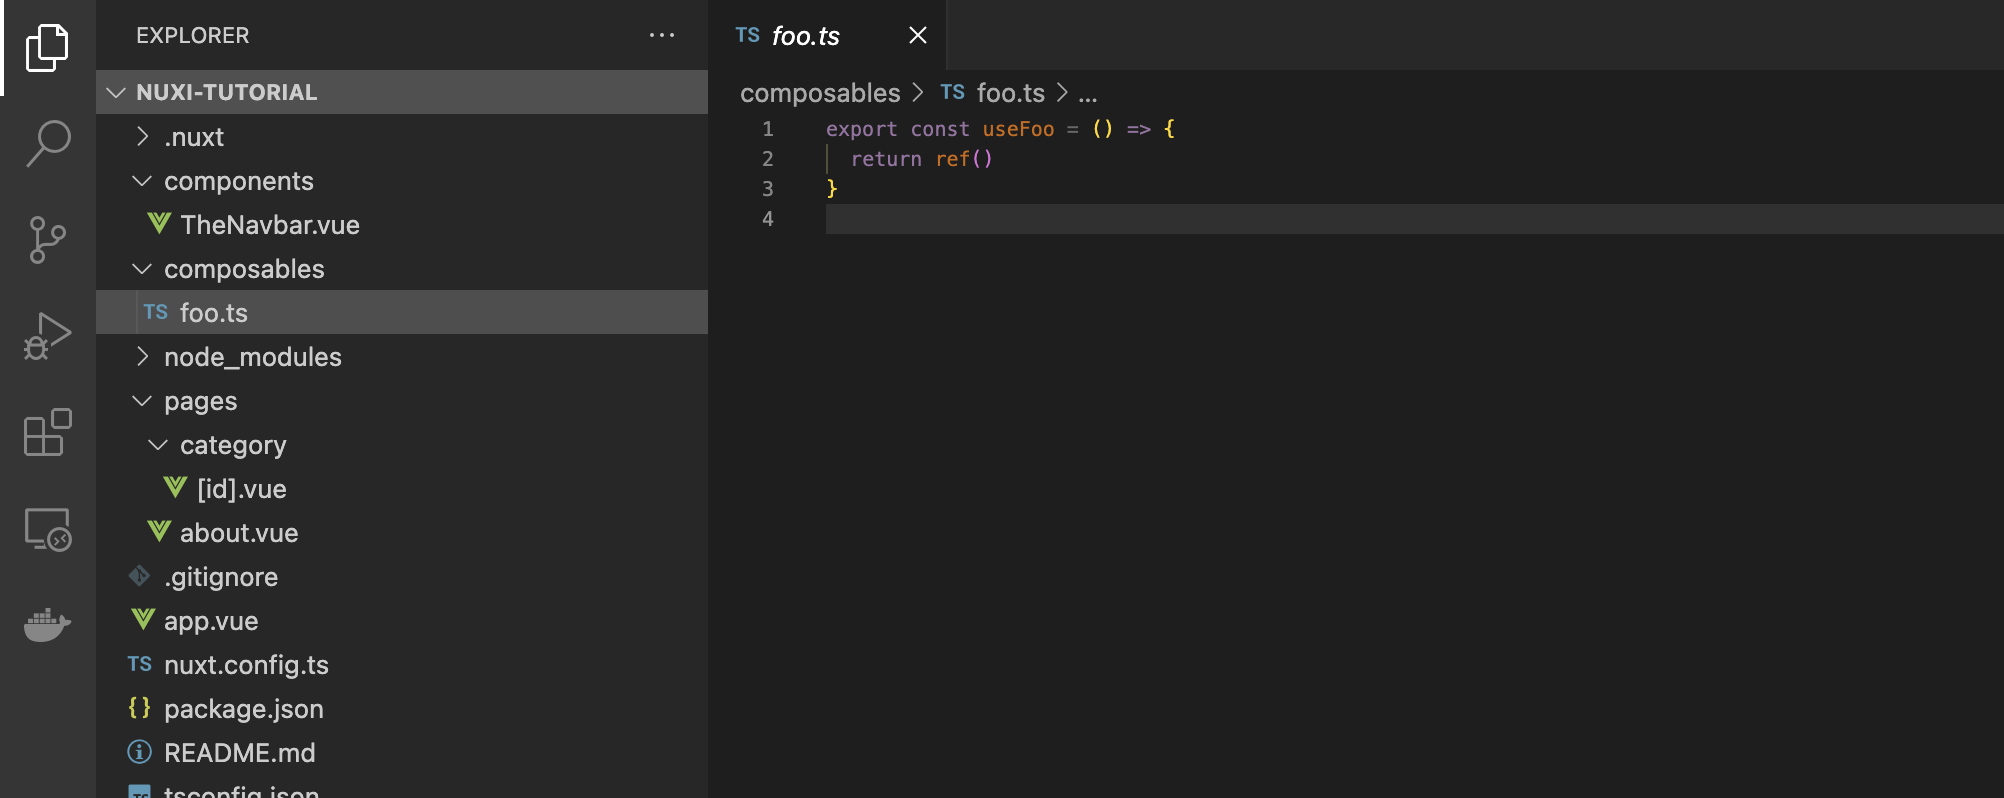
- Add a composable
npx nuxi add composable fooA composable foo.ts is created in our composables directory.
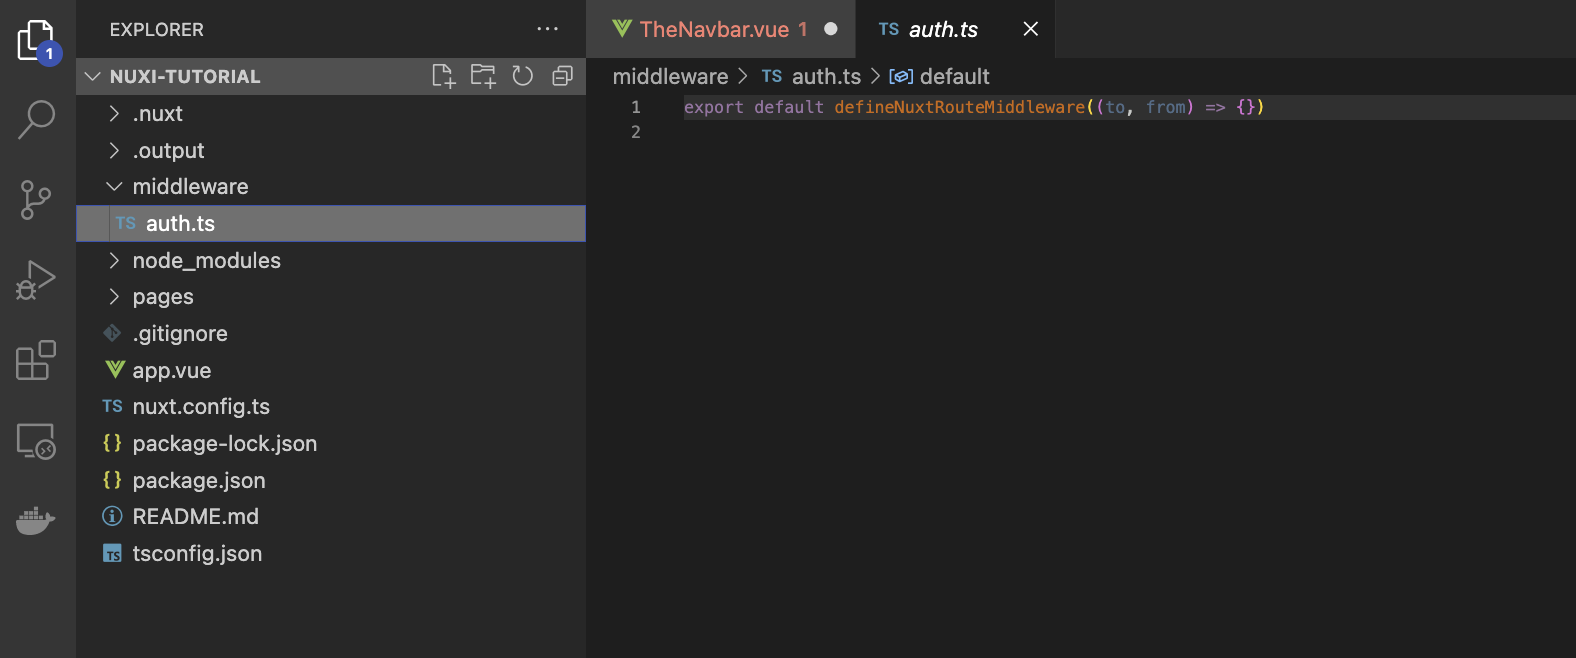
- Add a middleware
npx nuxi add middleware authA middleware/auth.ts file is generated.
Nuxi analyze
npx nuxi analyzeNuxi analyze is an experimental feature that builds your Nuxt app and analyses the production bundle. After running the nuxi analyze command, a local server is created to view your bundles.
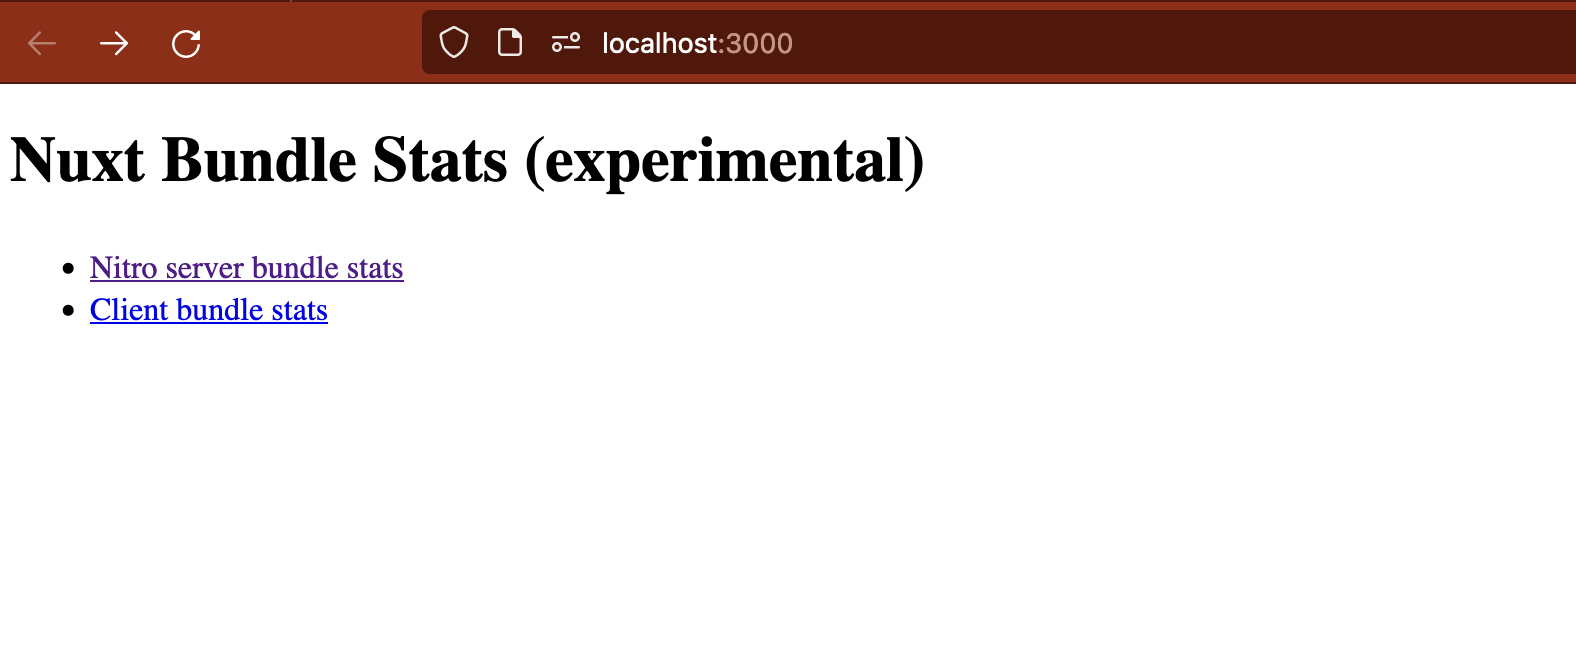
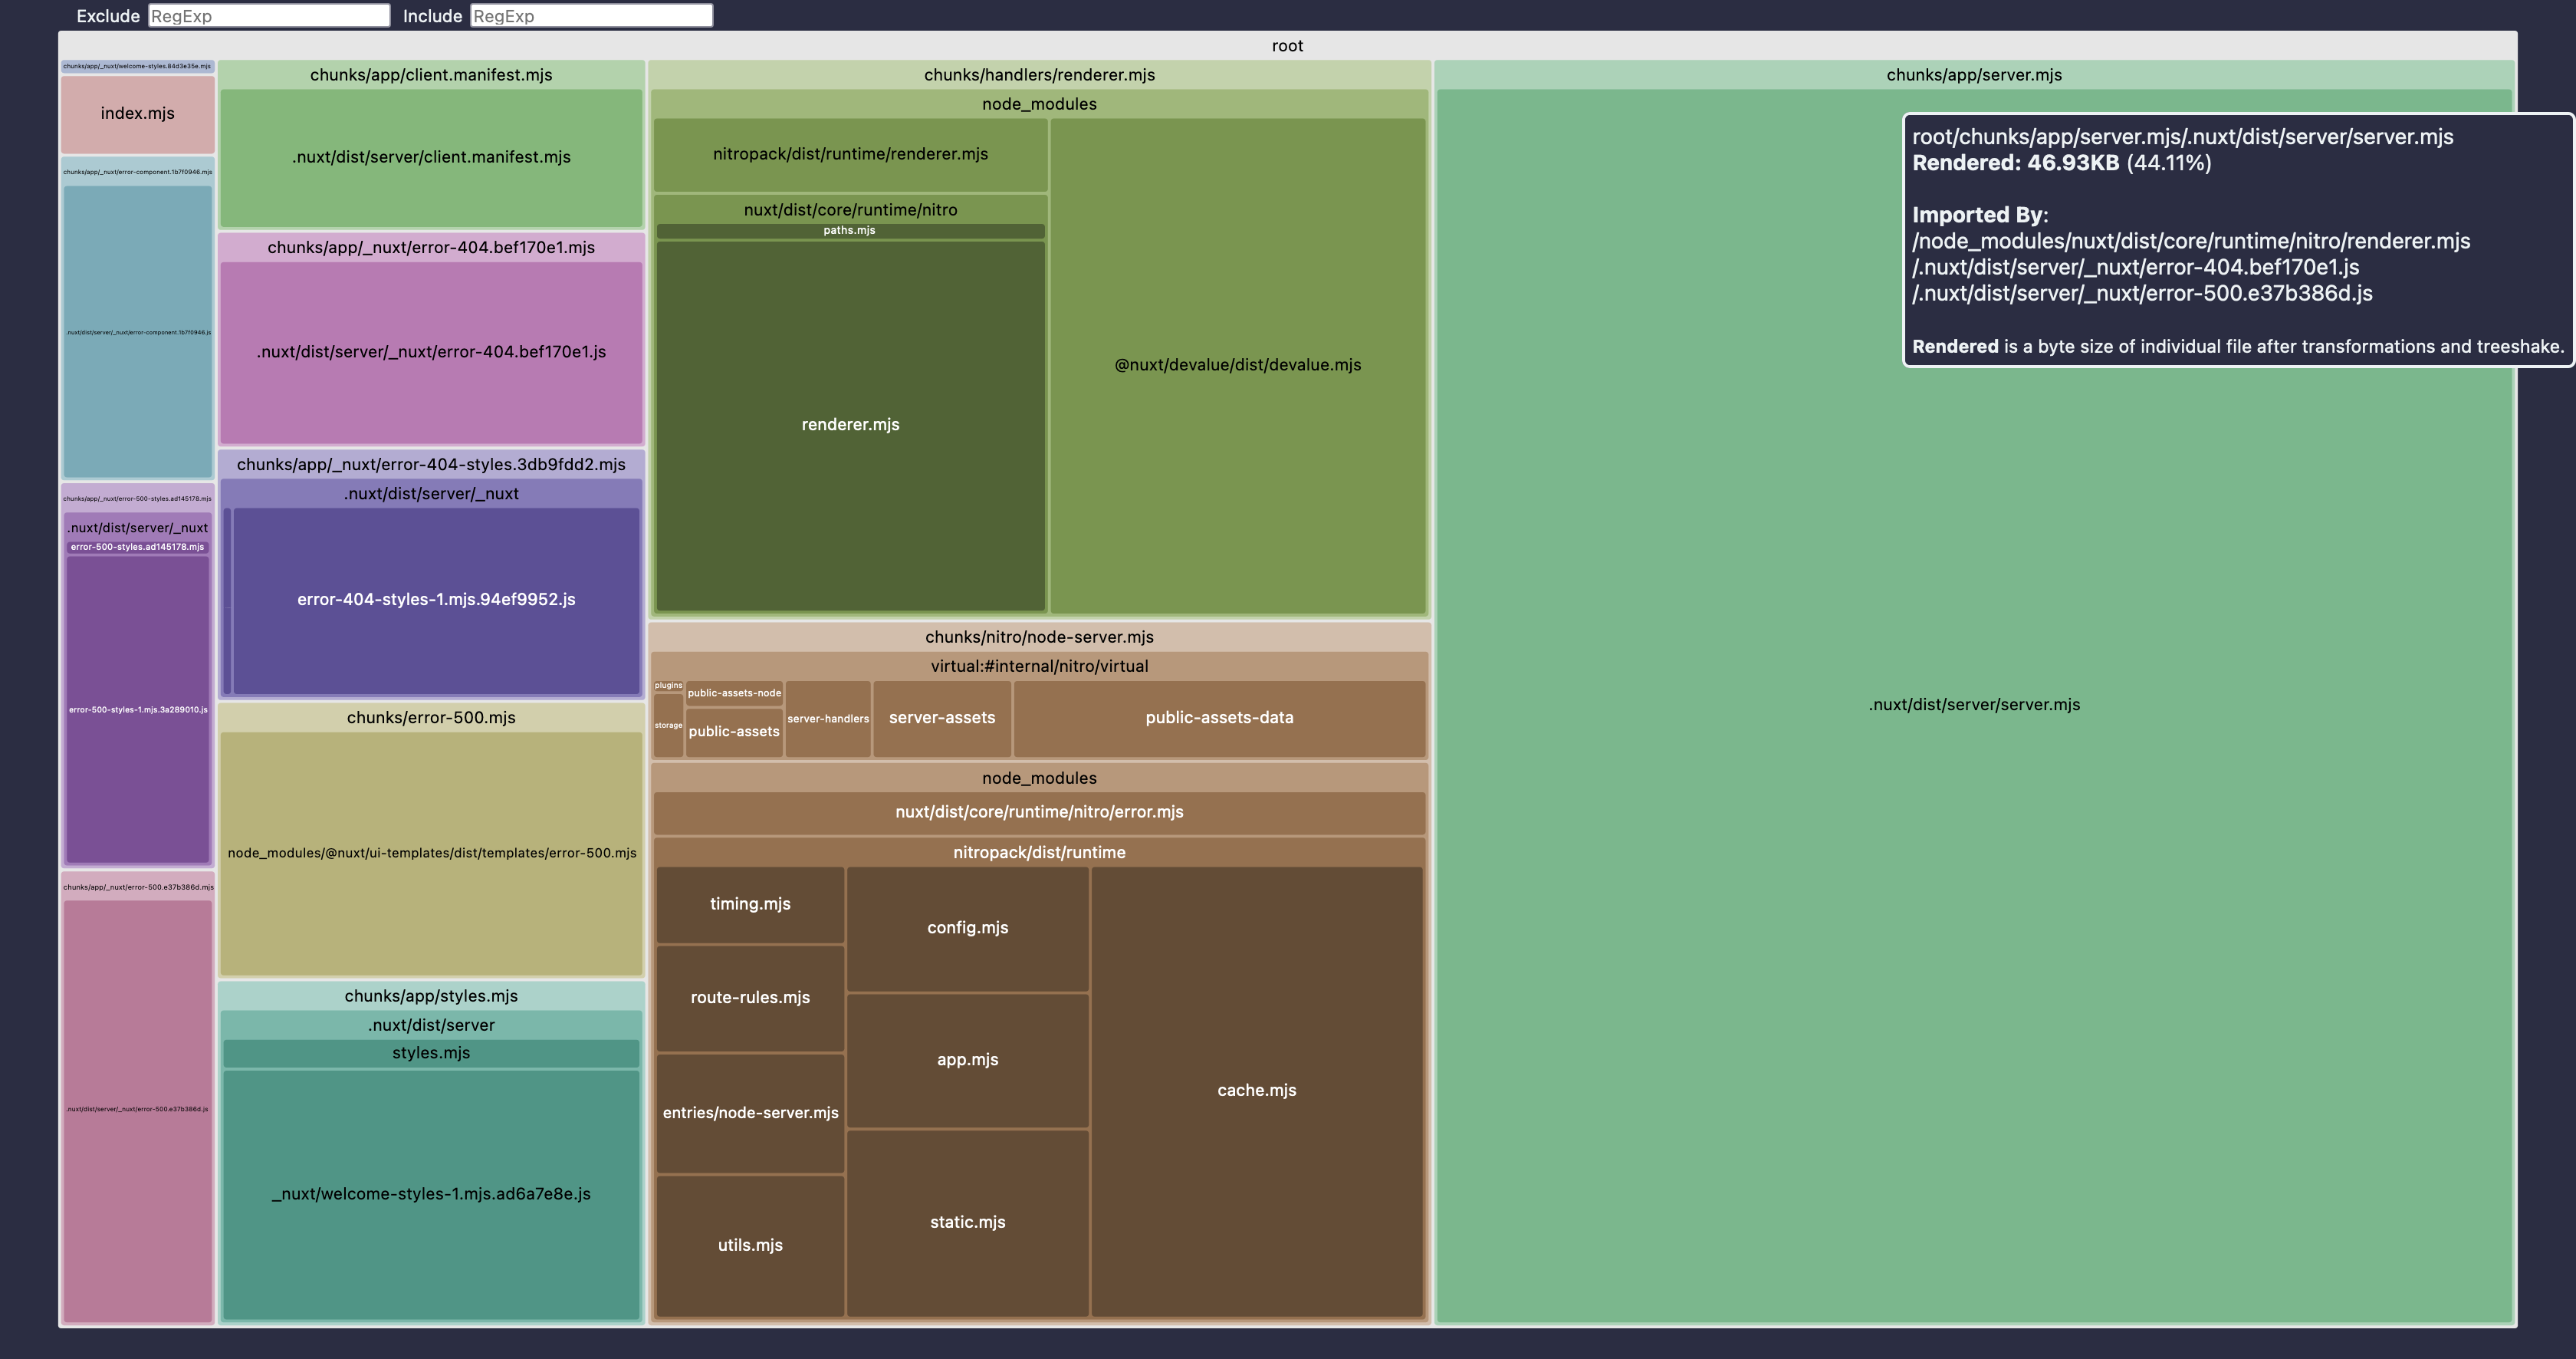
The above image is a visual representation of your production bundles viewed on our created local server. You can then analyse your bundles and optimize them as you can. All this may look overwhelming at the beginning but the larger the rectangle, the bigger part of the bundle that dependency is and may affect performance.

Nuxi build
npx nuxi build The build command creates a .output directory with all your application, server and dependencies ready for production. It also creates a dist directory which is a symlink to .output. This is for no config compatibility with some hosting providers like Netlify.
Nuxi cleanup
npx nuxi cleanup [rootDir]The nuxi cleanup command removes common generated Nuxt files and caches, including:
.nuxt.outputnode_modules/.vitenode_modules/.cache
This is useful when you may having an unexpected bug or may want to have a fresh build for production.
Nuxi dev
npx nuxi dev This command is usually called to start our Nuxt project on the development server which is by default [localhost:3000](http://localhost:3000) . We can then add other optional flags to nuxi dev like;
-p/-port :to listen to a specific port—https :to listen on a https protocol—dotenv :to point to a .env file to load
Nuxi upgrade
npx nuxi upgradeThe upgrade command upgrades our Nuxt application to the latest Nuxt 3 version.
Nuxi generate
npx nuxi generateWith the nuxi generate command, we can build our Nuxt applications to static HTML pages. This is useful when we want to deploy our Nuxt application to static hosting services like Netlify and Vercel. Follow this link find out more about Static Site Generation with Nuxt 3.
Conclusion
Hope you enjoyed reading this article on Nuxi. Nuxi provides us with so many commands and options to improve our Nuxt.js experience. I have mentioned a few of these commands with some optional flags you can attach.
Our Mastering Nuxt 3 course is the best material out there to know everything about Nuxi and how to use these awesome commands.
Recommend
About Joyk
Aggregate valuable and interesting links.
Joyk means Joy of geeK