
2

使用Python将图片转化为ASCII字符图
source link: https://www.biaodianfu.com/python-ascii-art.html
Go to the source link to view the article. You can view the picture content, updated content and better typesetting reading experience. If the link is broken, please click the button below to view the snapshot at that time.
在一些TXT文件中我们经常能看到一些以字符呈现的图像。这一类的图像一般称为ASCII art。
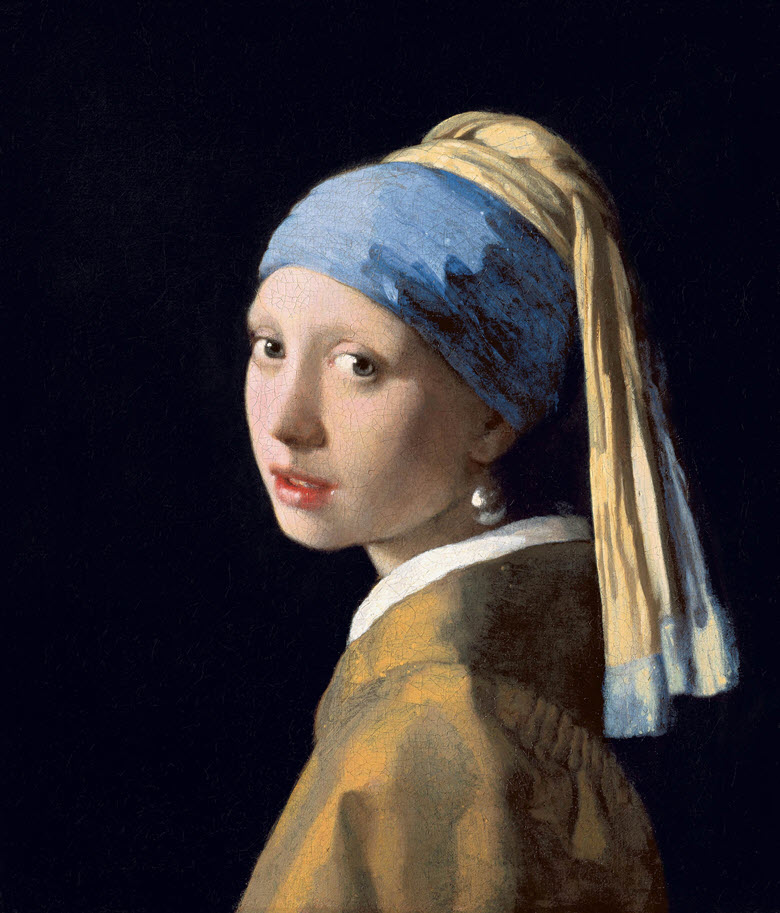
使用Python可以非常方面的生成ASCII art。今天要做的是将以下《戴珍珠耳环的少女》图片转化为ASCII ART。
在转换之前我们先要了解下关于图片的原理。
- 彩色图像中的单个像素可以表示成一个三元组,其中每个元素取值都介于0和255之间,分别表示红色,绿色和蓝色的值。这些值越高,表示相应通道的亮度越大。例如,白色像素的三元组表示为(255,255,2555)。
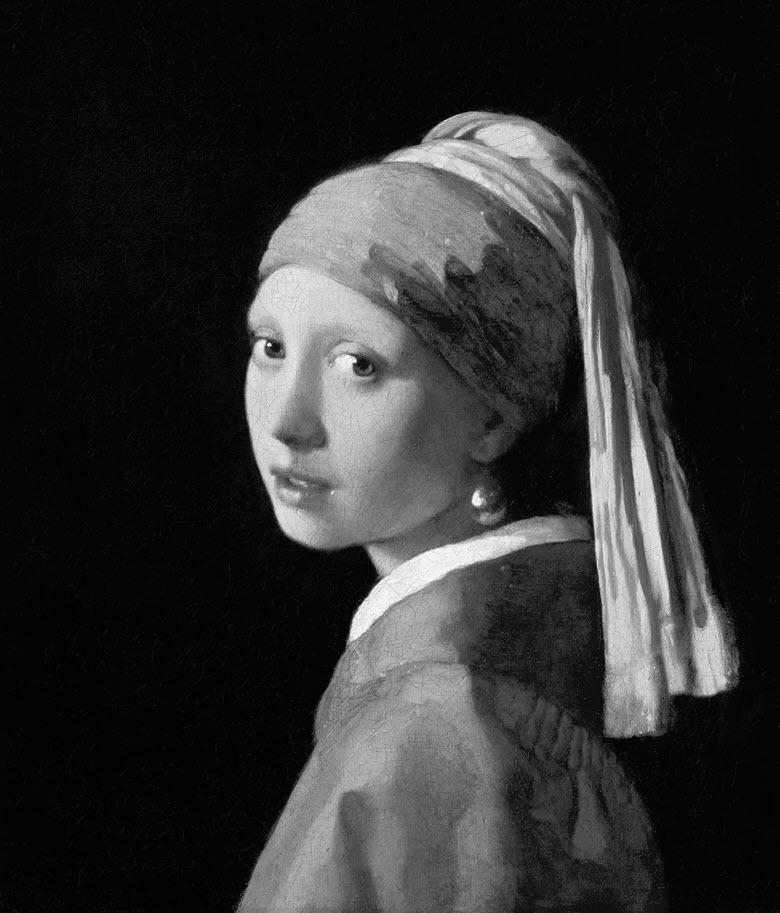
- 灰度图又称灰阶图。 把白色与黑色之间按对数关系分为若干等级,称为灰度。 灰度分为256阶。 用灰度表示的图像称作灰度图。255代表全白,0表示全黑。
在将图片转化为ASCII前,首页需要做的是先将彩色图片转化为灰阶图。原因是ASCII字符不能显示颜色。
要将灰阶图转化为ASCII字符图的核心原理是将每个像素点的值转化成不同的字符。字符本身需要有一定的骨子额,比如下面的字符:
CHARACTERS = (' ', '.', '°', 'o', 'O', '*', '#', '@')
CHARACTERS = (' ', '.', '°', 'o', 'O', '*', '#', '@')
上面有八个字符,转化的时候实际上需要将灰阶的0-255转化为以上8个符号。即将接近黑色的点(0~32)转化为’@’字符,将接近白色的点(223~255)转化为’ ‘字符。这样就有了明暗交替的效果了。
以下为网上找到的关于ASCII阶度的字符列表。注意:列表使用时一定要按照从高到低或从低到高的顺序排序。
gscale1 = "$@B%8&WM#*oahkbdpqwmZO0QLCJUYXzcvunxrjft/\|()1{}[]?-_+~i!lI;:,\"^`". "    #70 levels of gray
gscale2 = "@%#*+=-:. "         #10 levels of gray
gscale1 = "$@B%8&WM#*oahkbdpqwmZO0QLCJUYXzcvunxrjft/\|()1{}[]?-_+~i!lI;:,\"^`". " #70 levels of gray
gscale2 = "@%#*+=-:. " #10 levels of gray
当然,除了使用英文字符,也可以使用中文字符。比如这次的demo我使用的是“戴珍珠耳环的少女”这几个字,然后我对这些字按照笔画的数量进行了简单的排序。
ASCII_CHARS = "戴珠珍环的耳女少"
ASCII_CHARS = "戴珠珍环的耳女少"
整体转化的流程大体是这样,但在转化过程中还会存在一个问题,即将原来的一个像素点转化为一个文字,尺寸会相应的变大。是转化后的尺寸与原尺寸会产生差异。解决办法是重新设置字符的宽度。
整体代码如下:
from PIL import Image

# ASCII_CHARS = "@%#*+=-:. "
ASCII_CHARS = "戴珠珍环的耳女少"


def img2ascii(image_path, ascii_path, image_width=100):
    im = Image.open(image_path).convert('L')
    im.save('Gray-Scale-Image.jpg')
    width, height = im.size
    image_height = image_width * height // width
    im = im.resize((image_width, image_height))
    im.show()
    pixels = im.getdata()
    ascii_str = ""
    for pixel in pixels:
        ascii_str += ASCII_CHARS[len(ASCII_CHARS) * pixel // 256]
    ascii_str_len = len(ascii_str)

    ascii_img = ""
    for i in range(0, ascii_str_len, image_width):
        ascii_img += ascii_str[i:i + image_width] + "\n"

    with open(ascii_path, "w") as f:
        f.write(ascii_img)


if __name__ == "__main__":
    image_path = 'Meisje_met_de_parel.jpg'
    ascii_path = 'ascii_image.txt'
    image_width = 256
    img2ascii(image_path, ascii_path, image_width)
from PIL import Image
# ASCII_CHARS = "@%#*+=-:. "
ASCII_CHARS = "戴珠珍环的耳女少"
def img2ascii(image_path, ascii_path, image_width=100):
im = Image.open(image_path).convert('L')
im.save('Gray-Scale-Image.jpg')
width, height = im.size
image_height = image_width * height // width
im = im.resize((image_width, image_height))
im.show()
pixels = im.getdata()
ascii_str = ""
for pixel in pixels:
ascii_str += ASCII_CHARS[len(ASCII_CHARS) * pixel // 256]
ascii_str_len = len(ascii_str)
ascii_img = ""
for i in range(0, ascii_str_len, image_width):
ascii_img += ascii_str[i:i + image_width] + "\n"
with open(ascii_path, "w") as f:
f.write(ascii_img)
if __name__ == "__main__":
image_path = 'Meisje_met_de_parel.jpg'
ascii_path = 'ascii_image.txt'
image_width = 256
img2ascii(image_path, ascii_path, image_width)
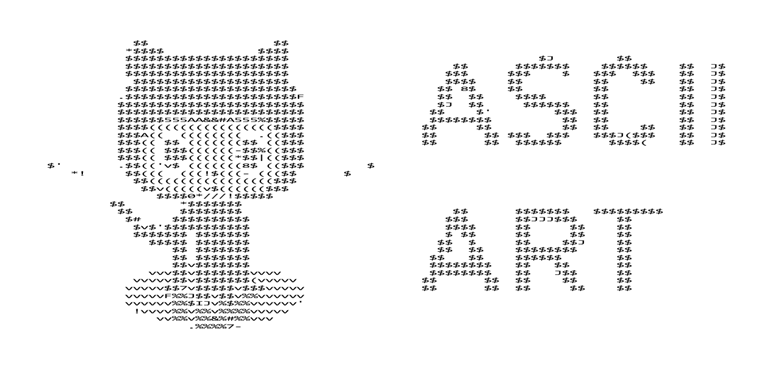
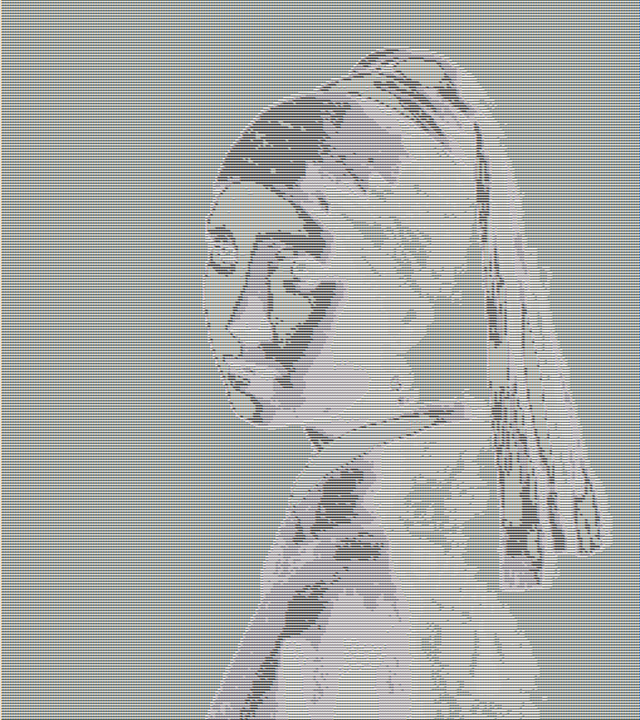
最终效果:
参考链接:
Recommend
About Joyk
Aggregate valuable and interesting links.
Joyk means Joy of geeK