

使用awescnb自定义博客园皮肤 - 铁皮鸭子
source link: https://www.cnblogs.com/barros/p/16588091.html
Go to the source link to view the article. You can view the picture content, updated content and better typesetting reading experience. If the link is broken, please click the button below to view the snapshot at that time.

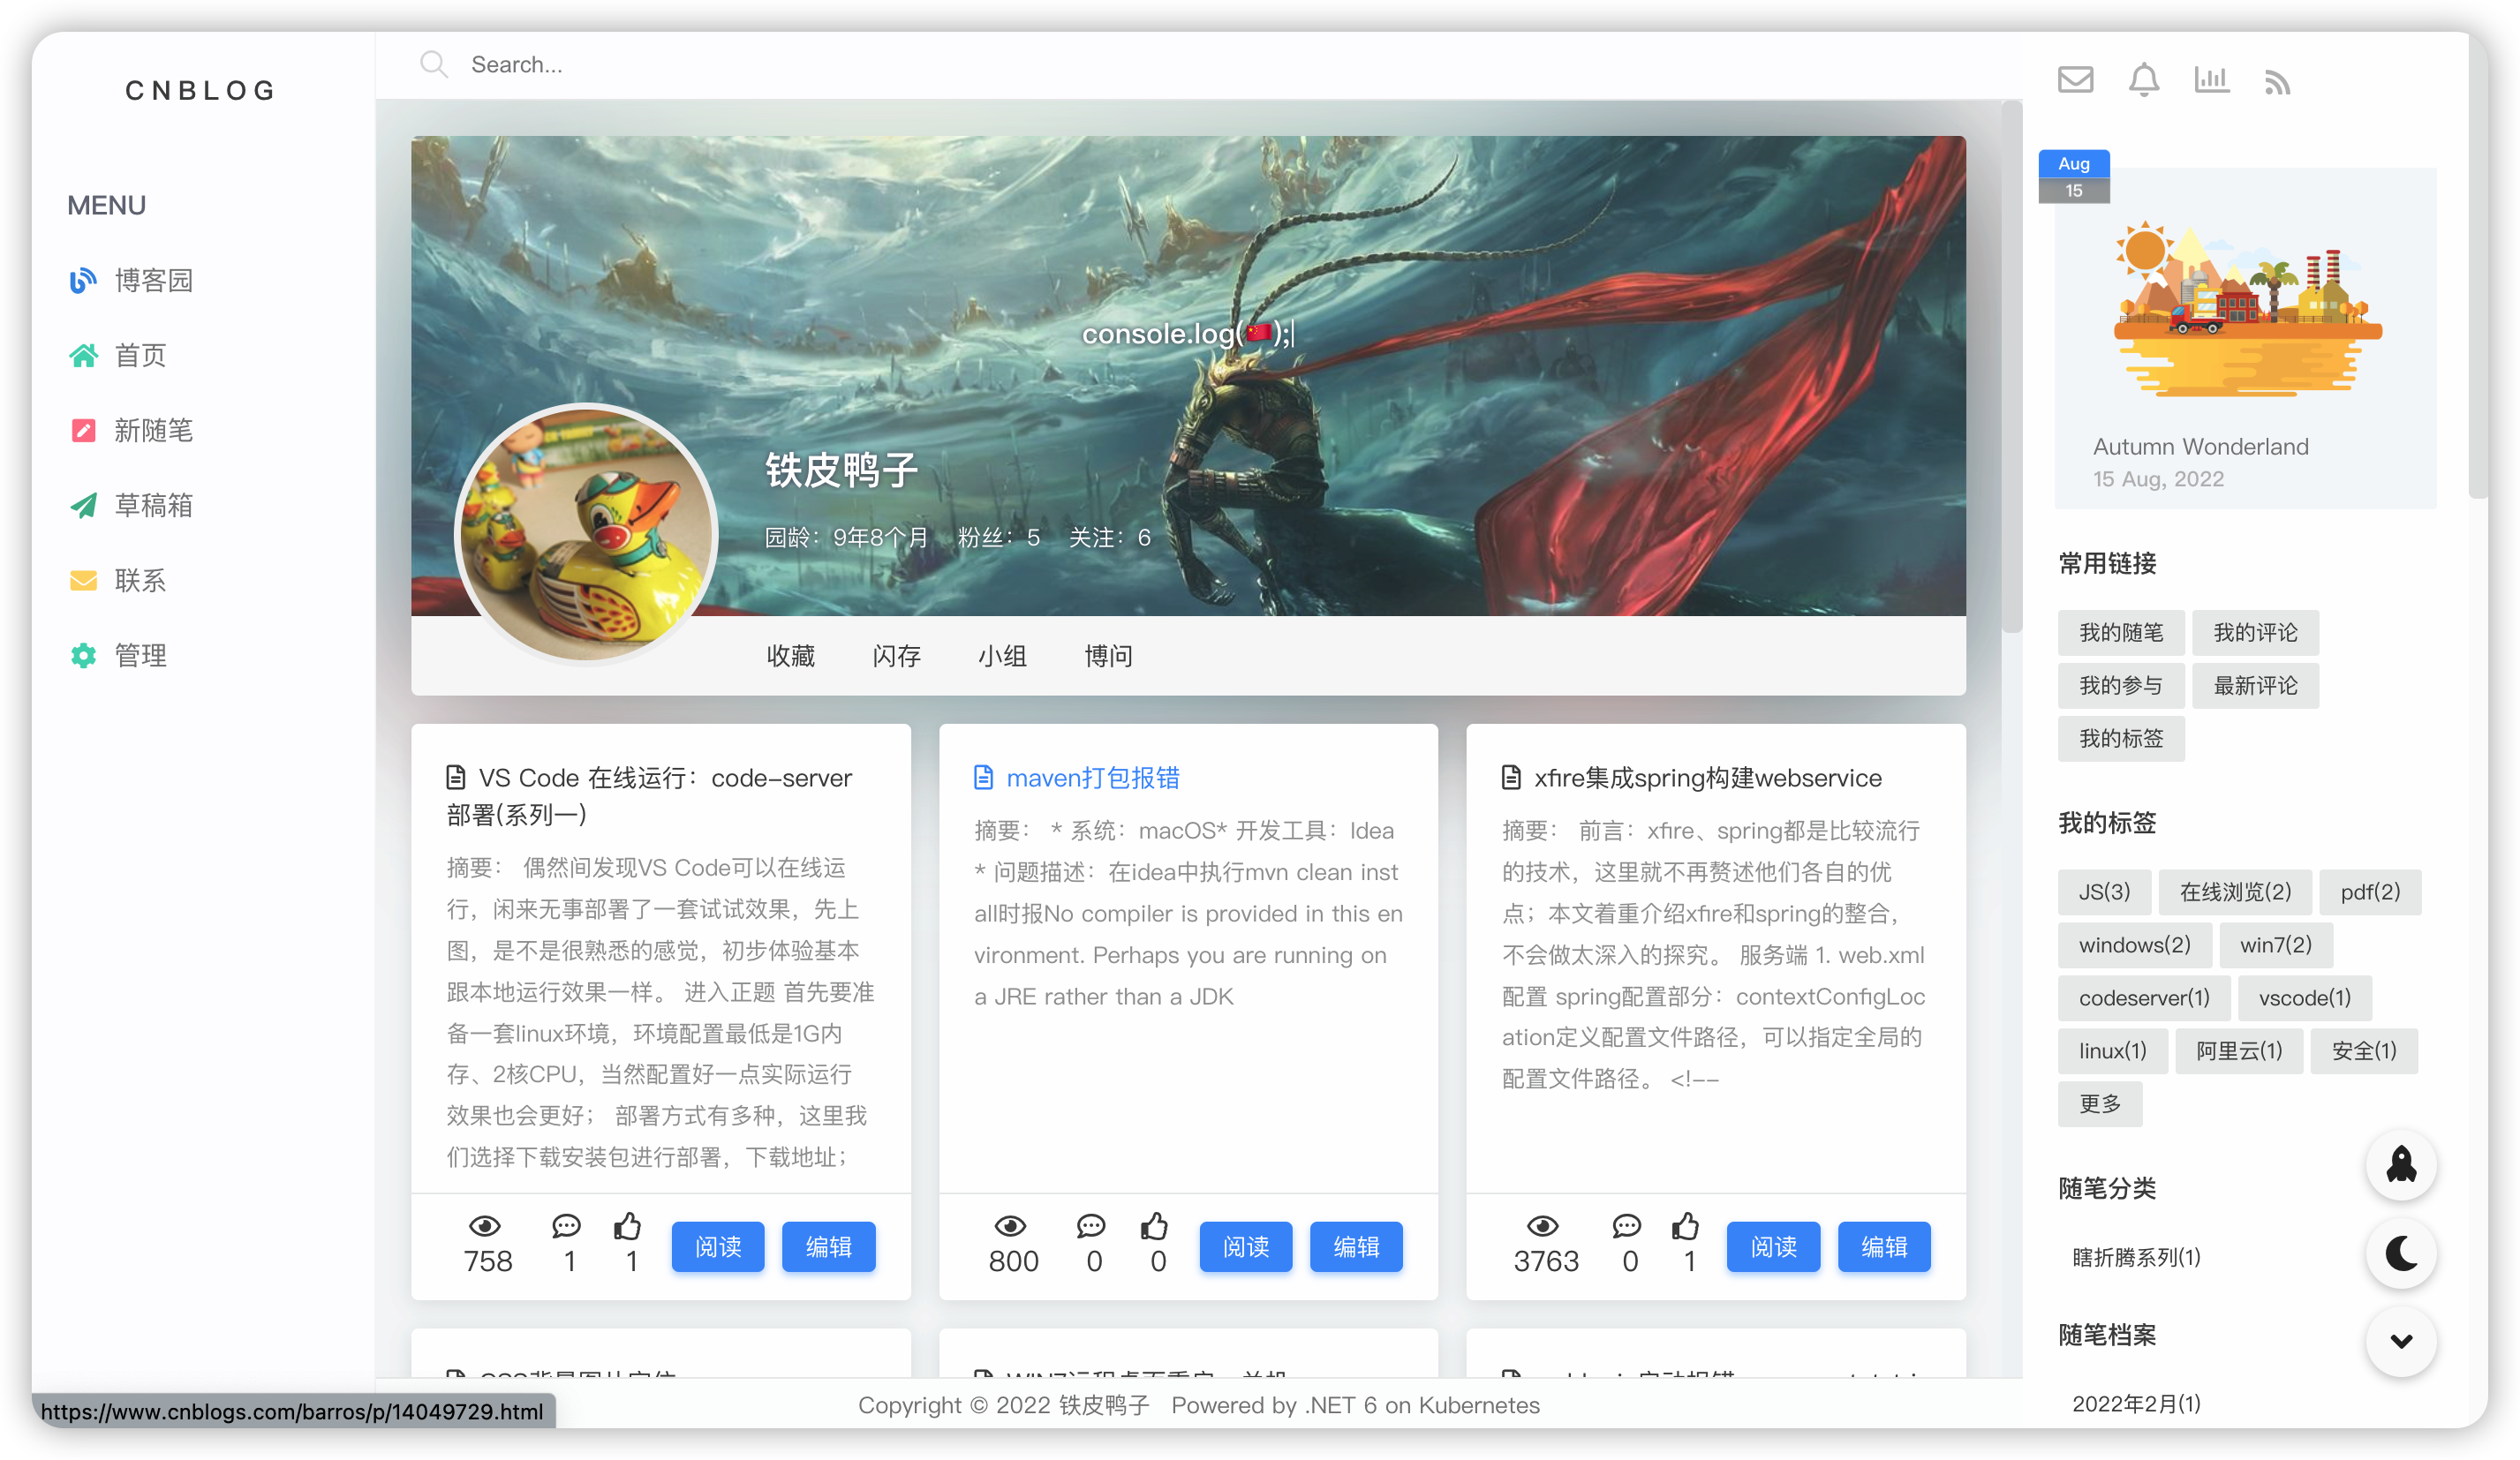
使用awescnb自定义博客园皮肤
偶然在博客园闲逛的时候发现了一个看着很顺眼的博客皮肤,本着求索的精神想学习一下,结果在源码中发现了大神实现的awescnb博客园皮肤自定义功能,通过简单配置就可以切换成大神设计的皮肤,效果也非常哇塞,这里把设置过程简单记录一下。
-
打开博客园设置
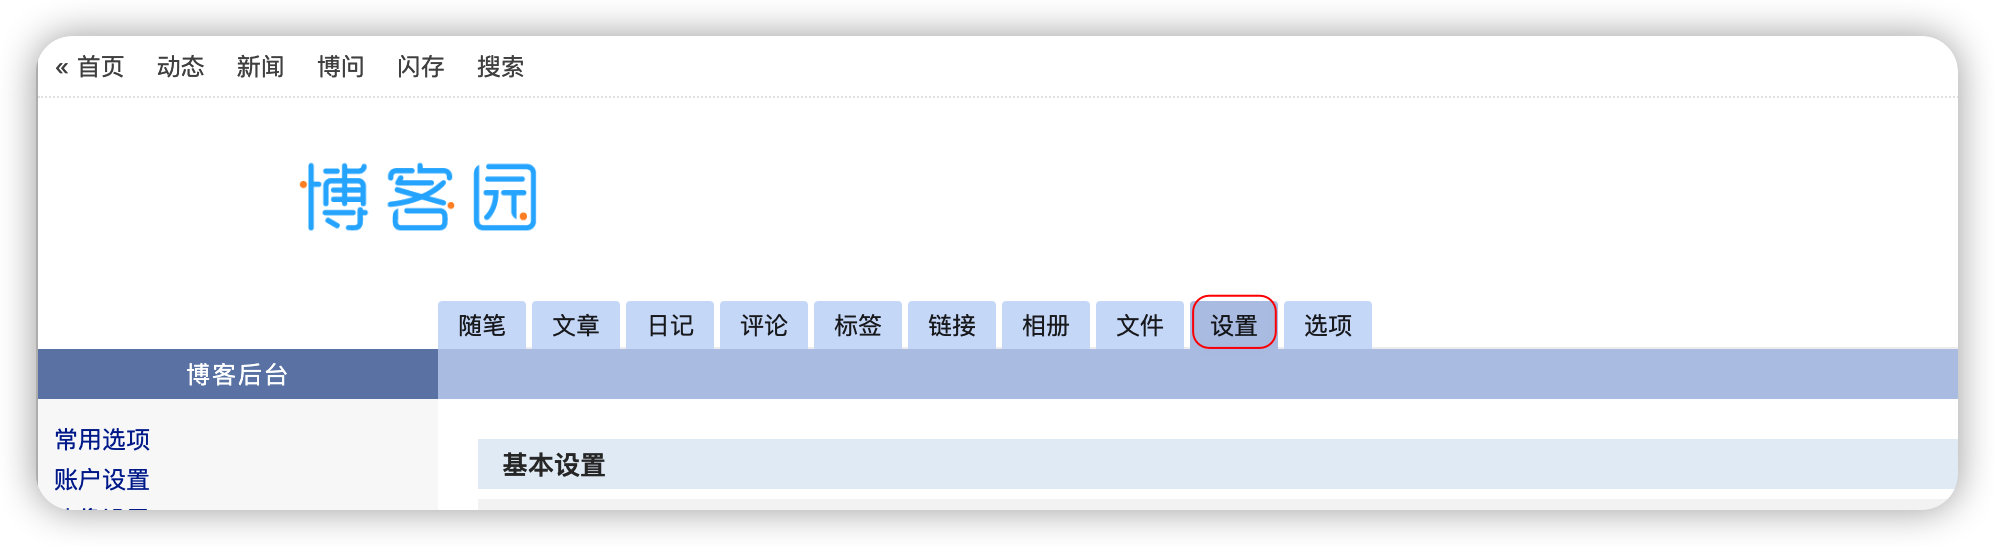
-
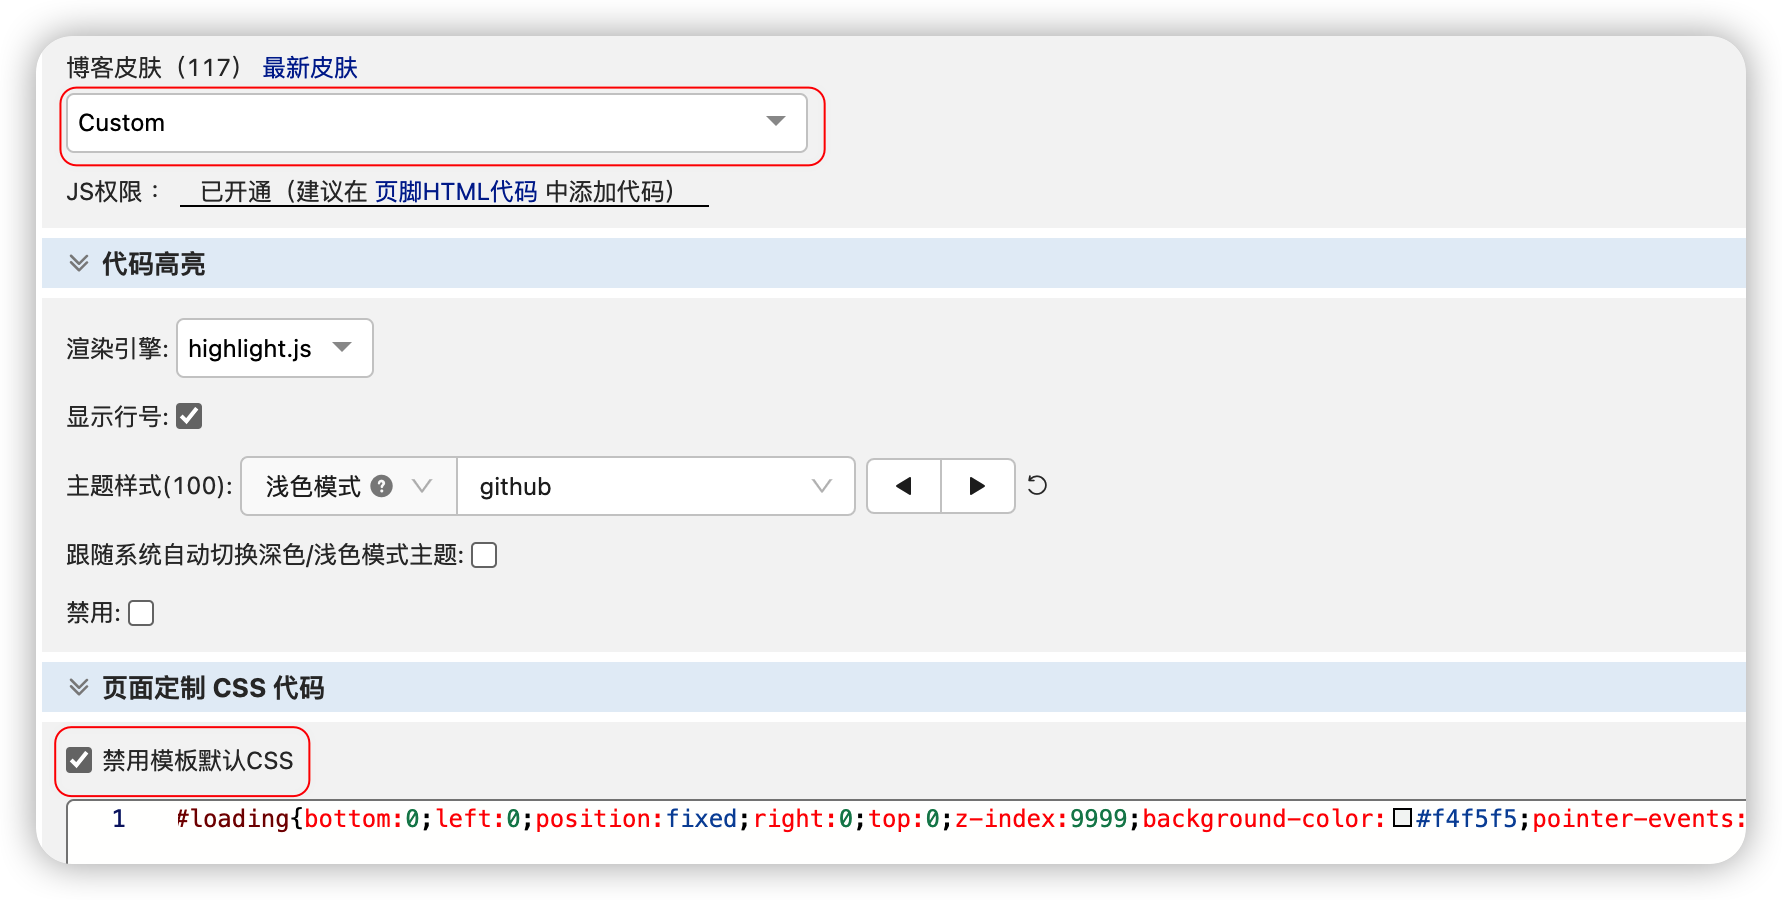
设置默认官方皮肤为
Custom,禁用官方皮肤的默认的CSS,在页面定制CSS代码中加入如下代码
#loading{bottom:0;left:0;position:fixed;right:0;top:0;z-index:9999;background-color:#f4f5f5;pointer-events:none;}.loader-inner{will-change:transform;width:40px;height:40px;position:absolute;top:50%;left:50%;margin:-20px 0 0 -20px;background-color:#3742fa;border-radius:50%;animation:scaleout 0.6s infinite ease-in-out forwards;text-indent:-99999px;z-index:999991;}@keyframes scaleout{0%{transform:scale(0);opacity:0;}40%{opacity:1;}100%{transform:scale(1);opacity:0;}}
-
代码高亮支持深色和浅色模式,可以根据需要自行切换,但是效果只能在使用
markdown编辑器时发布博文才会生效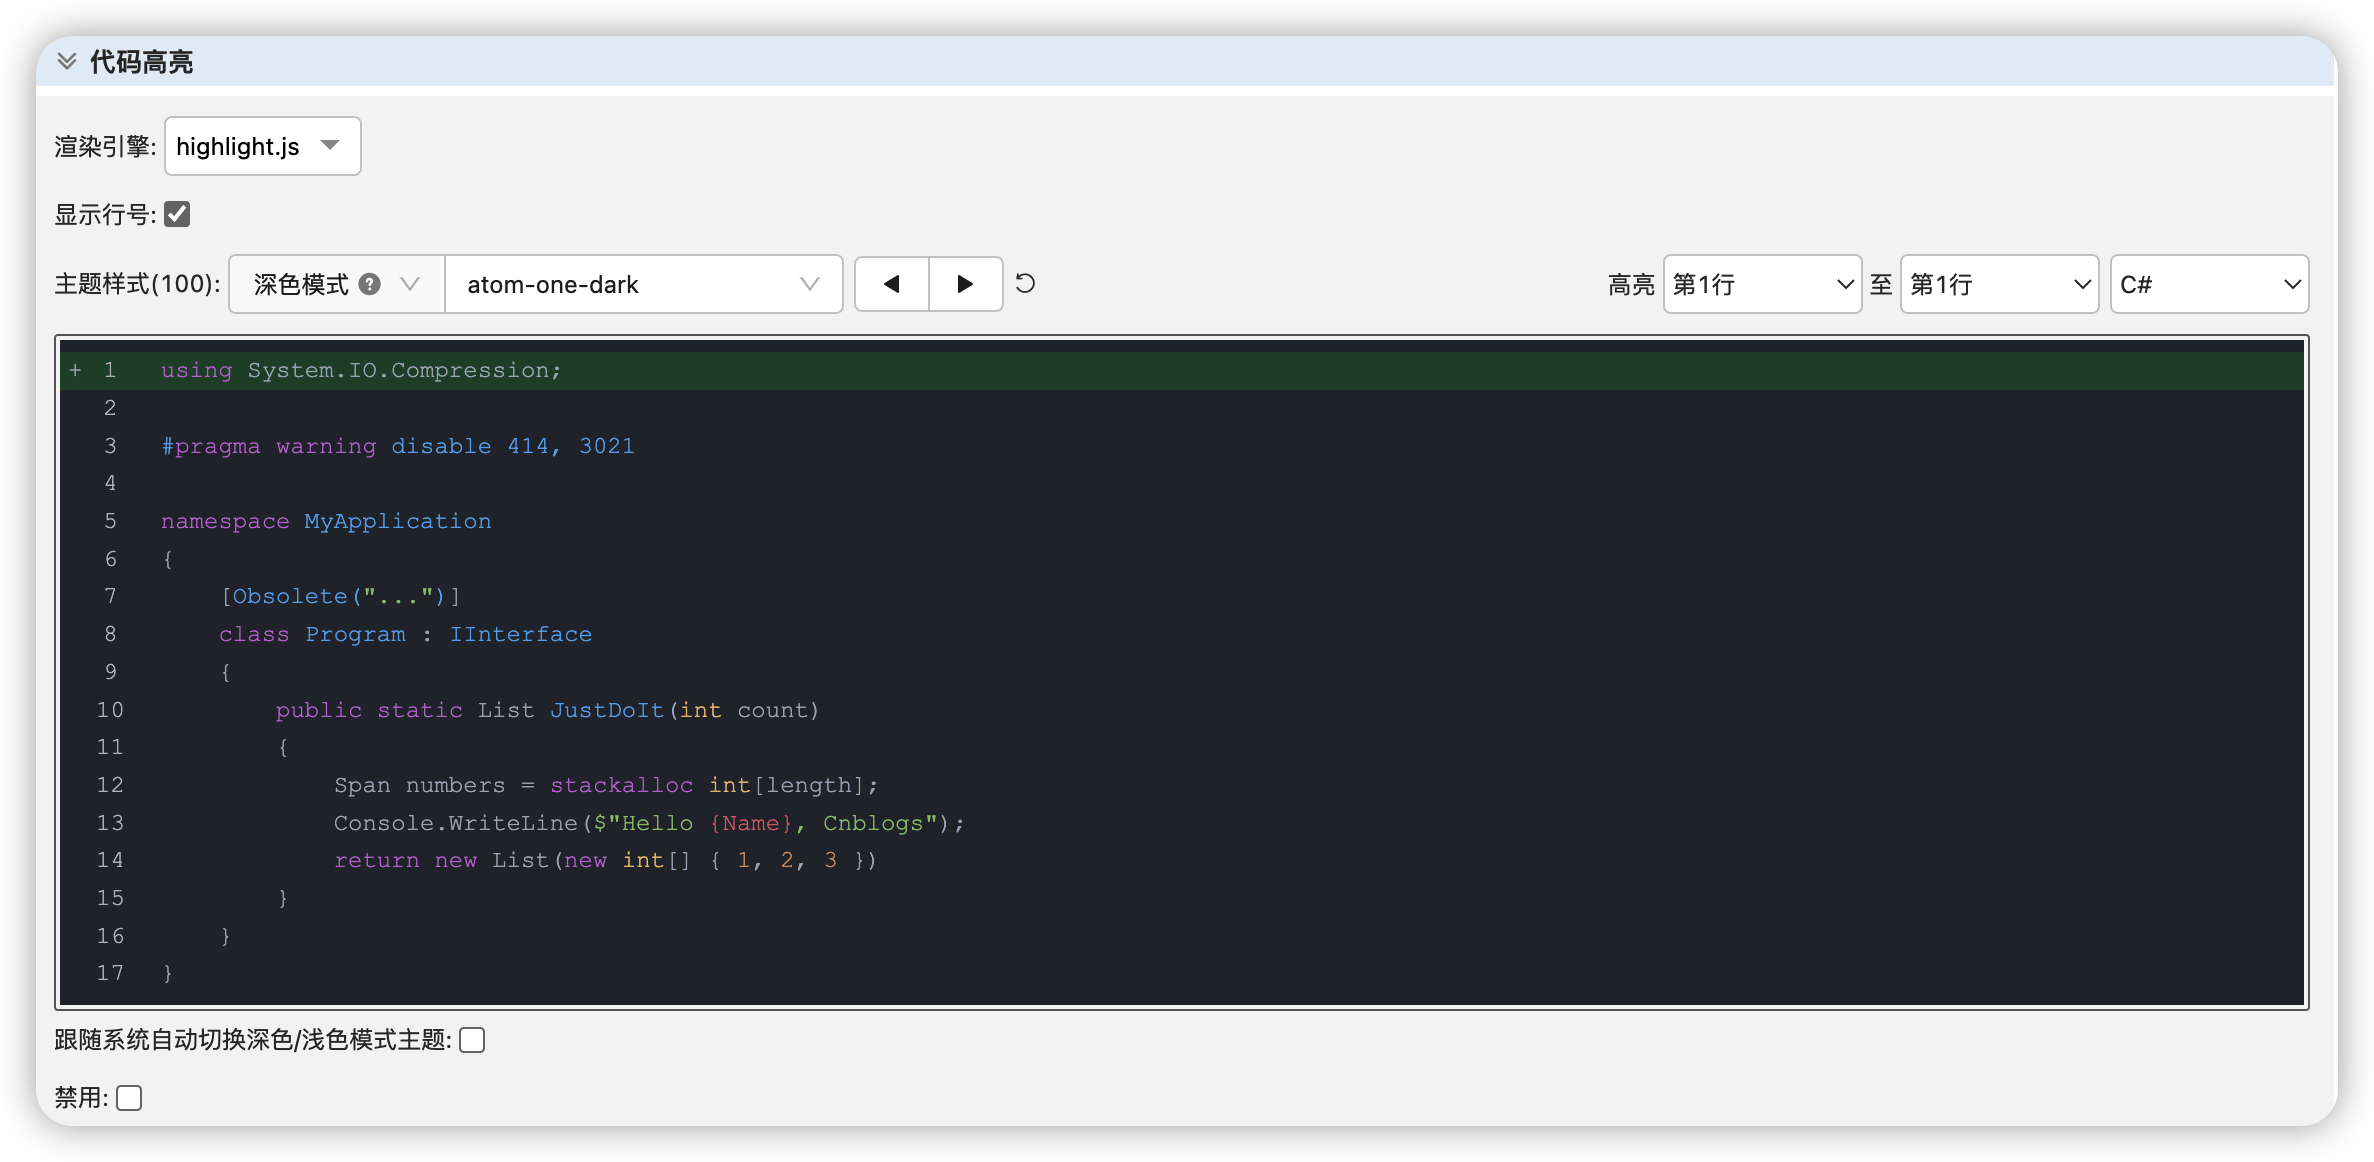

-
在页首 HTML代码中加入以下代码
<div id="loading"><div class="loader-inner"></div></div>
- 在页脚 HTML 代码中加入以下代码,配置部分可以参照文档自行修改(需要先邮件官方申请开通JS权限)
<script src="https://guangzan.gitee.io/awescnb/index.js"></script><script> const config = { // 默认启用皮肤 'reacg' // 在这里添加自定义配置 theme: { //修改默认皮肤 name: 'geek', avatar: 'https://pic.cnblogs.com/avatar/478790/20140604205738.png', headerBackground: 'https://img2022.cnblogs.com/blog/478790/202208/478790-20220814231902278-1445739173.jpg' }, } $.awesCnb(config)</script>
Recommend
-
198
一套简约漂亮的响应式博客园主题皮肤分享给你们 ...
-
52
冬天的湖面,对鸭子不太友好
-
22
牧鸭子的边牧
-
49
来源:Nature自然科研飞行能力在许多鸟类中已经难觅踪影。研究人员通过对比会飞和不会飞的船鸭的翅膀结构和基因组,提出了飞行能力丧失的一种可能机制。研究新出现特征的基因序列可以了解演化过程;然而,研究丧失的特征也能带来独特见解。如果某一特征
-
10
蝗虫过处,寸草不生。继东非蝗灾之后,红海两岸蝗灾规模继续扩大,已影响也门、沙特阿拉伯、阿曼。此外,受强季风影响,大量蝗群一周前抵达海湾两侧,“造访”了科威特、巴林、卡塔尔和伊朗西南海岸区域。我们的邻国巴基斯坦因蝗灾于本月早些时候宣布国家紧急
-
16
近日,邻国巴基斯坦因蝗灾于本月早些时候宣布国家紧急状态。据国内媒体报道,根据巴方需求,中国政府派出蝗灾防治工作组抵巴。10万“鸭子军队”将出征巴基斯坦,助力灭蝗。据悉,按照巴基斯坦治蝗计划,首批预计出动10万“鸭兵”。
-
19
:art: Awescnb , awesome cnblog. 简介 可能许多初来乍到的新手会被博客园经典的风格劝退,或者您是一个老园友,需要为您的博客定制一些功能(例如宣传公众号,文章目录、或者插入几个捐助二维码等...
-
19
现在我在美国,天天数鸭子 - 地址 Western Hudson Park, Harrison, New Jersey
-
10
华农兄弟:家里来了新朋友,烤一只鸭子,准备点特别节目招待他_哔哩哔哩_bilibili 华农兄弟:家里来了新朋友,烤一只鸭子,准备点特别节目招待他
-
7
Vite 是一种新型前端构建工具,能够显著提升前端开发体验。Vite 十分适合 awescnb 的架构,最近,我将 awescnb 重构完成,现在可以更加愉快地构建博客园皮肤了。 Node.js 点击...
About Joyk
Aggregate valuable and interesting links.
Joyk means Joy of geeK