

Get familiar with Wear OS 3 (without a physical device)
source link: https://medium.com/androiddevelopers/get-familiar-with-wear-os-3-without-a-physical-device-e7962c97f02b
Go to the source link to view the article. You can view the picture content, updated content and better typesetting reading experience. If the link is broken, please click the button below to view the snapshot at that time.
Get familiar with Wear OS 3 (without a physical device)
Wear OS has changed a lot over the last 8 years. It’s snappier, more efficient and includes a variety of UI surfaces for which you can develop.
While strapping a physical device to your wrist for a few days is really the bestway to get a feel for what the platform is like nowadays, it’s not the only way. The Wear OS 3 system image is available as a preview in Android Studio so, while we wait for our new watches to be delivered 😉, we can still take a quick tour.
In this article, we’ll take a brief look at unique UI surfaces on Wear OS, create the emulator and explore it from a user perspective, then wrap up.
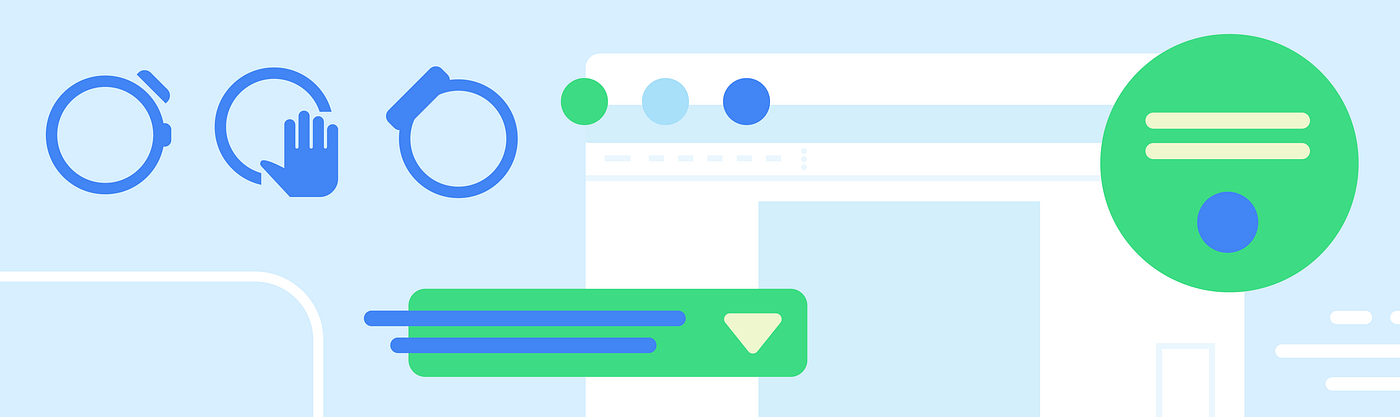
Wear-specific surfaces
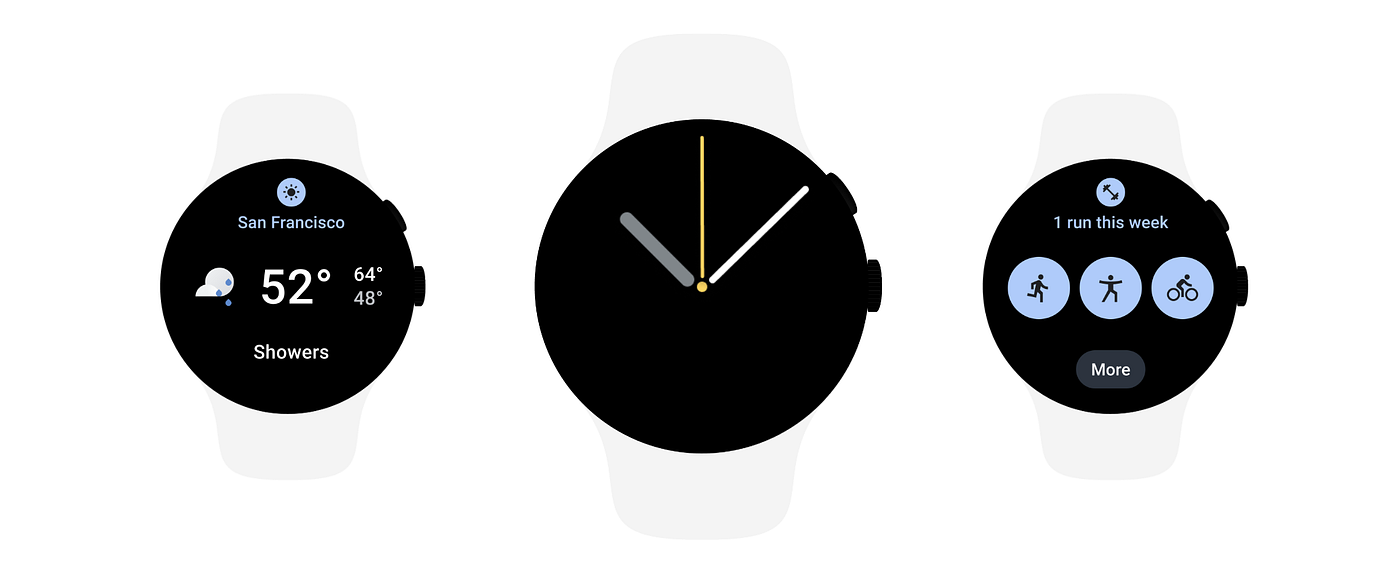
The watch face is what’s visible 99% of the time. It shows the time. Watch face designs vary: digital, analog, text-based or even completely abstract.
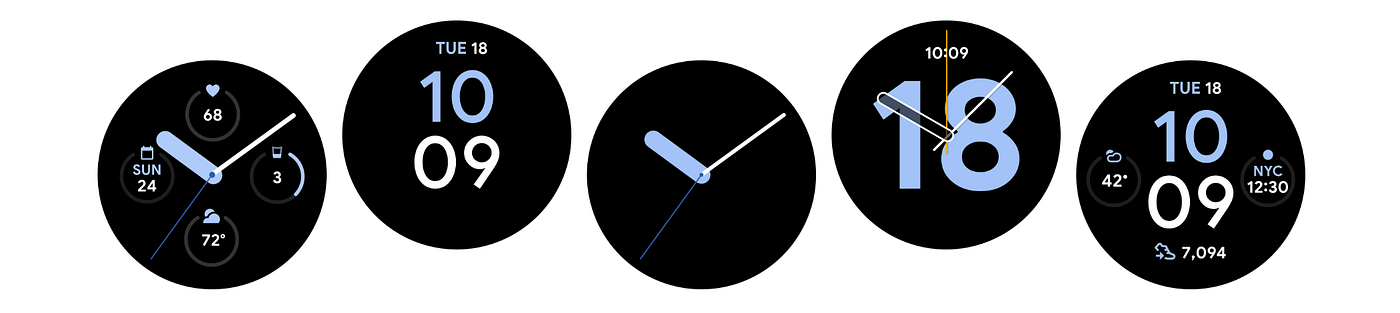
Watch faces in different configurations
Complications are any feature on the watch face that’s displayed in addition to the time, like today’s date, the weather outside, or the number of steps you’ve taken today. They allow users to get information and complete actions in the fastest way possible on Wear OS.
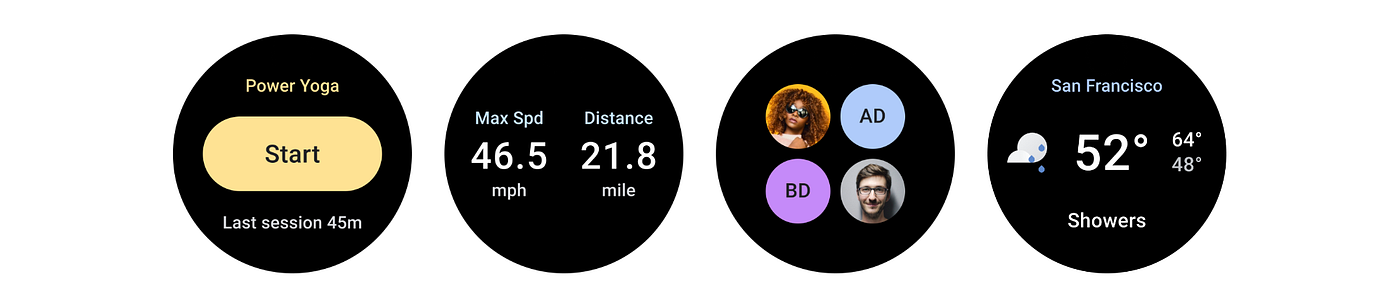
Tiles from 4 different apps
Tiles are full-screen surfaces which present information from a single app at a glance. With a simple swipe from the watch face, you can start a workout, jump to a message, or see details for the latest forecast, where each subsequent swipe lets you view the next tile. These are meant to be very predictable, and also highly glanceable, like complications.
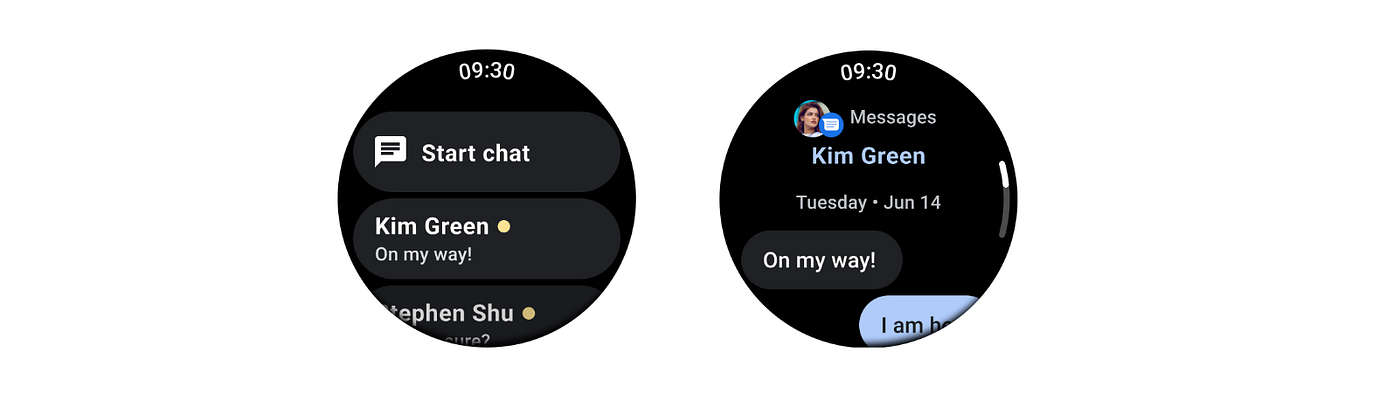
Screens from the Messages app overlay
Overlays are similar to what you might consider a traditional app experience. While both complications and tiles are quite similar (glanceable info and quick actions), overlays provide interactive, scrollable views which allow users to complete tasks that are too complex for the other surfaces.
Android Studio Dolphin
There have been a few important UI changes for Wear emulators in Android Studio Dolphin. We’ll be using that version for this virtual tour.
Firstly, the UI has been updated to reflect the buttons and gestures available on a Wear OS device. Here, instead of the mobile-centric “back”, “home” and “recents” buttons, we’ve got Button 1 and 2, and the gestures for covering the screen with your palm or tilting your wrist.

From left to right: Back, Button 1, Button 2, Palm, Tilt
Dolphin also includes new run configurations to allow launching watch faces, tiles and complications directly from the IDE, making it faster to run and test:
You can select tiles and complications directly from the run configuration dropdown to launch them directly
Create a Wear OS 3 emulator
Create an emulator using the Device Manager in Android Studio.
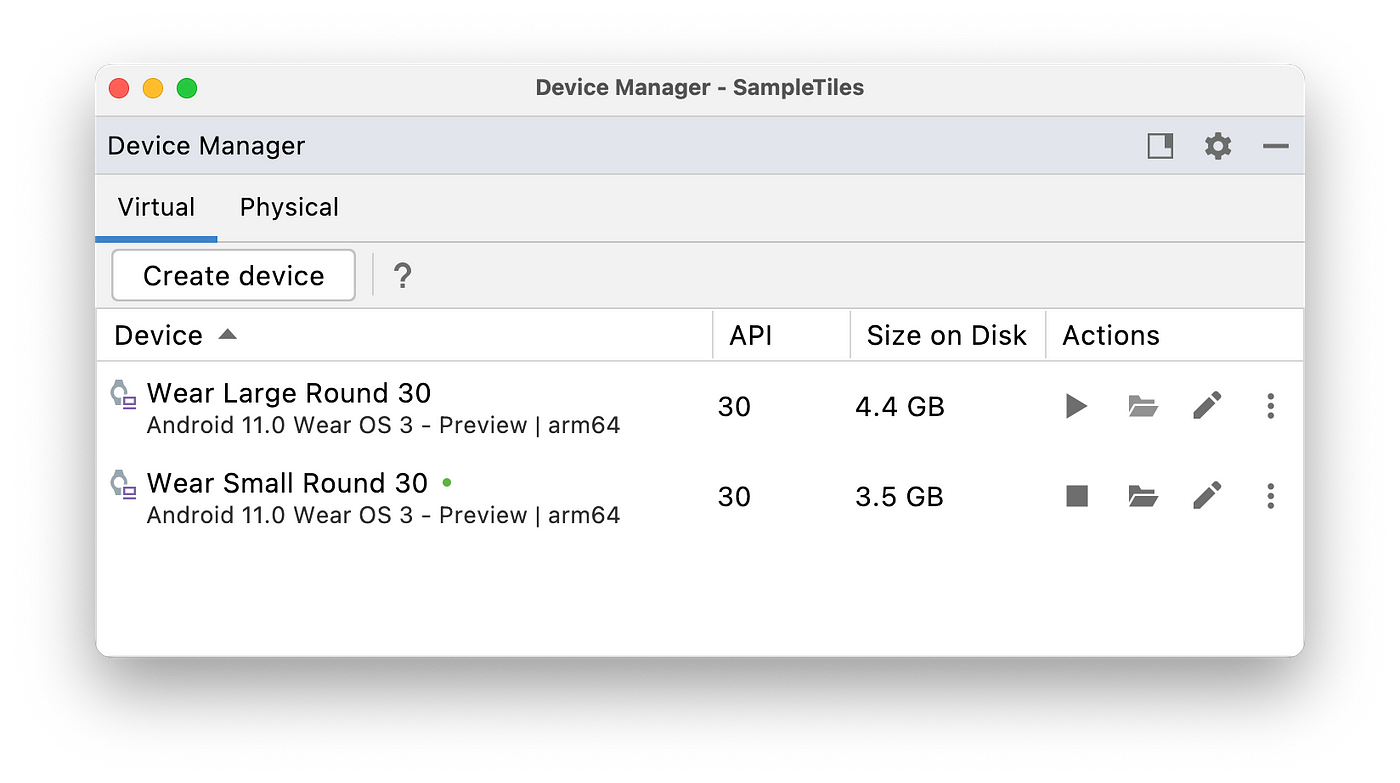
Here’s some I made earlier
Select the Wear OS category and choose one of the device definitions. On the system image screen, be sure to select the API 30/Android 11/Wear OS 3 target and finish.
Once the device starts, you’ll see the watch face. Along the top of the emulator pane, notice the row of buttons which help with some of the more common interactions.
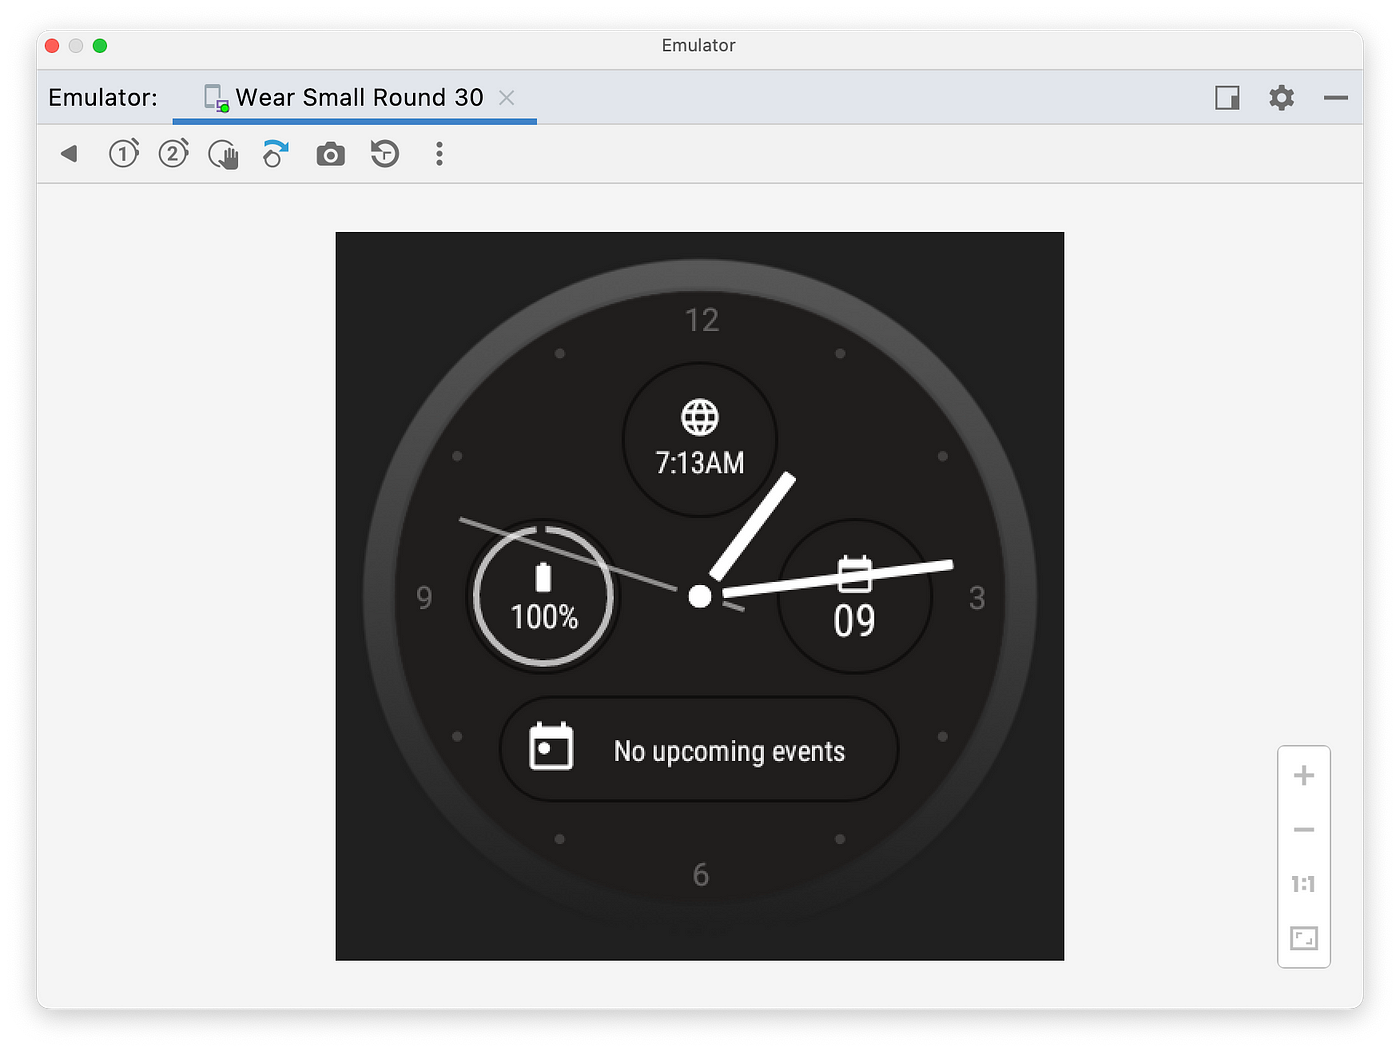
Let’s look at each of the emulator buttons in turn:
- Back: standard Android system back button. You can also swipe from the left edge of the screen to the right, for the same function.
- Button 1: shows the app launcher which includes recent apps.
- Button 2: navigates to the watch face/tiles screen.
- Palm: simulates the user covering the screen with their palm, which turns the screen off (ambient-mode).
- Tilt: simulates the user tilting their watch towards themselves, which wakes the screen.
I recommend using the arrow keys on your keyboard to navigate through lists and menus, using Enter to select.
Accessing Settings from the Quick Settings panel
You can access the Quick Settings panel by swiping down from the top, and from there click through to Settings. There are two timeouts worth changing to the highest values you can:
- Display > Screen timeout > 30 seconds (related bug)
- Display > Go to watch face > After 5 min.
Explore Wear OS on the emulator
Watch faces
There are two modes for this screen: active and ambient. Using the Palm button will switch the screen “off”, showing the watch face in ambient mode. Pressing the Tilt button will switch the screen back “on”.
A watch face transitioning between active and ambient mode
In ambient mode, note how the screen dims and the second-hand disappears. This is a low-power mode which updates as infrequently as possible.
Select a new watch face for the emulator by long-pressing on the watch face, away from complication areas, and away from the edges — like on the hands:
This is also where you can configure complications.
Complications
Watch faces are responsible for rendering complications, so that’s why we can choose them from the watch face configuration. Here’s how we can change the complication from showing the date to showing the battery level:
Changing the complication data source
If your app provides complication data, it’ll be selectable from that list too, and the watch face will decide (based on the complication data type) how to present this.
Tiles
Tiles are accessible from the watch face by swiping. Long-pressing a tile lets you edit them.
Navigating to and editing tiles
Swipe up to remove a tile, use the arrows to reorder them, or press the + button to add a new one.
If your app includes a tile, you’ll be able to add it from here; it won’t automatically be added to the carousel just because the app is installed.
Notifications
Notifications on the emulator are also available by swiping from the watch face; start on the bottom edge and swipe up.
App launcher
Wear OS features an app launcher too. Press Button 1 to see a list of installed apps, preceded by recently used apps.
Overlays
Opening an app’s overlay can be done from any of the above surfaces. While using the app launcher is really common on mobile, frequently used apps will likely be opened from a complication or tile.
In an overlay, navigation is as-expected. Click on things, scroll lists, and use the back gesture or button to navigate back.
What’s next?
Now you’re familiar with Wear OS in general, it’s time to dive in! Check out this codelab on Compose for Wear OS to learn more about developing for Wear today.
While it’s possible to use the emulator for a lot of testing and development, be sure to test your apps on a physical device before launching to users so you measure things like power consumption, interactions and behavior in real-world situations too.
Let me know if you have any feedback, comments or questions either here as a response or you can find me on Twitter, @ataulm.
Recommend
About Joyk
Aggregate valuable and interesting links.
Joyk means Joy of geeK