

Three.js 之 15 Scroll based animation 基于页面滚动的动画
source link: https://gaohaoyang.github.io/2022/07/10/three-scroll-animation/
Go to the source link to view the article. You can view the picture content, updated content and better typesetting reading experience. If the link is broken, please click the button below to view the snapshot at that time.
Three.js 之 15 Scroll based animation 基于页面滚动的动画
本系列为 Three.js journey 教程学习笔记。
Scroll based animation 基于页面滚动的动画
本节我们将学习基于页面滚动的动画。很好的将之前所学的内容做一个复习和运用。
我们会把 WebGL 部分固定到页面中,随着页面的滚动 WebGL 中也随之相应的产生动画效果。这种联动的效果会带来非常好的体验,并且也会让你的页面看起来很高级很有未来感。联动的效果主要是使用 camera 的角度变化来实现。并且最后会加入一些滚动到某个区域后的动画效果。
因为我们使用固定视角的相机,所以 OrbitControls 就不再需要了。我们需要设置一些 HTML 内容,并且撑满屏幕高度
HTML 结构如下
<!DOCTYPE html>
<html lang="en">
  <head>
    <meta charset="UTF-8" />
    <meta name="viewport" content="width=device-width, initial-scale=1.0" />
    <meta http-equiv="X-UA-Compatible" content="ie=edge" />
    <title>scroll based animation</title>
  </head>

  <body>
    <canvas id="mainCanvas" class="webgl"></canvas>
    <section class="section">
      <h1>Hello</h1>
    </section>
    <section class="section">
      <h2>My projects</h2>
    </section>
    <section class="section">
      <h2>Contact me</h2>
    </section>
    <script src="<%= path %>" charset="utf-8"></script>
  </body>
</html>
CSS 代码如下,我们设置了页面背景色,设置 section 高度为 100vh,设置好布局
body {
  margin: 0;
  padding: 0;
  background-color: #263238;
}

.webgl {
  position: fixed;
  top: 0;
  left: 0;
  outline: none;
}

.section {
  padding-left: 10%;
  padding-right: 10%;
  display: flex;
  align-items: center;
  height: 100vh;
  font-size: 7vmin;
  position: relative;
  color: #fff;
}

section:nth-child(odd) {
  justify-content: flex-end;
}
一个可以滚动的页面就完成了
我们在 ts 文件中再绘制一个基础的小立方体和灯光
import * as THREE from 'three'
import './style.css'
import * as dat from 'lil-gui'
import stats from '../common/stats'
import { listenResize, dbClkfullScreen } from '../common/utils'

// Canvas
const canvas = document.querySelector('#mainCanvas') as HTMLCanvasElement

// Scene
const scene = new THREE.Scene()

// Size
const sizes = {
  width: window.innerWidth,
  height: window.innerHeight,
}

// Camera
const camera = new THREE.PerspectiveCamera(75, sizes.width / sizes.height, 0.1, 100)
camera.position.set(0, 0, 6)

/**
 * Objects
 */
const cube = new THREE.Mesh(new THREE.BoxGeometry(1, 1, 1), new THREE.MeshStandardMaterial())
scene.add(cube)

const directionLight = new THREE.DirectionalLight()
directionLight.position.set(1.5, 1, 1)
const ambientLight = new THREE.AmbientLight(new THREE.Color('#ffffff'), 0.2)
scene.add(ambientLight, directionLight)

const directionLightHelper = new THREE.DirectionalLightHelper(directionLight, 2)
scene.add(directionLightHelper)

// Renderer
const renderer = new THREE.WebGLRenderer({
  canvas,
  antialias: true,
  alpha: true,
})
renderer.setSize(sizes.width, sizes.height)
renderer.setPixelRatio(Math.min(window.devicePixelRatio, 2))

listenResize(sizes, camera, renderer)
dbClkfullScreen(document.documentElement)

// Animations
const tick = () => {
  stats.begin()
  // Render
  renderer.render(scene, camera)
  stats.end()
  requestAnimationFrame(tick)
}

tick()

/**
 * Debug
 */
const gui = new dat.GUI()
gui.add(directionLightHelper, 'visible').name('directionLightHelper visible')
我们将原有的立方体移除,使用 Three.js 内置的 圆环 TorusGeometry、圆锥 ConeGeometry 和圆环扭结 TorusKnotGeometry
// Meshes
const mesh1 = new THREE.Mesh(
  new THREE.TorusGeometry(1, 0.4, 16, 60),
  new THREE.MeshBasicMaterial({ color: '#ff0000' }),
)
const mesh2 = new THREE.Mesh(
  new THREE.ConeGeometry(1, 2, 32),
  new THREE.MeshBasicMaterial({ color: '#ff0000' }),
)
const mesh3 = new THREE.Mesh(
  new THREE.TorusKnotGeometry(0.8, 0.35, 100, 16),
  new THREE.MeshBasicMaterial({ color: '#ff0000' }),
)

scene.add(mesh1, mesh2, mesh3)
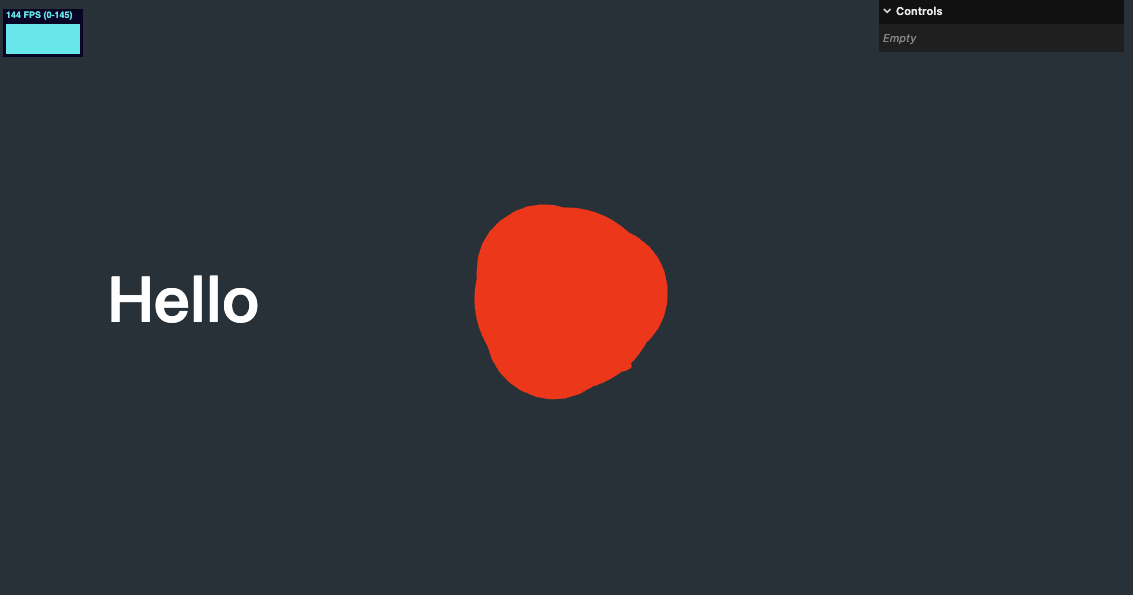
别着急,随后我们修改几何体的为位置和相机视角
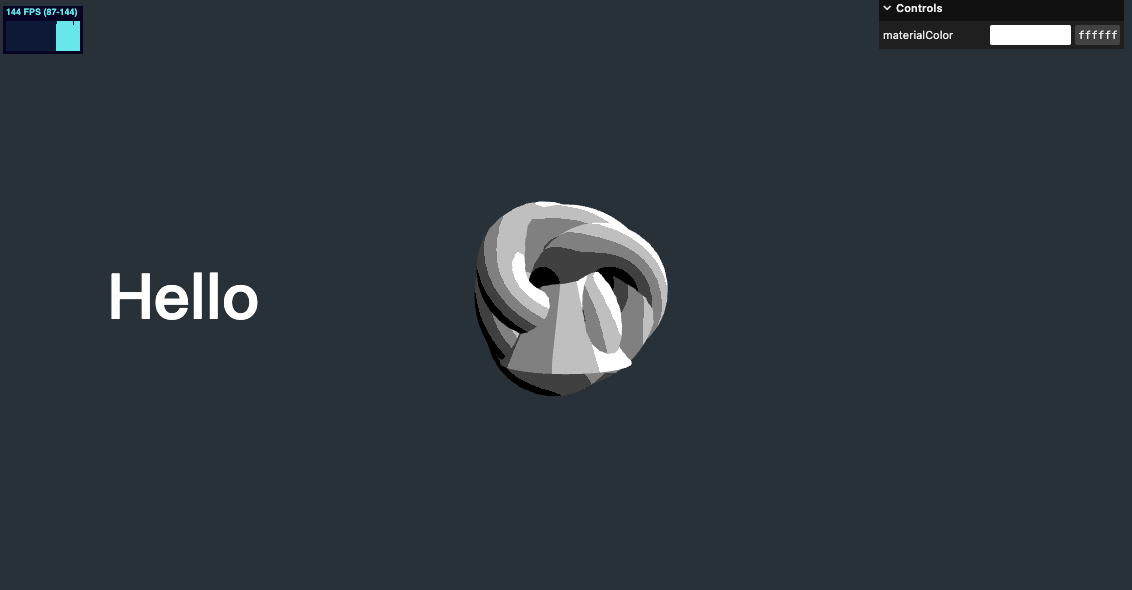
接下来我们设置材质
我们使用卡通材质
// Material
const material = new THREE.MeshToonMaterial({ color: parameters.materialColor })

// Meshes
const mesh1 = new THREE.Mesh(new THREE.TorusGeometry(1, 0.4, 16, 60), material)
const mesh2 = new THREE.Mesh(new THREE.ConeGeometry(1, 2, 32), material)
const mesh3 = new THREE.Mesh(new THREE.TorusKnotGeometry(0.8, 0.35, 100, 16), material)

scene.add(mesh1, mesh2, mesh3)
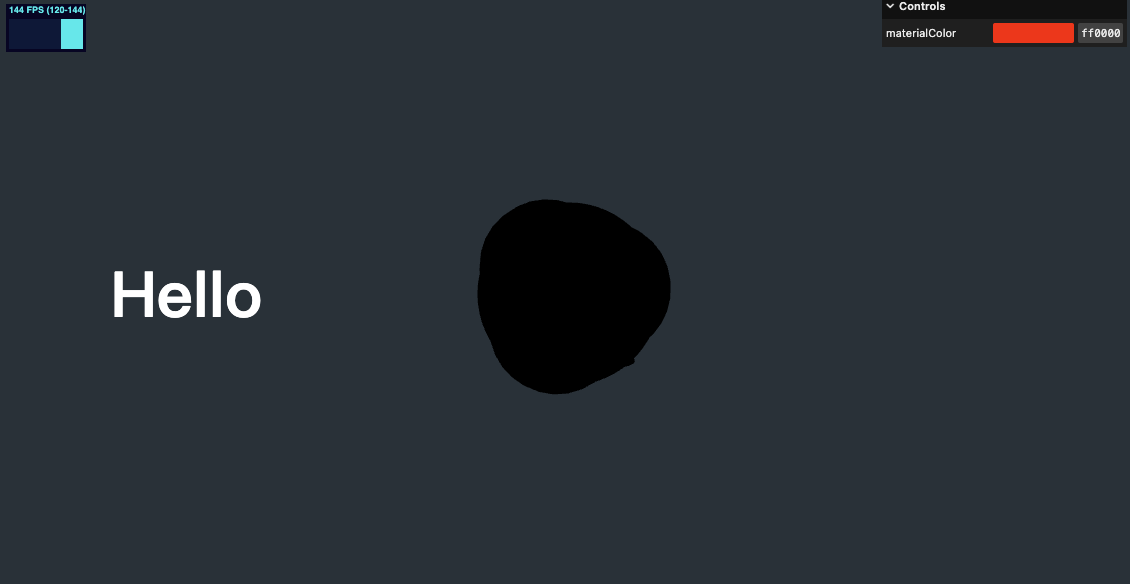
我们把刚刚移除的灯光重新加回来
/**
 * Lights
 */
const directionalLight = new THREE.DirectionalLight('#ffffff', 1)
directionalLight.position.set(1, 1, 0)
scene.add(directionalLight)
const ambientLight = new THREE.AmbientLight('#ffffff', 0.28)
scene.add(ambientLight)
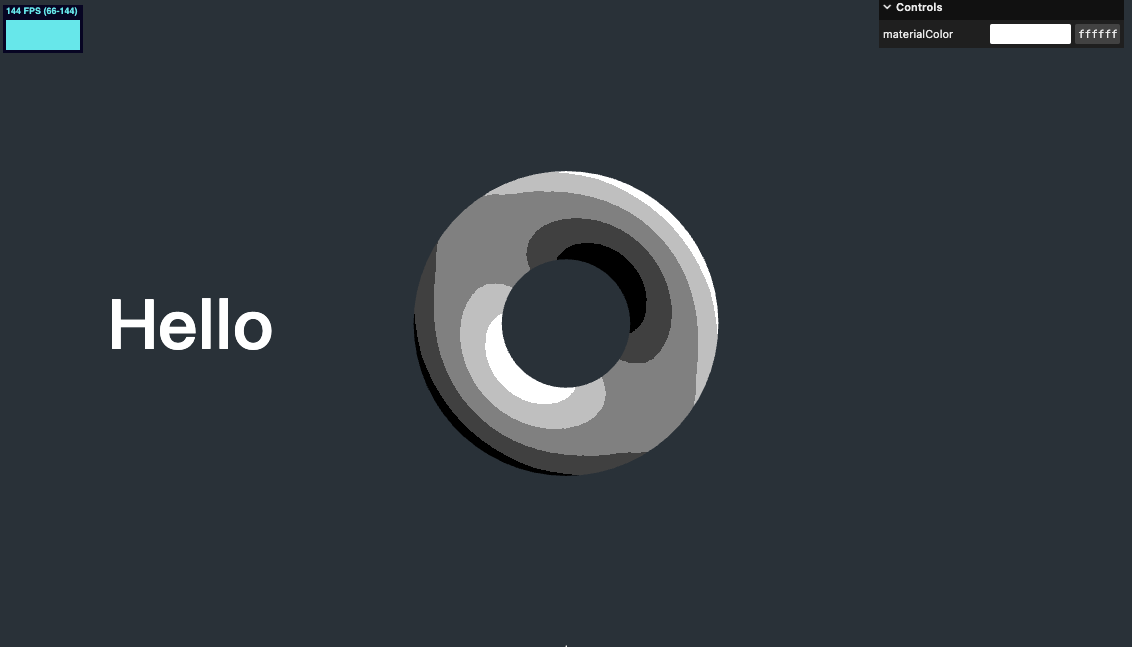
现在效果好多了
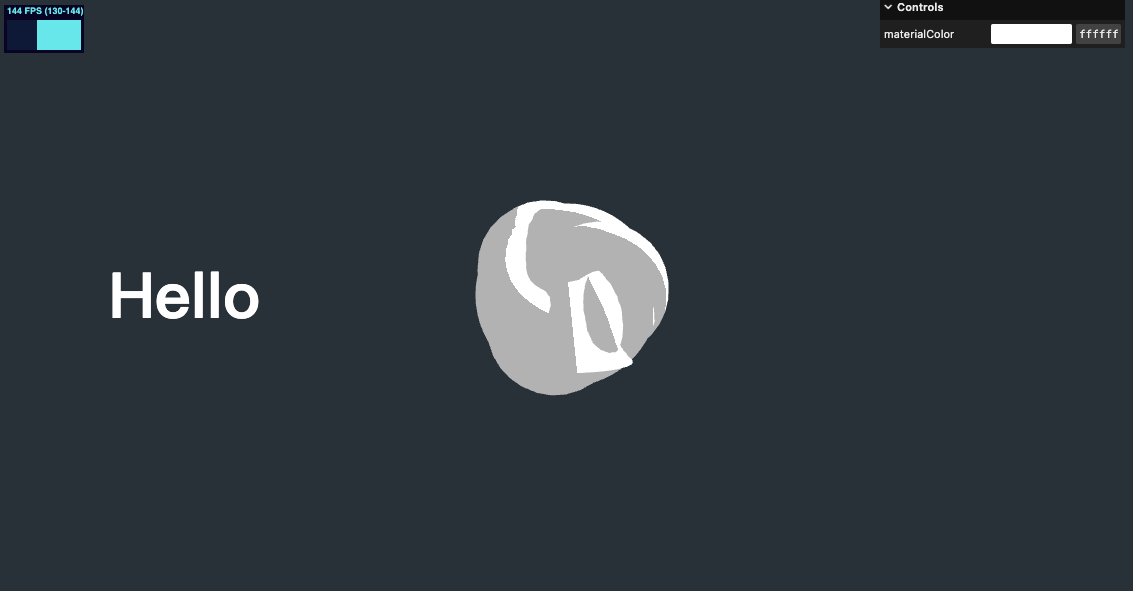
const gui = new dat.GUI()
gui.addColor(parameters, 'materialColor').onChange(() => {
  material.color.set(parameters.materialColor)
})
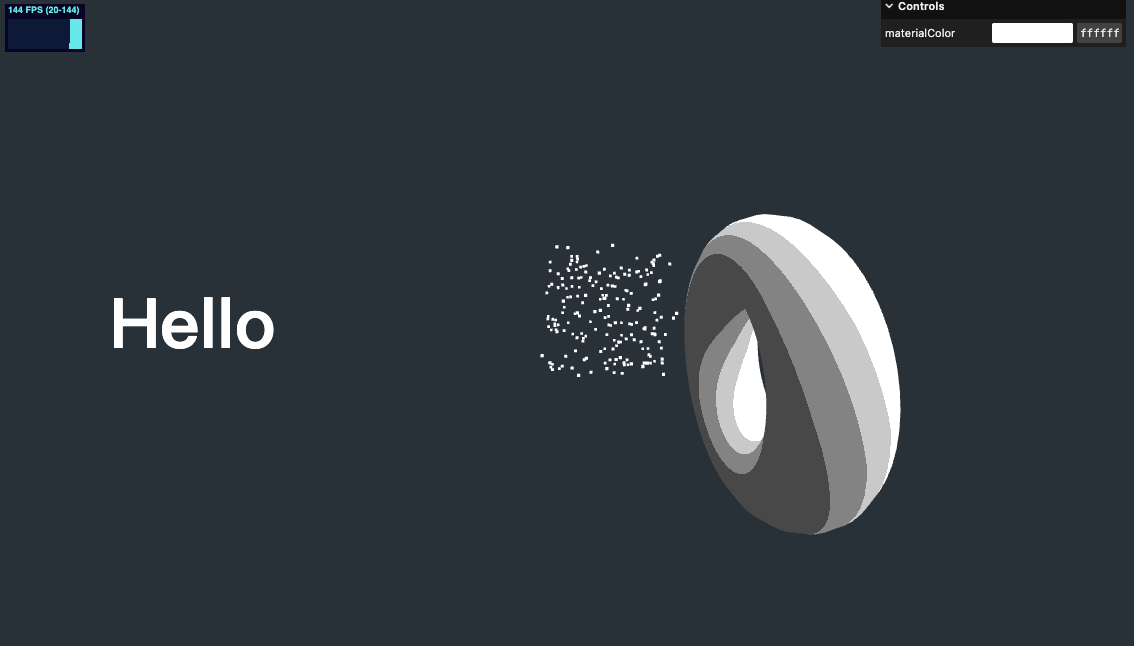
增加 gui 就可以在右上角调节颜色了
Gradient texture 渐变纹理
// Texture
const textureLoader = new THREE.TextureLoader()
const gradientTexture = textureLoader.load('https://gw.alicdn.com/imgextra/i1/O1CN01Kv3xWT1kImpSDZI8n_!!6000000004661-0-tps-5-1.jpg')
gradientTexture.magFilter = THREE.NearestFilter

// Material
const material = new THREE.MeshToonMaterial({
  color: parameters.materialColor,
  gradientMap: gradientTexture,
})
这个 gradientMap 图片为5个像素点灰阶图片。如下图
这里注意 magFilter 的使用,如果遗忘了复习 Three.js 之 6 Texture 纹理。
Three.js 默认是根据竖直方向的高度定相机视野适配的,高度等比适配
例如我设置如下代码
mesh1.position.y = 4
mesh1.scale.set(0.5, 0.5, 0.5)

mesh2.visible = false

mesh3.position.y = -4
mesh3.scale.set(0.5, 0.5, 0.5)
不管怎么移动窗口,可以看到2个物体距顶部和底部的距离比例不变。如下图

我们移除刚才的测试代码
声明一个物体距离
const objectsDistance = 4
并设置在每个物体上
mesh1.position.y = -objectsDistance * 0
mesh2.position.y = -objectsDistance * 1
mesh3.position.y = -objectsDistance * 2
现在我们只能看到第一个物体
增加一些物体的自转
将几何体放入数组
const sectionMeshes: THREE.Mesh<THREE.BufferGeometry, THREE.MeshToonMaterial>[] = [
  mesh1,
  mesh2,
  mesh3,
]
再一起加入动画
// Animations
const clock = new THREE.Clock()
const tick = () => {
  stats.begin()

  const elapsedTime = clock.getElapsedTime()
  // Animate meshes
  sectionMeshes.forEach((mesh) => {
    mesh.rotation.set(elapsedTime * 0.1, elapsedTime * 0.12, 0)
  })

  // Render
  renderer.render(scene, camera)
  stats.end()
  requestAnimationFrame(tick)
}
相机与滚动
接下来我们要添加随着页面滚动相机也进行位置变化的效果
首先我们要监听页面的滚动
/**
 * Scroll
 */
let { scrollY } = window
window.addEventListener('scroll', () => {
  scrollY = window.scrollY
  console.log(scrollY)
})
可以看到 log 里已经有了滚动距离
接下来在 requestAnimationFrame 中控制对相机的移动,这里需要注意的是相机的位置移动比例
// Animations
const tick = () => {
  // ...

  // animate camera
  camera.position.setY((-scrollY / sizes.height) * objectsDistance)

  // ...
}
HTML 页面滚动距离与相机需要位移的距离相反,因此要添加负号。-scrollY / sizes.height 表示设置相机移动的每个区域为了 1 个单位。但几何体实际位置是 objectsDistance 单位距离,所以最终为 -scrollY / sizes.height) * objectsDistance。
几何体水平位置修改
我们将几何体水平位置稍做移动,以适配文字,并将之前对 y 值设置的代码也可以放在这个 for 循环里
sectionMeshes.forEach((item, index) => {
  item.position.setY(-objectsDistance * index)
  item.position.setX(index % 2 === 0 ? 2 : -2)
})
我们再增加一点视差效果,当鼠标移动时,几何体的位置稍微进行一点点偏移,更有沉浸感。
我们沿用上一节学到的监听鼠标移动
/**
 * Mouse
 */
const mouse: {
  x: number | null
  y: number | null
} = { x: null, y: null }

window.addEventListener('mousemove', (event) => {
  mouse.x = (event.clientX / sizes.width) * 2 - 1
  mouse.y = -(event.clientY / sizes.height) * 2 + 1
})
我们不能直接在 requestAnimationFrame 再修改 camera 的位置,因为之前已经设置过了滚动时相机的位移,我们不能覆盖这个位移,所以可以用一个取巧的方式,给相机增加一个 group,移动 group 达到再增加一个位移的效果
// Group
const cameraGroup = new THREE.Group()
scene.add(cameraGroup)
// Camera
const camera = new THREE.PerspectiveCamera(75, sizes.width / sizes.height, 0.1, 100)
camera.position.set(0, 0, 4)
cameraGroup.add(camera)
// Animations
const tick = () => {
  // ...

  if (mouse.x && mouse.y) {
    cameraGroup.position.setX(mouse.x)
    cameraGroup.position.setY(mouse.y)
  }

  // ...
}
视察效果看起来不过,但是我们想让它表现更好,可以增加一些缓动效果,更符合弹性阻尼物理效果。
这里通过 deltaTime 来进行增量位移。需要特别注意的是不能在同一个 requestAnimationFrame 里同时使用 getElapsedTime 和 getDelta。因为 getElapsedTime 里也调用了 getDelta,这是一个危险的设计。详情见 issue THREE.clock.getElapsedTime has a side effect invalidating .getDelta() #5696
所以我们要自己计算 deltaTime 代码如下
// Animations
const clock = new THREE.Clock()
let previousTime = 0
const tick = () => {
  stats.begin()

  const elapsedTime = clock.getElapsedTime()
  const deltaTime = elapsedTime - previousTime
  previousTime = elapsedTime
  // const deltaTime2 = clock.getDelta()
  // console.log(deltaTime);
  // console.log(deltaTime2);
  // console.log('----');

  // Animate meshes
  sectionMeshes.forEach((mesh) => {
    mesh.rotation.set(elapsedTime * 0.1, elapsedTime * 0.12, 0)
  })

  // animate camera
  camera.position.setY((-scrollY / sizes.height) * objectsDistance)

  if (mouse.x && mouse.y) {
    const parallaxX = mouse.x * 0.5
    const parallaxY = mouse.y * 0.5
    cameraGroup.position.x += (parallaxX - cameraGroup.position.x) * 5 * deltaTime
    cameraGroup.position.y += (parallaxY - cameraGroup.position.y) * 5 * deltaTime
  }

  // Render
  renderer.render(scene, camera)
  stats.end()
  requestAnimationFrame(tick)
}
粒子效果可以带来更好的沉浸体验,所以我们增加一些粒子特效,感觉到这是一个有深度的空间。
运用之前所学的知识,先将粒子效果创建出来,暂时不管位置问题
/**
 * Particles
 */
// Geometry
const particlesCount = 200
const positions = new Float32Array(particlesCount * 3)
for (let i = 0; i < particlesCount; i += 1) {
  positions[i * 3 + 0] = Math.random()
  positions[i * 3 + 1] = Math.random()
  positions[i * 3 + 2] = Math.random()
}
const particlesGeometry = new THREE.BufferGeometry()
particlesGeometry.setAttribute('position', new THREE.BufferAttribute(positions, 3))
// Material
const particlesMaterial = new THREE.PointsMaterial({
  color: parameters.materialColor,
  sizeAttenuation: true,
  size: 0.03
})
// Points
const particles = new THREE.Points(particlesGeometry, particlesMaterial)
scene.add(particles)
我们需要将粒子在空间内散布,所以可以将 x 和 z 轴设置的更加扩散一些。y 轴方向我们要让粒子扩散到每个 section
for (let i = 0; i < particlesCount; i += 1) {
  positions[i * 3 + 0] = (Math.random() - 0.5) * 10
  positions[i * 3 + 1] =
    objectsDistance * 0.5 - Math.random() * objectsDistance * sectionMeshes.length
  positions[i * 3 + 2] = (Math.random() - 0.5) * 10
}
滚动到区域时触发的动画
最后我们在做一些滚动到每个区域时触发的动画。我们在滚动到这个区域时,增加一些旋转动画。
/**
 * Scroll
 */
let { scrollY } = window
let currentSection = 0
window.addEventListener('scroll', () => {
  scrollY = window.scrollY
  const newSection = Math.round(scrollY / sizes.height)
  if (newSection !== currentSection) {
    currentSection = newSection
    console.log('changed', currentSection)
  }
})
借助 gsap 创建旋转动画
/**
 * Scroll
 */
let { scrollY } = window
let currentSection = 0
window.addEventListener('scroll', () => {
  scrollY = window.scrollY
  const newSection = Math.round(scrollY / sizes.height)
  if (newSection !== currentSection) {
    currentSection = newSection
    // console.log('changed', currentSection)
    gsap.to(sectionMeshes[currentSection].rotation, {
      duration: 1.5,
      ease: 'power2.inOut',
      x: '+=6',
      y: '+=3',
    })
  }
})
这里要注意,需要把原有的几何体自转从依赖 elapsedTime 改为 deltaTime
  // Animate meshes
  sectionMeshes.forEach((mesh) => {
    mesh.rotation.set(deltaTime * 0.1 + mesh.rotation.x, deltaTime * 0.1 + mesh.rotation.y, 0)
  })
在线 demo 链接
可扫码访问

移动端适配
我们使用 CSS media query,针对纵向的手机屏幕进行适配。代码如下
/* Portrait */
@media screen and (orientation:portrait) {
  section {
    align-items: center;
    justify-content: flex-start;
  }
  section:nth-child(odd) {
    align-items: center;
  }
  h1 {
    font-size: 7vmin;
    color: #fff;
    margin-bottom: 40vh;
  }

  h2{
    font-size: 4vmin;
    color: #fff;
    margin-bottom: 6vh;
  }
}
在 js 中我们也可以简单的判断宽高,来确实是手机
const isPortrait = sizes.width < sizes.height
针对手机的视角进行微调
if (isPortrait) {
  camera.position.setZ(8)
  objectsDistance = 11
}

// ...

sectionMeshes.forEach((item, index) => {
  if (isPortrait) {
    item.position.setY(-objectsDistance * index)
  } else {
    item.position.setX(index % 2 === 0 ? 2 : -2)
    item.position.setY(-objectsDistance * index)
  }
})
在手机端我们使用设备陀螺仪检测,代替 mousemove 检测
if (isPortrait) {
  /**
   * device orientation
   */
  window.addEventListener('deviceorientation', (event) => {
    const { beta, gamma } = event
    if (beta !== null && gamma !== null) {
      const x = (gamma || 0) / 20 // -180 :: 180
      const y = (Math.min(beta || 0, 89) - 45) / 30 //  -90 :: 90
      console.log(x, y)
      mouse.x = x
      mouse.y = -y
    }
  })
} else {
  window.addEventListener('mousemove', (event) => {
    mouse.x = (event.clientX / sizes.width) * 2 - 1
    mouse.y = -(event.clientY / sizes.height) * 2 + 1
  })
}

iOS 监听陀螺仪无效问题
剩下的保持不变。执行上述代码后,你会发现在 iOS 设备上无效,这是因为 iOS 需要独立申请权限,需要使用 DeviceOrientationEvent.requestPermission()。我们修改代码
/**
 * device orientation
 */
const listenGyro = () => {
  window.addEventListener('deviceorientation', (event) => {
    const { beta, gamma } = event
    if (beta !== null && gamma !== null) {
      const x = (gamma || 0) / 20 // -180 :: 180
      const y = (Math.min(beta || 0, 89) - 45) / 30 //  -90 :: 90
      console.log(x, y)
      mouse.x = x
      mouse.y = -y
    }
  })
}

if (isPortrait) {
  if (
    typeof DeviceOrientationEvent !== 'undefined'
    // @ts-ignore
    && typeof DeviceOrientationEvent.requestPermission === 'function'
  ) {
    // @ts-ignore
    DeviceOrientationEvent.requestPermission()
      .then((permissionState: string) => {
        if (permissionState === 'granted') {
          // handle data
          listenGyro()
        } else {
          // handle denied
        }
      })
      .catch((err: any) => {
        console.log(err)
      })
  } else {
    listenGyro()
  }
} else {
  window.addEventListener('mousemove', (event) => {
    mouse.x = (event.clientX / sizes.width) * 2 - 1
    mouse.y = -(event.clientY / sizes.height) * 2 + 1
  })
}
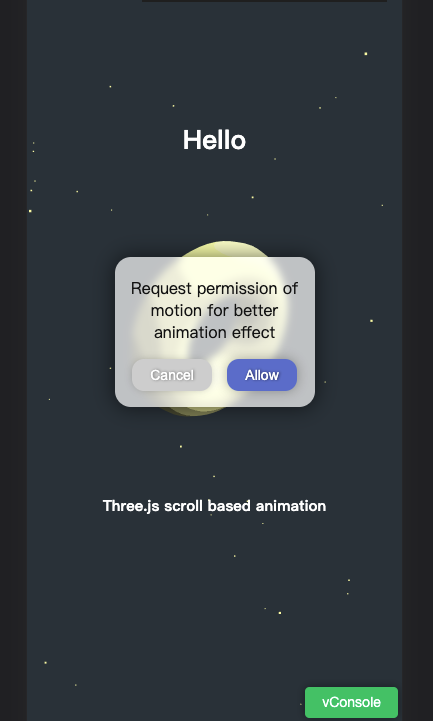
可以看到 iOS 依然无效,这是因为,iOS 设备必须通过用户点击的方式获取授权,不能载入页面自动申请权限。于是我们需要增加一个弹窗。代码如下
<div class="permissionDialog" id="permissionDialog" style="visibility: hidden">
  <div class="title">
    Request permission of motion for better animation effect
  </div>
  <div class="buttonArea">
    <button id="cancel">Cancel</button>
    <button id="allow">Allow</button>
  </div>
</div>
.permissionDialog {
  position: fixed;
  z-index: 999;
  left: 50%;
  top: 50%;
  margin-left: -100px;
  margin-top: -75px;
  width: 200px;
  height: 150px;
  background-color: rgba(255, 255, 255, 0.7);
  backdrop-filter: blur(4px);
  color: #111;
  border-radius: 16px;
  display: flex;
  flex-direction: column;
  align-items: center;
  box-shadow: 0 0 20px 2px rgba(0, 0, 0, 0.5);
}

.permissionDialog>.title {
  width: 90%;
  text-align: center;
  margin-top: 20px;
}

.permissionDialog>.buttonArea {
  margin-top: 16px;
  width: 90%;
  display: flex;
  justify-content: space-around;
}

.buttonArea>button {
  border: none;
  outline: none;
  box-shadow: 0px 0px 12px 0px rgba(0, 0, 0, 0.3);
  background-color: #4375cc;
  border-radius: 12px;
  display: inline-block;
  cursor: pointer;
  color: #ffffff;
  font-family: Arial;
  font-size: 14px;
  padding: 8px 18px;
  text-decoration: none;
  text-shadow: 1px 0px 3px #283966;

  -webkit-tap-highlight-color: transparent;
}

.buttonArea>button:active {
  position: relative;
  top: 1px;
}

#cancel {
  background-color: #cdcdcd;
  text-shadow: 1px 0px 3px rgba(0, 0, 0, 0.4);
  box-shadow: 0px 0px 10px -4px rgba(0, 0, 0, 0.5);
}
用户点击按钮时再进行申请权限
if (isPortrait) {
  if (
    typeof DeviceOrientationEvent !== 'undefined'
    // @ts-ignore
    && typeof DeviceOrientationEvent.requestPermission === 'function'
  ) {
    const permissionDialog = document.querySelector('#permissionDialog') as HTMLDivElement
    permissionDialog.style.visibility = 'visible'

    const allowBtn = document.querySelector('#allow') as HTMLButtonElement
    const cancelBtn = document.querySelector('#cancel') as HTMLButtonElement

    allowBtn.addEventListener('click', () => {
      // @ts-ignore
      DeviceOrientationEvent.requestPermission()
        .then((permissionState: string) => {
          console.log('permissionState', permissionState)
          if (permissionState === 'granted') {
            listenGyro()
          } else {
            // handle denied
          }
          permissionDialog.style.visibility = 'hidden'
        })
        .catch((err: any) => {
          console.log('permissionState catch', err)
          permissionDialog.style.visibility = 'hidden'
        })
    })

    cancelBtn.addEventListener('click', () => {
      permissionDialog.style.visibility = 'hidden'
    })
  } else {
    listenGyro()
  }
} else {
  window.addEventListener('mousemove', (event) => {
    mouse.x = (event.clientX / sizes.width) * 2 - 1
    mouse.y = -(event.clientY / sizes.height) * 2 + 1
  })
}
这样就解决了 iOS 无法调用陀螺仪的问题,只是每次需要用户手动点击授权。
增加 loading
我们需要修改 HTML 顺序,需要故意阻塞一下后续的 HTML 渲染,并增加一个占满全屏的 loading 的状态
<!DOCTYPE html>
<html lang="en">
  <head>
    <meta charset="UTF-8" />
    <meta name="viewport" content="width=device-width, initial-scale=1.0" />
    <meta http-equiv="X-UA-Compatible" content="ie=edge" />
    <title>scroll based animation</title>
  </head>

  <body style="background-color: #263238;color: #fff; font-family: sans-serif;">
    <canvas id="mainCanvas" class="webgl"></canvas>
    <div id="loading" style="width: 100vw;height: 100vh;display:flex;justify-content:center;align-items:center; position: fixed; top: 0;left: 0;background-color: #263238;transition: opacity 280ms ease;">loading...</div>
    <script src="<%= path %>" charset="utf-8"></script>

    <section class="section">
      <h1>Hello</h1>
      <h2>Three.js scroll based animation</h2>
    </section>
    <section class="section">
      <h1>My projects</h2>
      <h2>Sint sunt dolore architecto minima</h2>
    </section>
    <section class="section">
      <h1>Contact me</h2>
      <h2>Lorem ipsum dolor</h2>
    </section>
  </body>
</html>
使用 Three.js 中的 LoadingManager 处理移除 loading 的时机
const loadingManager = new THREE.LoadingManager()

loadingManager.onStart = () => {
  console.log('onStart')
}
loadingManager.onProgress = () => {
  console.log('onProgress')
}
loadingManager.onLoad = () => {
  console.log('onLoad')
  const loadingEle = document.querySelector('#loading') as HTMLDivElement
  loadingEle.style.opacity = '0'
  setTimeout(() => {
    loadingEle.style.display = 'none'
  }, 300)
}
loadingManager.onError = () => {
  console.log('onError')
}

// ...

const textureLoader = new THREE.TextureLoader(loadingManager)
这样就可以得到一个很好的 loading 效果了
在线 demo 链接
可扫码访问
我们学习了如何将 WebGL 的视角与 HTML 页面的滚动相结合,复习了前面所学的知识。并增加了视差效果。又增加了移动端适配,以及最后又增加了 loading 效果,整体看起来非常棒!继续加油!
Recommend
About Joyk
Aggregate valuable and interesting links.
Joyk means Joy of geeK