

How I recreated r/place with Algolia
source link: https://www.algolia.com/blog/engineering/how-i-recreated-r-place-with-algolia/
Go to the source link to view the article. You can view the picture content, updated content and better typesetting reading experience. If the link is broken, please click the button below to view the snapshot at that time.

How I recreated r/place with Algolia
Jun 16th 2022 engineering
You may have heard about r/place, a collaborative pixel-art project that was created by Reddit on the first week of April.
If you don’t know what r/place is, it was an experiment launched by Reddit in 2017: a collaboratively created canvas of pixel art made by hundreds of thousands of users at the same time. They did it again this April, this time with a bigger canvas.
Discover how Reddit built r/place
I personally took part in this project. Perhaps you did, too! I placed a few pixels here and there and enjoyed it a lot.
It also got me thinking. I wondered if I could leverage the power of Algolia and its fast indexing/browsing capabilities to create a real-time experiment inspired by r/place.
From idea, to first draft
The initial idea was to create an index, containing a few hundred records & and rendering a few hits per line, using CSS grid to place them.
Each record would be a pixel, and each record would contain these attributes:
{
  "objectID": 0,
  "id": 0,
  "bg_color": "#FFF",
}
I used the algoliasearch package, to render every record on my page.
The idea was quite simple: every record (or hit) is a div and every div is a pixel. The div’s background color is the bg_color value of the hit.
When you click on that div, it sends an index.saveObject() to Algolia and replaces the bg_color attribute with the color you picked.
Basically, here is how it works:
<main className="canvas">
  {allHits.map((hit) => {
     return (
      <div
        data-cell-id={hit.id}
        key={hit.objectID}
        onClick={(e) => handleClick(e, hit)}
        style={{
          background: hit.bg_color,
        }} />
      );
    })}
</main>
And on the JS side:
const handleClick = (e, hit) => {
  e.target.style.background = pickedColor;
  index.saveObject({
    objectID: hit.objectID,
    bg_color: pickedColor,
    id: hit.id,
  });
};
For the color palette, I created a simple Palette component:
// import colors from "constant/colors" which is an array of colors
<div>
 {colors.map((color) => (
   <button
      key={color}
      onClick={(e) => { e.preventDefault(); setPickedColor(color); }}
      data-color={color}
      style={{
        background: color,
        appearance: "none",
      }} />
  ))}
</div>
Because Algolia sorts results based on its default ranking algorithm ( ranking formula ), I had to go into my index settings and remove everything in the ranking configuration to prevent the hits from being “randomly” rendered, and use the ID attribute with ascending ranking to put the pixels in the correct order from 1 to X.

Algolia’s ranking and sorting index settings
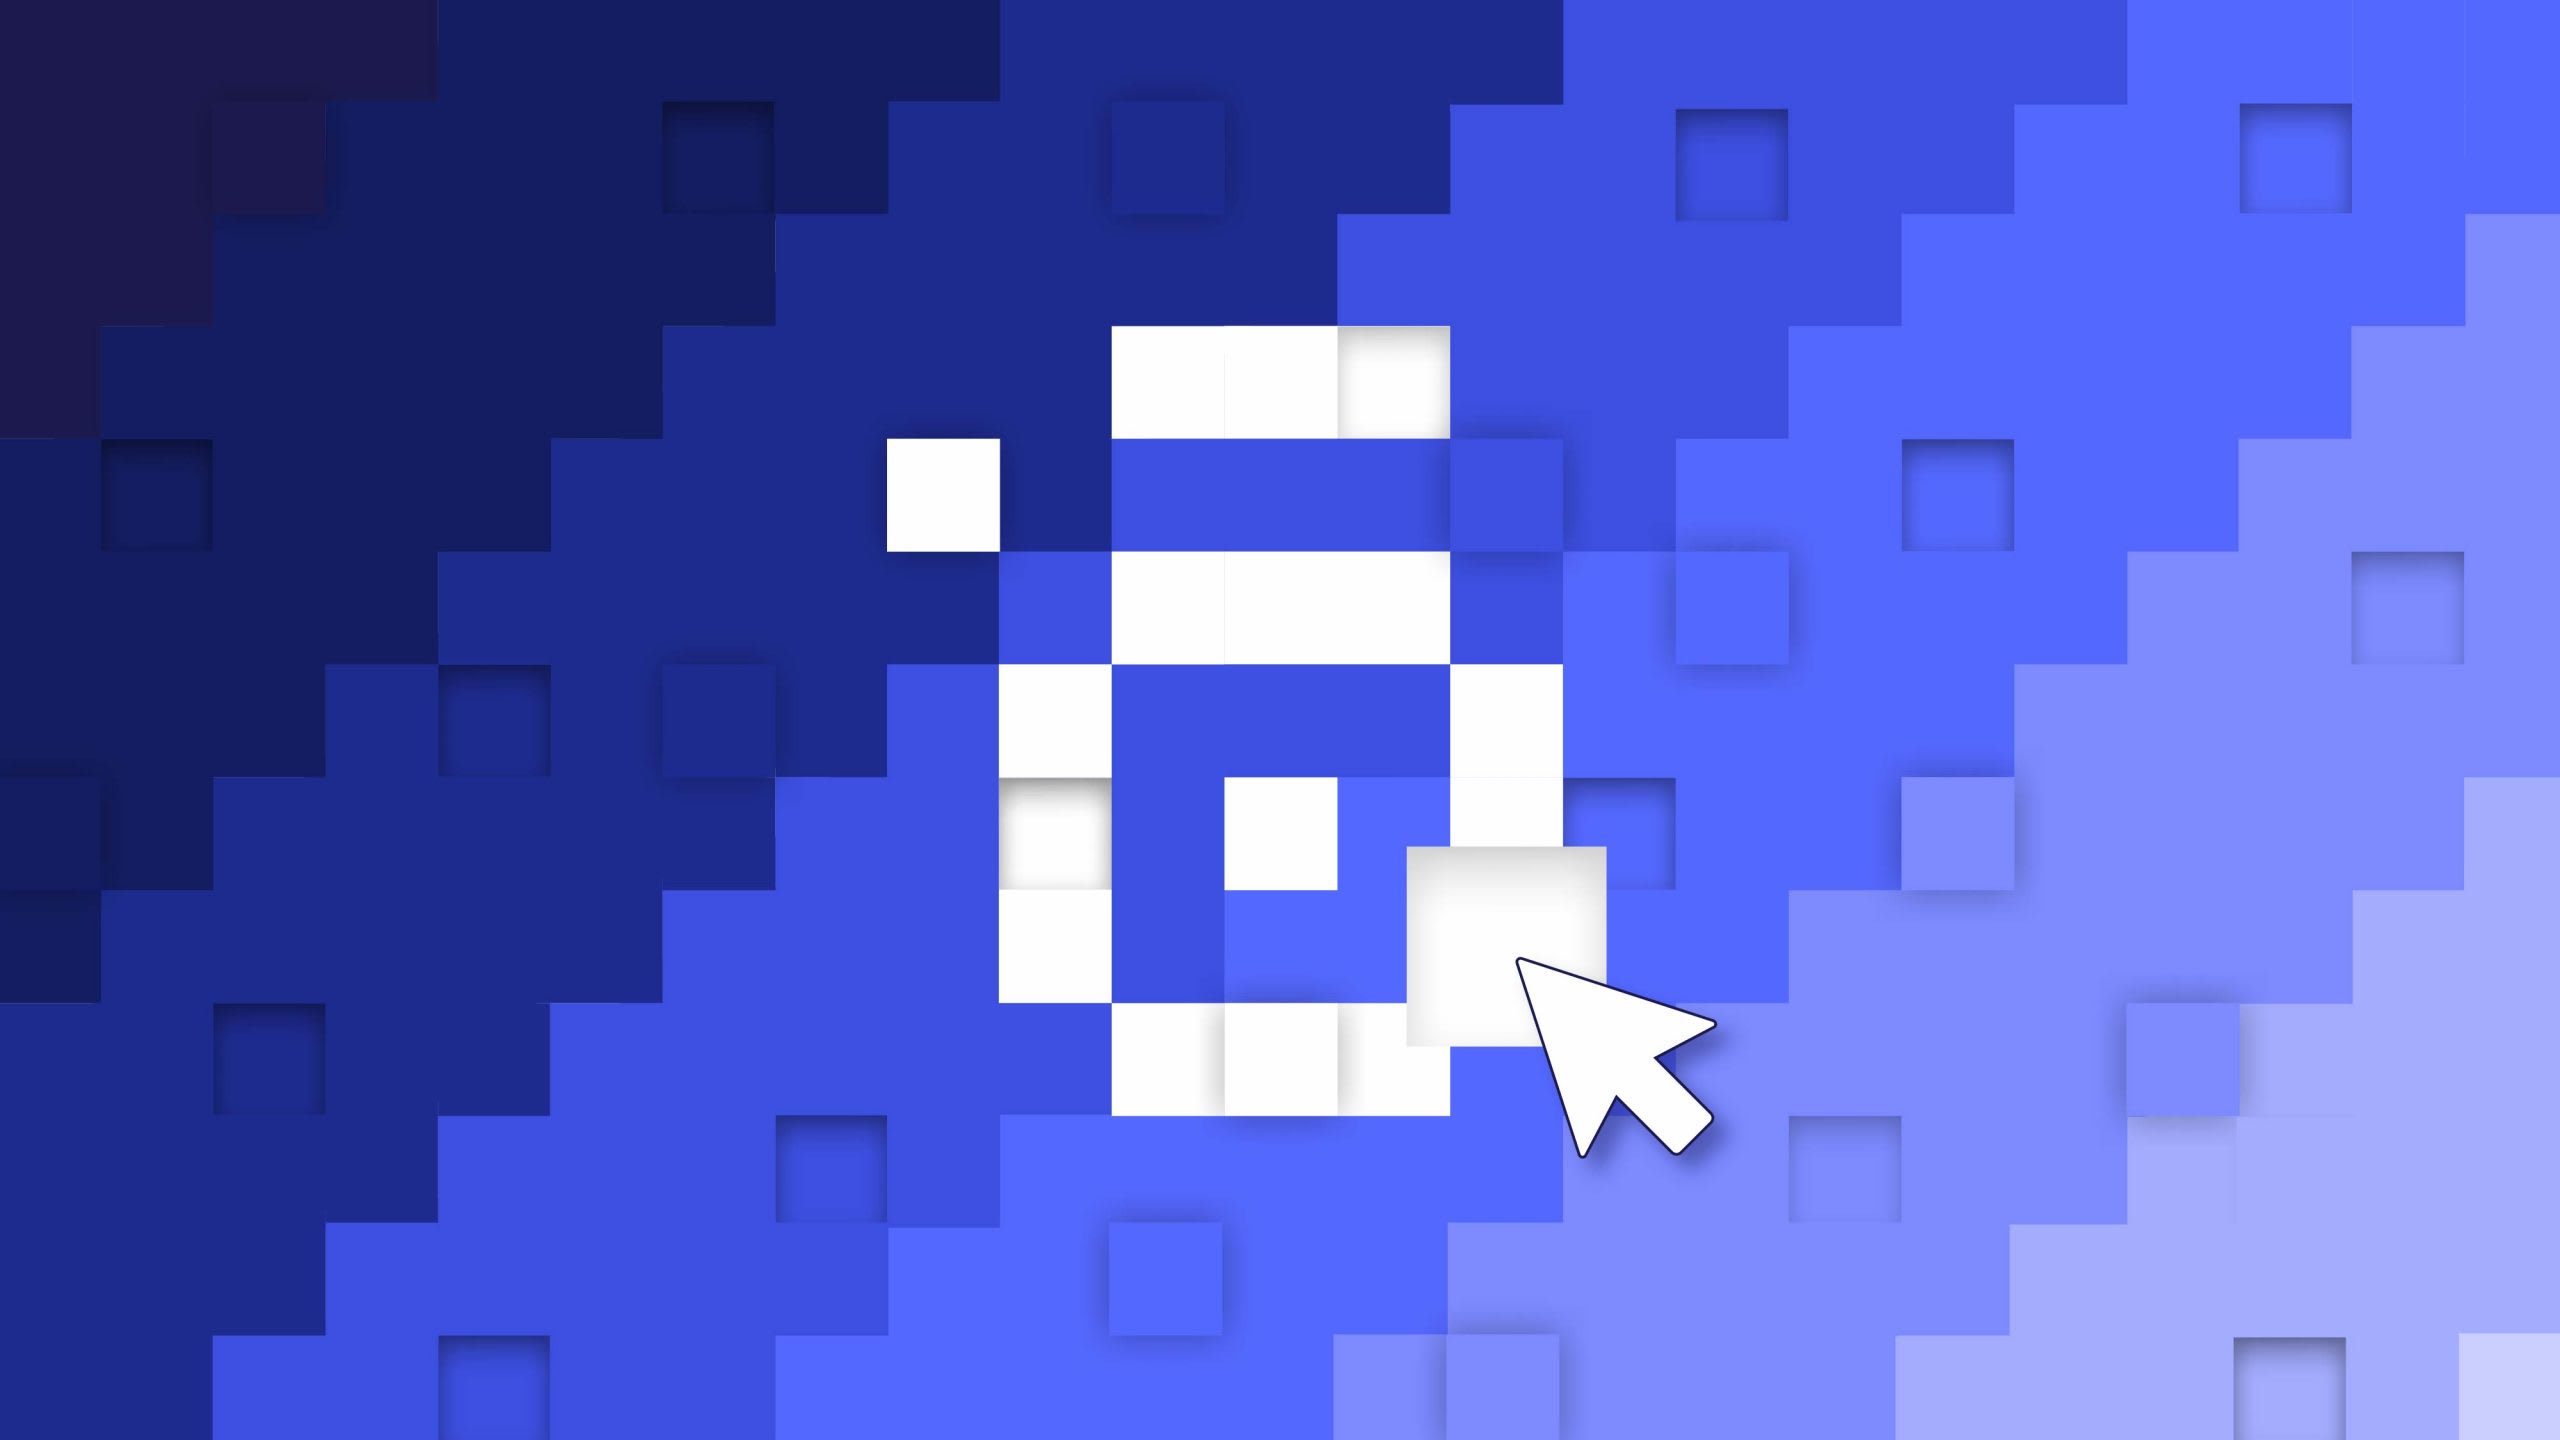
Now that the basics were in place, it was time to click a bit and see how it would render. Here’s one of the first screenshots I generated. I was happy to see that the idea was alive and working!

First screenshot I did of the rendered canvas
I need to mention that I planned on making it work in real time, meaning that when other people were participating, you would be able to see the pixels being colored while you are on the canvas.
To achieve this and to avoid waiting for the server response to coloring the pixel, I needed to use what’s called “optimistic UI”
Optimistic UI is a pattern that you can use to simulate the results of a mutation and update the UI even before receiving a response from the server.
from: apollographql.com
Let’s dive deeper!
Now that I had a basic idea of what I wanted and how it would work, I decided to use Vercel to host it. I was already using a NextJS app, my framework of choice, and I had a Vercel Pro account. Vercel ended up being very useful! I’ll explain why a bit later.
Then I went deeper, from a few hundred records to a thousand; a 1,000-pixel canvas that could start being “painted.” I talked about it with a few colleagues, and they started playing with it while I was cleaning up my messy code.
The canvas now looked like this:

The canvas when people started trying it
I thought it would be a good idea to add borders so you could see where you were clicking, which also clearly showed that the “pixels” were not exactly squares. That had been easy to guess with the borderless version, but this made it even clearer. Which is something I ended up fixing making the pixel squared on a future iteration.
This is where things got interesting: my colleagues started sending improvement ideas and ways to fix “bugs” that were actually Algolia features. For example:

On this gif we can see that clicking on a color will fetch the cached state of the canvas
When you click, the color gets applied; then when you pick another color, the previously clicked pixel reverts to its previous color. That’s because Algolia’s response is cached, and clicking the palette triggers a component update, so it was showing the cached response.
To get around that issue, my colleague Sarah Dayan suggested using the NullCache method provided by Algolia, like this:
import { createNullCache } from "@algolia/cache-common";
import algoliasearch from "algoliasearch";

export const searchClient = algoliasearch(
  process.env.NEXT_PUBLIC_ALGOLIA_APP_ID!,
  process.env.NEXT_PUBLIC_ALGOLIA_BROWSE_API_KEY!,
  {
    responsesCache: createNullCache(),
    requestsCache: createNullCache(),
  }
);
NullCache means that there will be no caching for requests and responses. Every method call makes an API request. Read more
Scaling up the canvas
Next, I added a few more hits to the index and scaled the canvas up to a grid containing 4020 pixels. I sent the link to more friends and they started playing with it.

The canvas after some talented folks started drawing in it ⚡️
That gave me enough feedback to improve the app’s code.
I also used CSS to replace the cursor color with the color the user selected so that they could see what color they were about to apply.
To achieve this, I added this bit of CSS to my main page component so it could use the pickedColor state:
const css = `
  html,body,button {
     cursor: url("data:image/svg+xml,%3Csvg
			xmlns='<https://www.w3.org/2000/svg>'
			viewBox='0 0 48 48' width='32' height='32'
			style='transform: translate(10px, 10px);
			enable-background:new 0 0 19.9 30.8'
			xml:space='preserve'%3E%3Cpath d='...' fill='${pickedColor.replace(
       "#",
       "%23"
     )}'/%3E%3Cpath d='...'/%3E%3C/svg%3E")10 10, auto}
     `;

The cursor color changing on click
Implementing the user counter
I thought it would be a good idea to implement a user counter to show how many people were on the canvas at the same time.
For the user counter, I made a project using socket.io, hosted it on Heroku, and used the method io.sockets.on('connection', (socket) => { ... }) to count the number of users. Each time a user connected, a socket.emit('user_connected') message would be sent to the client. This would show me the number of users connected to the canvas at the same time. And to keep the number of users up to date, I set it up to send a socket.emit('user_disconnected') message when a user disconnected.
The design is pretty simple, but I didn’t needed more than this:
 The pretty basic user counter
First drawings
At this point, the canvas had a few drawings emerging, but there was one significant issue: the indexing API key was exposed to the public, which would have allowed people to hack around it and change the color of the pixels using a batch request.
To get around this problem, I decided to use NextJS API routes to handle the requests and keep my API key a secret. Remember when I said NextJS ended up being really useful 😊 ?
The downside was that the indexing time went up slightly, but to me, it was okay, as it’s only a few seconds, and that project was an experiment, a proof of concept.
So it was totally fine to delay the API calls for a few seconds. Plus, remember the optimistic UI approach? That gives the user the impression of rapidity, so it was all good. Now, every time a user clicked on a pixel, this function was called:
const handleClick = async (e, hit) => {
    // if the color of the clicked element is the same as the color of the current hit
    // Do nothing
    if (
      e.target.style.background !== hexToRgb(pickedColor!)
    ) {
      e.target.style.background = pickedColor || "";
      await fetch(`/api/indexData`, {
        method: "POST",
        body: JSON.stringify({
          objectID: hit.objectID,
          bg_color: pickedColor,
          id: hit.id,
        }),
      });
    }
  };
And moving this indexing code within the API routes folder, api/indexData allowed me to execute my function within an api endpoint, keeping my sensitive data securely stored.
As you can read, a click on a pixel that already had the same colour would do nothing because there was no point in updating a record that had the same exact background_color value, so this move eliminated a few indexing operations.
Making the canvas interactive
Now for the fun part: making the canvas interactive. As mentioned earlier, when someone clicked on a pixel, an index.saveObject() call would be sent to Algolia.
I wanted the collaboration experience to occur in real time, so I needed to push the limits a bit. Algolia’s default pagination is set to 1 thousand hits for performance matters, and the hits are capped at 1 thousand per page, so I needed to find a way to get all the records at once without pagination.

Pagination & Hits per page settings of Algolia

Error message stating that 50000 is too big for the hitsPerPage
That’s where Algolia’s browse method came in handy. I ran a query every few milliseconds (precisely 600 ms), which browsed the whole index and pushed all the hits within an array.
Here’s the code:
 useEffect(() => {
	  const id = setInterval(() => {
	    let hits = [];
	    index
	      .browseObjects({
	        query: "",
	        batch: (batch) => {
	          hits = hits.concat(batch);
	        },
	      })
	      .then(() => {
	        setAllHits(hits);
	      });
	  }, 600);

	  return () => {
	    clearInterval(id);
	    setIsLoading(false);
	  };
}, [allHits, shouldFetch]);
That worked just fine! It’s amazing that Algolia updates thousands of items all at once every 600 ms without freezing or even slowing down.
Much more space
It was time to make it even bigger.
My friend Kevin Granger suggested a way to scale the canvas from its previous, already enlarged size of 4020 pixels to four times more, which is how we ended up with this canvas. We also reworked the number of pixels per line and ended up with a 16,080-pixel canvas!
This was the end result:

Even bigger
When people started using the canvas, I thought it would be good to make it even larger so that more things could be drawn and people would have space to unleash their creativity. I opened it up to company-only personnel. At the maximum, something like 18 people were using it simultaneously, which resulted in a small pixel war. But it wasn’t enough for me.
So I more than doubled the space, from 16,080 hits to the final size containing 36,180 hits to allow more drawings and increase the playfulness of the experiment.

Final canvas form with the grid shown
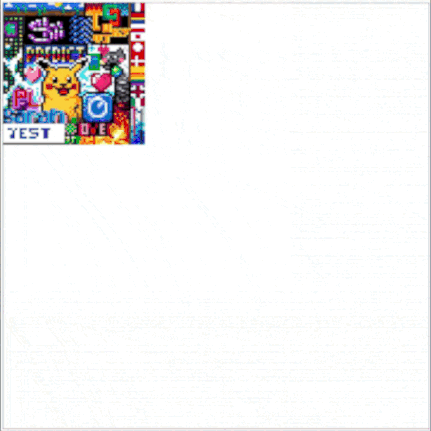
It was really fun to see people jointly creating pixel art. Here’s a recording by a canvas explorer I built to capture the history. This depicts the first few days of activity:
How I recreated r/place with Algolia
How I built the canvas explorer that allows me to replay the whole canvas history.
Every 10 minutes, a node script hosted on Heroku will query the index in the same way it does when refreshing the canvas every 600 ms, meaning it uses the Algolia browse method and concatenate all the hits within a color array.
Colors are saved in a new object containing only three attributes:
{
    "objectID": "unix timestamp",
    timestamp: unixTimestamp,
    snapshot: [...]
}
The snapshot is an array of values that represents 36,180 colors. Which is then indexed within an Algolia index, using the timestamp attribute for the ordering so that it keeps the history in the right direction.

All the attributes inside one of the explorer’s hit
At first I was using the full color value, for instance:
snapshot: ['#FFFFFF','#FFF000','#FFF000'...]
But I got restricted by Algolia because the final record size was way too large ( records size limit ), and for performance reasons, couldn’t be indexed.
So colors needed to be reduced from a 6-digit hexadecimal to a 3-digit hexadecimal, and I also removed the # symbol, resulting in a much smaller array and thereby improving the hit’s overall size.
So this:
snapshot: ['#FFFFFF','#FFF000','#FFF000'...]
Became this:
snapshot: ['FFF','FE0','FE0'...]
Now I had everything working and was able to play the evolution of the canvas from the beginning.
I loved working on this fun, creative project and I learned a lot in the process. I also loved how it was so warmly embraced by the company.
Hope you enjoyed the read; don’t hesitate to ping me on Twitter if you want to know more!

State of the canvas on April 22, 2022
Recommend
About Joyk
Aggregate valuable and interesting links.
Joyk means Joy of geeK