

Django——模板应用 - 一加一
source link: https://www.cnblogs.com/Chilam007/p/16380053.html
Go to the source link to view the article. You can view the picture content, updated content and better typesetting reading experience. If the link is broken, please click the button below to view the snapshot at that time.
前提:已经用命令提前创建好了项目DjangoTest,以下是基于该项目进行实战演练。
二、项目下创建templates文件夹
1、创建templates文件夹
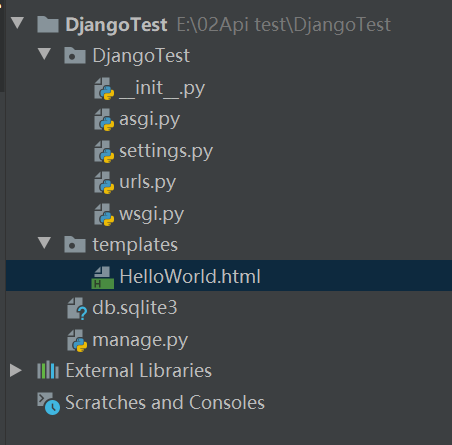
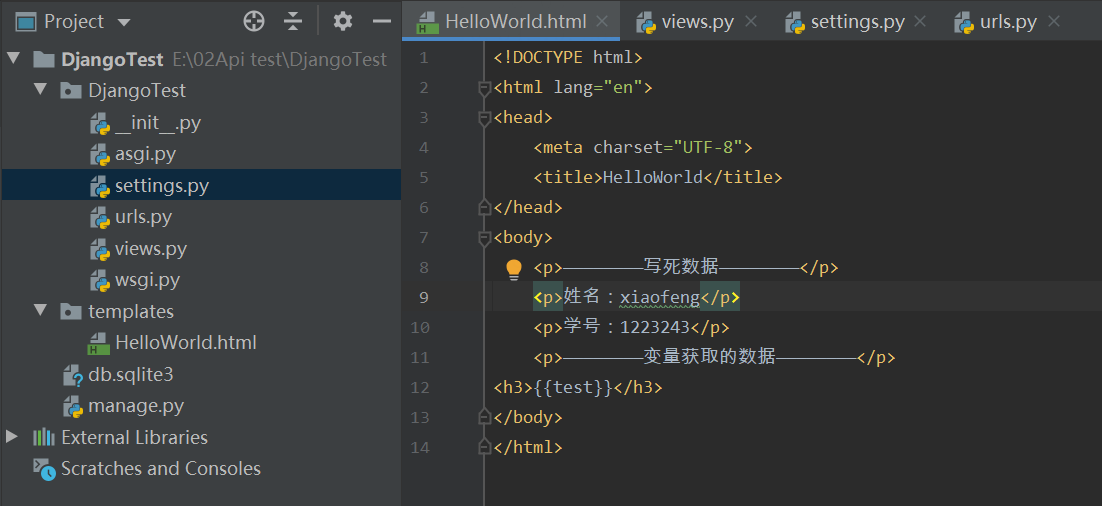
2、创建HelloWorld.html,并写入相应信息
注:{{test}}是变量
<!DOCTYPE html>
<html lang="en">
<head>
    <meta charset="UTF-8">
    <title>HelloWorld</title>
</head>
<body>
    <p>————————写死数据————————</p>
    <p>姓名:xiaofeng</p>
    <p>学号:1223243</p>
    <p>————————变量获取的数据————————</p>
<h3>{{test}}</h3>
</body>
</html>
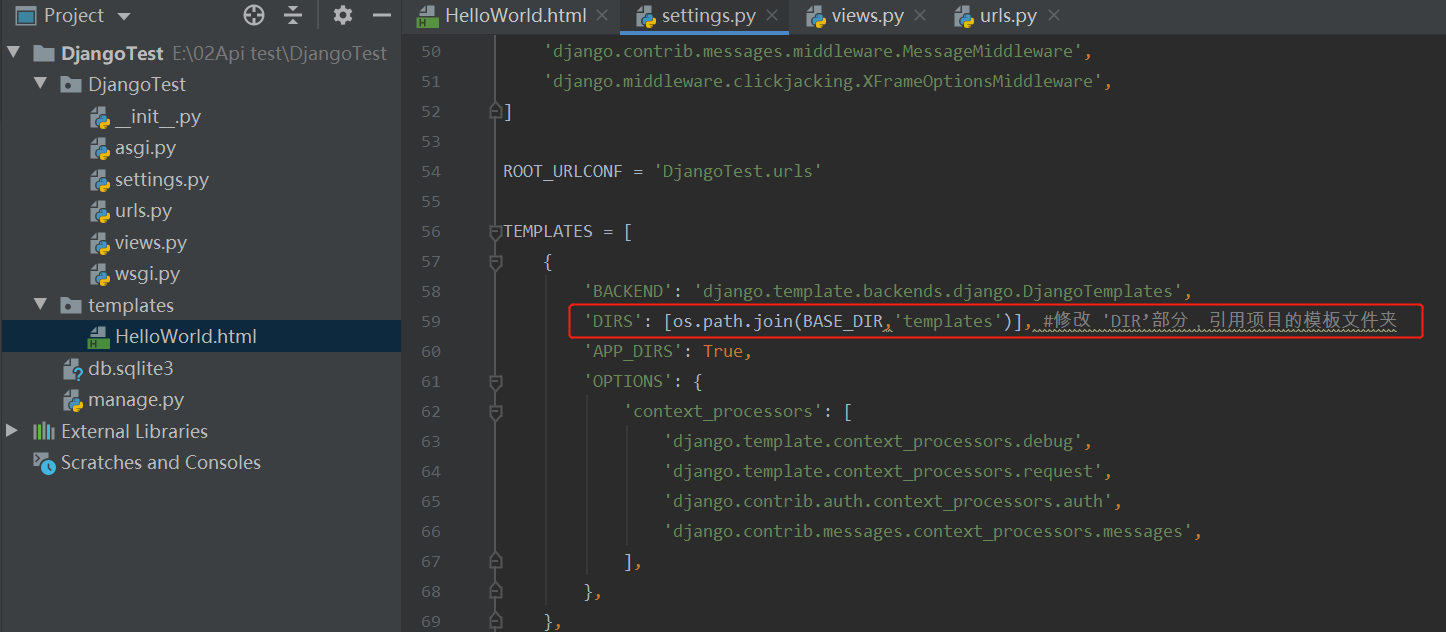
三、修改setting.py
向Django说明模板文件的路径,修改DjangoTest/settings.py,修改 TEMPLATES 中的 DIRS
'DIRS': [os.path.join(BASE_DIR,'templates')]
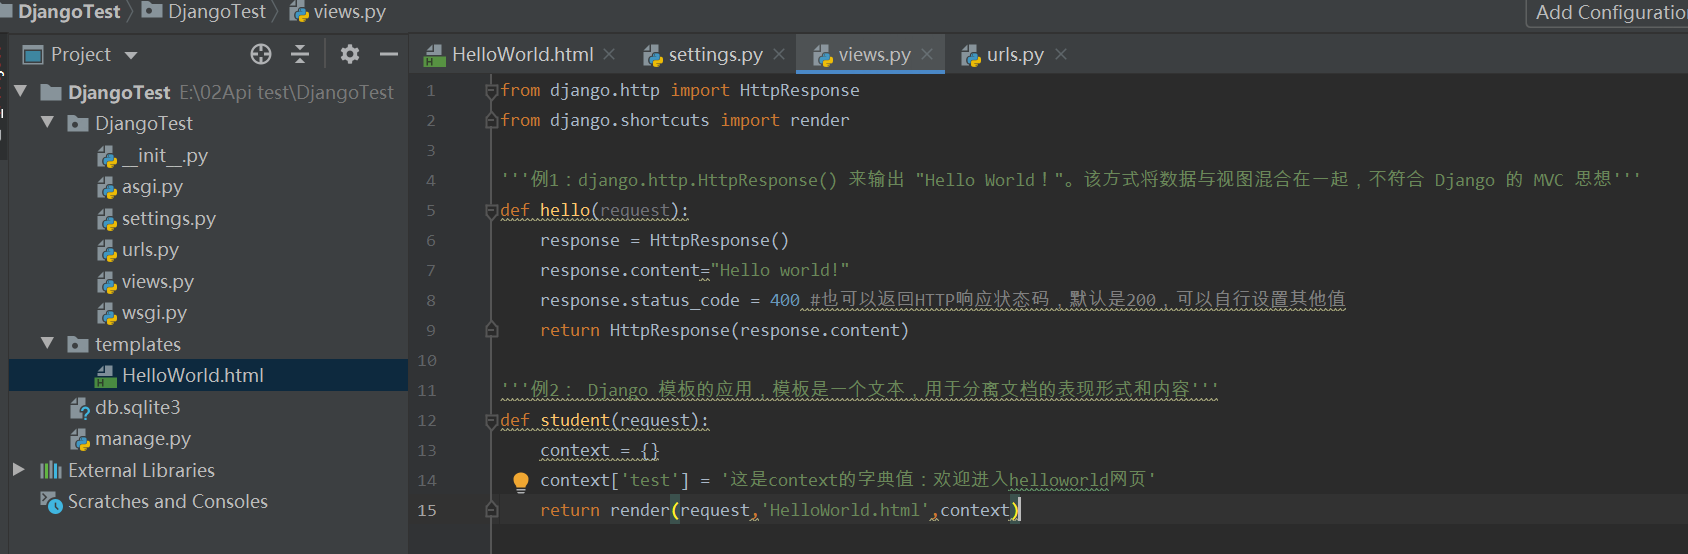
四、(视图)在DjangoTest目录下新建views.py
1、视图views.py
student对象使用 render 来替代之前使用的 HttpResponse。render 还使用了一个字典 context 作为参数。
context 字典中元素的键值 test 对应了模板中的变量 {{ test }}
from django.http import HttpResponse
from django.shortcuts import render

'''例1:django.http.HttpResponse() 来输出 "Hello World!"。该方式将数据与视图混合在一起,不符合 Django 的 MVC 思想'''
def hello(request):
    response = HttpResponse()
    response.content="Hello world!"
    response.status_code = 400 #也可以返回HTTP响应状态码,默认是200,可以自行设置其他值
    return HttpResponse(response.content)

'''例2: Django 模板的应用,模板是一个文本,用于分离文档的表现形式和内容'''
def student(request):
    context = {}
    context['test'] = '这是context的字典值:欢迎进入helloworld网页'
    return render(request,'HelloWorld.html',context)
2、视图views.py——HttpResponst函数
Django服务器接收到客户端发送过来的请求后,会将提交上来的这些数据封装成一个HttpRequest对象传给视图函数。那么视图函数在处理完相关的逻辑后,也需要返回一个响应给浏览器。而这个响应,我们必须返回HttpResponseBase或者他的子类的对象。而HttpResponse则是HttpResponseBase用得最多的子类。
常用的属性:
content:返回的内容
status_code:返回的HTTP响应状态码。默认是200,也可以自行设置
3、视图views.py——render函数
1)必选参数:
request:用于生成此响应的请求对象。
template_name:要使用的模板的全名或模板名称的序列。如果给定一个序列,则将使用存在的第一个模板。
2)可选参数:
context:要添加到模板上下文的值的字典。 默认情况下,这是一个空的字典。 如果字典中的值是可调用的,则视图将在渲染模板之前调用它。
content_type:用于结果文档的MIME类型默认为:设置:setting:DEFAULT_CONTENT_TYPE 设置的值。
status:响应的状态代码默认为“200”。
using:用于加载模板的模板引擎的 :setting:`NAME `
五、(URL配置)修改urls.py
1、网页文件写完就需要我们将网页传到django服务器中
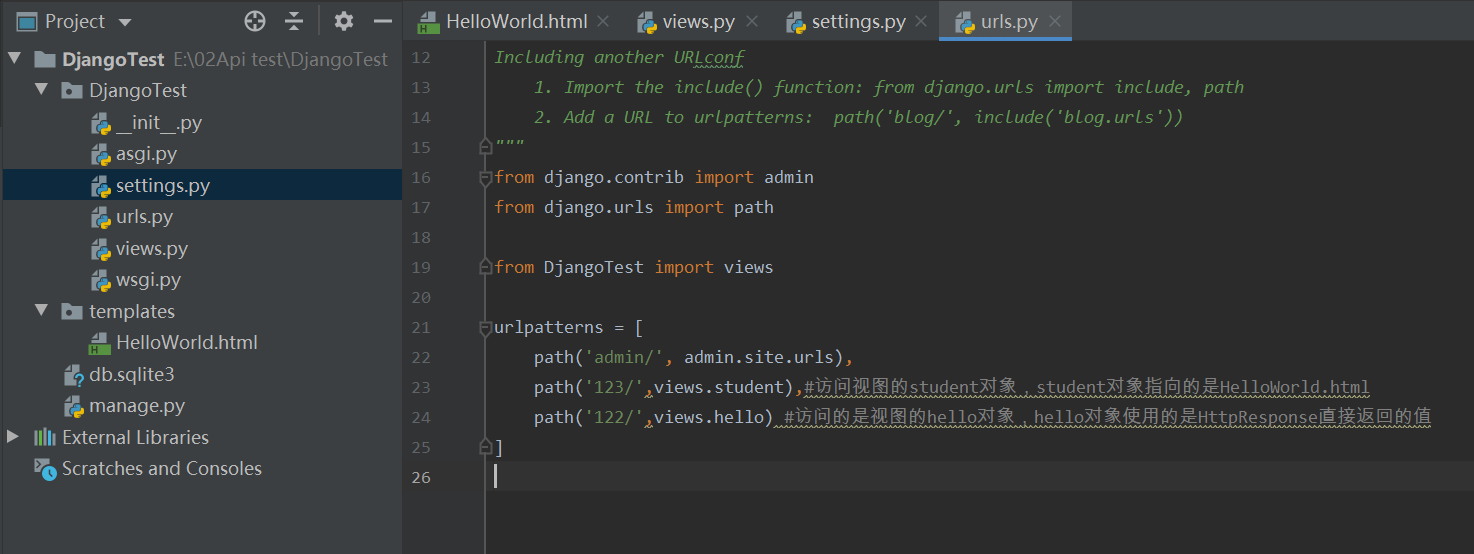
2、打开urls.py文件,这里有一个内置的admin/路径,这是django自带的管理后台,我们在下面新建一个路径,用来访问我们写的网页,如下图
"""DjangoTest URL Configuration

The `urlpatterns` list routes URLs to views. For more information please see:
    https://docs.djangoproject.com/en/3.2/topics/http/urls/
Examples:
Function views
    1. Add an import:  from my_app import views
    2. Add a URL to urlpatterns:  path('', views.home, name='home')
Class-based views
    1. Add an import:  from other_app.views import Home
    2. Add a URL to urlpatterns:  path('', Home.as_view(), name='home')
Including another URLconf
    1. Import the include() function: from django.urls import include, path
    2. Add a URL to urlpatterns:  path('blog/', include('blog.urls'))
"""
from django.contrib import admin
from django.urls import path

from DjangoTest import views

urlpatterns = [
    path('admin/', admin.site.urls),
    path('123/',views.student),#访问视图的student对象,student对象指向的是HelloWorld.html
    path('122/',views.hello) #访问的是视图的hello对象,hello对象使用的是HttpResponse直接返回的值
]
六、启动服务器后,浏览器访问
启动服务器命令:python manage.py runserver 8000
1、http://127.0.0.1:8000/122/,访问视图的hello对象

2、http://127.0.0.1:8000/123/,访问视图的student对象

以上student对象的处理就完成了使用模板来输出数据,从而实现数据与视图分离。
模板中常用的语法规则,可参考:https://www.runoob.com/django/django-template.html
Recommend
About Joyk
Aggregate valuable and interesting links.
Joyk means Joy of geeK