

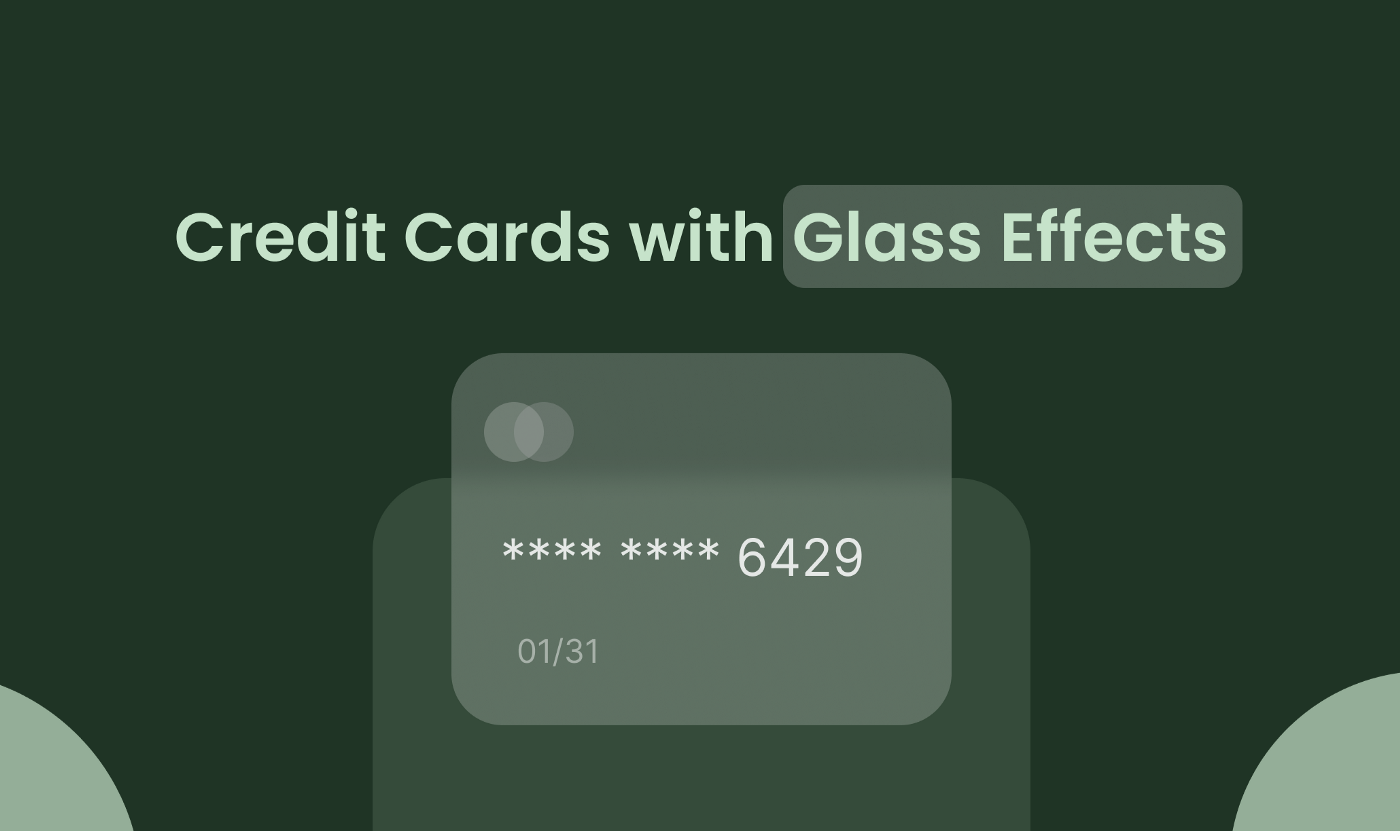
How to Create Glass Effect Cards
source link: https://uxplanet.org/how-to-create-glass-effect-cards-ebf97b618eee
Go to the source link to view the article. You can view the picture content, updated content and better typesetting reading experience. If the link is broken, please click the button below to view the snapshot at that time.
How to Create Glass Effect Cards
Tutorials for Junior Designers to Create Beautiful Glass Cards.
This is one of the articles where I’ll learn and teach other junior designers like me something about designing better UI elements from icons, shadows, trends, etc, for your interface design.
Step by Step Tutorial for Glass Effect Card
In this article, I’ll be showing how to make the glass effect card with a step-by-step tutorial. so without any delays let’s check it out.
1. Create a Card Shape
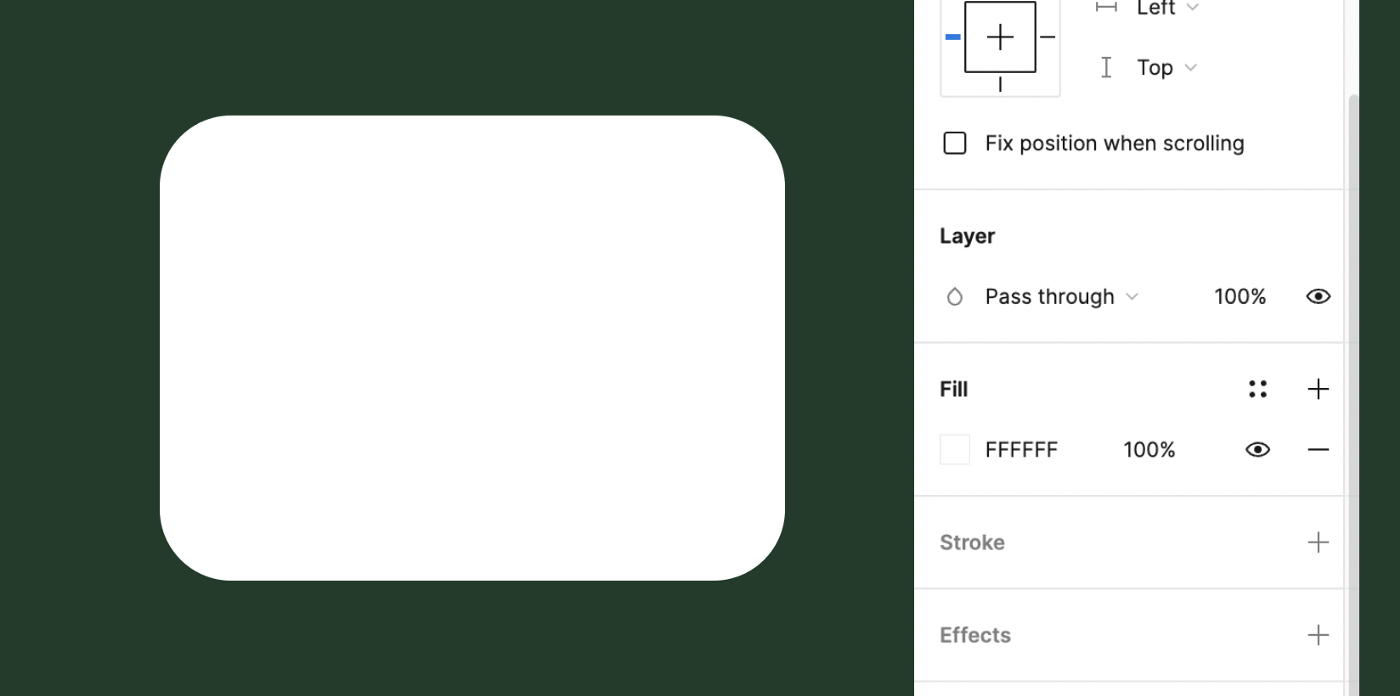
Here I’ve chosen the rectangle shape with rounded corners because I’m making cards but you can choose any shape square, circle, etc.
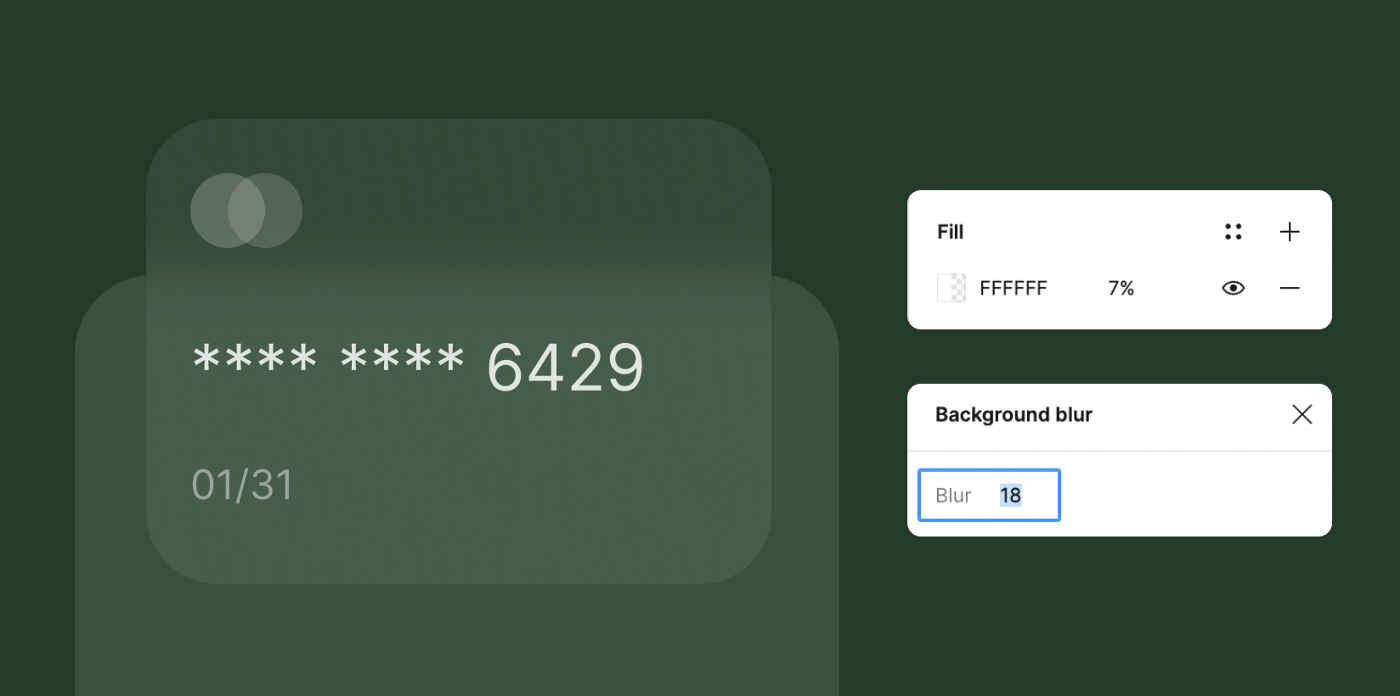
2. Go to Effects > Choose Background Blur
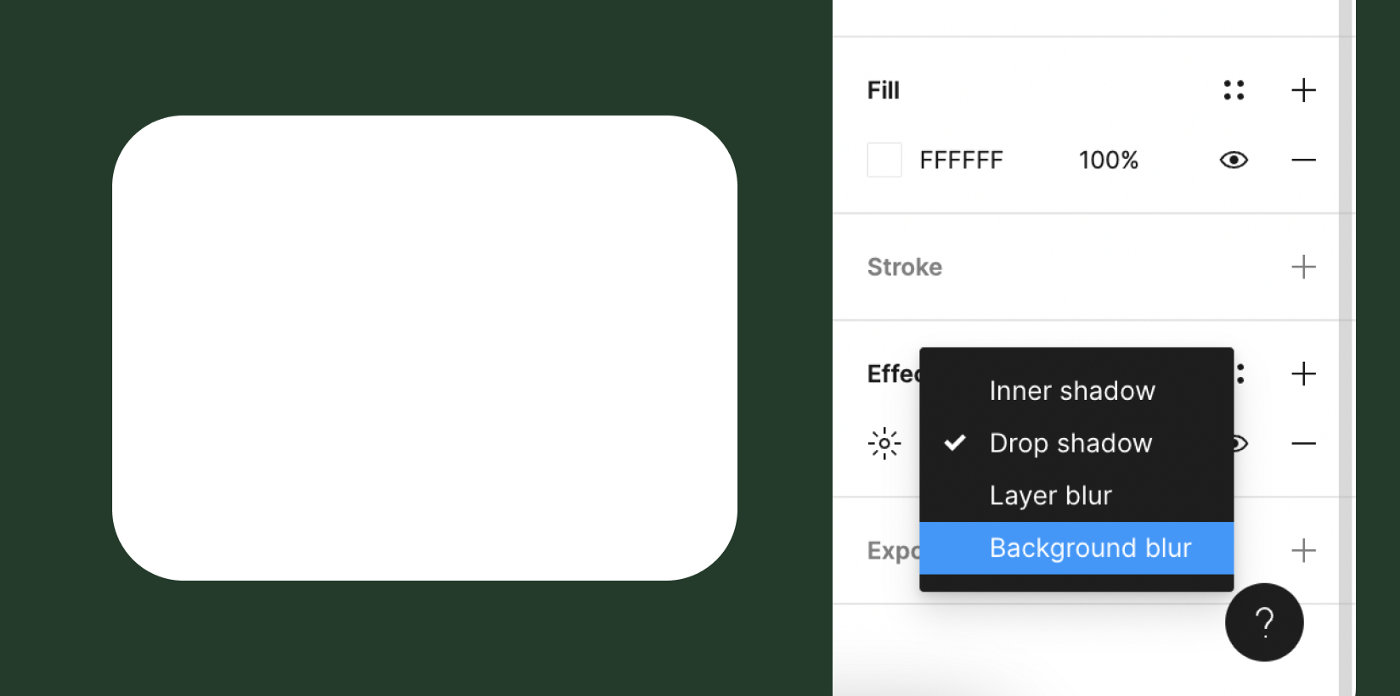
Go to the Effects section shown on the right-side panel of the Figma under stroke section which allows you to add background blur to the selected layer. then select the background blur option which allows you to add glass blur on the layer.
3. Change Blur Level to 10
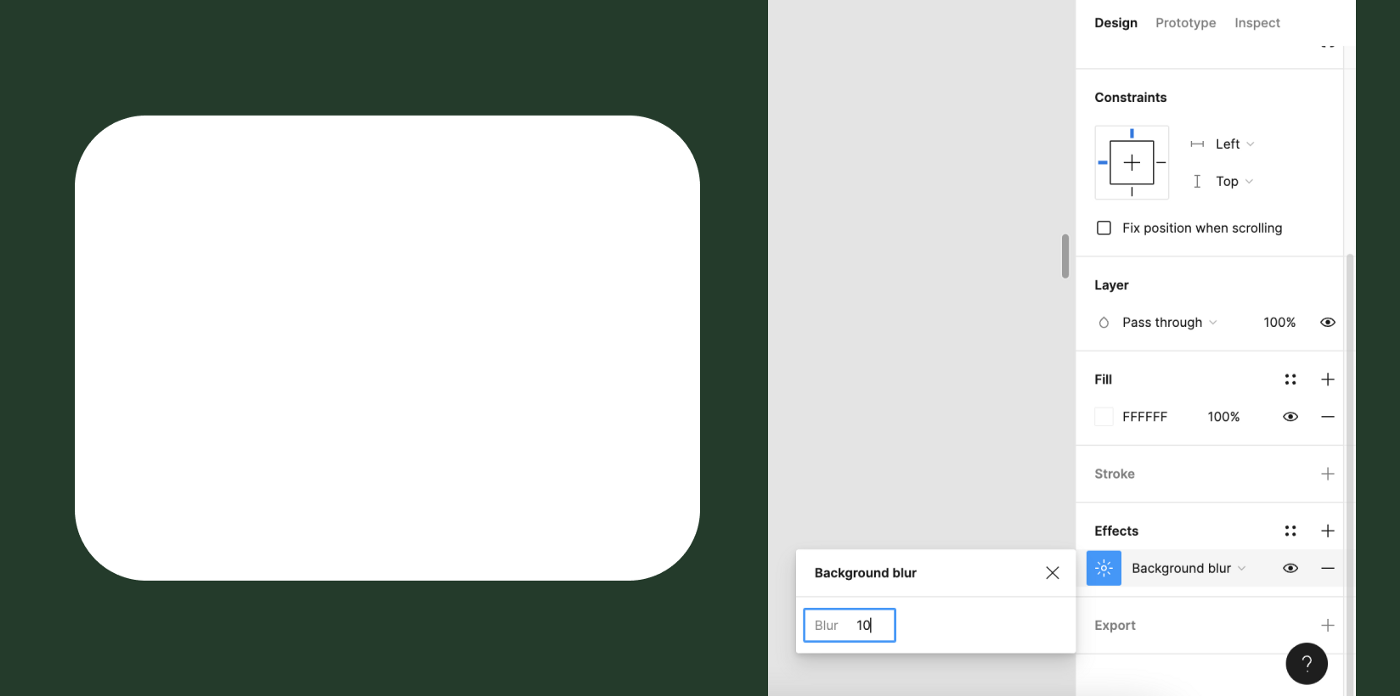
Change the level of blur from 4 to 10 which allows you to add more blur to the background.
4. Change Opacity to 40%
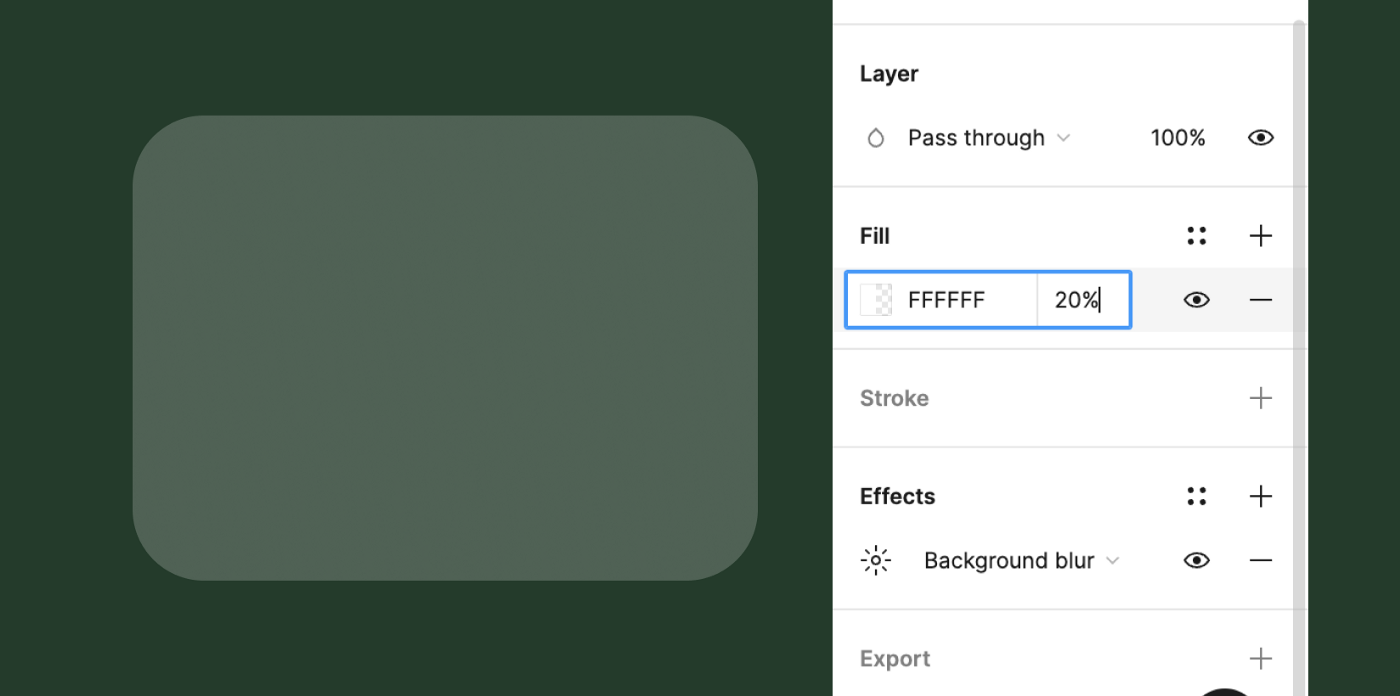
Change the opacity of the shape from 100% to 40% and boom you’ve your glassed shape, you can do this to any of the shapes you want and can make your own kind of card or something else. now let’s give some final touch.
5. Add Credit Card Information
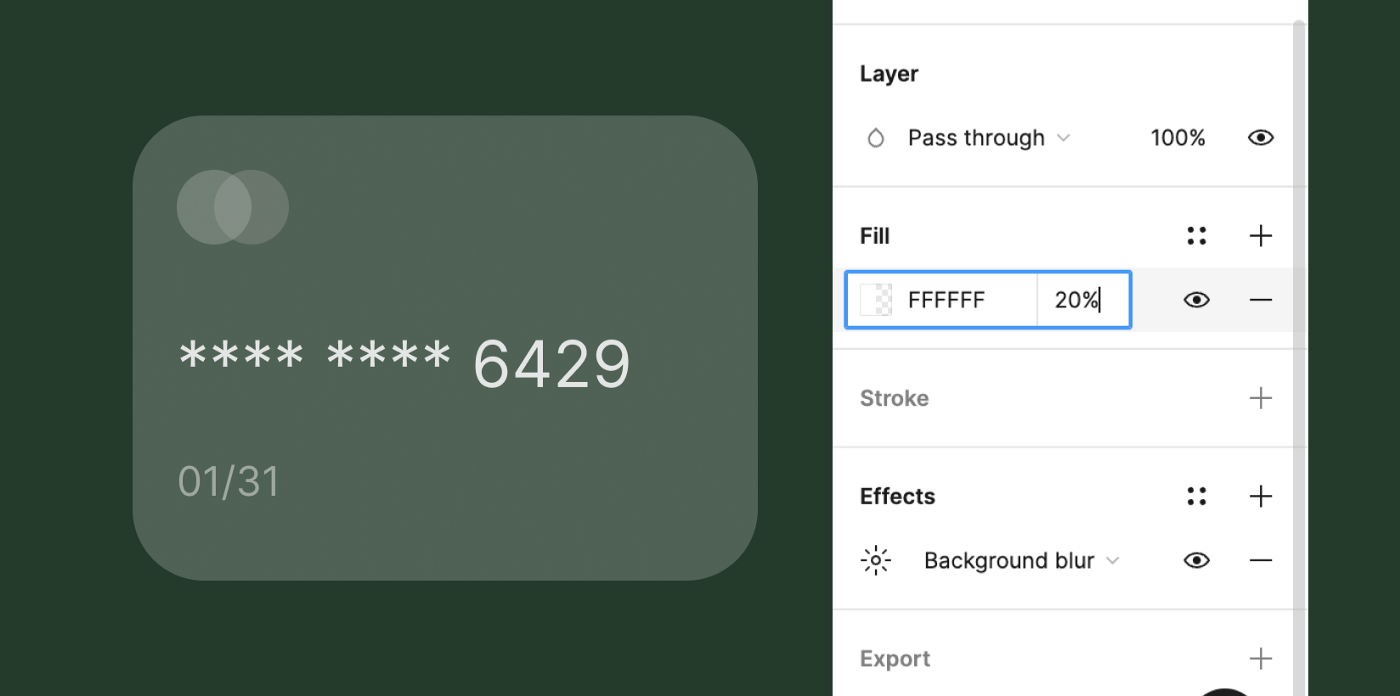
Add the details of your card, for example, its number, its company, its date of expiration, etc. which makes it look like other real-world cards.
6. At, Last add something behind It.
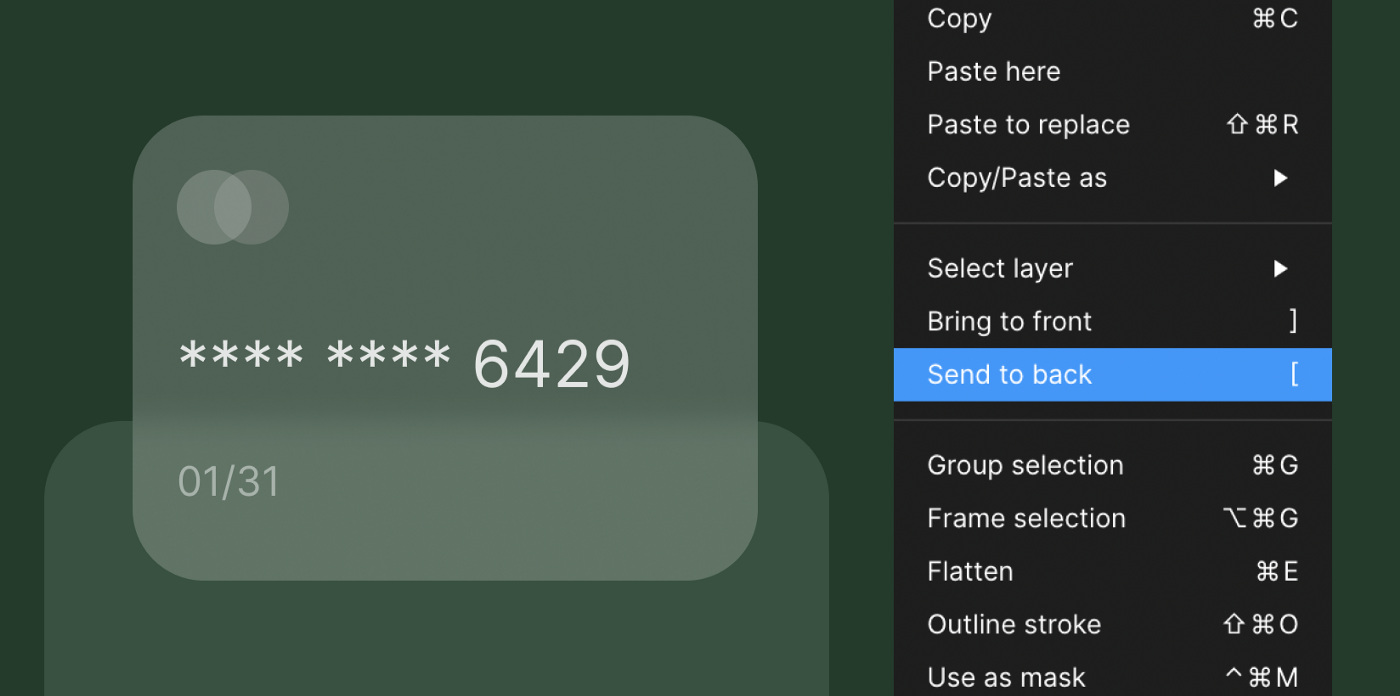
Now add something behind it to see the actual glass effect.
7. Play with it and build something of your own.
Now, it’s up to you, try it.. test it.. experiment with it.. and enjoy it. You can literally use the glass effect anywhere you wanted to in the interface design to make it look awesome. You can apply the glass effect to any shape and element inside your interface.
Bonus: Adding Noise to the Effect
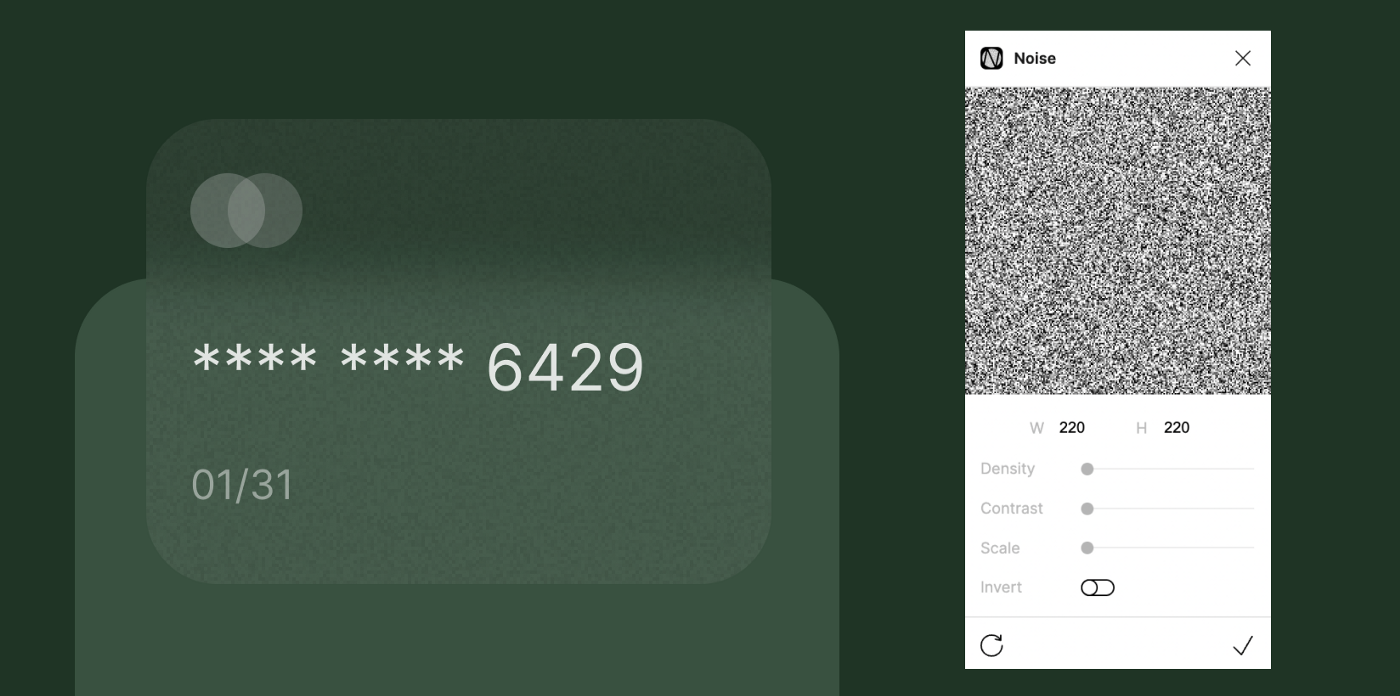
For all those who read this article till the end, here is a cool bonus. Try adding the noise to the shape and then adjust the opacity accordingly and make it look more cool and stylish.
For inspiration on Glass effect cards and interface design visit the link below of dribbble where you’ll see the various design from other designers.
Browse thousands of Glass Morphism images for design inspiration | Dribbble
Explore thousands of high-quality glass morphism images on Dribbble. Your resource to get inspired, discover and…
Thanks for reading. I hope you get something valuable, clap for more tutorials like how to design 3d shapes in Figma, how to design perfect shadows, etc.
Recommend
About Joyk
Aggregate valuable and interesting links.
Joyk means Joy of geeK