

使用 oh-my-posh 美化 windows terminal,让其接近oh-my-zsh
source link: https://blog.zhuliang.ltd/2022/05/PowerUser/prettier-windows-terminal-with-oh-my-posh.html
Go to the source link to view the article. You can view the picture content, updated content and better typesetting reading experience. If the link is broken, please click the button below to view the snapshot at that time.

使用 oh-my-posh 美化 windows terminal,让其接近oh-my-zsh
create: 2022-05-21 19:17:46 | update: 2022-05-21 21:39:50
本文总阅读量: 34 次
|
文章总字数: 1.1k 字
|
阅读约需: 4 分钟
为了同 iterm2 下的 oh-my-zsh 保持基本一致,博主用的是 aliens 主题+一些自定义配置调整,最终效果如下,你也可以根据自己需要进行细调,本文旨在快速让你进行美化,少踩一些坑:

版本说明:
- 本文撰写时:
- oh-my-posh 版本为
v7.87.0 - powershell 的版本为
7.2.3,(最新为 7.2.4) - OS:win10,21H1,19043.1706
- oh-my-posh 版本为
注意事项:
**1. 安装时请关闭杀毒软件、各类管家,否则写入注册表时会报错。
- 有条件的请挂代理,因为源文件在 git 上。
- 全程在 powershell ,
管理员模式下进行。**
安装 windows terminal:
可直接在 microsoft store 中搜索安装。这里不赘述。
安装 gsudo
如其名,为了在 windows 下使用 sudo 命令,需要安装该包。
git 地址:https://gerardog.github.io/gsudo/docs/install
可以直接在 powershell 中执行以下命令进行安装:
winget install gerardog.gsudo
- 会自动注册到 path,所以你可以直接在命令行中全局使用:
如果你觉得# 示例:以管理员身份启动 powershell gsudo powershell.exegsudo不够直观,希望用sudo,可以通过以下方式重命名:Set-Alias 'sudo' 'gsudo'
安装 oh-my-posh
官方:https://ohmyposh.dev/
git 地址:https://github.com/jandedobbeleer/oh-my-posh
winget install oh-my-posh
- 以上命令会安装 oh-my-posh.exe 以及最新的主题。
安装 Nerd Fonts
oh-my-posh 的不少主题都是依赖于该字体,否则部分 icon 会乱码,建议安装。
- Nerd Fonts 官网
- 博主安装的是这套字体,也是官方推荐的字体:Meslo LGM NF。
windows terminal 配置
启动 shell 设置为 powershell 7
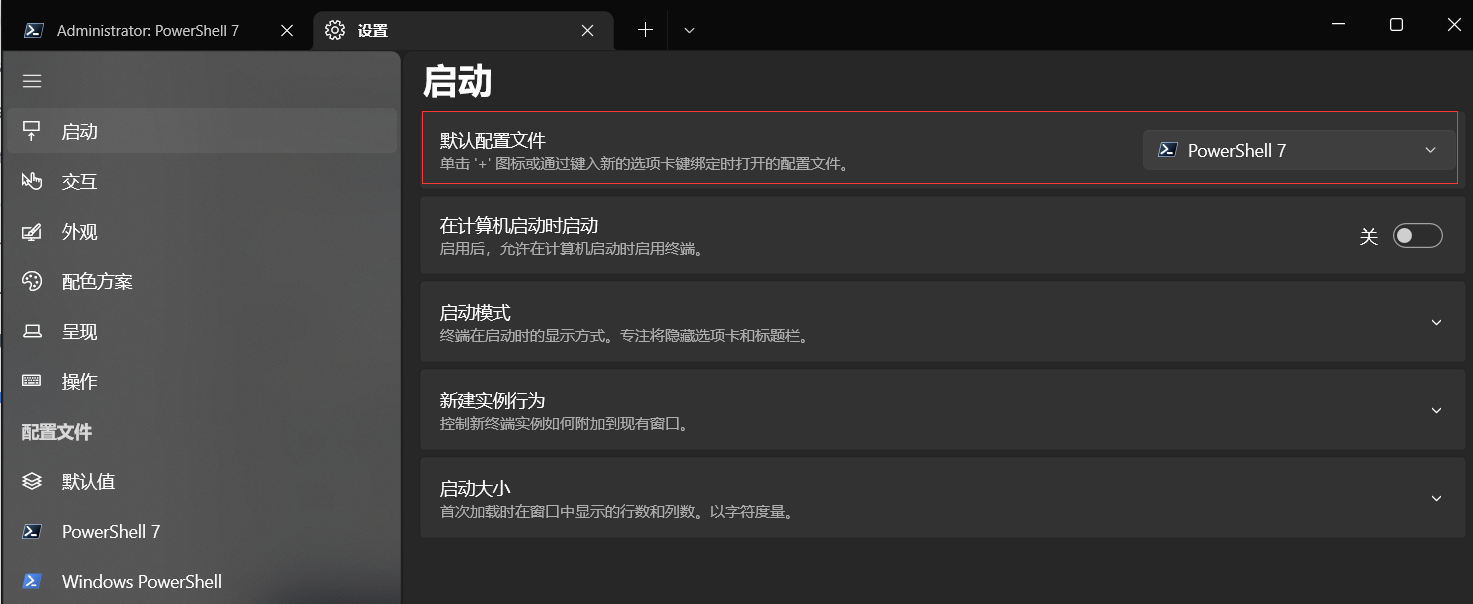
以管理员权限启动 shell
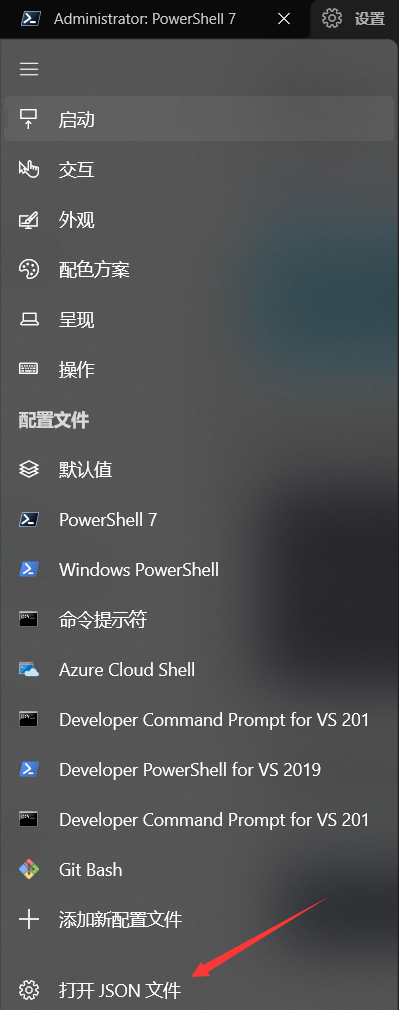
在 windows terminal 的设置中,打开JSON文件:
编辑配置:
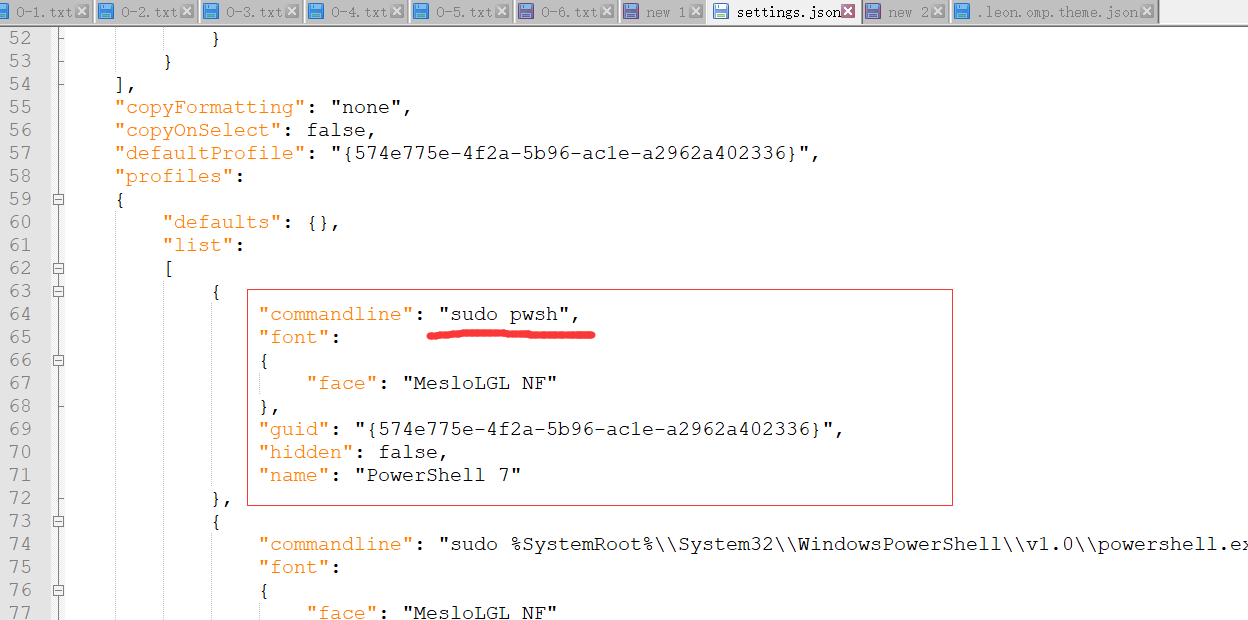
- 只要安装了 powershell 7,默认情况下 pwsh 就会指向 powershell 7。
- 如果你没有给 gsudo 添加
sudo别名的话,这里用gsudo。
设置 powershell 7 字体为 Nerd fonts

配置启动时加载 oh-my-posh
创建 powershell 配置文件:
if (!(Test-Path -Path $PROFILE )) { New-Item -Type File -Path $PROFILE -Force }
用记事本打开配置文件
notepad $PROFILE
在记事本中录入以下指令
oh-my-posh init pwsh --config ~/.leon.omp.theme.json | Invoke-Expression
- 每次启动 shell 时 ,会先执行以上命令以加载主题等配置。
- 其中 “–config ~/.leon.omp.theme.json” 是你的文件和所在路径,文末我会放出我的配置。
- 你可以在 这里 找到不同的主题。
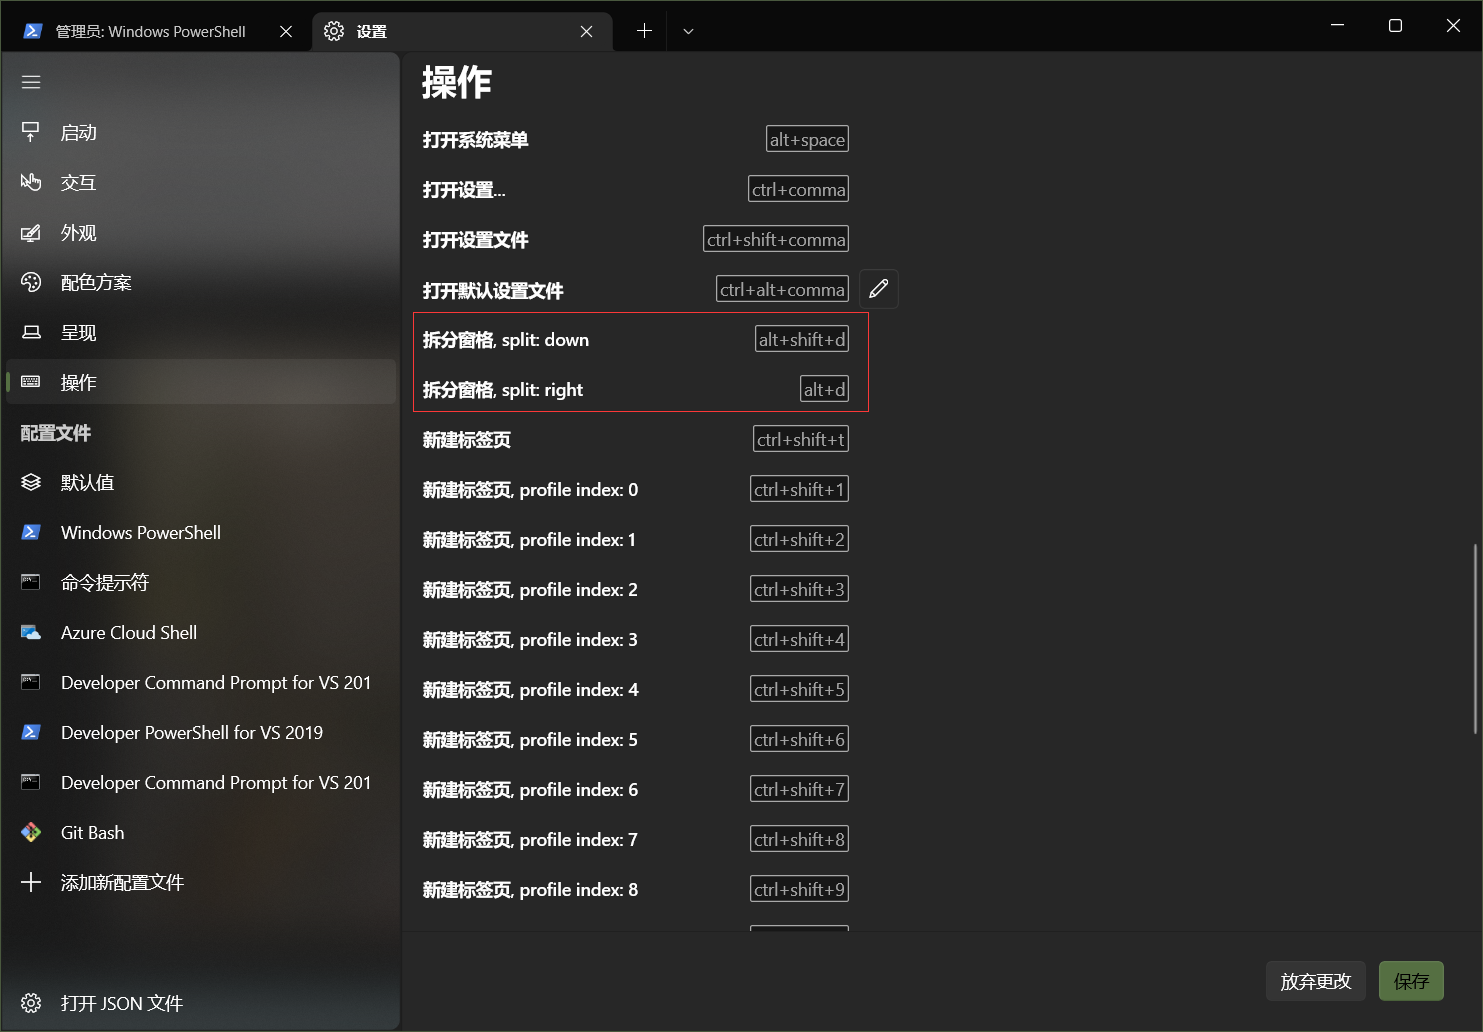
快捷键设置:
习惯了 iterm2 中 CMD+D,SHIFT+CMD+D 来拆分窗口,很庆幸 windows terminal 已经提供了快捷键修改,且针对的就是拆分窗口,直接设置即可,如下:
.leon.omp.theme.json
{
  "$schema": "https://raw.githubusercontent.com/JanDeDobbeleer/oh-my-posh/main/themes/schema.json",
  "blocks": [
    {
      "alignment": "left",
      "segments": [
        {
          "background": "#61AFEF",
          "foreground": "#ffffff",
          "leading_diamond": "\ue0b6",
          "style": "diamond",
          "template": "{{ .HostName }} ",
          "trailing_diamond": "\ue0b0",
          "type": "session"
        },
        {
          "background": "#C678DD",
          "foreground": "#ffffff",
          "powerline_symbol": "\ue0b0",
          "properties": {
            "style": "full"
          },
          "style": "powerline",
          "template": " {{ .Path }} ",
          "type": "path"
        },
        {
          "background": "#95ffa4",
          "foreground": "#193549",
          "powerline_symbol": "\ue0b0",
          "style": "powerline",
          "template": " {{ .HEAD }} ",
          "type": "git"
        },
        {
          "background": "#FF6471",
          "foreground": "#ffffff",
          "leading_diamond": "<transparent,background>\ue0b0</>",
          "style": "diamond",
          "template": " {{ if .Error }}{{ .Error }}{{ else }}{{ if .Venv }}{{ .Venv }} {{ end }}{{ .Full }}{{ end }} ",
          "trailing_diamond": "\ue0b4",
          "type": "python"
        }
      ],
      "type": "prompt"
    }
  ],
  "final_space": true,
  "version": 2
}
- 属性说明你可以从 这里 了解。
</div
Recommend
About Joyk
Aggregate valuable and interesting links.
Joyk means Joy of geeK