

TensorRT环境安装
source link: https://xugaoxiang.com/2022/05/02/tensorrt-installation/
Go to the source link to view the article. You can view the picture content, updated content and better typesetting reading experience. If the link is broken, please click the button below to view the snapshot at that time.
- windows 10 64bit
- ubuntu 18.04 64bit
- CUDA 11.2
- cuDNN 8
- TensorRT 8
TensorRT 是 NVIDIA 公司推出的能够加速模型推理的框架。本文分别在 windows 10 和 ubuntu 18.04 上进行安装。
cuda和cudnn
TensorRT 依赖于 cuda 和 cudnn,它们的安装前面已经写过,可以参考
在windows上安装
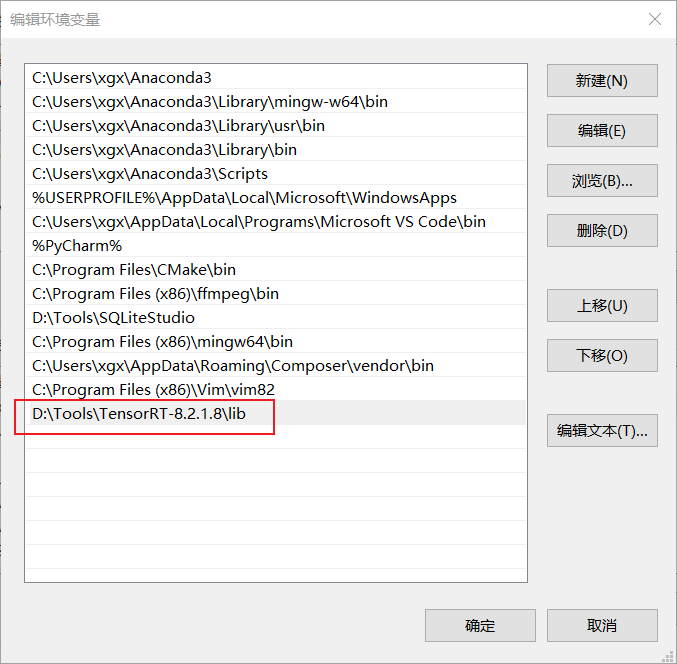
下载链接: https://developer.nvidia.com/tensorrt-getting-started,这里需要根据自己系统的cuda 和 cudnn 版本来选择下载的文件,这里下载的是 TensorRT-8.2.1.8.Windows10.x86_64.cuda-11.4.cudnn8.2.zip,解压后,将文件夹中的 lib 目录加入到系统环境变量 PATH 中
同时将 lib 下的文件拷贝到 cuda 安装目录下的 bin 文件夹下,比如我这里的 C:\Program Files\NVIDIA GPU Computing Toolkit\CUDA\v11.2\bin
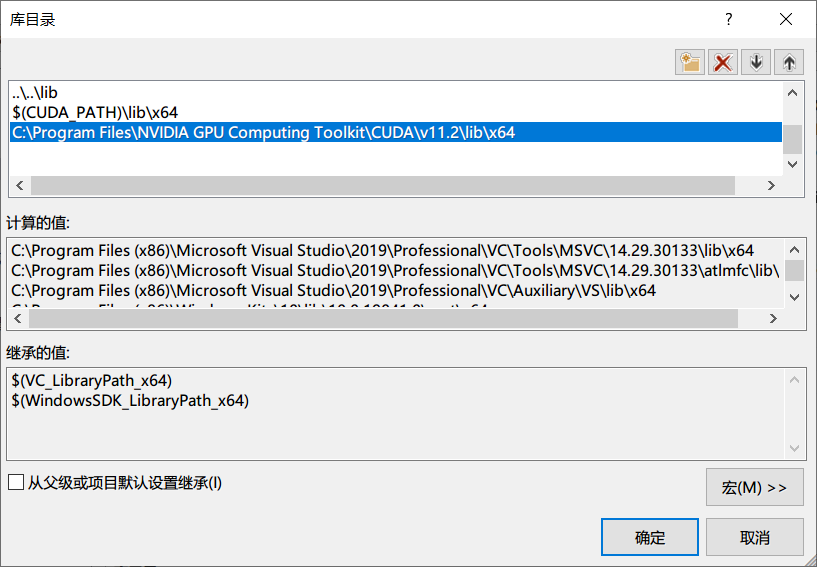
然后使用 visual studio 打开示例工程 D:\Tools\TensorRT-8.2.1.8\samples\sampleMNIST\sample_mnist.sln 来验证下安装是否正确。进入 visual studio 后,右键点击 sample_mnist, 进入 属性,进入 VC++ 目录
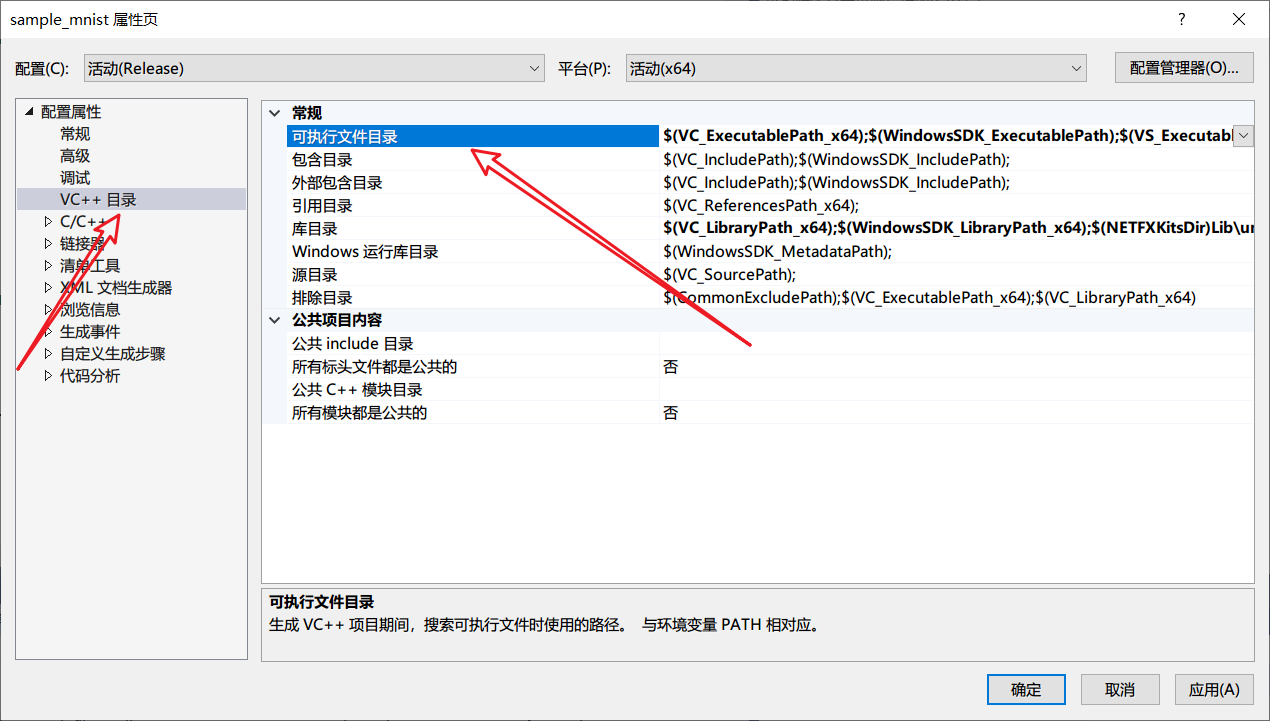
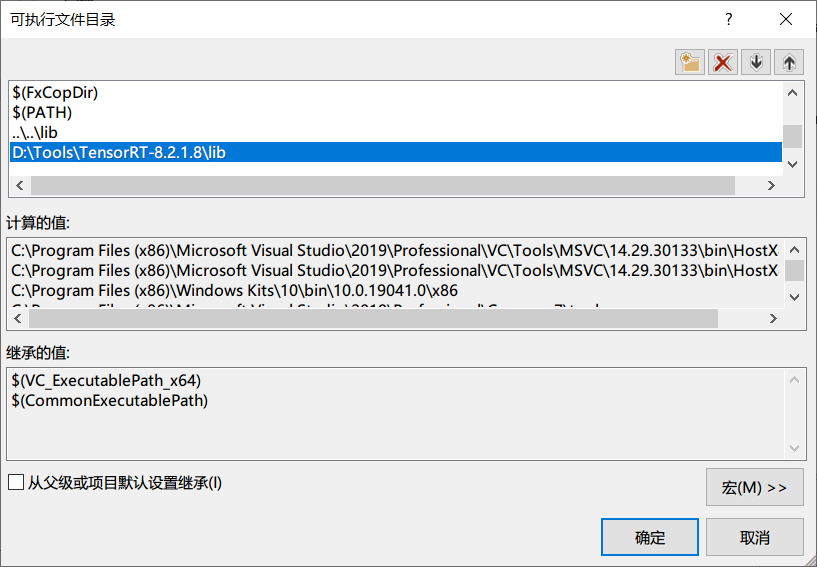
在 可执行文件目录 中添加 tensorrt中的 lib 目录
然后在 C/C++ --> 常规 --> 附加包含目录
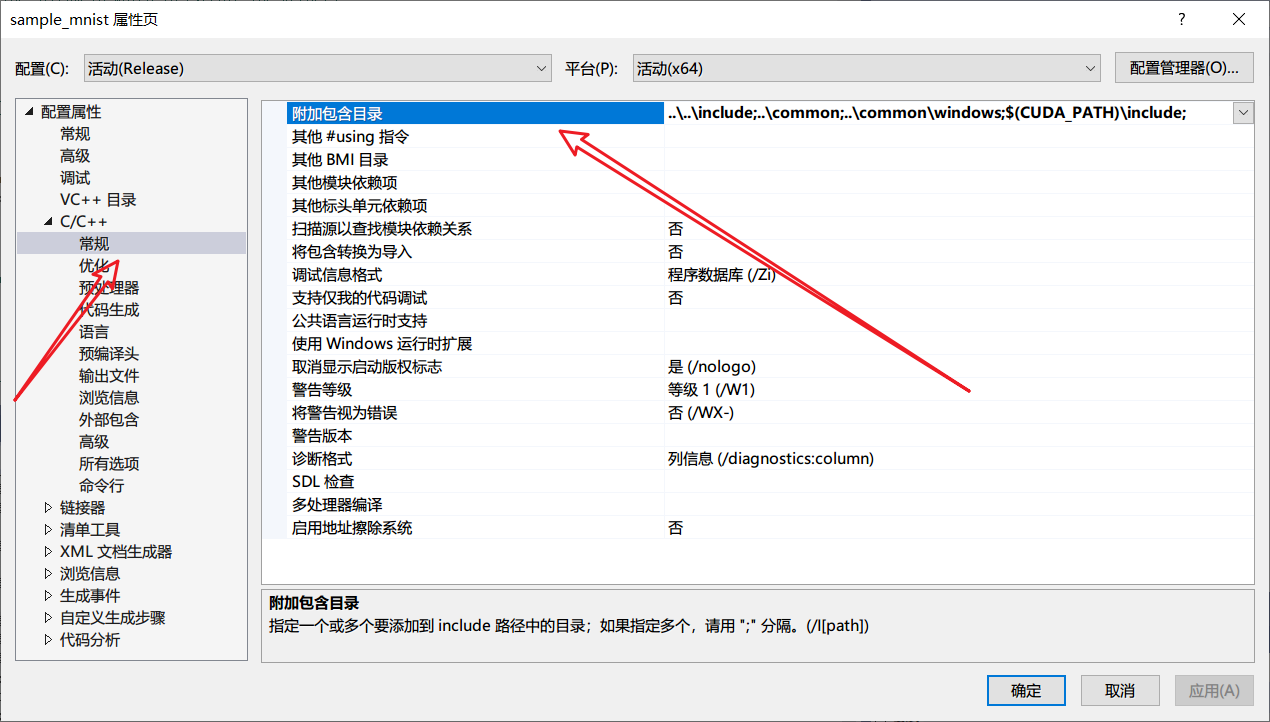
添加 tensorrt 中的 include 目录
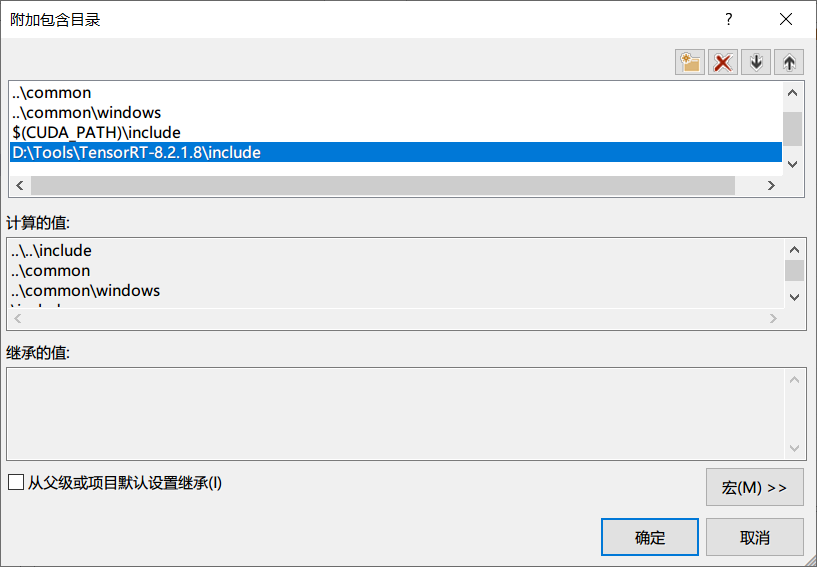
如果在运行中出现头文件 cuda_runtime_api.h 找不到的情况,就在上面的 附加包含目录 中添加 cuda 中的 inlcude 目录
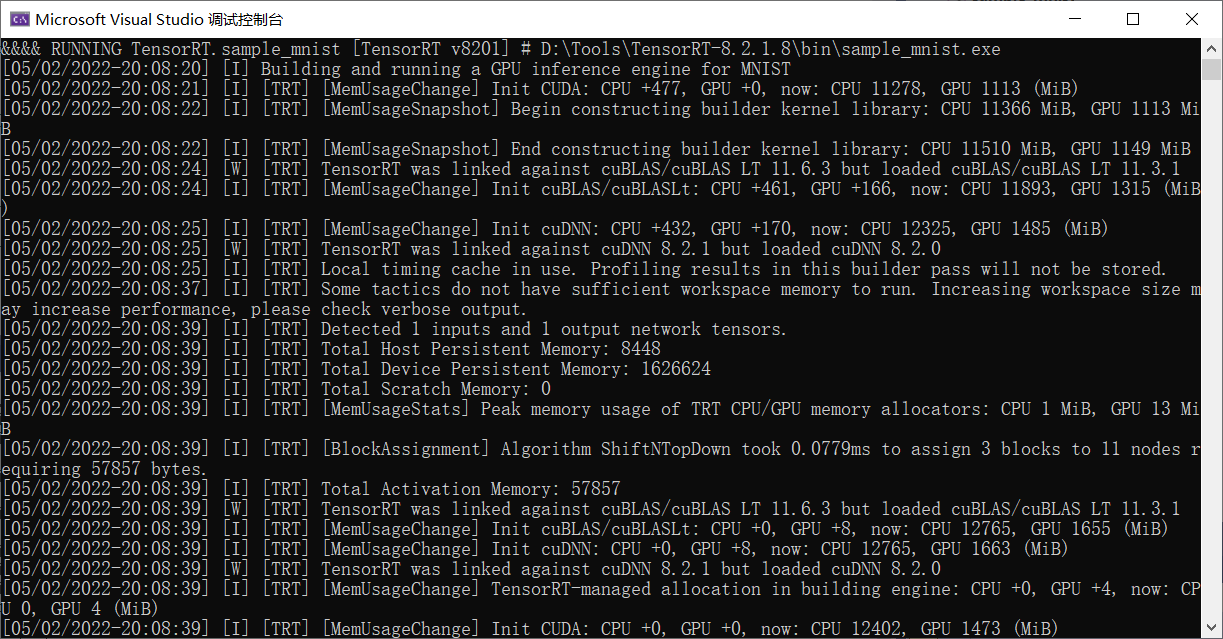
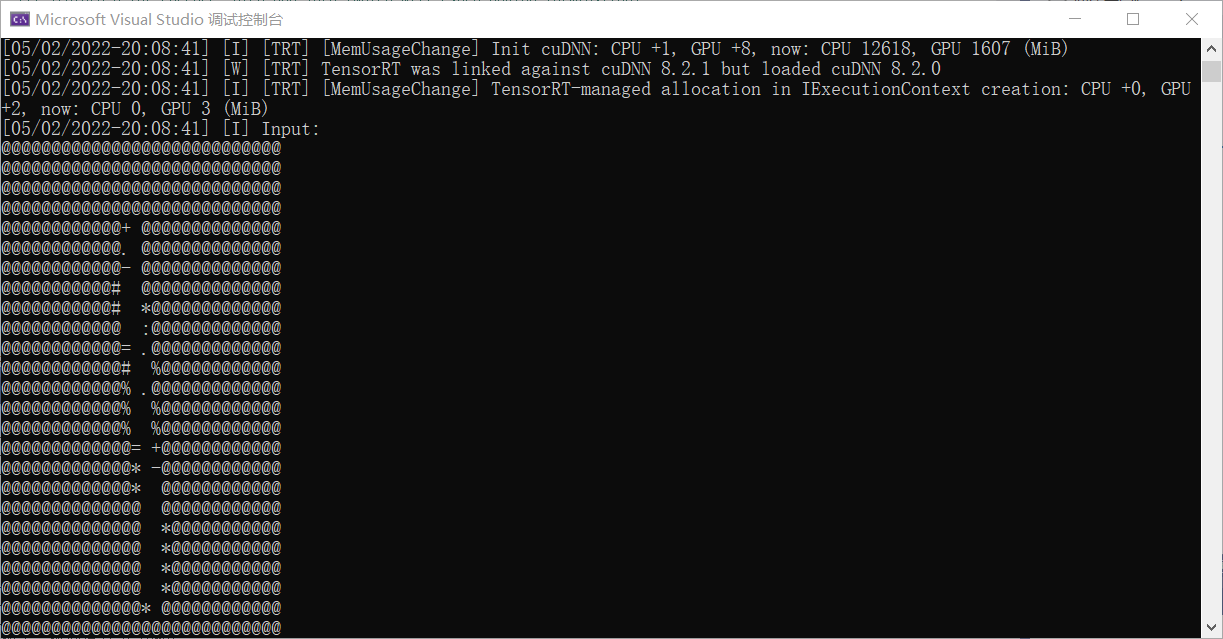
最后,运行程序,可以得到
在ubuntu上安装
下载链接: https://developer.nvidia.com/tensorrt-getting-started,这里需要根据自己系统的cuda 和 cudnn 版本来选择下载的文件,建议下载 tar 包而不是 deb 包,方便后面验证环境
# 解压
tar xvf TensorRT-8.2.1.8.Linux.x86_64-gnu.cuda-11.4.cudnn8.2.tar.gz

# 移动到/usr/local目录下,这一步非必须
sudo mv TensorRT-8.2.1.8 /usr/local/
编辑文件 ~/.bashrc,修改对应的环境变量
export PATH=/usr/local/cuda/bin:/usr/local/TensorRT-8.2.1.8/bin:$PATH
export LD_LIBRARY_PATH=/usr/local/cuda/lib64:/home/xugaoxiang/anaconda3/lib:/usr/local/TensorRT-8.2.1.8/lib:$LD_LIBRARY_PATH
然后使能环境环境,重启 terminal,或者执行 source ~/.bashrc
最后来验证一下安装是否成功
使用 TensorRT 自带的示例来验证
cd /usr/local/TensorRT-8.2.1.8
cd sample/sampleMNIST
sudo apt install build-essential
make
../../bin/sample/sample_mnist
如果没有报错的话,就说明安装成功了。
python中使用
要想在 python 环境中使用 tensorrt,这部分内容,windows 和 ubuntu 是一样的
# 安装uff,它是一种编码方式,在将tf转换成tensorrt需要用到
pip install uff/uff-0.6.9-py2.py3-none-any.whl

# 安装graphsurgeon,它是对uff编码进行操作的库
pip install graphsurgeon/graphsurgeon-0.4.5-py2.py3-none-any.whl

# python版本,安装包中提供了3.6、3.7、3.8、3.9
pip install python/tensorrt-8.2.1.8-cp38-none-linux_x86_64.whl
验证的话,执行
python -c "import tensorrt"如果没有报错就说明安装好了
TensorRT的更新和卸载
-
windows
- 将新版本的安装路径下的
lib目标添加到系统环境变量PATH下,并将旧的版本路径删除 - 直接删除安装包,并删除系统环境变量
PATH中对应的路径
- 将新版本的安装路径下的
-
ubuntu
- 版本更新的话,下载新版本
tar包,解压后替换掉原来的/usr/local/下的老版本,然后更新下~/.bashrc内环境变量中的版本号 - 卸载的话,直接删除文件,
sudo rm -rf /usr/loca/TensorRT*,然后去掉~/.bashrc中对应环境变量中的内容
- 版本更新的话,下载新版本
Recommend
About Joyk
Aggregate valuable and interesting links.
Joyk means Joy of geeK