

What is the DOM? Document Object Model Meaning in JavaScript
source link: https://www.freecodecamp.org/news/what-is-the-dom-document-object-model-meaning-in-javascript/
Go to the source link to view the article. You can view the picture content, updated content and better typesetting reading experience. If the link is broken, please click the button below to view the snapshot at that time.

If you have just started learning JavaScript, you might have heard of the DOM. But what is it exactly?
In this article, I will explain what the DOM is and provide some JavaScript code examples.
We will take a look at how to select elements from an HTML document, how to create elements, how to change inline CSS styles, and how to listen for events.
What is the DOM?
DOM stands for Document Object Model. It is a programming interface that allows us to create, change, or remove elements from the document. We can also add events to these elements to make our page more dynamic.
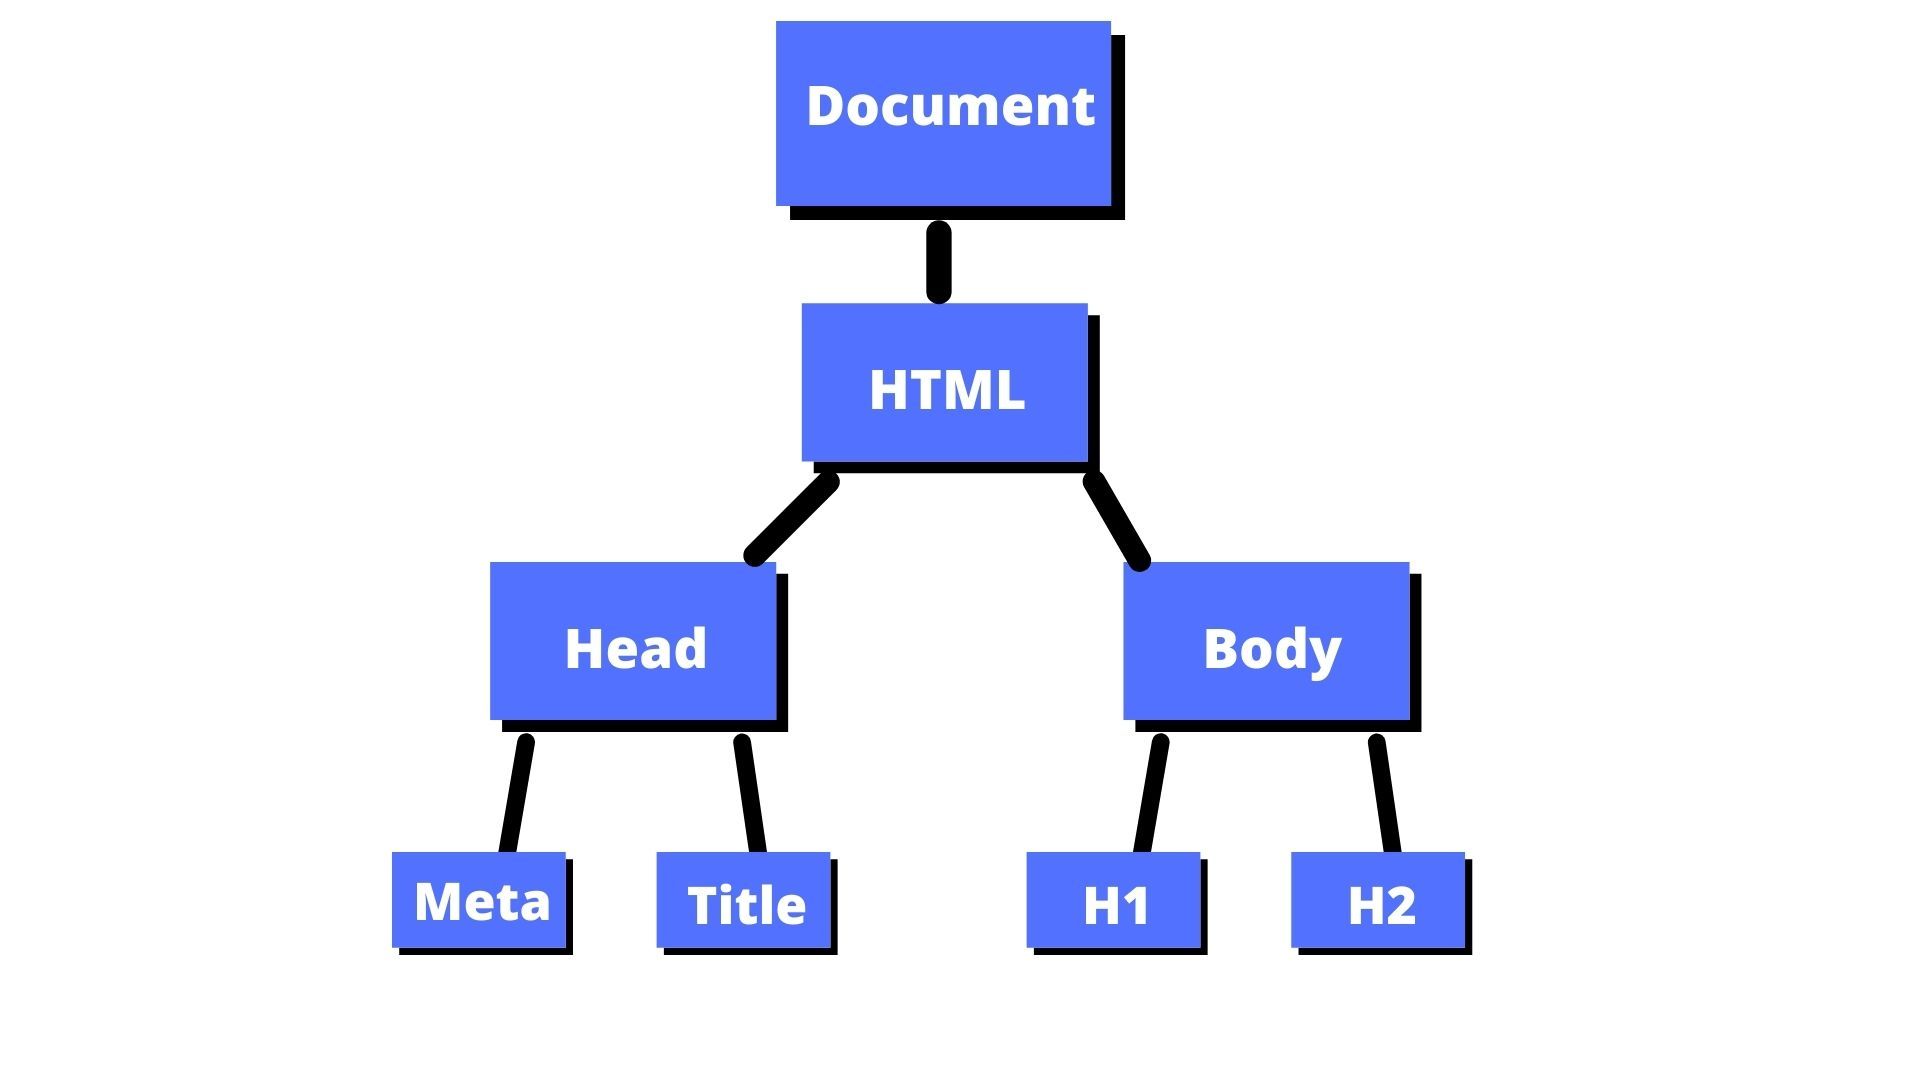
The DOM views an HTML document as a tree of nodes. A node represents an HTML element.
Let's take a look at this HTML code to better understand the DOM tree structure.
<!DOCTYPE html>
<html lang="en">
  <head>
    <meta charset="UTF-8">
    <meta name="viewport" content="width=device-width, initial-scale=1.0">
    <meta http-equiv="X-UA-Compatible" content="ie=edge">
    <title>DOM tree structure</title>
  </head>
  <body>
    <h1>DOM tree structure</h1>
	<h2>Learn about the DOM</h2>
  </body>
</html>
Our document is called the root node and contains one child node which is the <html> element. The <html> element contains two children which are the <head> and <body> elements.
Both the <head> and <body> elements have children of their own.
Here is another way to visualize this tree of nodes.
We can access these elements in the document and make changes to them using JavaScript.
Let's take a look at a few examples of how we can work with the DOM using JavaScript.
How to Select Elements in the Document
There are a few different methods for selecting an element in the HTML document.
In this article, we will focus on three of those methods:
getElementById()querySelector()querySelectorAll()
getElementById()
In HTML, ids are used as unique identifiers for the HTML elements. This means you cannot have the same id name for two different elements.
This would be incorrect:
<p id="para">This is my first paragraph.</p>
<p id="para">This is my second paragraph.</p>
You would have to make sure those ids are unique like this:
<p id="para1">This is my first paragraph.</p>
<p id="para2">This is my second paragraph.</p>
In JavaScript, we can grab an HTML tag by referencing the id name.
document.getElementById("id name goes here")This code tells the computer to get the <p> element with the id of para1 and print the element to the console.
const paragraph1 = document.getElementById("para1");
console.log(paragraph1);
If we wanted to just read the content of the paragraph, then we can use the textContent property inside the console.log().
const paragraph1 = document.getElementById("para1");
console.log(paragraph1.textContent);
querySelector()
You can use this method to find elements with one or more CSS selectors.
I have created this HTML example of my favorite tv shows:
<h1>Favorite TV shows</h1>
<ul class="list">
  <li>Golden Girls</li>
  <li>Archer</li>
  <li>Rick and Morty</li>
  <li>The Crown</li>
</ul>
If I wanted to find and print to the console the h1 element, then I could use that tag name inside the querySelector().
const h1Element = document.querySelector("h1");
console.log(h1Element);
If I wanted to target the class="list" to print out the unordered list to the console, then I would use .list inside the querySelector().
The . before list tells the computer to target a class name. If you wanted to target an id then you would use a # symbol before the name.
const list = document.querySelector(".list");
console.log(list);
querySelectorAll()
This method finds all of the elements that match the CSS selector and returns a list of all of those nodes.
If I wanted to find all of the <li> items in our example, I could use the > child combinator to find all of the children of the <ul>.
const listItems = document.querySelectorAll("ul > li");
console.log(listItems);
If we wanted to print out the actual <li> items with the tv shows, we can use a forEach() to loop over the NodeList and print out each item.
const listItems = document.querySelectorAll("ul > li");

listItems.forEach((item) => {
  console.log(item);
});
How to Add New Elements to the Document
We can use the document.createElement() to add new elements to the DOM tree.
Let's take a look at this example:
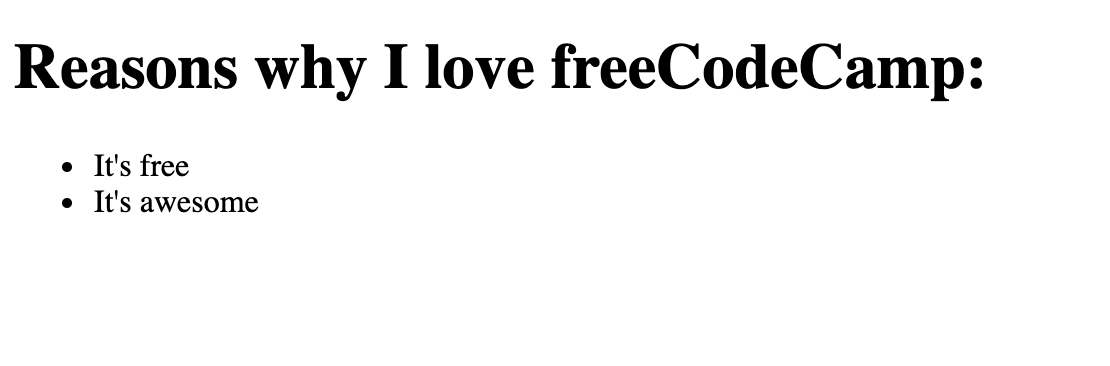
<h1>Reasons why I love freeCodeCamp:</h1>Right now, I just have an <h1> tag on the page. But I want to add a list of reasons why I love freeCodeCamp underneath that <h1> tag using JavaScript.
We can first create an <ul> element using document.createElement(). I will assign that to a variable called unorderedList.
let unorderedList = document.createElement("ul");
Then we need to add that <ul> element to the document using the appendChild() method.
document.body.appendChild(unorderedList);The next part is to add a couple of <li> elements inside the <ul> element using the createElement() method.
let listItem1 = document.createElement("li");

let listItem2 = document.createElement("li");
Then we can use the textContent property to add the text for our list items.
let listItem1 = document.createElement("li");
listItem1.textContent = "It's free";

let listItem2 = document.createElement("li");
listItem2.textContent = "It's awesome";
The last part is to use the appendChild() method so the list items can be added to the unordered list.
let listItem1 = document.createElement("li");
listItem1.textContent = "It's free";
unorderedList.appendChild(listItem1);

let listItem2 = document.createElement("li");
listItem2.textContent = "It's awesome";
unorderedList.appendChild(listItem2);
This is what the code looks like all together.
let unorderedList = document.createElement("ul");
document.body.appendChild(unorderedList);

let listItem1 = document.createElement("li");
listItem1.textContent = "It's free";
unorderedList.appendChild(listItem1);

let listItem2 = document.createElement("li");
listItem2.textContent = "It's awesome";
unorderedList.appendChild(listItem2);
This is what the output looks like on the page:
How to Use the Style Property to Change Inline CSS Styles
The style property gives you the ability to change the CSS in your HTML document.
In this example, we are going to change the h1 text from black to blue using the style property.
Here is our HTML.
<h1>I was changed to blue using JavaScript</h1>
We first need to grab the h1 tag using the querySelector() method.
const h1 = document.querySelector("h1");We then use h1.style.color to change the h1 text from black to blue.
const h1 = document.querySelector("h1");
h1.style.color = "blue";
This is what the result looks like in the browser:

You can use this style property to change a number of CSS inline styles including background-color, border-style, font-size and more.
How to Use addEventListener() to Listen for Events on the Page
This method allows you to attach an event to an HTML element like a button.
In this example, when the user clicks on the button, an alert message will pop up.
In our HTML, we have a button element with the id of btn.
<button id="btn">Show alert</button>
We can target that element in our JavaScript using the getElementById() method and assigning that to the variable called button.
const button = document.getElementById("btn");
The addEventListener() takes in an event type and a function. The event type will be a click event and the function will trigger the alert message.
This is the code to add the event listener to the button variable.
button.addEventListener("click", () => {
  alert("Thank you for clicking me");
});
This is the complete code where you can click the button and the alert message will pop up:
How to Use the DOM in Real World Projects
That was brief introduction to some of the DOM methods you can use. There are plenty more examples that we didn't cover in this article.
If you want to start building beginner JavaScript projects and work with the DOM, then I would suggest looking at my 40 JavaScript Projects for Beginners article.
Conclusion
DOM stands for Document Object Model and is a programming interface that allows us to create, change or remove elements from the document. We can also add events to these elements to make our page more dynamic.
You can select elements in JavaScript using methods like getElementById(), querySelector(), and querySelectorAll().
If you want to add new elements to the document you can use document.createElement().
You can also change the inline CSS styles of elements using the style property.
If you want to add events to elements like buttons then you can use the addEventListener().
I hope you enjoyed this article and best of luck on your JavaScript journey.
Recommend
About Joyk
Aggregate valuable and interesting links.
Joyk means Joy of geeK