
5

Jupyterhub安装教程
source link: https://shidawuhen.github.io/2022/04/08/Jupyterhub%E5%AE%89%E8%A3%85%E6%95%99%E7%A8%8B/
Go to the source link to view the article. You can view the picture content, updated content and better typesetting reading experience. If the link is broken, please click the button below to view the snapshot at that time.
使用 JupyterHub,可以创建一个多用户 Hub,它可以生成、管理和代理单用户 Jupyter notebook 服务器的多个实例。本次在Centos7.5下进行安装,用于单用户使用。这里介绍Jupyterhub的两种安装方式。
安装方案一
Jupyterhub可以通过conda安装,这种方案比较简单
# 安装conda3
# Download Linux Anaconda distribution (64-Bit)
wget https://repo.continuum.io/archive/Anaconda3-5.0.1-Linux-x86_64.sh
# Install Anaconda,安装位置设置为/home/work/anaconda3
sudo bash  Anaconda3-5.0.1-Linux-x86_64.sh
# 安装jupyterhub,需要修改conda源
conda install -c conda-forge jupyterhub  # installs jupyterhub and
conda install notebook  # needed if running the notebook servers locally
在执行conda install -c conda-forge jupyterhub时,总报Solving package specifications: .Killed,没有找到解决方案。

安装方案二
使用pip3安装,需要装好configurable-http-proxy、jupyterhub、notebook、jupyterlab。
# 安装jupyterhub
npm install -g configurable-http-proxy
sudo pip3 install jupyterhub
sudo conda install notebook
sudo pip3 install jupyterlab
# 生成配置文件
jupyterhub --generate-config
# 启动
nohup jupyterhub -f jupyterhub_config.py &
# 默认8000端口,访问链接,查看安装情况
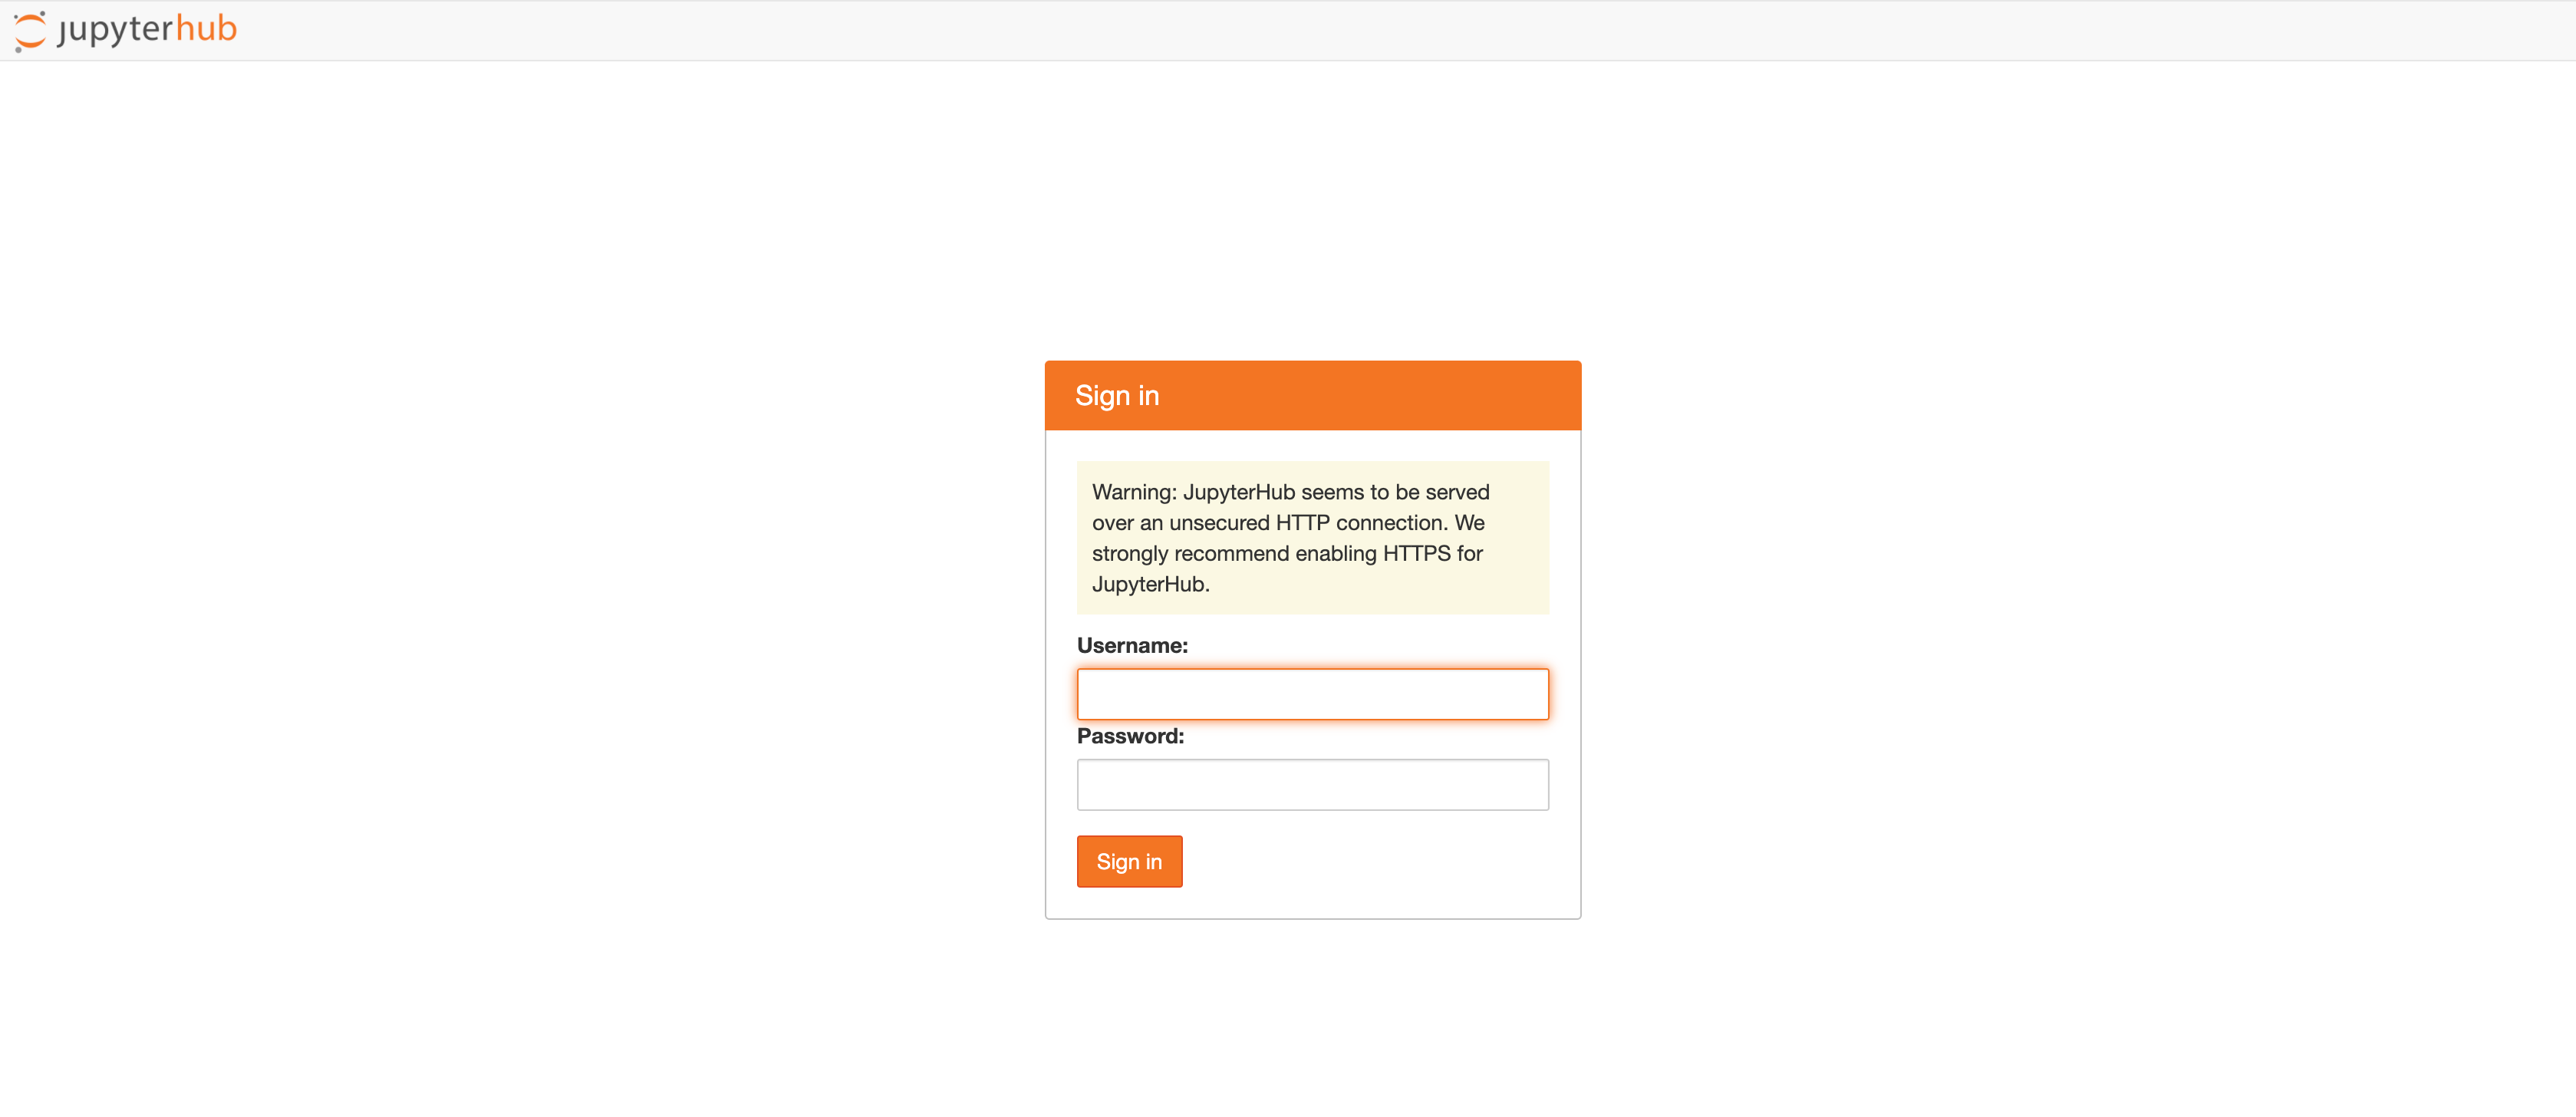
http://122.51.225.162:8000/
打开链接后,可以看到登录界面,用户名和密码默认是centos启动该服务的用户名和密码。
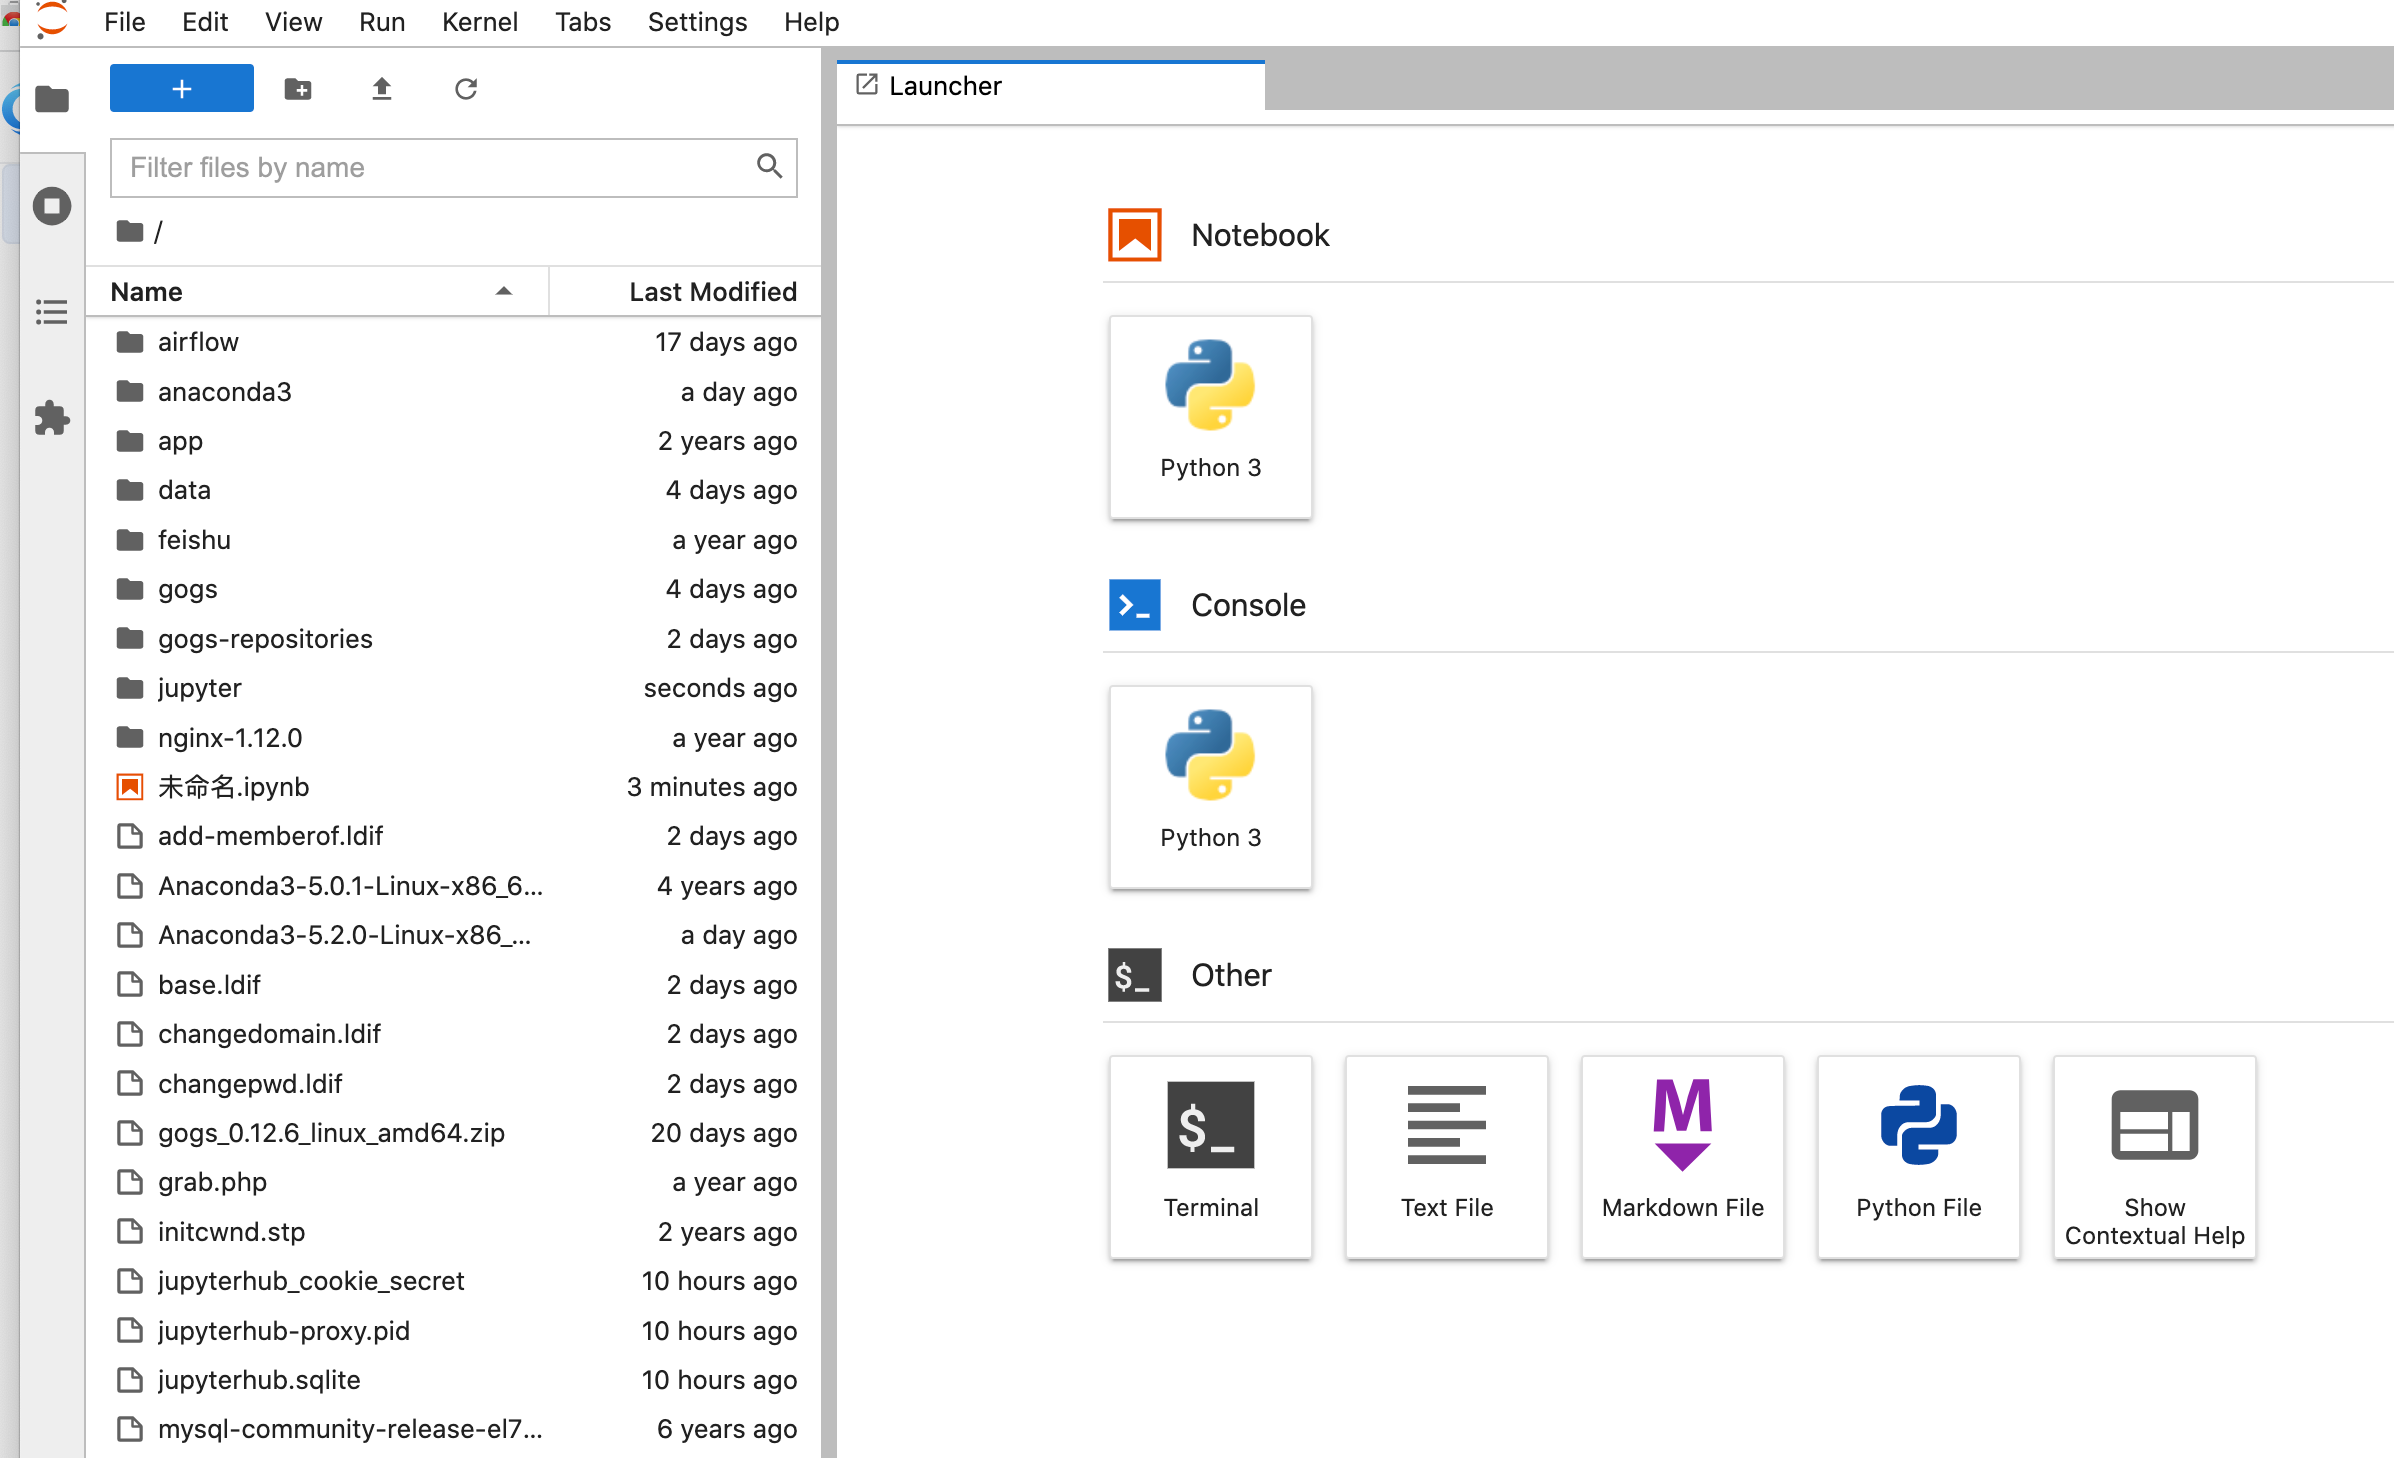
默认打开的目录为/home/work,即该用户的home路径。
Recommend
About Joyk
Aggregate valuable and interesting links.
Joyk means Joy of geeK