

How to restore default repositories in Ubuntu?
source link: https://www.journaldev.com/57358/restore-default-repositories-in-ubuntu
Go to the source link to view the article. You can view the picture content, updated content and better typesetting reading experience. If the link is broken, please click the button below to view the snapshot at that time.
Getting errors while updating system repositories or installing new software? You may get errors because your /etc/apt/source.list file is corrupted which contains the repositories details. In this article, We will see how to restore the default repositories in Ubuntu.
There are four standard repositories in Ubuntu:
- Universe
- Restricted
- Multiverse
Restore default repositories in Ubuntu
First, We need to back up the corrupted source file by moving it to another location. Open a terminal by pressing Ctrl+Alt+T and enter the following command to change the directory to where the source file is located:
cd /etc/apt
Now, move the corrupted file to other location:
sudo mv sources.list <location>sudo mv sources.list /sid/home/Desktop
Create a new file using the touch command:
sudo touch /etc/apt/sources.list
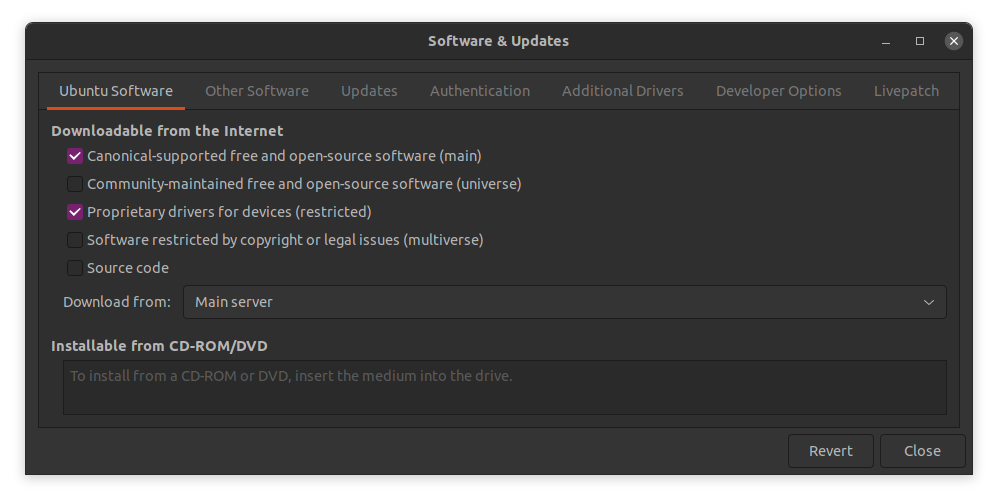
Now, Open the Software & Updates application using the search bar or the app drawer. Change the server to the main server and enable the restriced repository. You can also enable universe and multiverse repositories if needed.
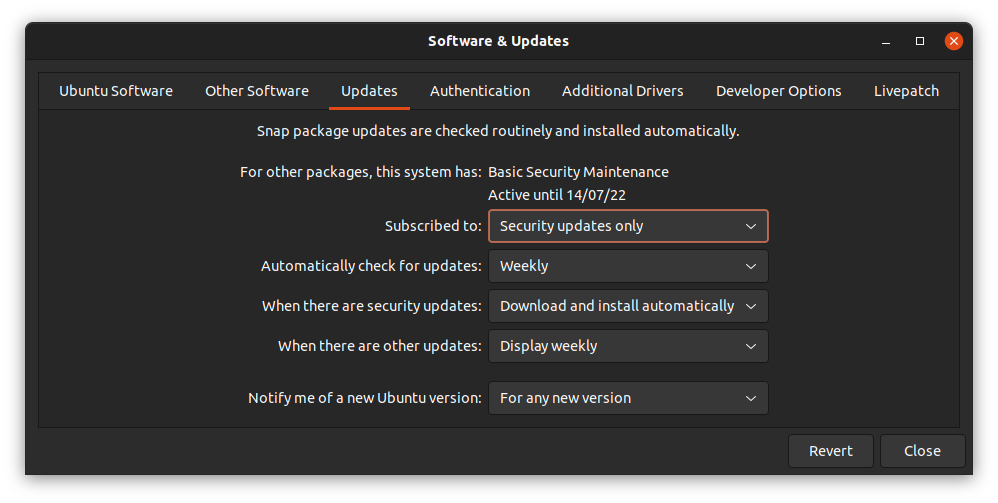
To enable the updates, Under the Updates tab, select All updates or at least security updates in Subscribed to drop-down menu and click on close.
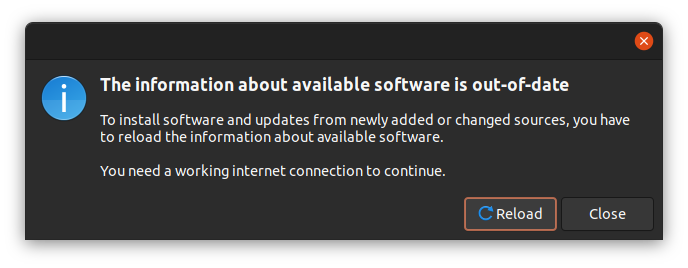
Click on Reload. The software repositories will be updated.
Verify if repositories has been added
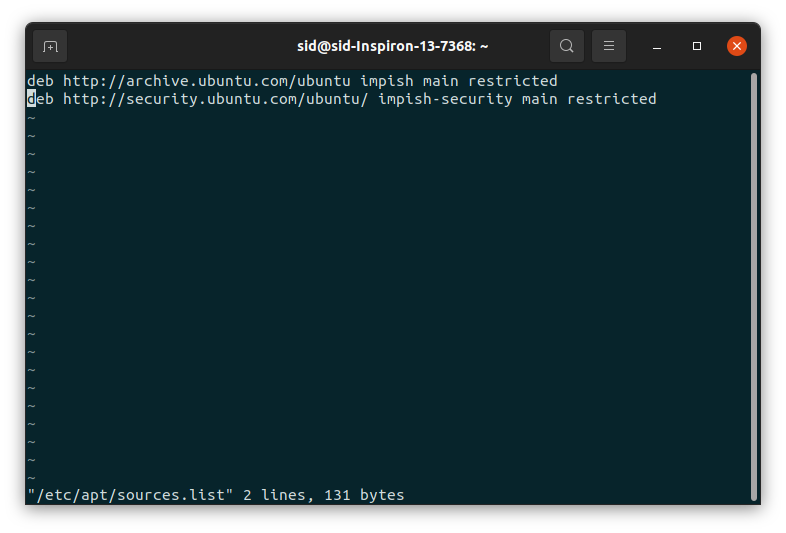
To verify, open a terminal by pressing Ctrl+Alt+T. Open the /etc/apt/sources.list file by running the following command:
sudo vi /etc/apt/sources.list
If there are entries without the # as shown below, the repositories has been added.
Finally, Update the repositories by executing the following command:
sudo apt update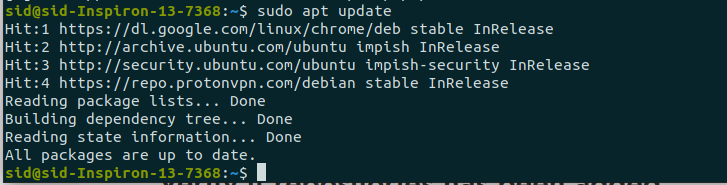
Conclusion
So, We learned how to restore default repositories in Ubuntu. Follow Journaldev.com for even more tutorials on Linux, Python and more!
Recommend
About Joyk
Aggregate valuable and interesting links.
Joyk means Joy of geeK