

How to Build a Live Video Streaming App Using the Agora React Native SDK
source link: https://hackernoon.com/how-to-build-a-live-video-streaming-app-using-the-agora-react-native-sdk
Go to the source link to view the article. You can view the picture content, updated content and better typesetting reading experience. If the link is broken, please click the button below to view the snapshot at that time.

How to Build a Live Video Streaming App Using the Agora React Native SDK
Audio Presented by
audio element.There are different characteristics to building a flexible, premium, live video streaming app. For instance, While maintaining cross-platform compatibility, maintaining low latency, load balancing, and directing thousands of users in the audience can be quite tasking.
However, there is a convenient way to make this happen using the Agora React Native SDK. In this article, we will create a live broadcasting app that can accommodate numerous broadcasters and entertain thousands of users by using the magic of the Agora Video SDK.
Requirements
Agora Account
App-ID from Agora
Client-side implementation with the module — react-native-agora
We will make use of the Agora RTC SDK for React Native for the following examples. The v3.4.6 will be used at the time of writing.
Client-side implementation
We add our Agora module:
yarn add react-native-agoraAfter doing that, you follow the simple installation instructions here for android and here for iOS.
Got to your ios folder and run:
pod installNow, we implement the Live stream
First, we need to sort out permissions in a different file named Permission.ts,we request permission below.
import { PermissionsAndroid } from 'react-native';

export default async function requestCameraAndAudioPermission() {
  try {
    const granted = await PermissionsAndroid.requestMultiple([
      PermissionsAndroid.PERMISSIONS.CAMERA,
      PermissionsAndroid.PERMISSIONS.RECORD_AUDIO,
    ]);
    if (
      granted['android.permission.RECORD_AUDIO'] ===
        PermissionsAndroid.RESULTS.GRANTED &&
      granted['android.permission.CAMERA'] ===
        PermissionsAndroid.RESULTS.GRANTED
    ) {
      console.log('You can use the cameras & mic');
    } else {
      console.log('Permission denied');
    }
  } catch (err) {
    console.warn(err);
  }
}
Now we import it in our main LiveScreen.js file where our main logic will be implemented.
import React, { useEffect, useRef, useState } from 'react';
import {
  Platform,
  ActivityIndicator,
  StyleSheet,
  Dimensions,
} from 'react-native';
import 'react-native-get-random-values';
import { v4 as uuid } from 'uuid';
import RtcEngine, {
  ChannelProfile,
  RtcLocalView,
  RtcRemoteView,
} from 'react-native-agora';
import requestCameraAndAudioPermission from './Permission';

const SCREEN_HEIGHT = Dimensions.get('window').height;
const SCREEN_WIDTH = Dimensions.get('window').width;

export default function LiveScreen({ route }) {
  const isBroadcaster = route.params.type === 'create';
  const channelId = route.params.channel;

  const [joined, setJoined] = useState(false);

  const AgoraEngine = useRef();

  useEffect(() => {
    if (Platform.OS === 'android') requestCameraAndAudioPermission();
    const uid = isBroadcaster ? 1 : 0;
    init().then(() =>
      AgoraEngine.current.joinChannel(null, channelId, null, uid),
    );
    return () => {
      AgoraEngine.current.destroy();
    };
  }, []);

  const init = async () => {
    AgoraEngine.current = await RtcEngine.create('You App ID Here');
    AgoraEngine.current.enableVideo();
    AgoraEngine.current.setChannelProfile(ChannelProfile.LiveBroadcasting);
    if (isBroadcaster)
      AgoraEngine.current.setClientRole(ClientRole.Broadcaster);

    AgoraEngine.current.addListener(
      'JoinChannelSuccess',
      (channelId, uid, elapsed) => {
        console.log('JoinChannelSuccess', channelId, uid, elapsed);
        setJoined(true);
      },
    );
  };

  const onSwitchCamera = () => AgoraEngine.current.switchCamera();

  return (
    <View style={styles.container}>
      {!joined ? (
        <>
          <ActivityIndicator
            size={60}
            color="#222"
            style={styles.activityIndicator}
          />
          <Text style={styles.loadingText}>
            {'Joining Stream, Please Wait'}
          </Text>
        </>
      ) : (
        <>
          {isBroadcaster ? (
            <RtcLocalView.SurfaceView
              style={styles.fullscreen}
              channelId={channelId}
            />
          ) : (
            <RtcRemoteView.SurfaceView
              uid={1}
              style={styles.fullscreen}
              channelId={channelId}
            />
          )}
          <View style={styles.buttonContainer}>
            <TouchableOpacity style={styles.button} onPress={onSwitchCamera}>
              <Text style={styles.buttonText}>{'Switch Camera'}</Text>
            </TouchableOpacity>
          </View>
        </>
      )}
    </View>
  );
}

const styles = StyleSheet.create({
  loadingText: {
    fontSize: 18,
    color: '#222',
  },
  fullscreen: {
    width: SCREEN_WIDTH,
    height: SCREEN_HEIGHT,
  },
});
Let's work through the bunch of code we just wrote
The LiveScreen receives a props: a channelId and a type. The channelId is a unique string of the channel to connect to and the type can either be "create" or "join" to either start a broadcast of join one.
We acquired Camera and Microphone permissions from Android to send Audio and Video.
We initiated the Agora Engine instance and setup all the necessary configurations.
We joined the channel using no authentication and the channelId from the route prop.
(NB: The joinChannel function takes 4 arguments, Authentication Token, Channel ID, Optional Info, and Optional UID. For a production app, you will need to fetch an authentication token to be generated by a middleware hosted on server-side.)
We displayed the Local View and Remote View based on who is using the app, the broadcaster, or the audience.
We added a Switch Camera button to switch between the front camera and the back camera.
And that's all. You have a simple Live stream app working in minutes.
Now, the next step can be to add advanced features such as:
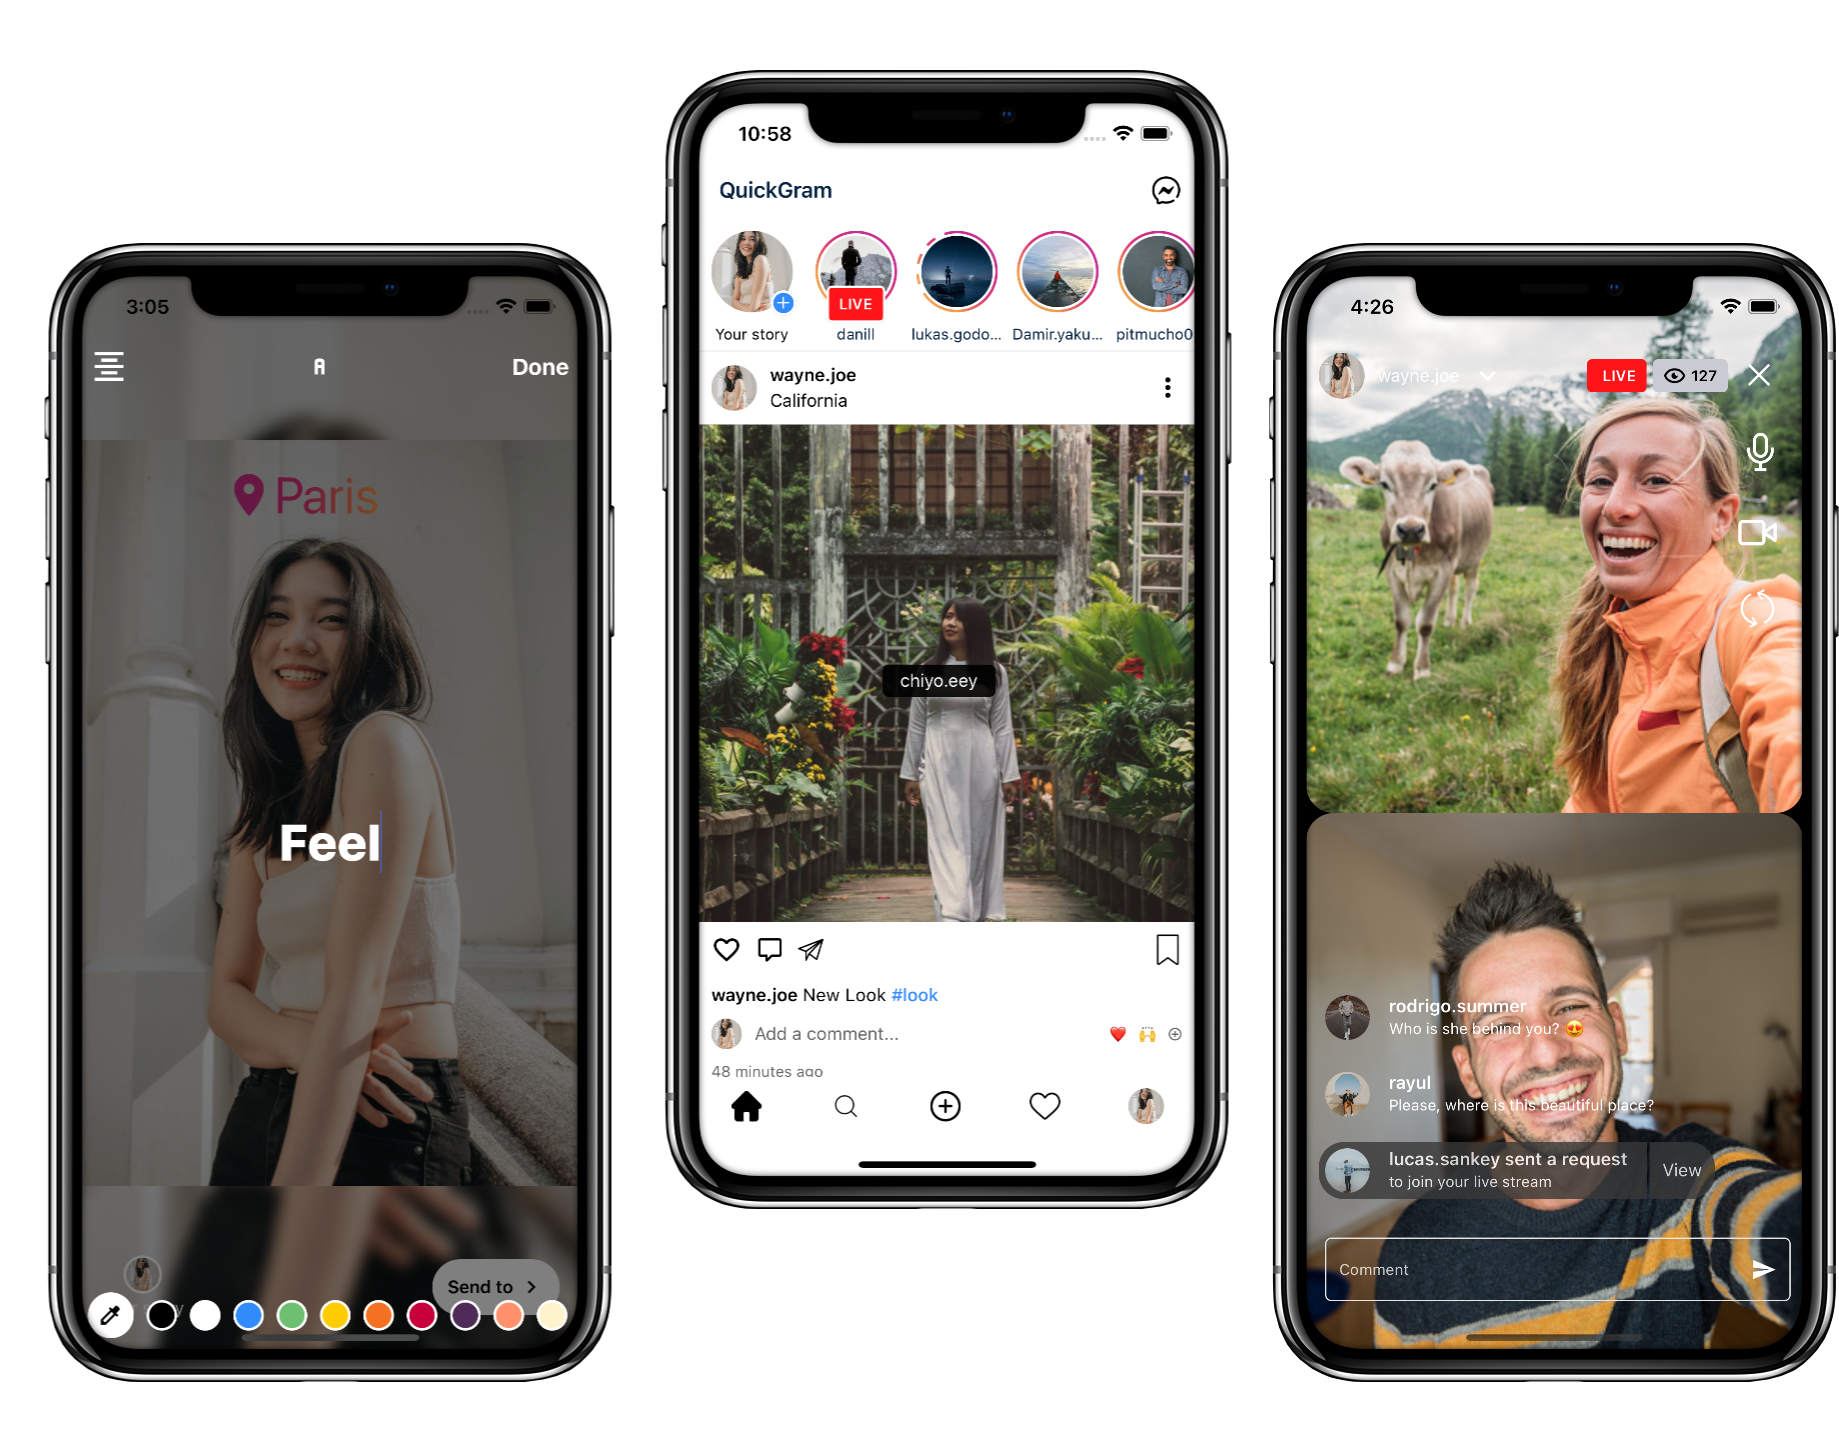
Live stream with video conference (many participants) and multiple audiences with embedded live chat with multiple audiences, send requests to join streams, and more.
Recommend
-
18
-
16
Rust 作为一个 2015 年才发布 1.0 版本的新语言,它凭借安全、并发执行、高效的优势,近两年在开发语言热度榜上稳步攀升,在 2019 年 StackOverflow 的年度调查中,Rust 第四年成为最受开发者喜爱的语言。 Rust 目前更多...
-
10
Node [[agora]] Subnode garden/flancian/agora.md by
-
5
SDK React Native around the Agora RTM SDKs for Android and iOS agora Oct 05, 2021...
-
6
-
10
-
12
-
5
Agora React Native Virtual Background Demo Use a virtual background in your videocalls using the Agora SDK on React Native Prerequisites >= react native 0.59.10 iOS SDK 9.0+ Android 5.0+
-
7
Video SDK ...
-
7
Agora VideoUIKit for React Native Instantly integrate Agora video calling or streaming into your React Native application.
About Joyk
Aggregate valuable and interesting links.
Joyk means Joy of geeK