

AWS Lambda Versions and Aliases Explained By Example
source link: https://mydeveloperplanet.com/2022/01/11/aws-lambda-versions-and-aliases-explained-by-example/
Go to the source link to view the article. You can view the picture content, updated content and better typesetting reading experience. If the link is broken, please click the button below to view the snapshot at that time.
In this blog, you will learn how to use AWS Lambda versions and aliases by means of a Java example. You will create a simple AWS Java Lambda, create several versions for it and you will learn how to use aliases for your environments. Enjoy!
1. Introduction
AWS Lambda allows you to run serverless functions onto the AWS environment. More general information about AWS Lambda can be found at the Amazon website. An important item when working with lambdas, is how to keep control over the different versions of your lambda and over which version runs onto which environment. You can imagine that you have a production environment which runs version 1 of your lambda, a test environment which runs version 2 and a development environment which runs version 3. Version 1 is your stable version, version 2 is the one with extra functionality or fixed bugs and is about to make the step to production but needs to be verified by the customer first, version 3 is your development version and is not yet tested and therefore the most instable version. In this post, you will learn how to manage your versions in these different environments. You will create a sample Java lambda and will create several versions of it. The sources for this blog can be found at GitHub.
2. Create Sample App
The sample application is based on the AWS example Java handler where a JSON object is transformed into a Java object. First thing to do, is to create a basic Maven project. Add the AWS dependencies aws-lambda-java-core, aws-lambda-java-events and aws-lambda-java-log4j2, because these will be used in the lambda. Besides that, the gson dependency needs to be added because you will use the Gson library for transforming the JSON object into a Java object.
<dependencies><dependency><groupId>com.amazonaws</groupId><artifactId>aws-lambda-java-core</artifactId><version>1.2.1</version></dependency><dependency><groupId>com.amazonaws</groupId><artifactId>aws-lambda-java-events</artifactId><version>3.1.0</version></dependency><dependency><groupId>com.amazonaws</groupId><artifactId>aws-lambda-java-log4j2</artifactId><version>1.2.0</version></dependency><dependency><groupId>com.google.code.gson</groupId><artifactId>gson</artifactId><version>2.8.5</version></dependency></dependencies>In order to create the lambda in AWS, you will need to create an uber jar. This means, a jar which contains all the necessary dependencies into one jar file. The Maven Shade Plugin can create such an uber jar. Add the following section to the POM and the uber jar will be automatically created for you.
<build><plugins><plugin><groupId>org.apache.maven.plugins</groupId><artifactId>maven-shade-plugin</artifactId><version>3.2.2</version><configuration><createDependencyReducedPom>false</createDependencyReducedPom></configuration><executions><execution><phase>package</phase><goals><goal>shade</goal></goals><configuration><transformers><transformer implementation="com.github.edwgiz.maven_shade_plugin.log4j2_cache_transformer.PluginsCacheFileTransformer"></transformer></transformers></configuration></execution></executions><dependencies><dependency><groupId>com.github.edwgiz</groupId><artifactId>maven-shade-plugin.log4j2-cachefile-transformer</artifactId><version>2.13.0</version></dependency></dependencies></plugin></plugins></build>The domain consists out of two simple objects. A Car object where a car can be defined with a brand and a type. The brand is an enumeration of some brands. In the code below, the Car object is shown, getters and setters are left out for brevity purposes.
public class Car {private Brand brand;private String type;public Car(Brand brand, String type) {this.brand = brand;this.type = type;}...}The Brand enum contains three car brands.
public enum Brand {FORD, RENAULT, TESLA}The lambda which will be executed is implementend in the handleRequest method. Note that the response contains the version number, this will help you to differentiate between the different versions which will be deployed when following this blog. At the end of the method, the Car JSON object which is received, is transformed into the Java object and the brand and the type of the Car Java object are printed to the log.
public class LambdaJava implements RequestHandler<Map<String, String>, String> {private static final Gson GSON = new GsonBuilder().setPrettyPrinting().create();@Overridepublic String handleRequest(Map<String, String> event, Context context) {LambdaLogger logger = context.getLogger();String response = "Version 1";// log execution detailslogger.log("ENVIRONMENT VARIABLES: " + GSON.toJson(System.getenv()) + System.lineSeparator());logger.log("CONTEXT: " + GSON.toJson(context) + System.lineSeparator());// process eventlogger.log("EVENT: " + GSON.toJson(event) + System.lineSeparator());logger.log("EVENT TYPE: " + event.getClass() + System.lineSeparator());// Parse JSON into an objectCar car = GSON.fromJson(GSON.toJson(event), Car.class);logger.log("Car brand: " + car.getBrand() + System.lineSeparator());logger.log("Car type: " + car.getType() + System.lineSeparator());return response;}}Build the code:
$ mvn packageThe target directory contains two jar files: original-MyAWSLambdaJavaPlanet-1.0-SNAPSHOT.jar and MyAWSLambdaJavaPlanet-1.0-SNAPSHOT.jar. The latter is the uber jar which needs to be used for creating the AWS lambda.
3. Create Lambda
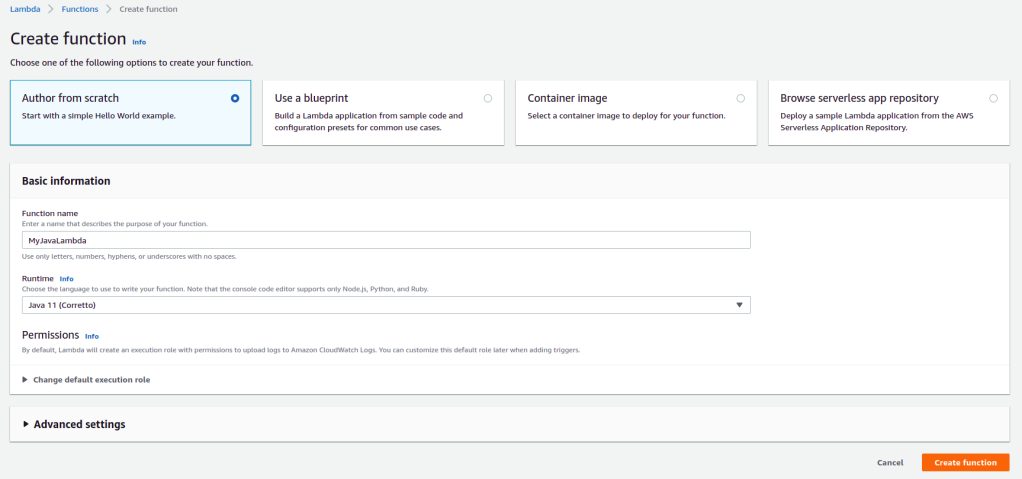
Now that you have created the Java lambda, it is now time to create the lambda in AWS. Navigate to the AWS console to the Lambda service and choose Create function. Choose Author from scratch, give the function the name MyJavaLambda and choose Java 11 (Corretto) as Runtime. Click the Create function button.
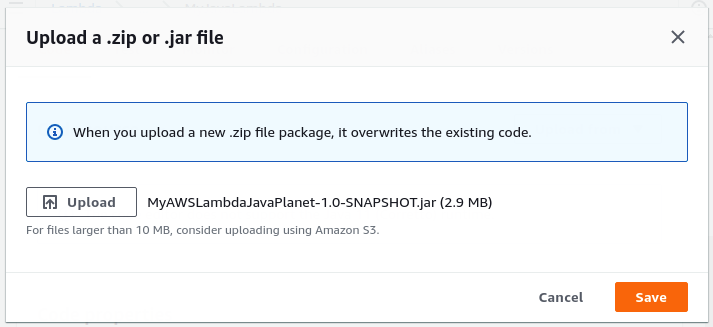
Choose in the Code tab for .zip or .jar file from the Upload from dropdown list.

Upload the uber jar from the target directory and click the Save button.
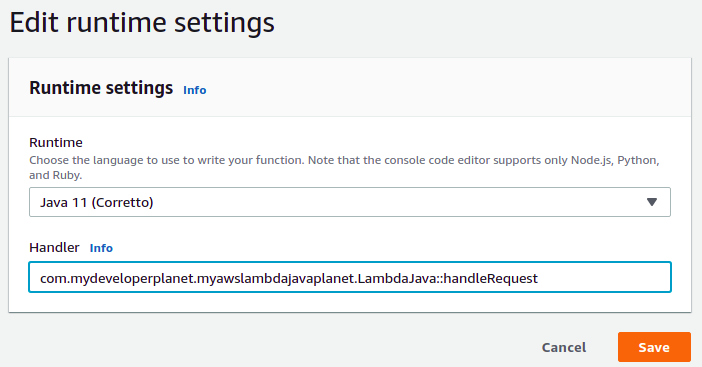
Click the Edit button in the Runtime settings section.
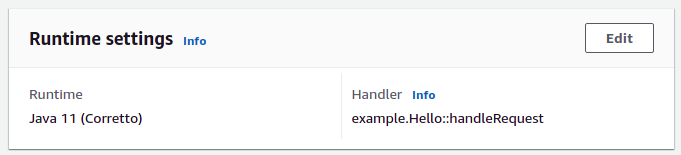
The Handler section should contain the entry point for the lambda. Meaning, the package name, class and method the lambda should invoke: com.mydeveloperplanet.myawslambdajavaplanet.LambdaJava::handleRequest. Click the Save button.
Create a test event via the Test tab. Give it the name CarEvent en create a JSON for the Car. Note that the brand should be written with capital letters otherwise the enum will not be parsed correctly. Click the Save changes button.
{"brand": "FORD","type": "Kuga"}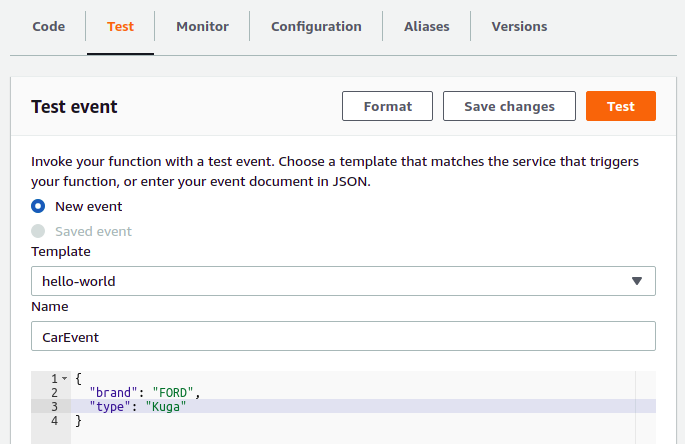
Click the Test button in order to invoke the test event. As a response "Version 1" is returned, just as was expected.

Also the logs can be viewed here. When you navigate to the end, the parsing log statements can be viewed here. As can be seen, the object is parsed correctly.
EVENT: {"brand": "FORD","type": "Kuga"}EVENT TYPE: class java.util.LinkedHashMapCar brand: FORDCar type: Kuga4. Create Versions
Let’s assume that the version 1 app is approved by the customer. This version can be frozen and this means that this version should not be modified anymore in AWS Lambda. Navigate to the Versions tab.
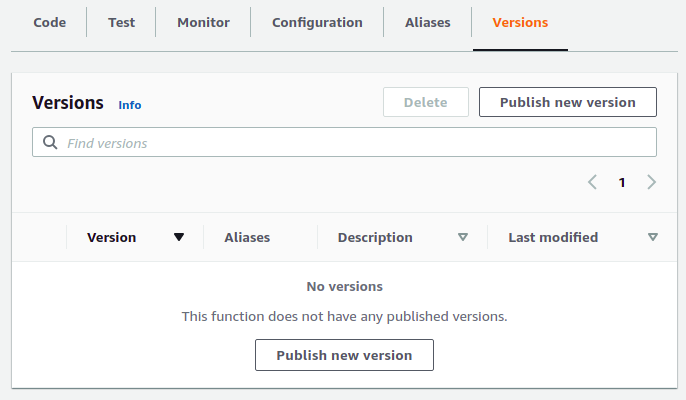
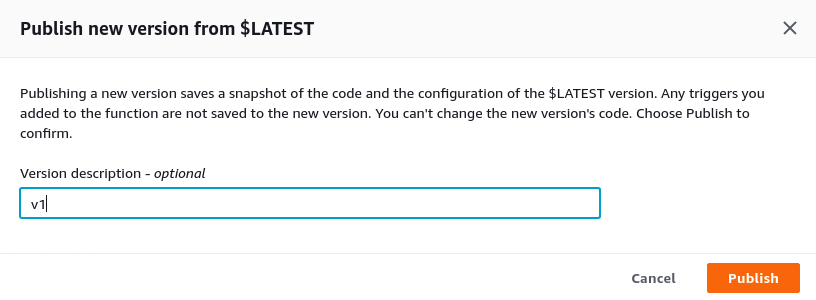
Click the Publish new version button. As a description, you fill v1 and finally, click the Publish button.
The Versions tab now contains one version.
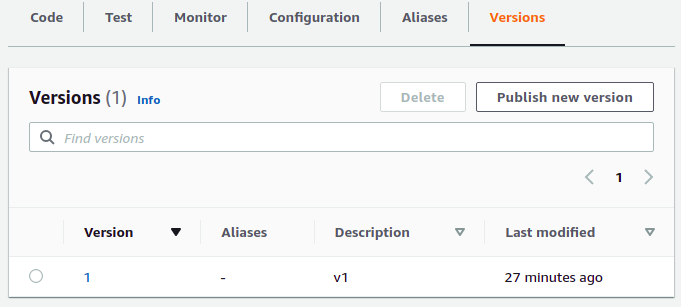
When you click the number 1 in the Version column, the information of this version is shown. The version itself, however, cannot be modified anymore.
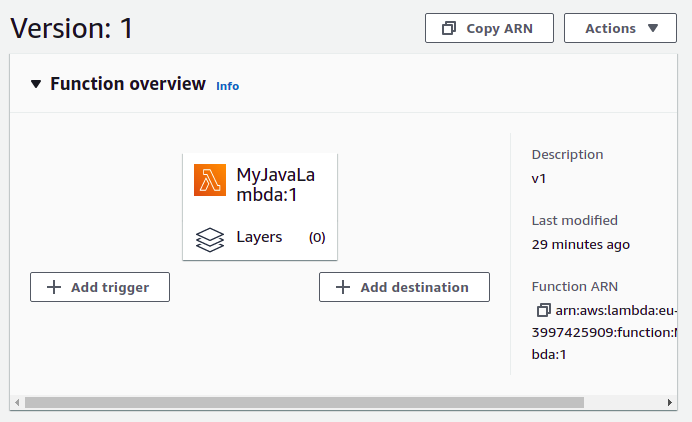
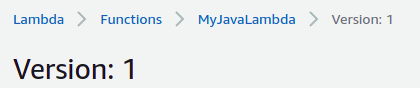
In order to return to the main page where modifications can be made, you need to click MyJavaLambda at the left top corner of the page.
Change in the code the response into Version 2 (see branch version2 in GitHub).
String response = "Version 2";Execute the following steps:
- Build the jar file;
- Upload the jar file;
- Test the lambda by means of the test event (should return
"Version 2"this time); - Create a version 2 of this lambda just like you did for version 1.
You have two versions now which can be invoked separately from eachother. Both also have a unique ARN including the version number. The account ID will be your own account ID of course.
arn:aws:lambda:eu-west-3:<account ID>:function:MyJavaLambda:1arn:aws:lambda:eu-west-3:<account ID>:function:MyJavaLambda:25. Create Aliases
You have by now created two versions of your lambda and you can invoke both. So, what can you do with this? The advantage will become more clear in this section where you will create aliases. An alias can ressemble for example an environment, like DEV, TEST, PROD. Aliases will allow you to deploy a version to a specific environment (i.e. alias). The alias will also have a unique ARN which can be invoked.
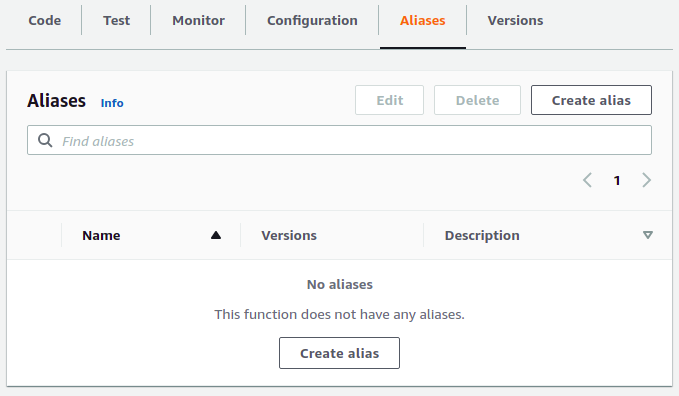
Navigate to the Aliases tab and click the Create alias button.
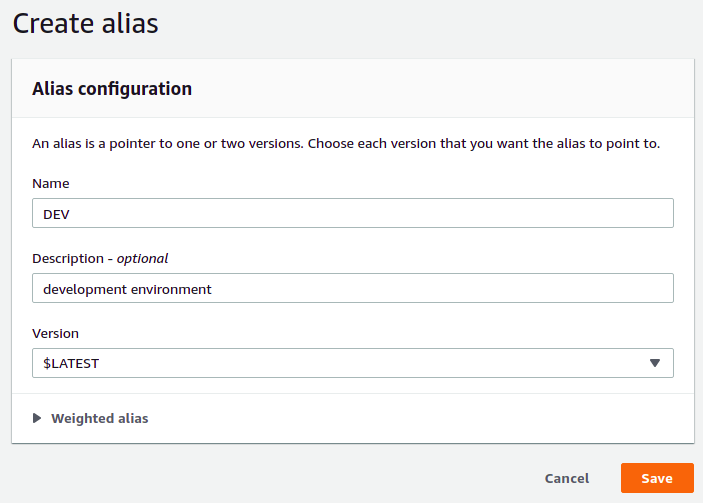
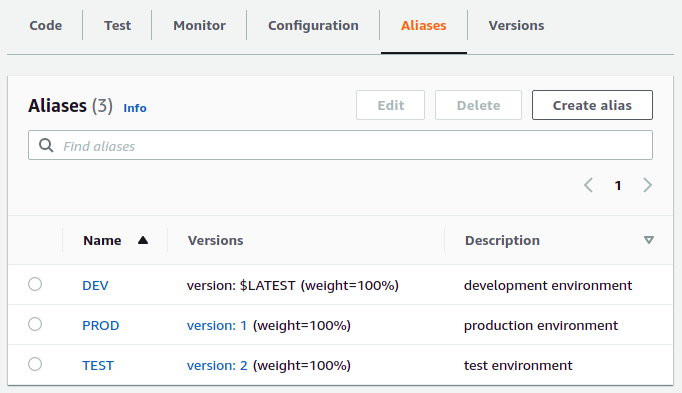
Create an alias DEV and link it to the $LATEST version. This means that you link it to the lambda which you can modify on the fly. Click the Save button.
Create also an alias for TEST which links to v2 and an alias for PROD which links to v1.
Change the response in the code to “Version 3" and upload the uber jar again to AWS Lambda.
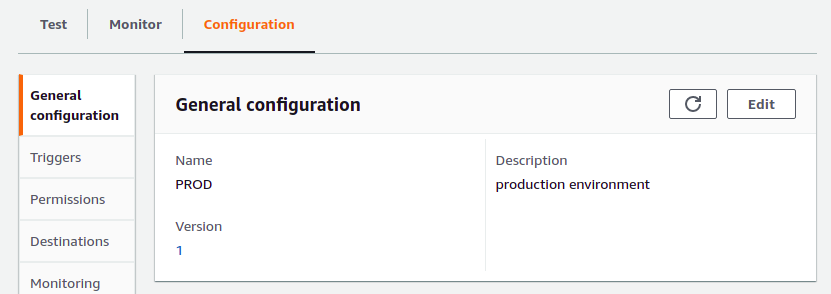
When you click a version and execute the test event, you will notice that alias DEV returns "Version 3", alias TEST returns "Version 2" and PROD returns "Version 1". And now the magic happens. Assume that you want to release version 2 to production. Navigate to the PROD alias and click the Edit button.
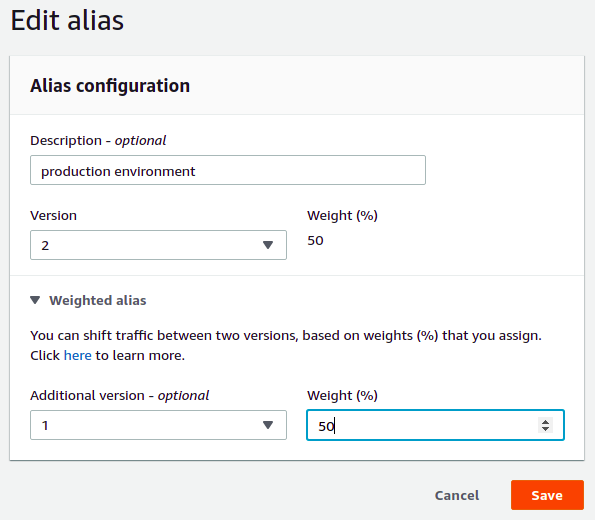
Set the Version to 2 and in the Weighted alias section, you indicate a weight of 50% for version 1. This means that half of your users will still be using version 1 and the other half will be using version 2. This way, it is possible to mitigate some risks when you release a new version in production. When something goes wrong, only half of your users will be affected. Click the Save button.
Test the PROD alias with the test event and you will notice that half of the time "Version 1" is returned and the other half "Version 2". When the new version runs in production correctly for some time, the weight can be easily changed to 0%. After this, all of the users will be using version 2.
6. Conclusion
You learned how to create a Java lambda and how to deploy it to AWS Lambda. Next, you learned how to create versions for you lambda and how alias can be used for representing your different environments. By means of aliases and versions, you have full control of which version runs onto which environment. Besides that, you can safely deploy a new version in production by making use of weights.
Recommend
About Joyk
Aggregate valuable and interesting links.
Joyk means Joy of geeK