

Inspecting Cloud Composer - Apache Airflow
source link: https://dzone.com/articles/inspecting-cloud-composer-apache-airflow
Go to the source link to view the article. You can view the picture content, updated content and better typesetting reading experience. If the link is broken, please click the button below to view the snapshot at that time.

Introduction
Cloud Composer is a fully managed service built on Apache Airflow, it has built-in integration for other GCP services such as Cloud Storage, Cloud Datastore, Cloud Dataflow, Big Query, etc.
The integration is important from an Airflow scheduling and automation perspective, say a DAG is written for pulling file (.csv) from Cloud Storage, executing transformation using Pandas and again uploading back to Storage or performing some DB Operations.
Setup
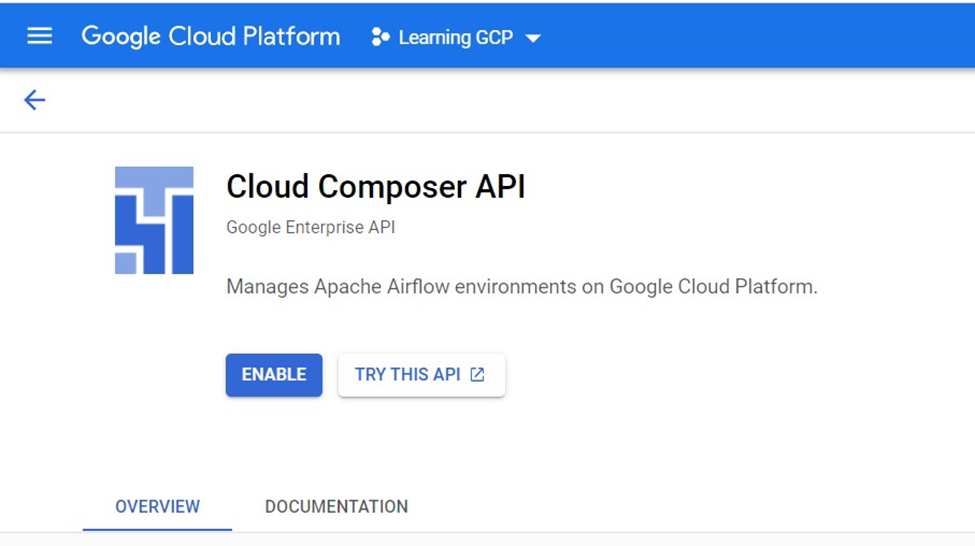
The first thing is we need to create a Cloud Composer Instance, on the GCP console in the search bar, look for a composer, and it will provide us with, Cloud Composer API option, we need to enable the API.
The Composer runs on top of the Kubernetes engine, once the instance setup is done Kubernetes clusters will be created and GCP takes care of it, we don’t have to deal with any Kubernetes configuration.
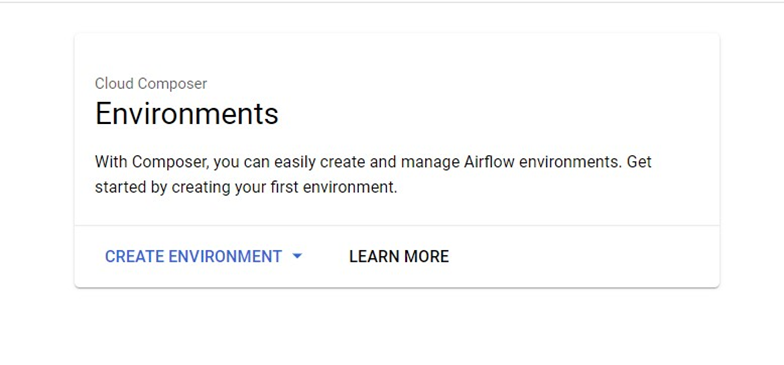
Step two is to Create an Environment and select the Composer 1 option as it’s better to understand through manual scaling to understand the little bit of background.
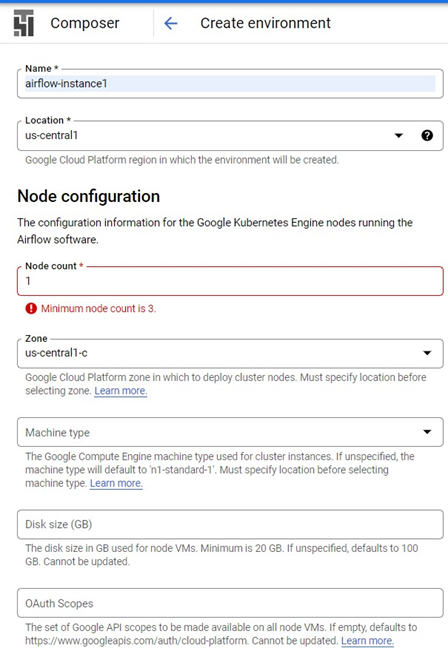
 Once option 1 is selected, it asks for details like Name, Location and please note the Node count cannot be less than 3 as you can see the error in the screenshot.
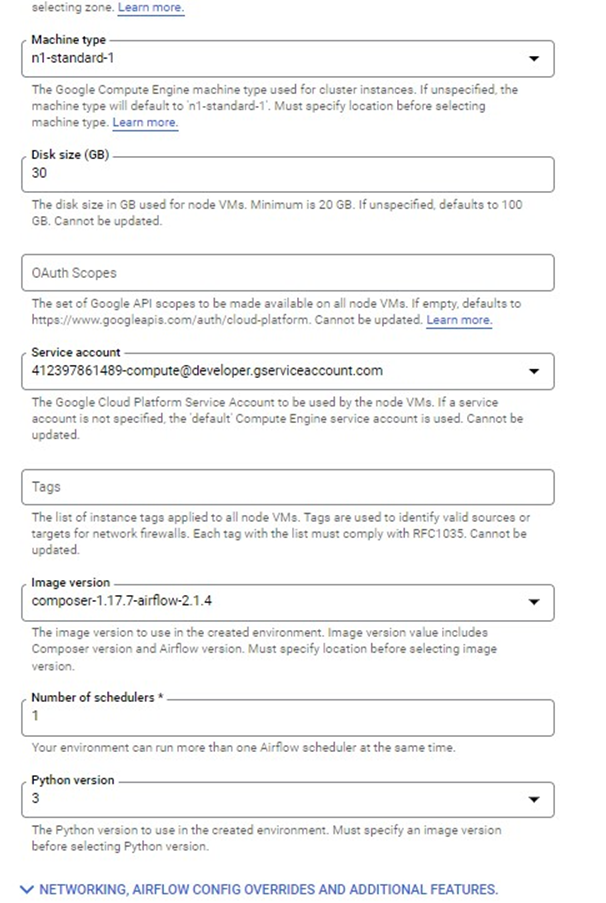
Minimum of 20GB node size is required also the Python version option is asked, I am selecting the latest one, composer image version I have selected is the latest one, and the remaining configurations are quite standard configs, like machine type, etc
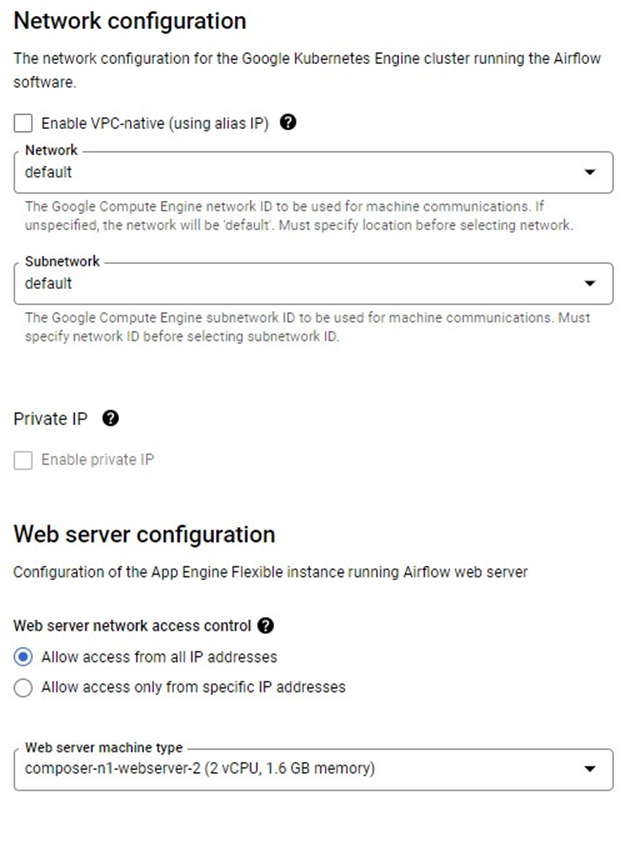
The network configuration selected is ‘default’. The Web server configuration is for Apache Airflow UI and the network access control Is “Allow access from all IP addresses”. Select the smallest web-server machine type.
Let’s create the composer instance after selecting these many properties. The instance creation will take around 30 minutes as internally GCP is creating the entire Kubernetes cluster.
After the environment creation is done, we can see the Location, Airflow version, etc.

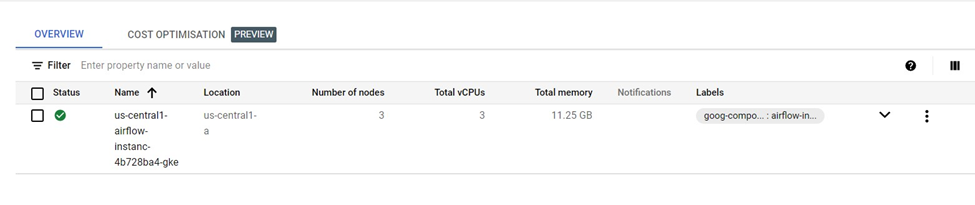
Browse to Kubernetes Engine and Clusters, the cluster details are shown like Total Number of Nodes which is 3, Total vCPUs, etc.
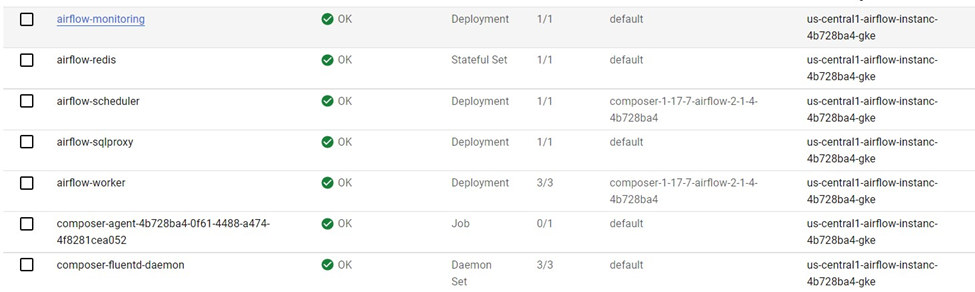
Let’s go to the workloads section, quite a few workloads are deployed by the GCP.
GCP also deployed 3 services

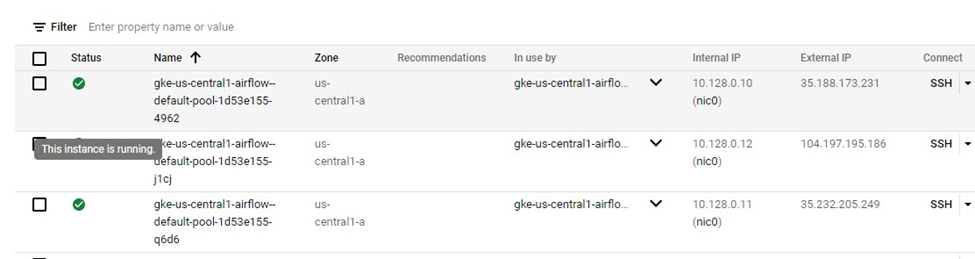
In the VM section, a total of 3 VM instances is running because we have provided a total of 3 node counts while configuring the composer.
Go to the Composer section and click on the Airflow webserver option.
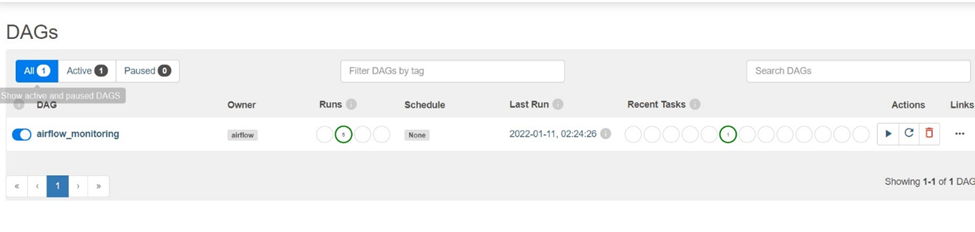
 After google authentication we have been redirected to the Airflow Web-UI page and through this page, we can interact with Airflow, like executing the DAG, uploading a new DAG, etc. By default, one DAG is running with the name ‘airflow_monitoring’.
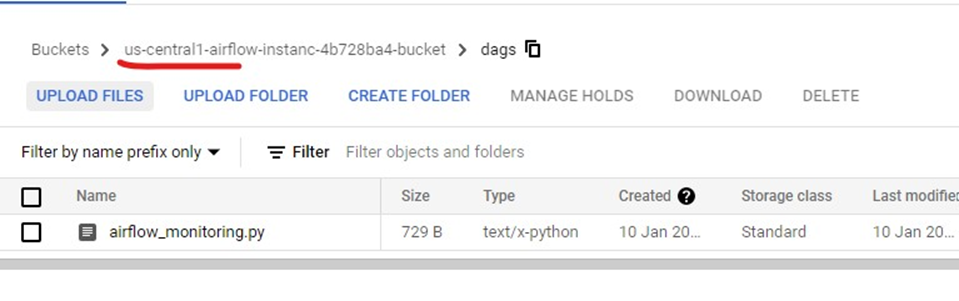
To upload a new DAG, on the Composer Environment screen there is an option for the DAGs folder.

On clicking the DAGs folder we can see a bucket is created for us and inside that there is a folder DAGs which has only one file as of now airflow_monitoring.py when we upload our DAGs it will be uploaded to the same location.
When we upload our own DAG, airflow will automatically detect it and execute it as per the configuration in the file.

Once we click on UPLOAD FILES, we can upload our own DAG as you can hello_world.py is uploaded and after that, it’s been executed by the Airflow which can be verified on the DAGs page.
Summary
One drawback is the Airflow service cannot be stopped, the only option is to delete it. GCP simplified working with Airflow by creating a separate service for it.
Recommend
-
44
Using upstream Apache Airflow Hooks and Operators in Cloud Composer...
-
857
README.md Apache Airflow
-
28
An Introduction to Apache Airflow What is Airflow? Airflow is a platform created by the community to programmatically author, schedule, and monitor workflows. Machine learning is the h...
-
13
最近,AWS 推出了 亚马逊Apache Airflow托管工作流 (MWAA),这是一项全托管的服务,简化了在 AWS 上运行开源版 Apache Airflow 和构建工作流来执行 ETL 作...
-
14
Introducing Amazon Managed Workflows for Apache Airflow (MWAA) by Danilo Poccia | on 24 NOV 2020 | in
-
14
9 April 2019 / Power BI Power BI plugin for Apache Airflow Apache Airflow has been a core part o...
-
11
Julian Seither At inovex we use Apache Airflow as a scheduling and orchestration too...
-
11
Apache Airflow介绍 发表于 2020-06-13 很多业务场景都需要在后台定期执行任务,如数据ETL(Extr...
-
4
Apache Airflow Open-Source Workflow with Python Episode #330, published Fri, Aug 20, 2021, recorded Thu, Aug 5, 2021....
-
9
Apache Airflow:工作流程管理控制台如果你對以下議題有興趣,歡迎繼續看下去👉 Airflow 的核心概念和主要架構👉 如何運行 Airflow👉 實戰:使用 Airflow 設計 Facebook 廣告資料下載的工作流程上一篇「
About Joyk
Aggregate valuable and interesting links.
Joyk means Joy of geeK