

Enable UEFI Support in KVM Virtualization
source link: https://www.howtoforge.com/enable-uefi-support-on-kvm-virtualization/
Go to the source link to view the article. You can view the picture content, updated content and better typesetting reading experience. If the link is broken, please click the button below to view the snapshot at that time.
Enable UEFI Support in KVM Virtualization
There are two types of firmware on computer motherboards:
- BIOS or Basic Input Output System
- UEFI or Unified Extensible Firmware Interface
What is BIOS?
BIOS will be loaded when the computer starts up to initialize and test hardware function. It is used POST or Power On Self Test to ensure the hardware configuration is valid and working properly, then looking for the MBR (Master Boot Records) that stored the boot device, and use it to launch the bootloader, then the kernel, and then the Operating System.
All of these boot processes on BIOS are called 'Legacy Boot', below is a simple explanation of the boot process on BIOS.
BIOS > MBR > Bootloader > Kernel > Operating System
BIOS consider as old and outdated firmware, although there will always be people using it. BIOS has limited functionality for nowadays computers and modern PCs, it must run on a 16-bit processor with only 1 MB of space to execute in. Also, it will initialize multiple hardware at once, which makes the boot process slower.
The firmware replacement for BIOS is UEFI, which is available on modern motherboards.
What is UEFI?
UEFI or Unified Extensible Firmware Interface is considered as the firmware replacement for BIOS. It comes with more features and functionality that are limited on BIOS, and it is available on nowadays motherboards and modern PCs.
Even though it's considered as a replacement for BIOS, UEFI works differently and has a concept opposite to BIOS. UEFI stores all information about initialization and startup on the .efi file, which is stored on the ESP (EFI System Partition) partition. and the ESP will also store the bootloader programs for the operating system installed on the computer.
The UEFI is used GPT for storing all information about partitions, instead of MBR. And below simple explanation of how the operating system boot on UEFI.
UEFI > GPT/ESP > Kernel > Operating System
Below are some notable UEFI features which are not available on traditional BIOS:
- Boot faster
- Handle more than 2TB or drive (Which is big deal for nowadays environment)
- Supports more than 4 partitions with GUID partition table
- Supports for secure boot
- Supports 64-bit modern firmware devices
- Has a simple graphical user interface
Firmware on KVM Virtualization
By default, the KVM virtualization is using BIOS as default firmware for guest virtual machines. To enable UEFI supports on KVM, you must install the OVMF (Open Virtual Machine Firmware) package on your host system.
The OVMF project is part of intel's tianocore firmware to the qemu virtual machine.
Prerequisites
For this guide, you will learn how to enable UEFI support on the KVM virtual machine. You will be installing the OVMF package on the host machine and setting up the virtual machine with UEFI firmware.
Before you begin, ensure you have a machine with KVM virtualization installed on top of it.
Below is a guide for KVM virtualization installation on Arch Linux.
Installing OVMF Package
At first, you must log in to the KVM host server and install the packages. By default, the ovmf packages are available on most Linux distribution repositories such as Debian, Ubuntu, CentOS, etc.
1. Install ovmf on the Debian-based systems using the apt command as below.
sudo apt install ovmf
2. And for RHEL based systems like CentOS/Fedora, you need to install the package 'edk2-ovmf' package using the DNF/Yum command as below.
sudo dnf install edk2-ovmf

or

sudo yum install edk2-ovmf
3. For Arch Linux-based systems like Manjaro, you can use the pacman command below.
sudo pacman -S edk2-ovmf
And the UEFI support on the KVM virtualization is enabled. Now let's create new virtual machines.
Enable UEFI on the Virtual Machine
There are multiple ways for creating a virtual machine on KVM virtualization. You can use the command-line mode (using virt-install command), or using the graphical application such as "virtual machine manager".
Create Virtual Machine with virt-install
1. To create a virtual machine with UEFI firmware using the command-line 'virt-install', add the option '--boot uefi' on the command options.
Below is an example using the virt-install command for creating a new virtual machine 'Artix' with UEFI firmware.
sudo virt-install --name=Artix \
--os-type=Linux \
--os-variant=archlinux \
--vcpu=2 \
--ram=1024 \
--disk path=/var/lib/libvirt/images/Artix.img,size=15 \
--graphics spice \
--cdrom=/home/user/Desktop/artix-base-openrc-20210726-x86_64.iso \
--network network=default \
--boot uefi
Now you will boot to your virtual machine.
And if you enter on the UEFI settings, below are some screenshots you will get.
Below is the screenshot of the UEFI Interactive Shell on the KVM virtual machine.
AdvertisementAnd below is the screenshot of OVMF Settings on the UEFI KVM virtual machine
Create Virtual Machine with Virtual Machine Manager
The virtual machine manager application provides a graphical interface for managing KVM virtualization.
If you're new to KVM virtualization, it's recommended to use the virt-manager (virtual machine manager) for setting up your virtualization environment.
To create a virtual machine with UEFI firmware supports using the virt-manager application, you must configure it during the creation of the virtual machine itself.
1. On the last window when creating a virtual machine using virt-manager, you will see the confirmation window as below.
You must check the option 'Customize configuration before install', then click the 'Finish' button.
2. On the new window, click the menu 'Overview' and move to the section 'Hypervisor details'.
On the Firmware option, select 'UEFI x86_64: ...', then click the 'Apply' button.
Now click the button 'Begin Installation' to start the virtual machine installation.
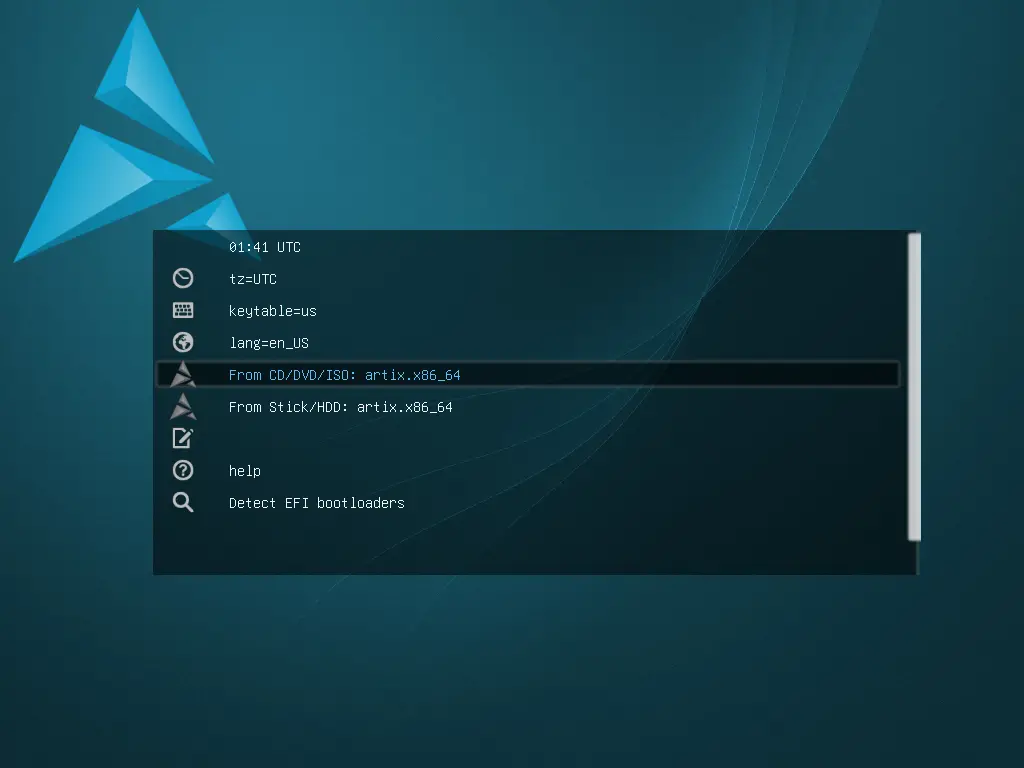
3. At the virtual machine boot process, you will see the TianoCore boot splash as below.
4. After that you will see your operating system as below.
Now you've successfully created the virtual machine on the KVM virtualization, and the virtual machine is now using the UEFI firmware instead of default BIOS.
Conclusion
Congratulations! You've learned how to enable the UEFI support on the KVM virtualization. Also, you've learned how to set up a virtual machine with both virt-install command-line and virt-manager graphical application and enable the UEFI firmware on the virtual machine.
Recommend
About Joyk
Aggregate valuable and interesting links.
Joyk means Joy of geeK