

没人陪你聊天?教你使用java制作专属智能陪聊机器人
source link: https://blog.csdn.net/weixin_45574790/article/details/121573352
Go to the source link to view the article. You can view the picture content, updated content and better typesetting reading experience. If the link is broken, please click the button below to view the snapshot at that time.
🚀 作者 :“大数据小禅”
🚀 **文章简介 **:最近有小伙伴留言,“很久没人找我聊天了,可以写一个陪聊机器人展现一下程序员的浪漫吗?”,小禅:“安排!”
🚀 **文章源码获取 **:本文的源码,小伙伴们可以关注文章底部的公众号,点击“联系我”备注源码获取哦。
🚀 欢迎小伙伴们 点赞👍、收藏⭐、留言💬
1.智能陪聊机器人演示
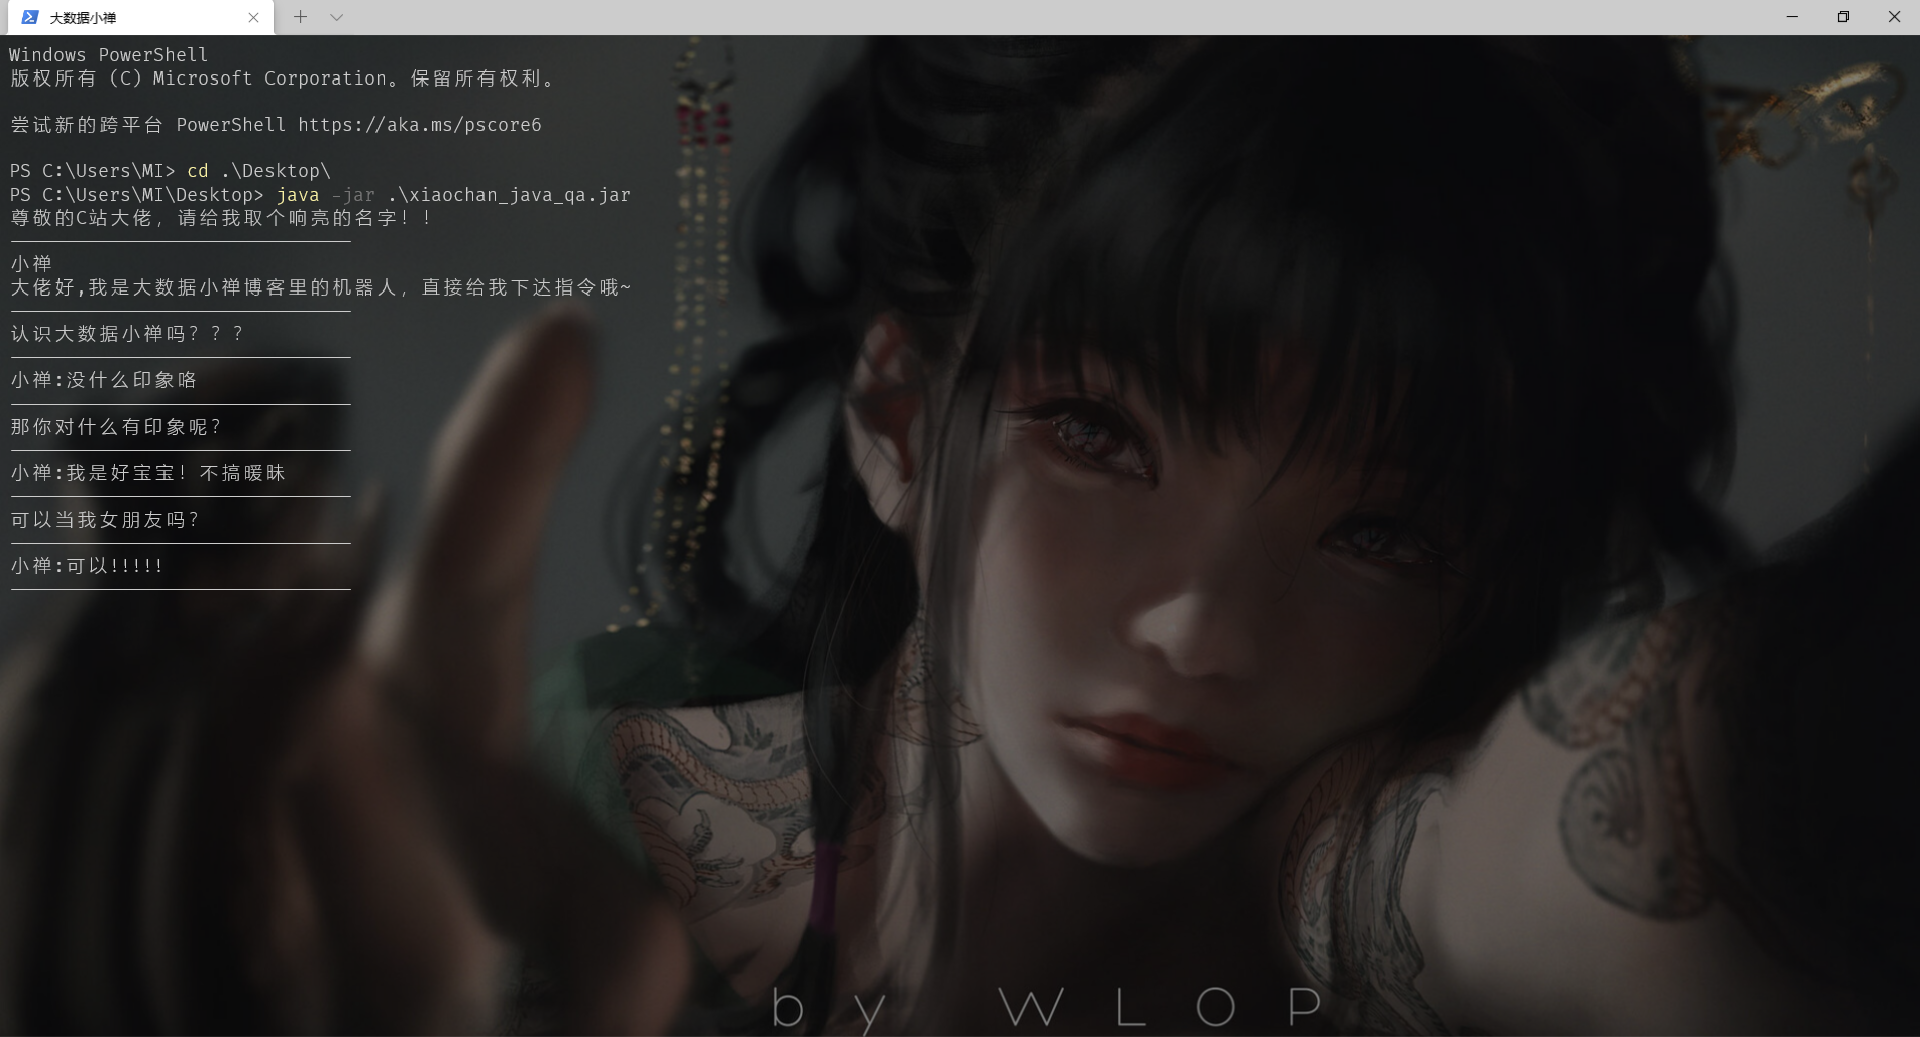
人工智能一直是最近的热点话题,自动人工智能但是以来应用领域就不断的扩大,在未来人工智能也会在人们的生活中不断普及与应用。这篇博文中的陪聊机器人,使用java进行编写,可以根据你发的信息进行智能的回应,还算挺有意思的一个小玩意。最终效果的演示如下图~
2.智能问答平台API介绍
这个陪聊机器人项目使用了青云课的智能API,通过调用API得到信息反馈。
具体的调用格式如下:
http://api.qingyunke.com/api.php?key=free&appid=0&msg=%s
其中的%s传入我们需要发送给机器人的内容,就可以得到API调用结果的反馈。
- key 固定参数 free
- appid 设置成0,为智能识别
- msg 为搜索关键词
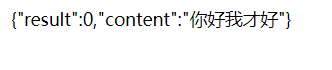
- result 表示返回状态,返回0表示正常
- content api返回的信息内容
可以看到数据是以JSON的形式进行返回。

3.整合第三方JSON开源库
Gson是Google提供的类库,可以用来处理java对象与JSON数据之间的映射,将一个JSON字符串转换成一个java对象,方便我们对API返回的JSON格式的数据进行处理,下面演示如何将Gson类库导入到我们的工程中。
首先可以去官网下载对应的jar包,或者直接私信我获取。获取jar包之后找个全英文路径进行保存。这里我们使用的编辑器是IDEA,所以使用IDEA进行演示,小伙伴们使用的是其他编辑器的话导入方法都是类似的哦。在IDEA打开如下界面,找到jar包导入即可。

4.智能机器人项目框架搭建与模块划分
项目搭建:搭建的部分无太多要求,只需要使用IDEA创建一个新的普通java工程即可
项目模块搭建:
- model 类 用来存放请求所返回的对象
- util 类用来存放工程所用到的工具类,比如说HTTP请求解析类
- app 类用来当作机器人项目的入口
- service 类用来实现业务的接口
相关的两个实体类如下:
public class Request {

    private String key = "free";

    private String appid = "0";

    private String msg = "";


    public Request(){}


    public Request(String msg){
        this.msg = msg;
    }

    public String getKey() {
        return key;
    }

    public void setKey(String key) {
        this.key = key;
    }

    public String getAppid() {
        return appid;
    }

    public void setAppid(String appid) {
        this.appid = appid;
    }

    public String getMsg() {
        return msg;
    }

    public void setMsg(String msg) {
        this.msg = msg;
    }
}

public class Response {


    private int code;

    private String content;

    public int getCode() {
        return code;
    }

    public void setCode(int code) {
        this.code = code;
    }

    public String getContent() {
        return content;
    }

    public void setContent(String content) {
        this.content = content;
    }
}
5.封装一个机器人HTTP工具类
HTTP工具类主要用来对api进行请求,获取返回的内容
public class HttpUtils {

    public static String request(String api){

        HttpURLConnection connection = null;
        int responseCode = 0;
        try{
            URL url = new URL(api);
            //获取对应的连接对象
            connection = (HttpURLConnection) url.openConnection();
            responseCode = connection.getResponseCode();
        }catch (Exception e){
            e.printStackTrace();
        }

        if(200 <= responseCode && responseCode<=299){
            try(InputStream inputStream = connection.getInputStream();
                BufferedReader in =  new BufferedReader(new InputStreamReader(inputStream));
            ){
                StringBuilder response = new StringBuilder();
                String currentLine;
                while ((currentLine = in.readLine())!= null){
                    response.append(currentLine);
                }
                String result = response.toString();
                return result;
            }catch (Exception e){
                e.printStackTrace();
            }
        }
        return null;

    }

}
6.实现机器人service层的接口与定义
实现机器人接口层
public interface RobotService {

    Response qa(String msg) ;

}
实现机器人接口实现类,这个类用来实现API的请求,将结果进行封装成实体类返回
public class QkyRobotServiceImpl implements RobotService {

    private static final String apiTpl = "http://api.qingyunke.com/api.php?key=free&appid=0&msg=%s";
    private static  final Gson gson = new Gson();
    @Override
    public Response qa(String msg) {


        String api = null;
        try {
            api = String.format(apiTpl, URLEncoder.encode(msg,"UTF-8") );
        } catch (UnsupportedEncodingException e) {
            e.printStackTrace();
        }

        String result =  HttpUtils.request(api);

        //可以做逻辑判断,比如null的时候,或者出错

        Response response = gson.fromJson(result,Response.class);

        return response;
    }
}
7.制作专属于你的机器人入口
编写入口主类,调用封装好的模块进行机器人入口主类的编写
public class Main {

    private static final RobotService robotService = new QkyRobotServiceImpl();


    public static void main(String[] args)throws Exception {

        Scanner scanner = new Scanner(System.in);
        System.out.println("尊敬的C站大佬,请给我取个响亮的名字!!");
        System.out.println("-------------------------------");
        String name = scanner.nextLine();
        System.out.println("大佬好,我是大数据小禅博客里的机器人,直接给我下达指令哦~");
        System.out.println("-------------------------------");
        while (true){

            String input = scanner.nextLine();
            if("88".equalsIgnoreCase(input)){
                System.out.println("欢迎下次使用,拜拜");
                break;
            }else {
              Response response = robotService.qa(input);
              if(response != null && response.getCode() == 0){
                  System.out.println("-------------------------------");
                  System.out.println(name+":"+ new String(response.getContent().getBytes(),"UTF-8"));
                  System.out.println("-------------------------------");
              }else {
                  System.out.println(name+": 大佬你刚刚这句话我没听懂,可否再陈述一次~");
              }
            }

        }
        scanner.close();


    }
}
8.把你的机器人打包使用
为了方便我们对项目的使用,这里我们使用IDEA将项目打包成jar包。通过下面的步骤,就可以将我们项目里的全部模块与类库打包,需要调用的时候只需要使用 java -jar jar名字 即可。
首先点开IDEA的Project Structure之后找到Artifacts选项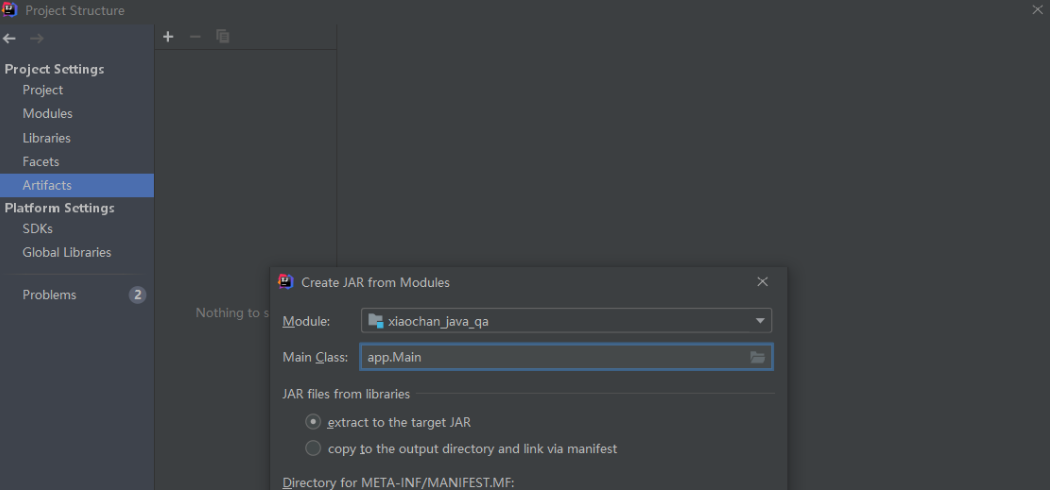
点击Bulid,将项目进行打包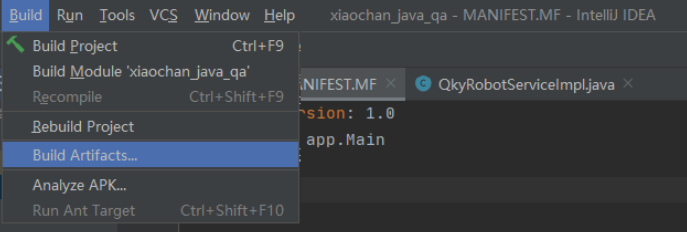
最后回产生一个out文件夹,这里面的jar包也就是我们打包后的最终结果。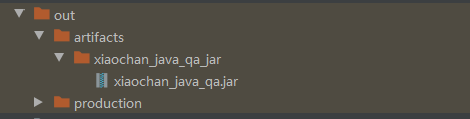
之后上传到有java环境的终端就可以运行。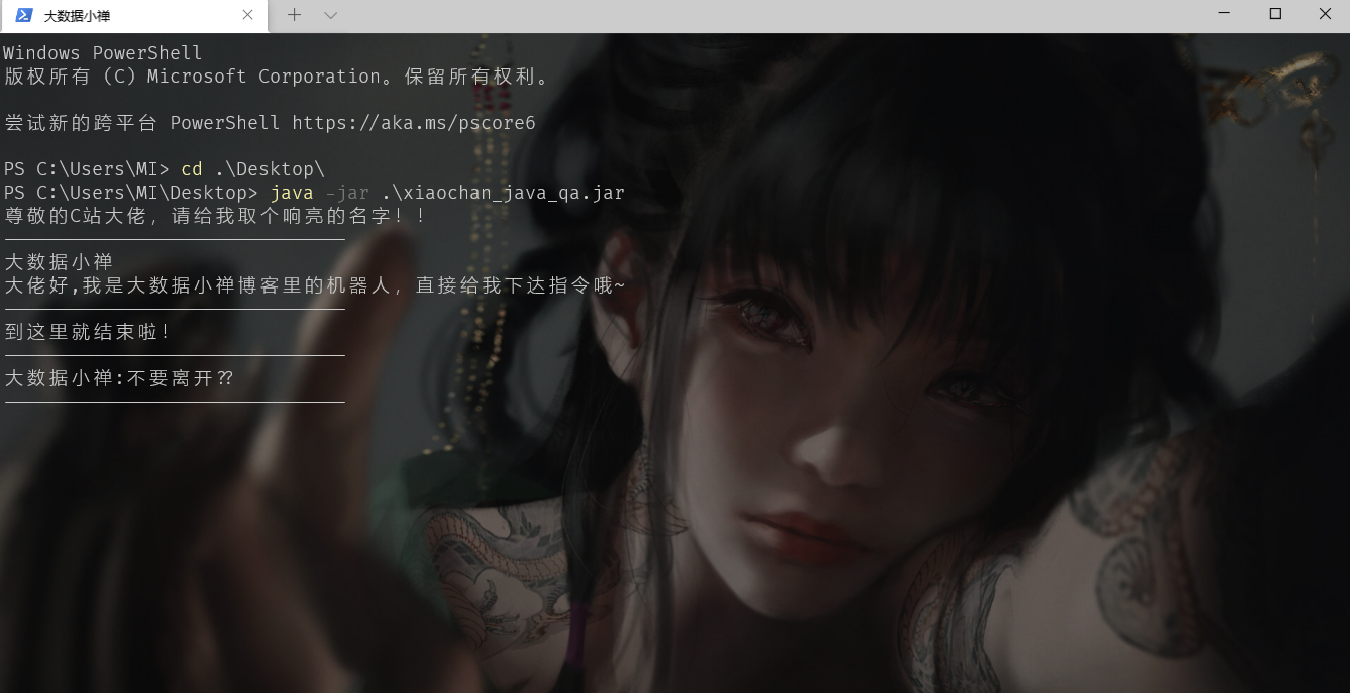
打包完成后我们的机器人项目就完成啦,希望小伙伴们通过这篇博文可以有所收获。💪
最近小禅也是建立了一个🏘️大数据技术社区,在这个社区大家可以分享自己写的优质博文,进行提问,也可以分享生活中遇到的美好瞬间,获取想要的学习资源。欢迎大家加入我的社区,一起学习,成长,内卷!
Recommend
About Joyk
Aggregate valuable and interesting links.
Joyk means Joy of geeK