

How to Connect Your QNAP NAS to Backblaze B2 Cloud Storage
source link: https://www.backblaze.com/blog/guide-qnap-backup-b2-cloud-storage/
Go to the source link to view the article. You can view the picture content, updated content and better typesetting reading experience. If the link is broken, please click the button below to view the snapshot at that time.
How to Connect Your QNAP NAS to Backblaze B2 Cloud Storage
November 23, 2021 by Troy Liljedahl // Leave a comment
Network attached storage (NAS) devices are great for local backups and archives of data. They have become even more capable, now often taking over functions that used to be reserved for servers.
QNAP produces a popular line of networking products, including NAS units that can work with Macintosh, Windows, Linux, and other operating systems. QNAP’s NAS products are used in office, home, and professional environments for storage and a variety of applications, including business, development, home automation, security, and entertainment.
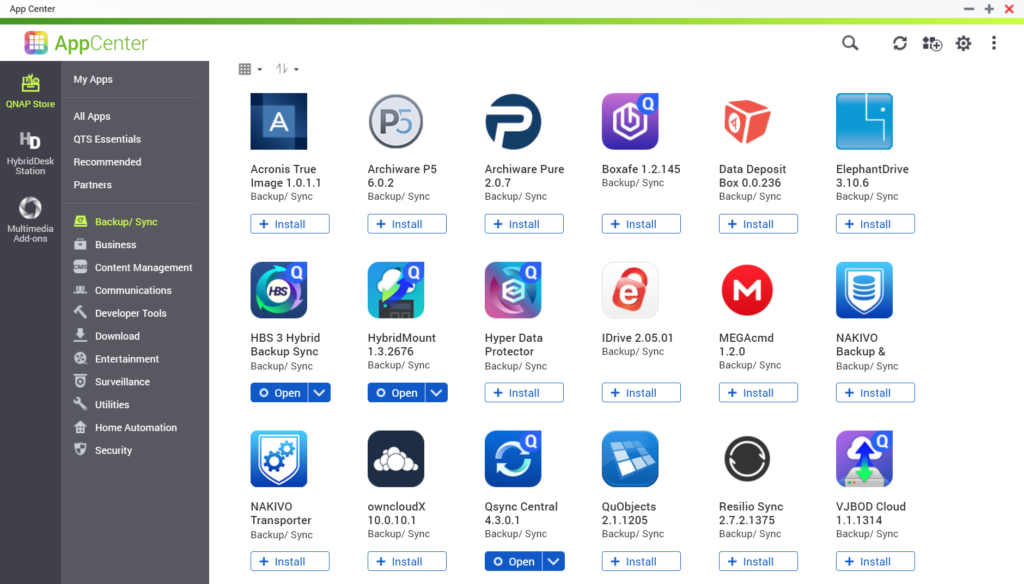
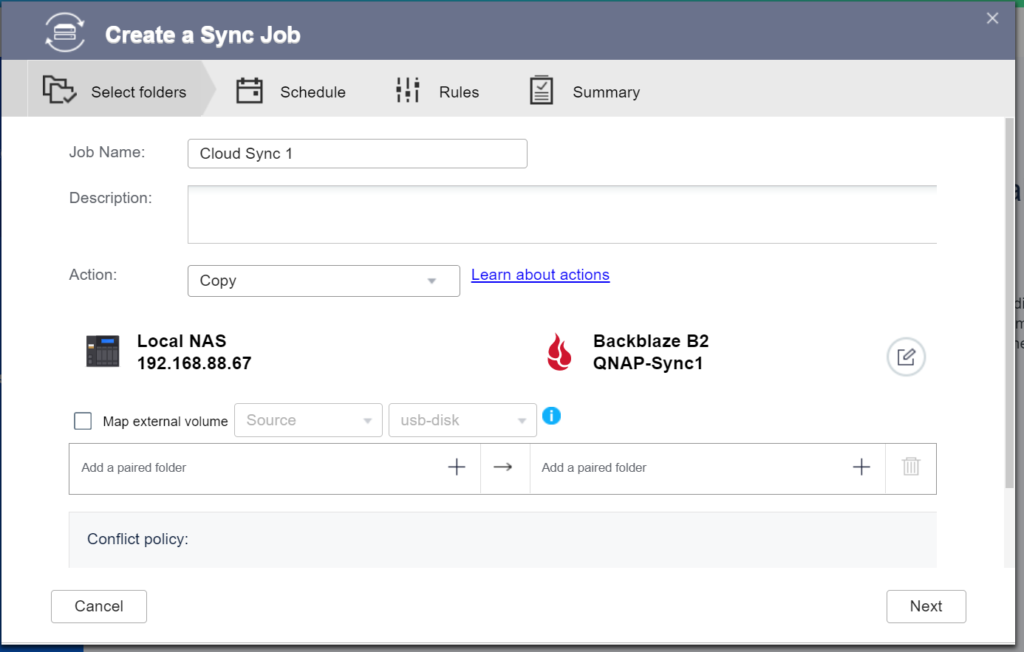
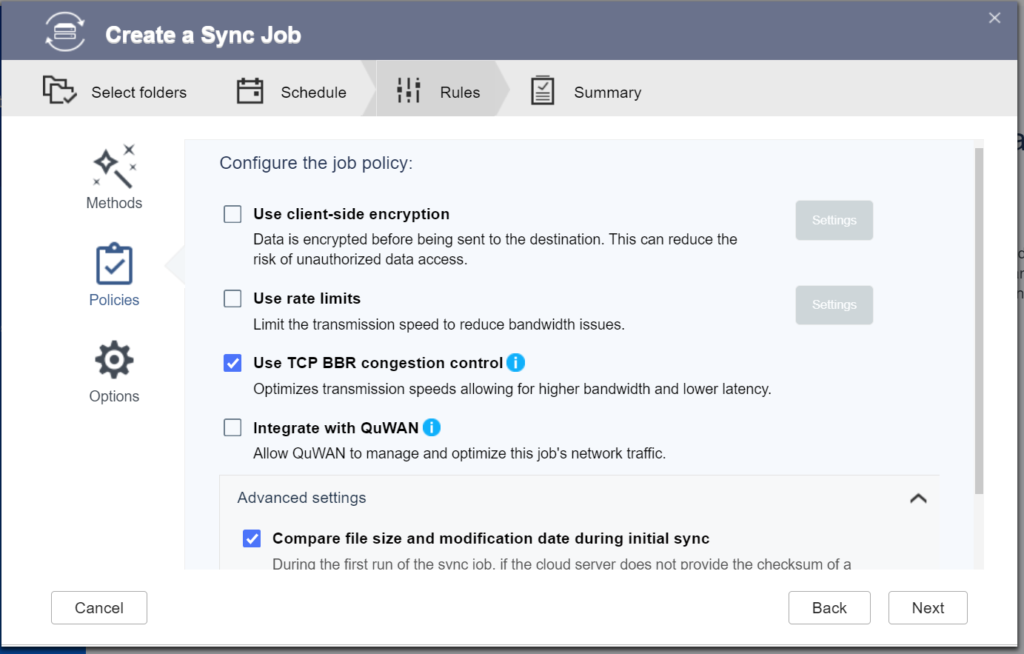
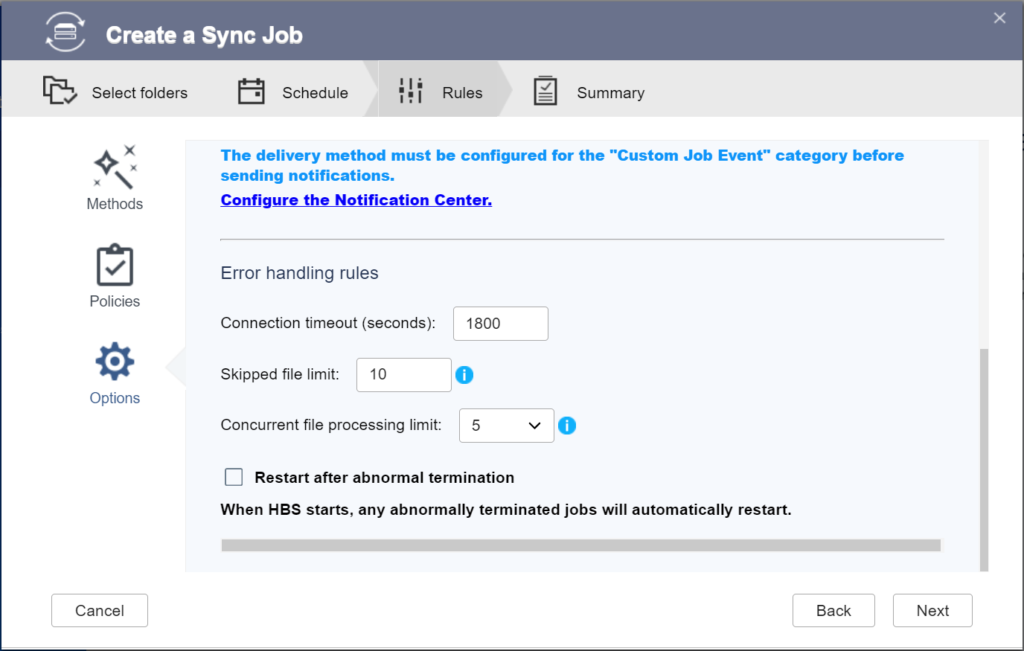
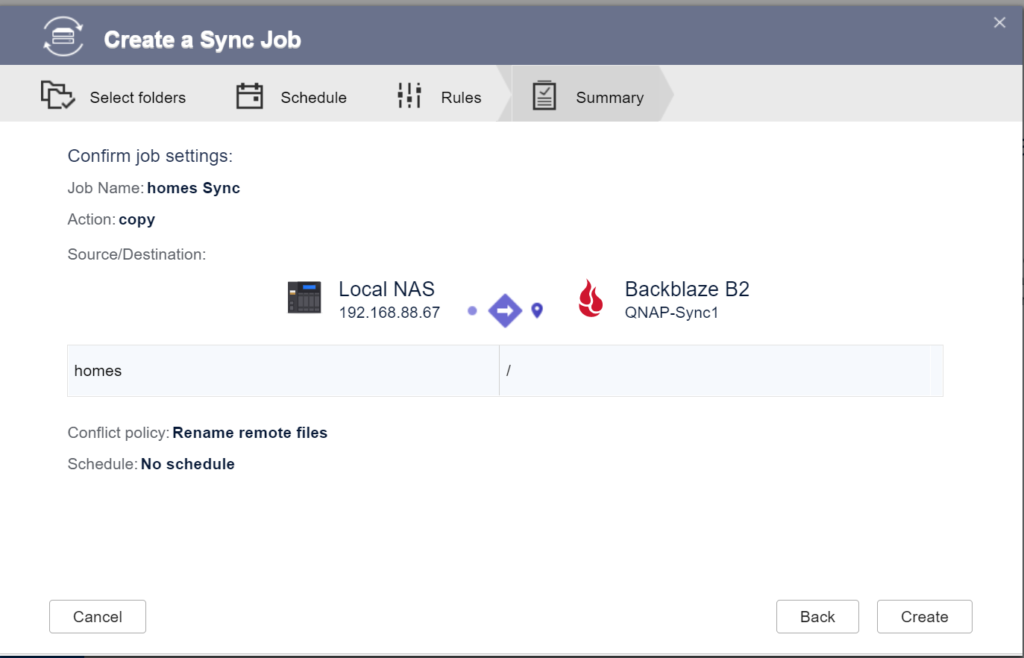
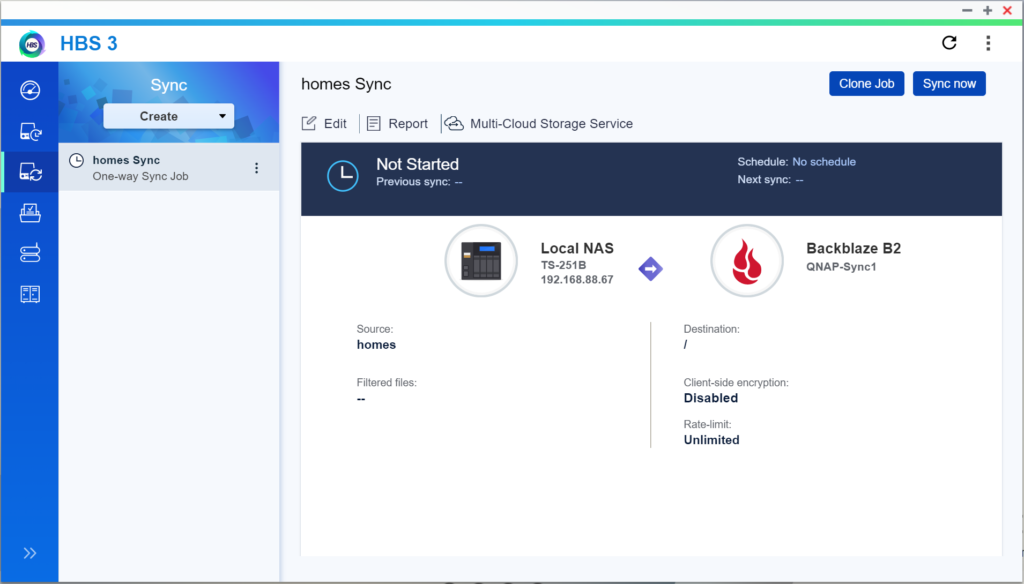
Data stored on a QNAP NAS can be backed up or synced to Backblaze B2 Cloud Storage using QNAP’s Hybrid Backup Sync application, which consolidates backup, restoration, and synchronization functions into a single QTS application. With the latest releases of QTS and Hybrid Backup Sync, you can sync the data on your QNAP NAS to and from Backblaze B2 Cloud Storage.
We’re sharing a step by step guide on connecting your QNAP NAS to Backblaze B2. The first step is to set up your Backblaze B2 account. Then, you can set up QNAP Hybrid Backup Sync with Backblaze B2. Read on for the step-by-step guide below.
How to Set Up Your Backblaze B2 Account
If you already have a Backblaze B2 account, feel free to skip ahead to the next section. Otherwise, you can sign up for an account here and get started with 10GB of storage for free.
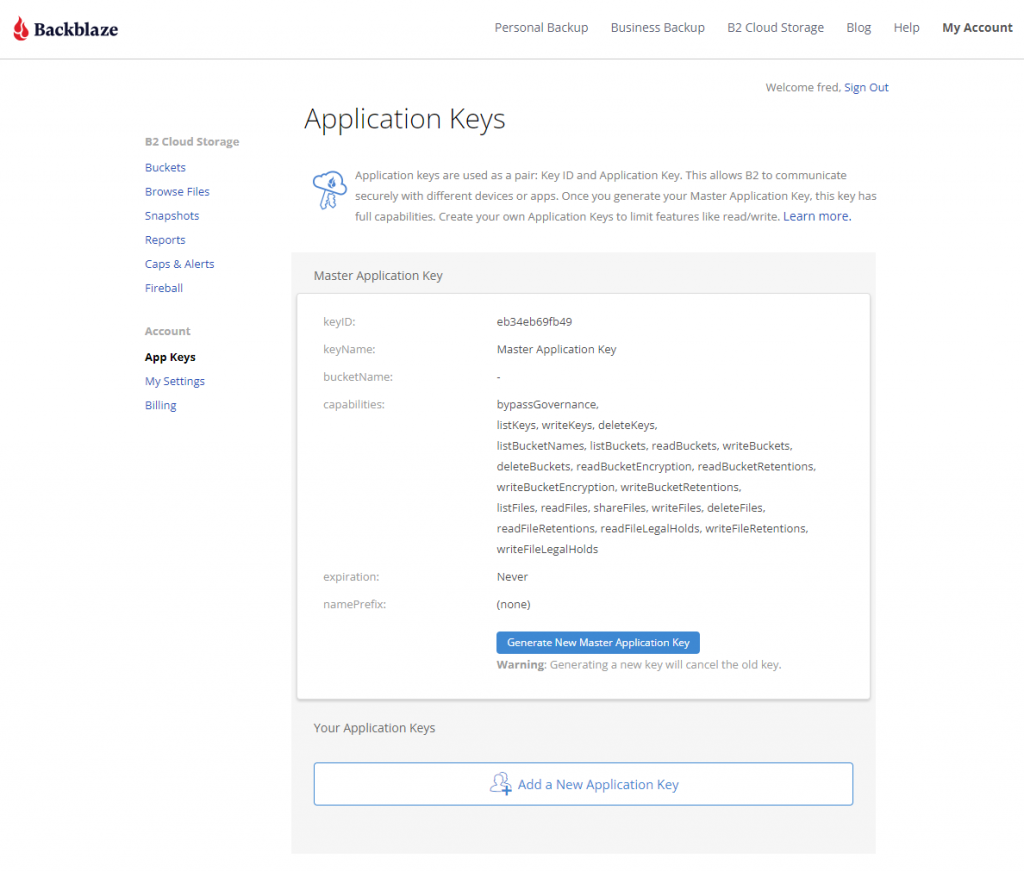
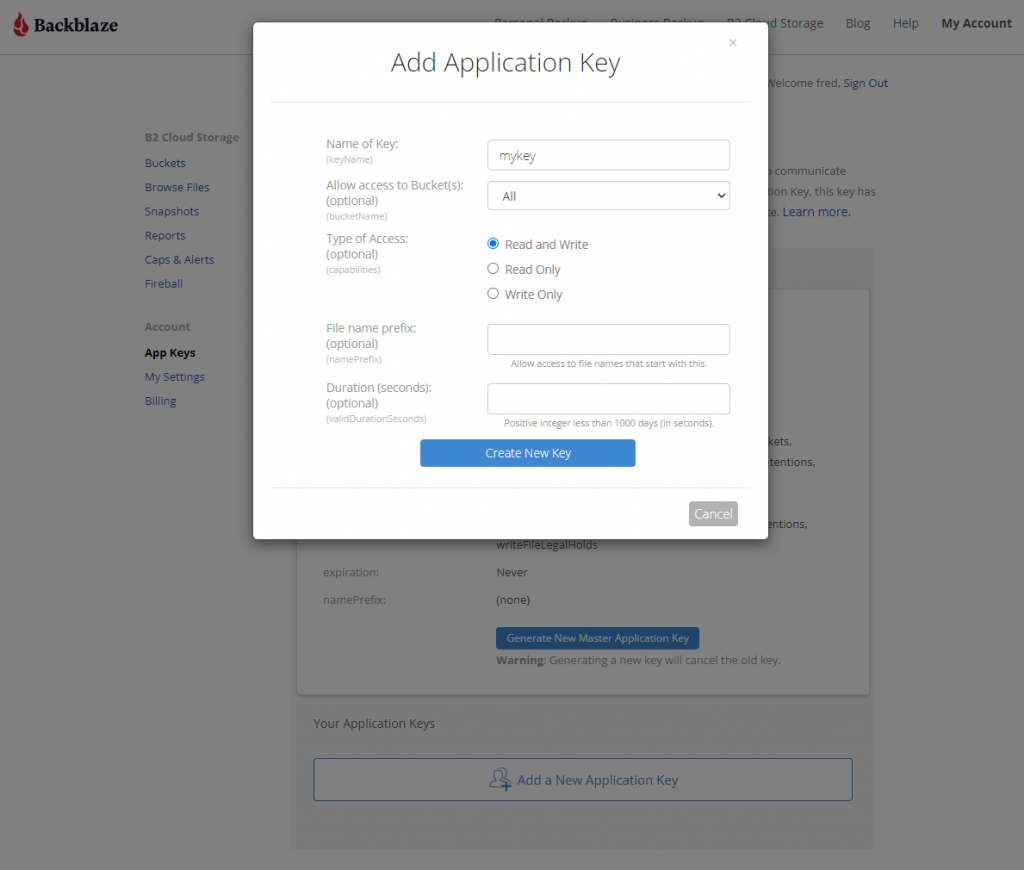
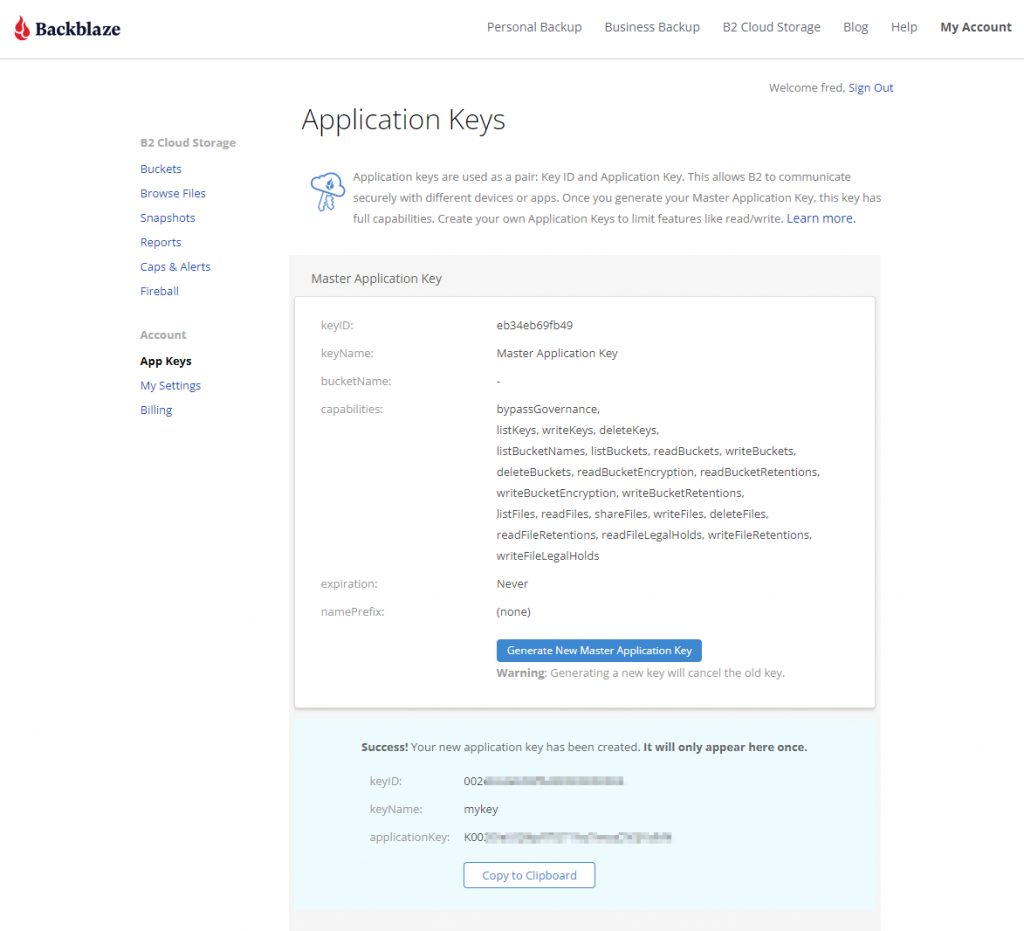
How to Set Up a Bucket, Application Key ID, and Application Key
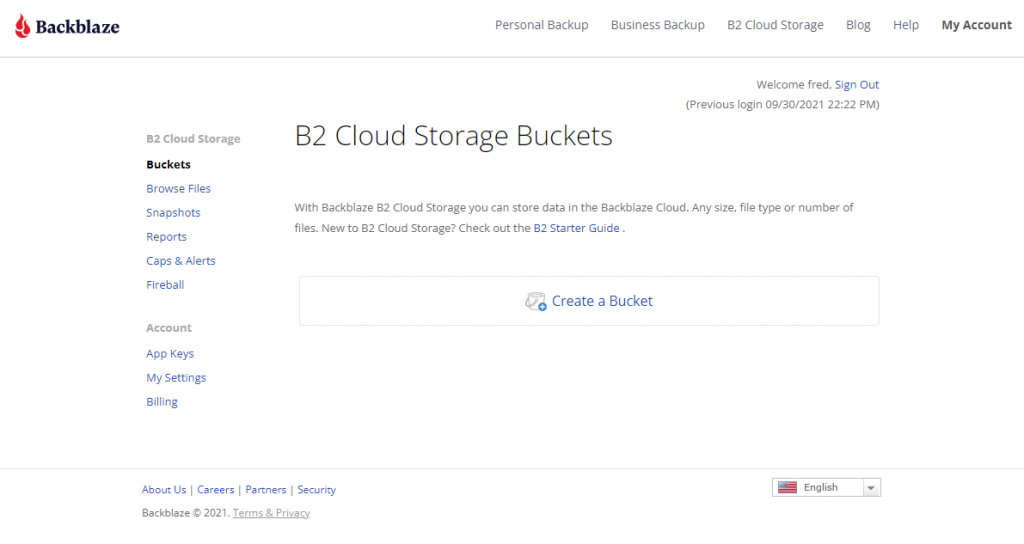
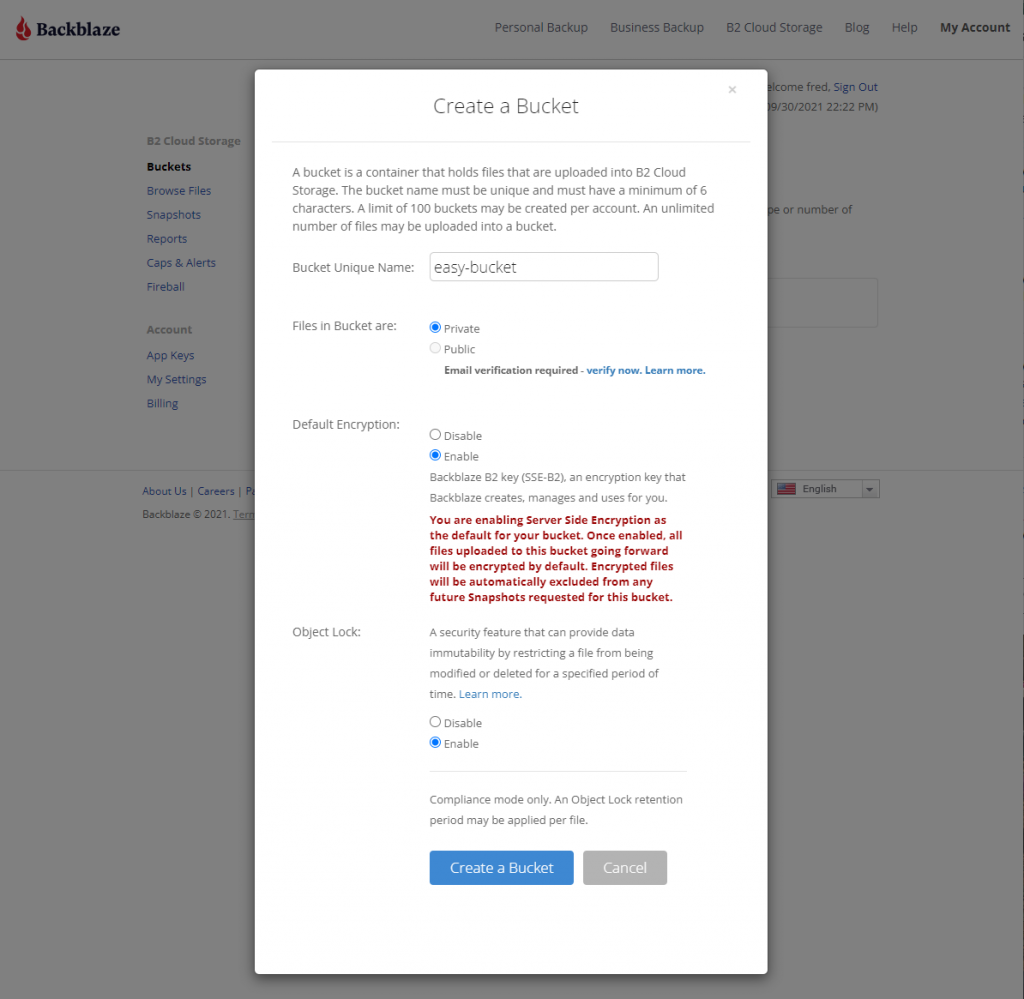
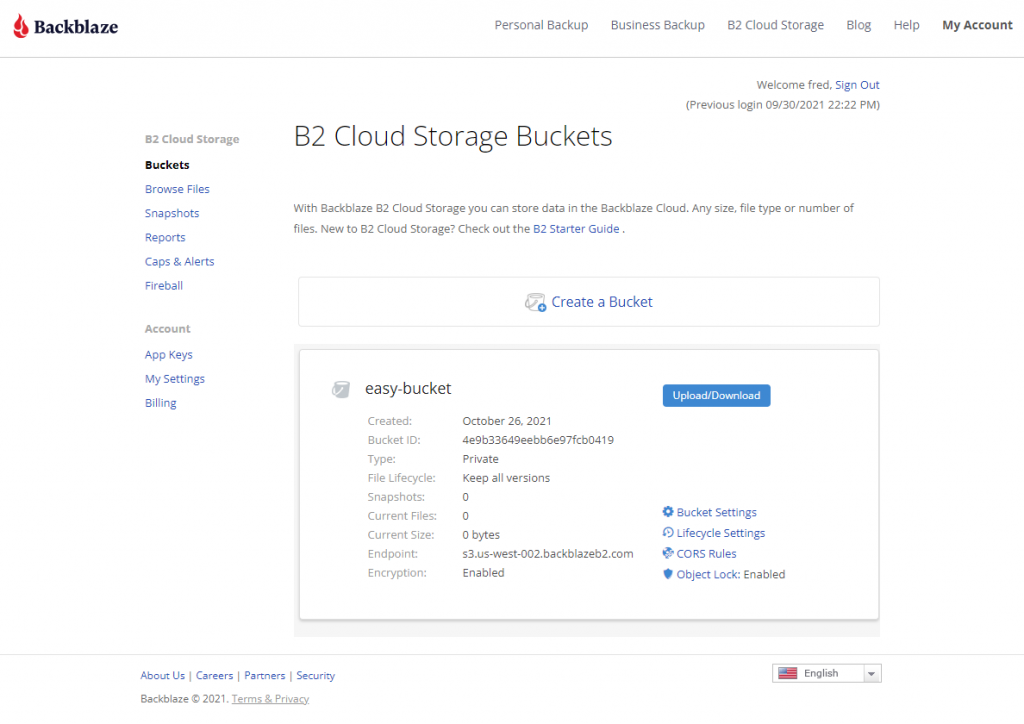
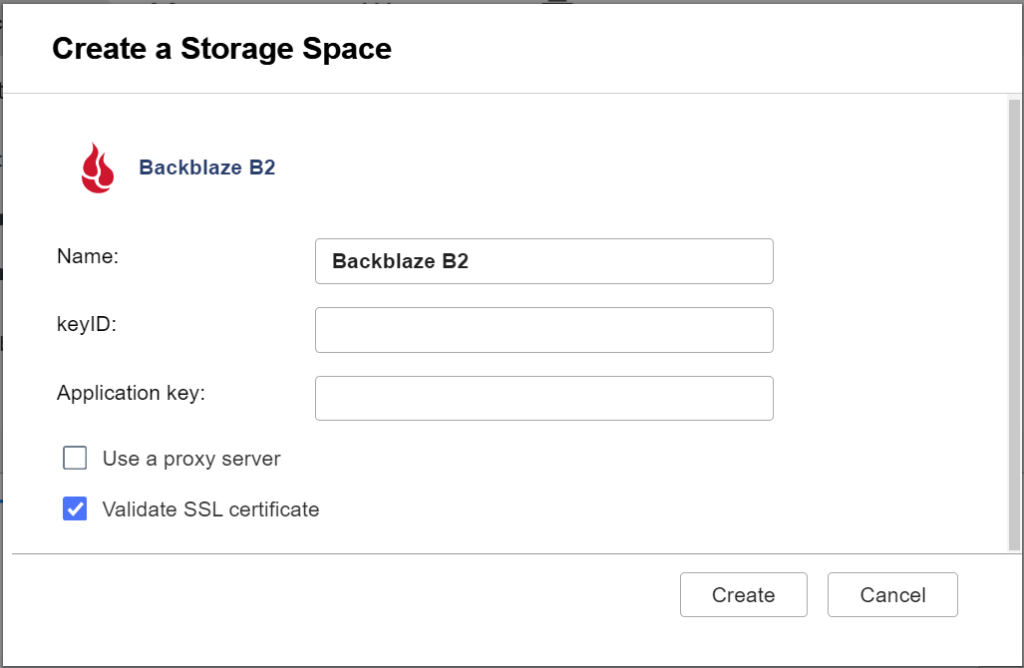
Once you’ve signed up for a Backblaze B2 Account, you’ll need to create a bucket, Application Key ID, and Application Key. This may sound like a lot, but all you need are a few clicks, a couple names, and less than a minute!
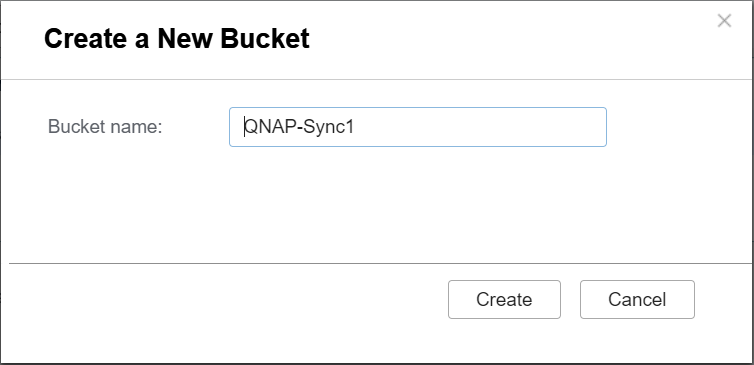
- On the Buckets page of your account, click the Create a Bucket button.
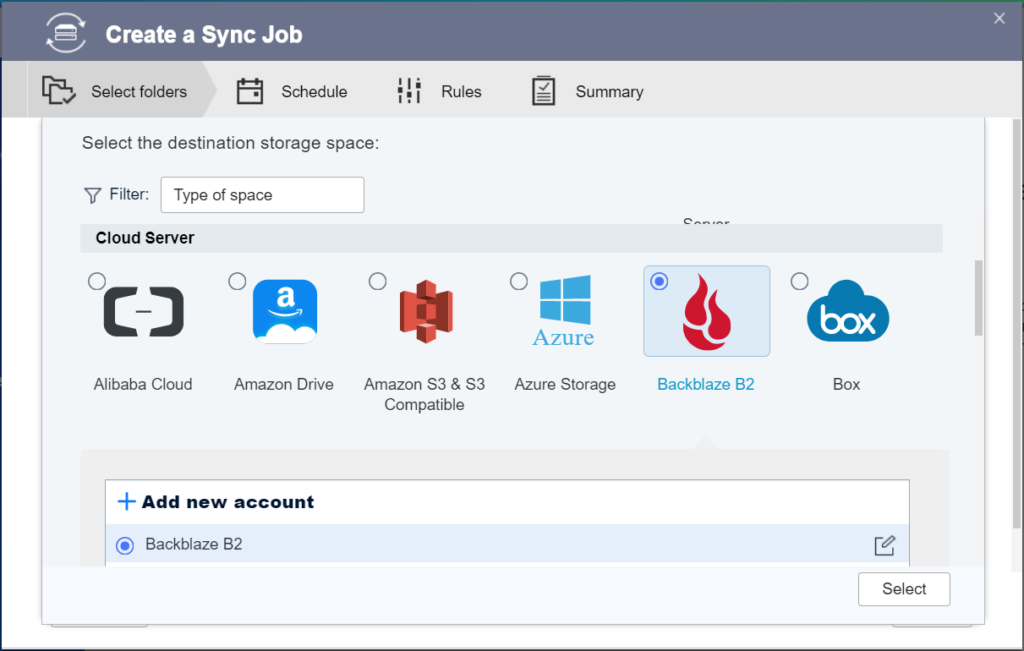
How to Set Up QNAP’s Hybrid Backup Sync to Work With B2 Cloud Storage
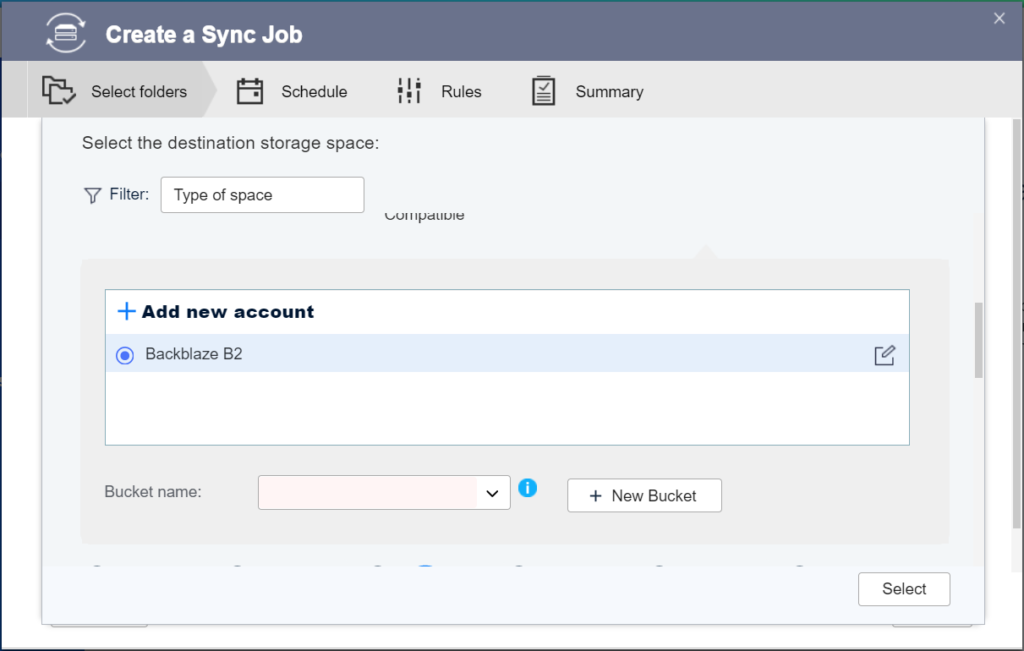
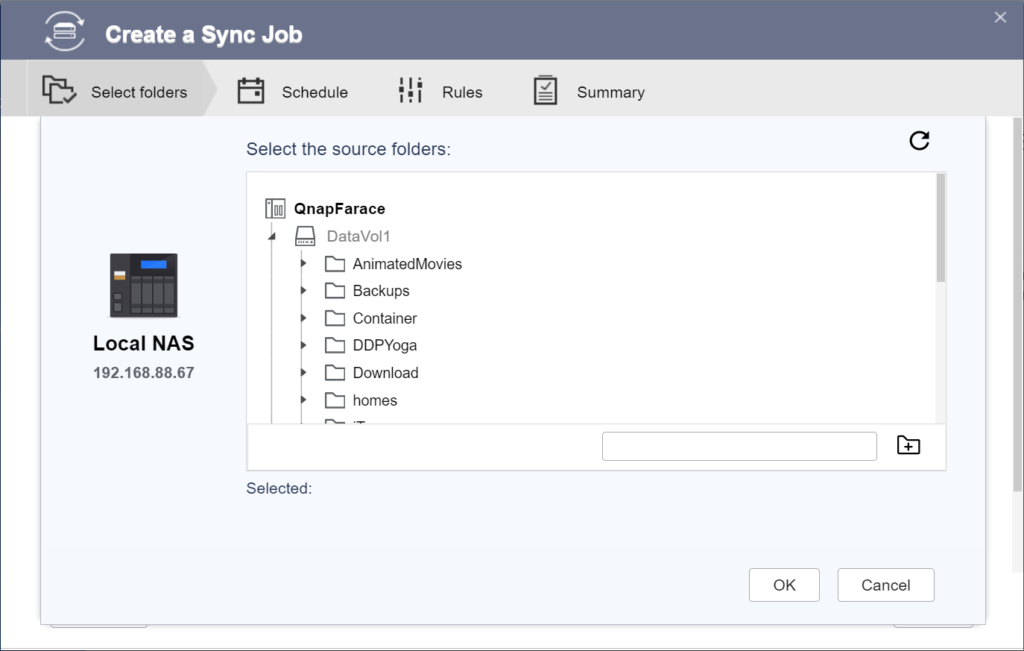
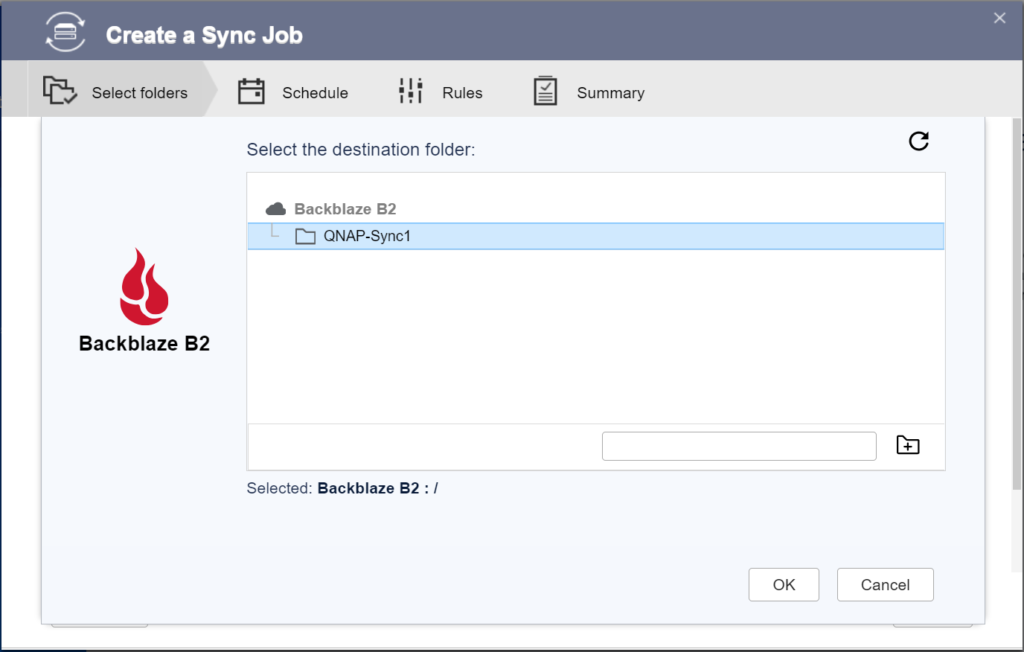
To set up your QNAP with Backblaze B2 sync support, you’ll need access to your B2 Cloud Storage account. You’ll also need your B2 Cloud Storage account ID, Application Key, and bucket name—all of which are available after you log in to your Backblaze account. Finally, you’ll need the Hybrid Backup Sync application installed in QTS. You’ll need QTS 4.3.3 or later and Hybrid Backup Sync v2.1.170615 or later. You can follow these steps to complete the process:
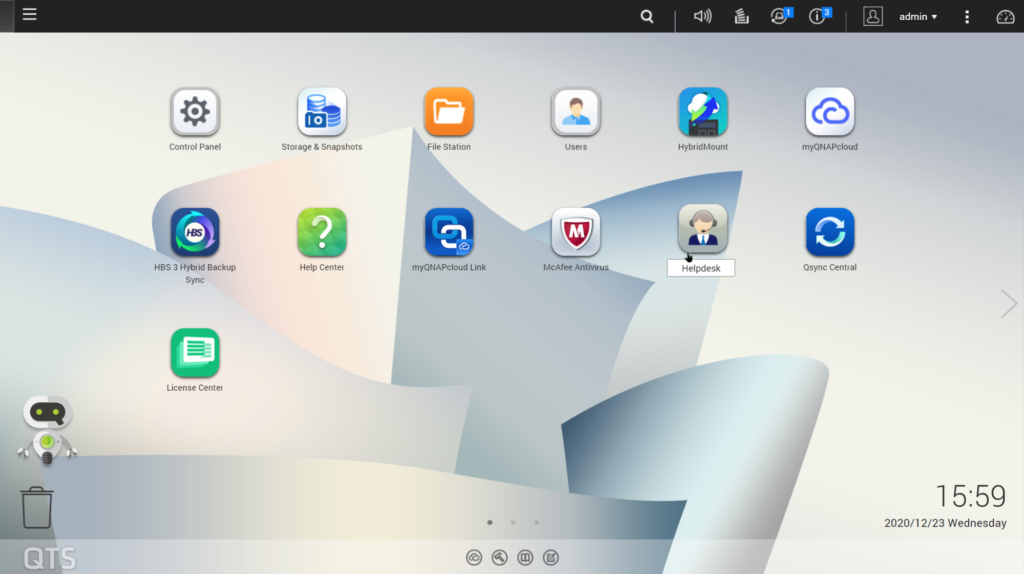
- Open the QTS desktop by entering the IP address of your NAS in your web browser. Alternatively, you can download the Qfinder Pro app which will discover the NAS on your network and open the webpage for you automatically.
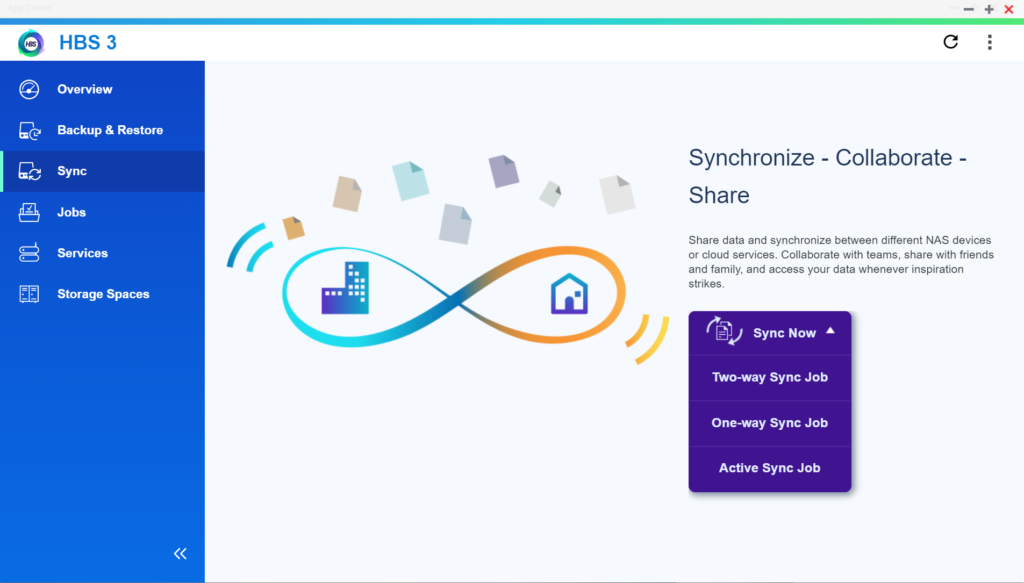
What Can You Do With Backblaze B2 and QNAP Hybrid Backup Sync?
With QNAP’s Hybrid Backup Sync software, you can easily sync data to the cloud. Here’s some more information on what you can do to make the most of your setup.
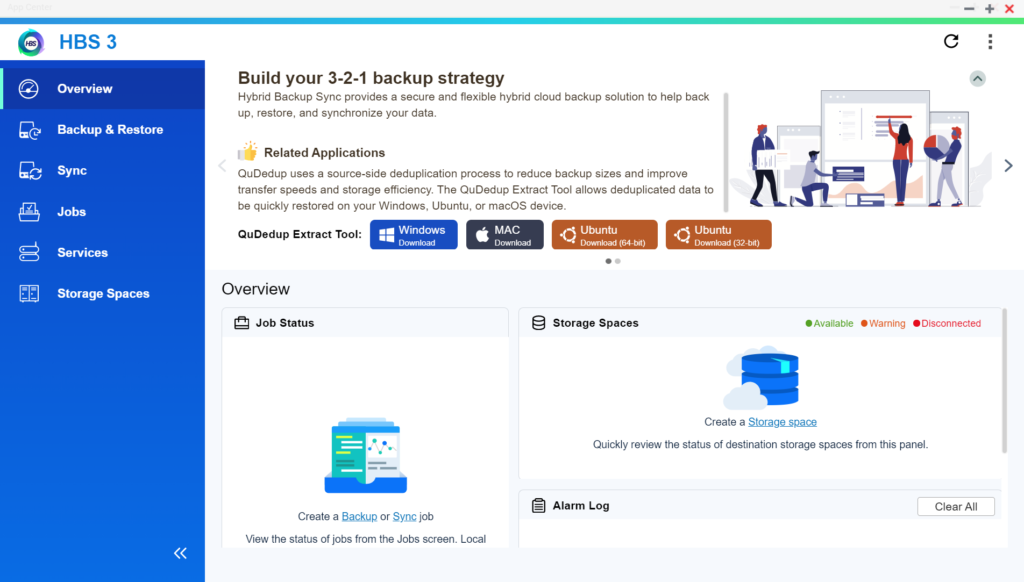
Hybrid Backup Sync 3.0
QNAP and Backblaze B2 users can take advantage of Hybrid Backup Sync, as explained above. Hybrid Backup Sync is a powerful tool that provides true backup capability with features like version control, client-side encryption, and block-level deduplication. QNAP’s operating system, QTS, continues to deliver innovation and add thrilling new features. The ability to preview backed up files using the QuDedup Extract Tool, a feature first released in QTS 4.4.1, allowed QNAP users to save on bandwidth costs.
You can download the latest QTS update here and Hybrid Backup Sync is available in the App Center on your QNAP device.
Hybrid Mount and VJBOD Cloud
The Hybrid Mount and VJBOD Cloud apps allow QNAP users to designate a drive in their system to function as a cache while accessing B2 Cloud Storage. This allows users to interact with Backblaze B2 just like you would a folder on your QNAP device while using Backblaze B2 as an active storage location.
Hybrid Mount and VJBOD Cloud are both included in the QTS 4.4.1 versions and higher and function as a storage gateway on a file-based or block-based level, respectively. Hybrid Mount enables Backblaze B2 to be used as a file server and is ideal for online collaboration and file-level data analysis. VJBOD Cloud is ideal for a large number of small files or singular massively large files (Think databases!) since it’s able to update and change files on a block-level basis. Both apps offer the ability to connect to B2 Cloud Storage via popular protocols to fit any environment, including SMB, AFP, NFS, FTP, and WebDAV.
QuDedup
QuDedup introduces client-side deduplication to the QNAP ecosystem. This helps users at all levels save on space on their NAS by avoiding redundant copies in storage. Backblaze B2 users have something to look forward to as well since these savings carry over to cloud storage via the HBS 3.0 update.
Why Backblaze B2?
QNAP continues to innovate and unlock the potential of B2 Cloud Storage in the NAS ecosystem. If you haven’t given B2 Cloud Storage a try yet, now is the time. You can get started with Backblaze B2 and your QNAP NAS right now, and make sure your NAS is synced securely and automatically to the cloud.
Recommend
About Joyk
Aggregate valuable and interesting links.
Joyk means Joy of geeK