

Abp Vnext Vue3 的版本实现 - WangJunZzz - 博客园
source link: https://www.cnblogs.com/WangJunZzz/p/15519740.html
Go to the source link to view the article. You can view the picture content, updated content and better typesetting reading experience. If the link is broken, please click the button below to view the snapshot at that time.

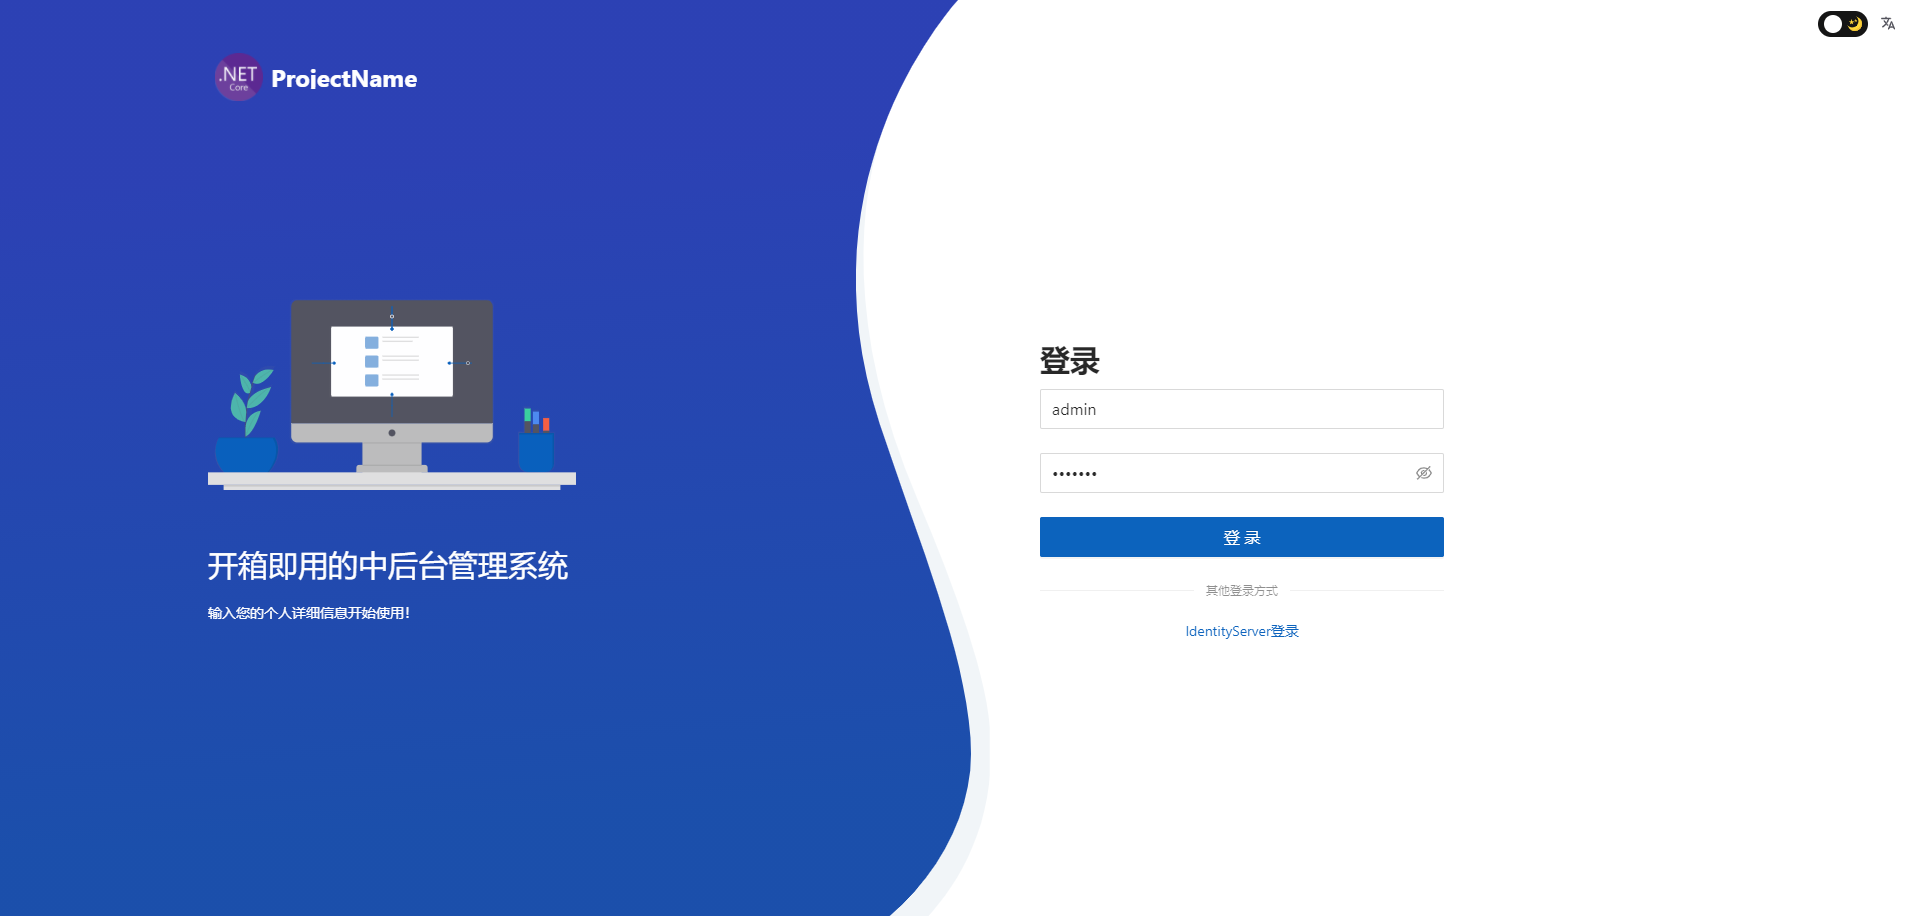
Abp Vnext Pro 的 Vue3 实现版本 开箱即用的中后台前端/设计解决方案

- [x] 用户管理
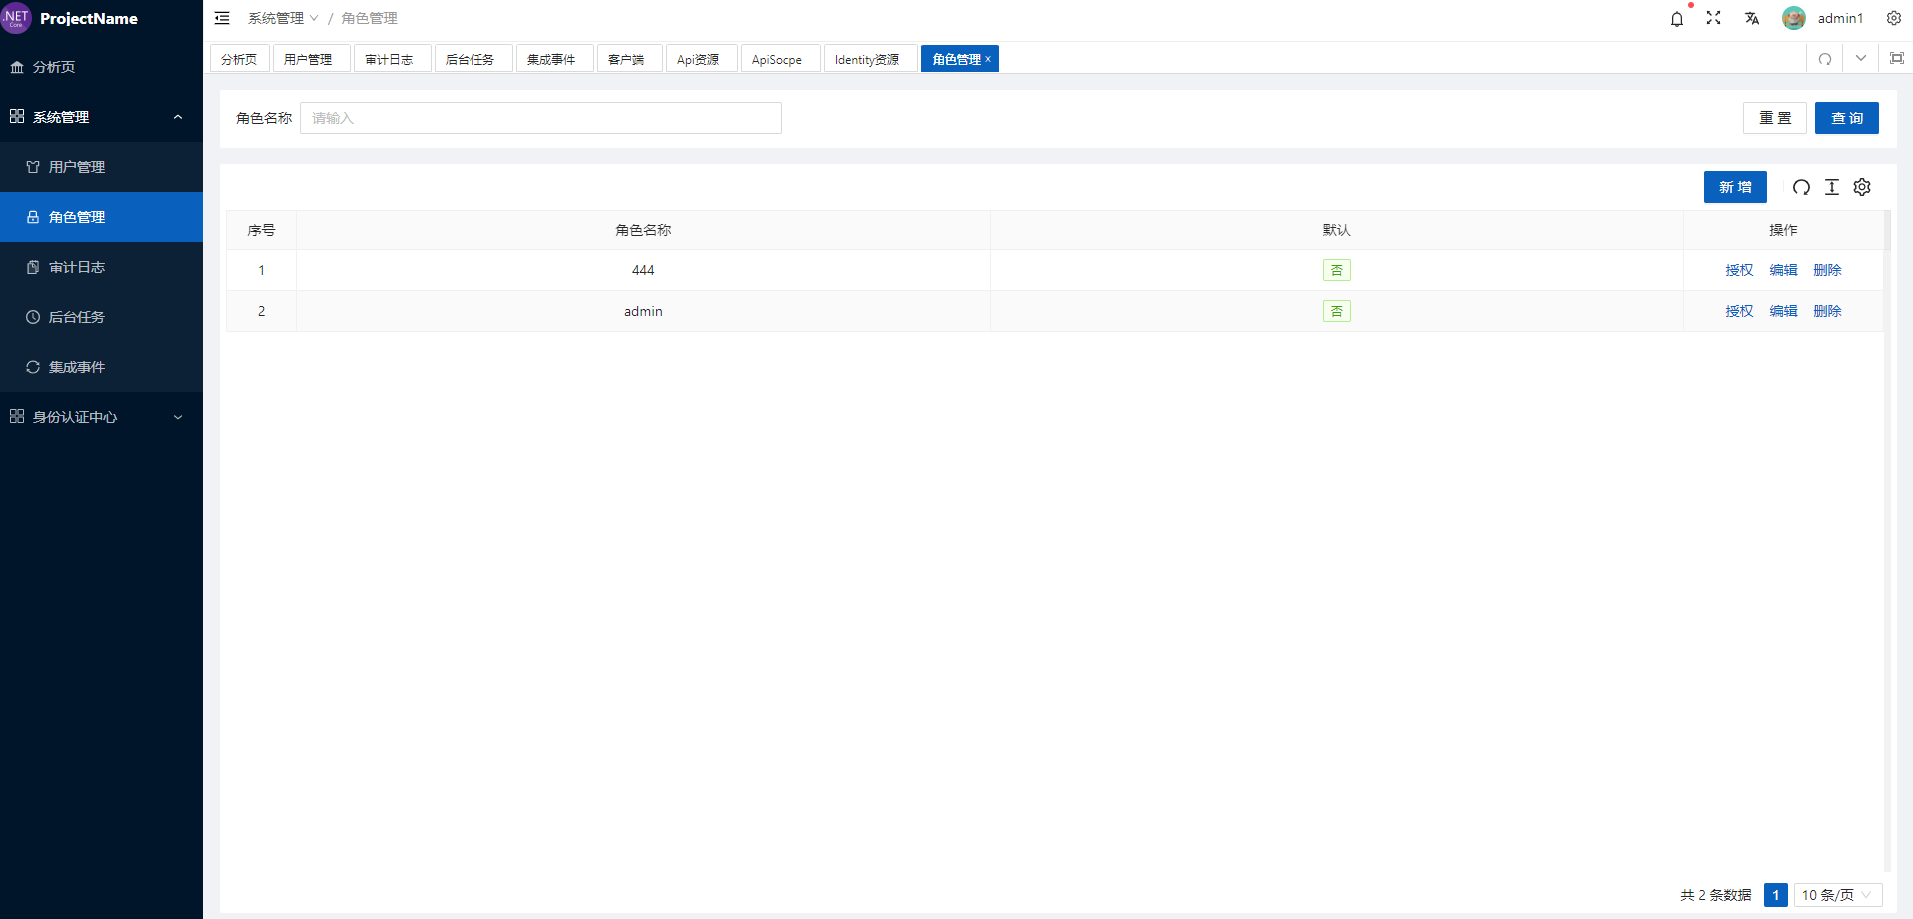
- [x] 角色管理
- [x] 审计日志
- [x] 后台任务
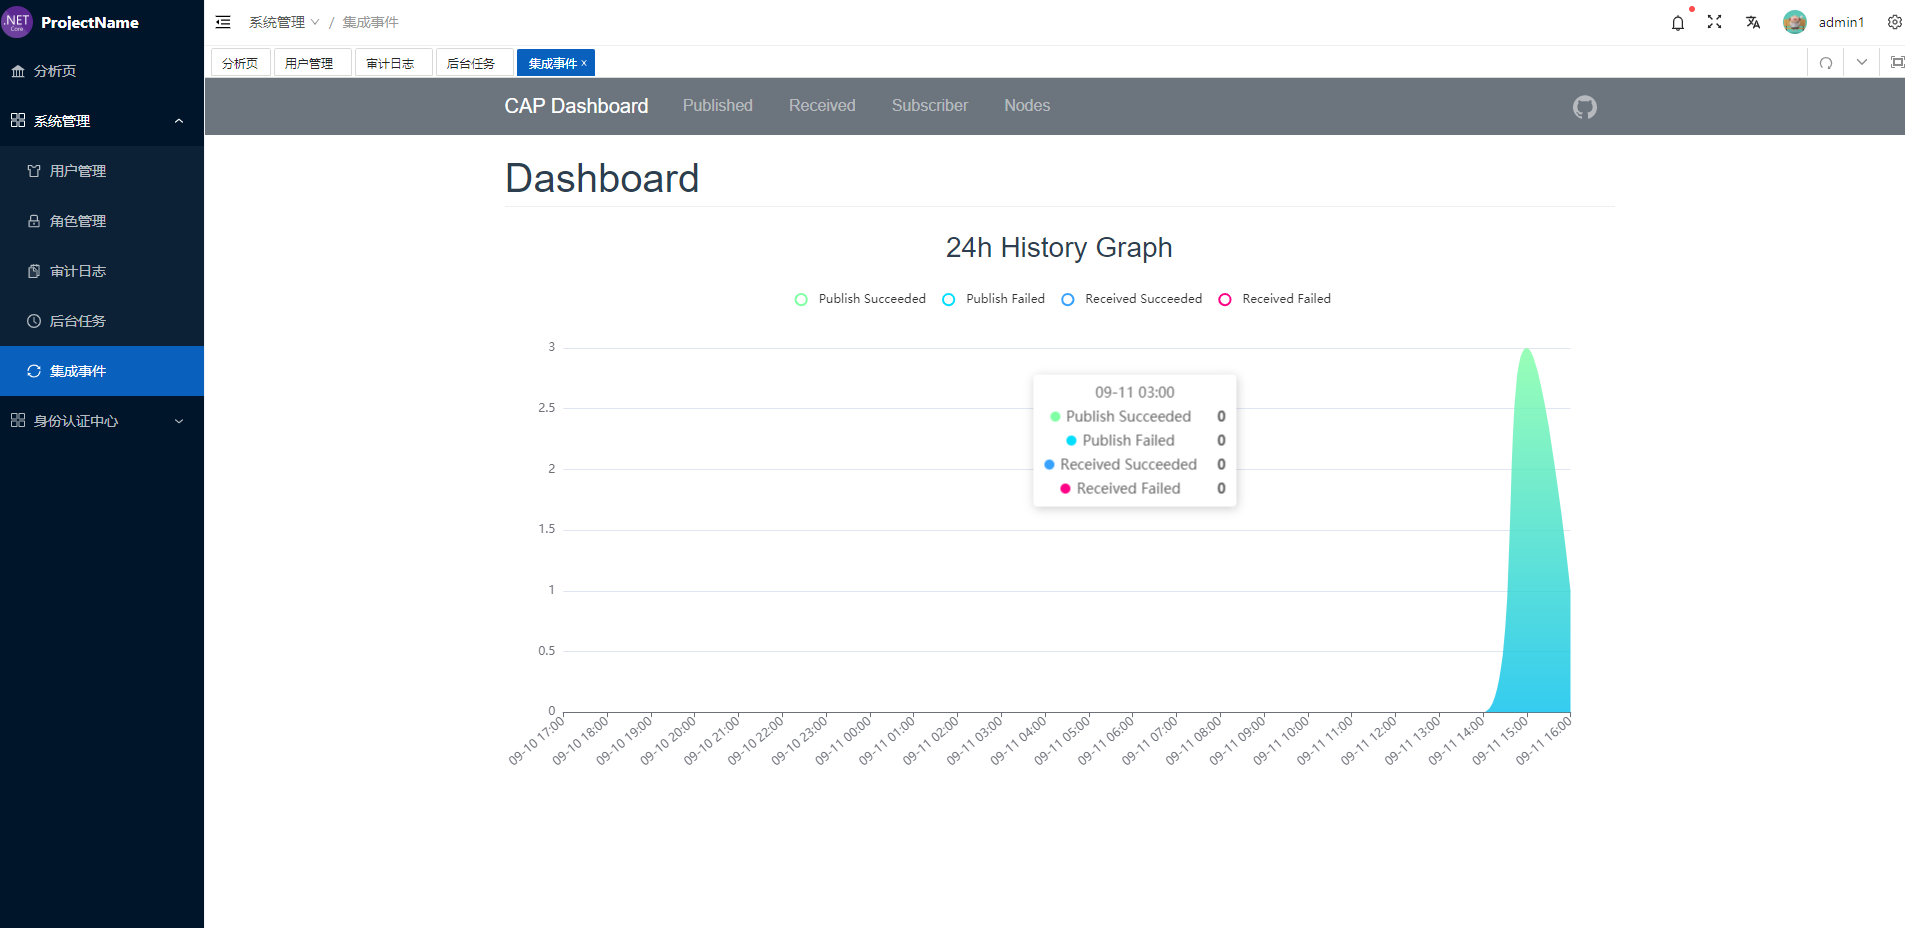
- [x] 集成事件
- [x] IdentityServer4
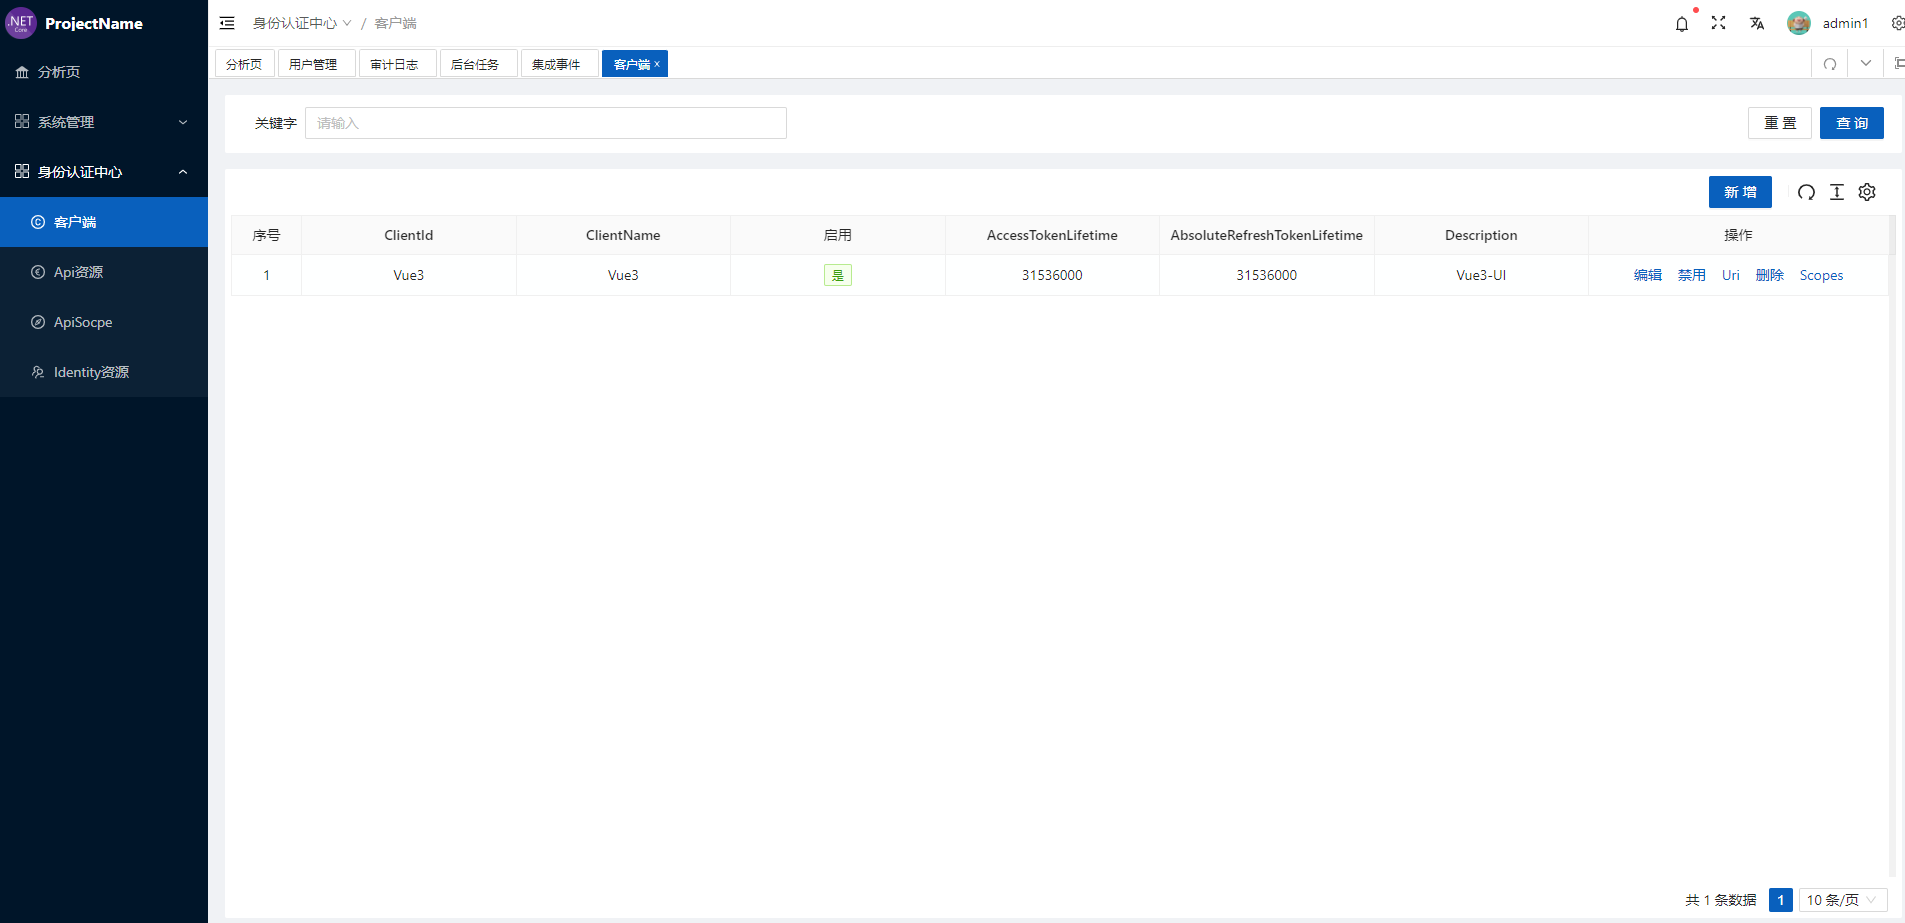
- [x] 客户端管理
- [x] Api 资源管理
- [x] ApiScope 管理
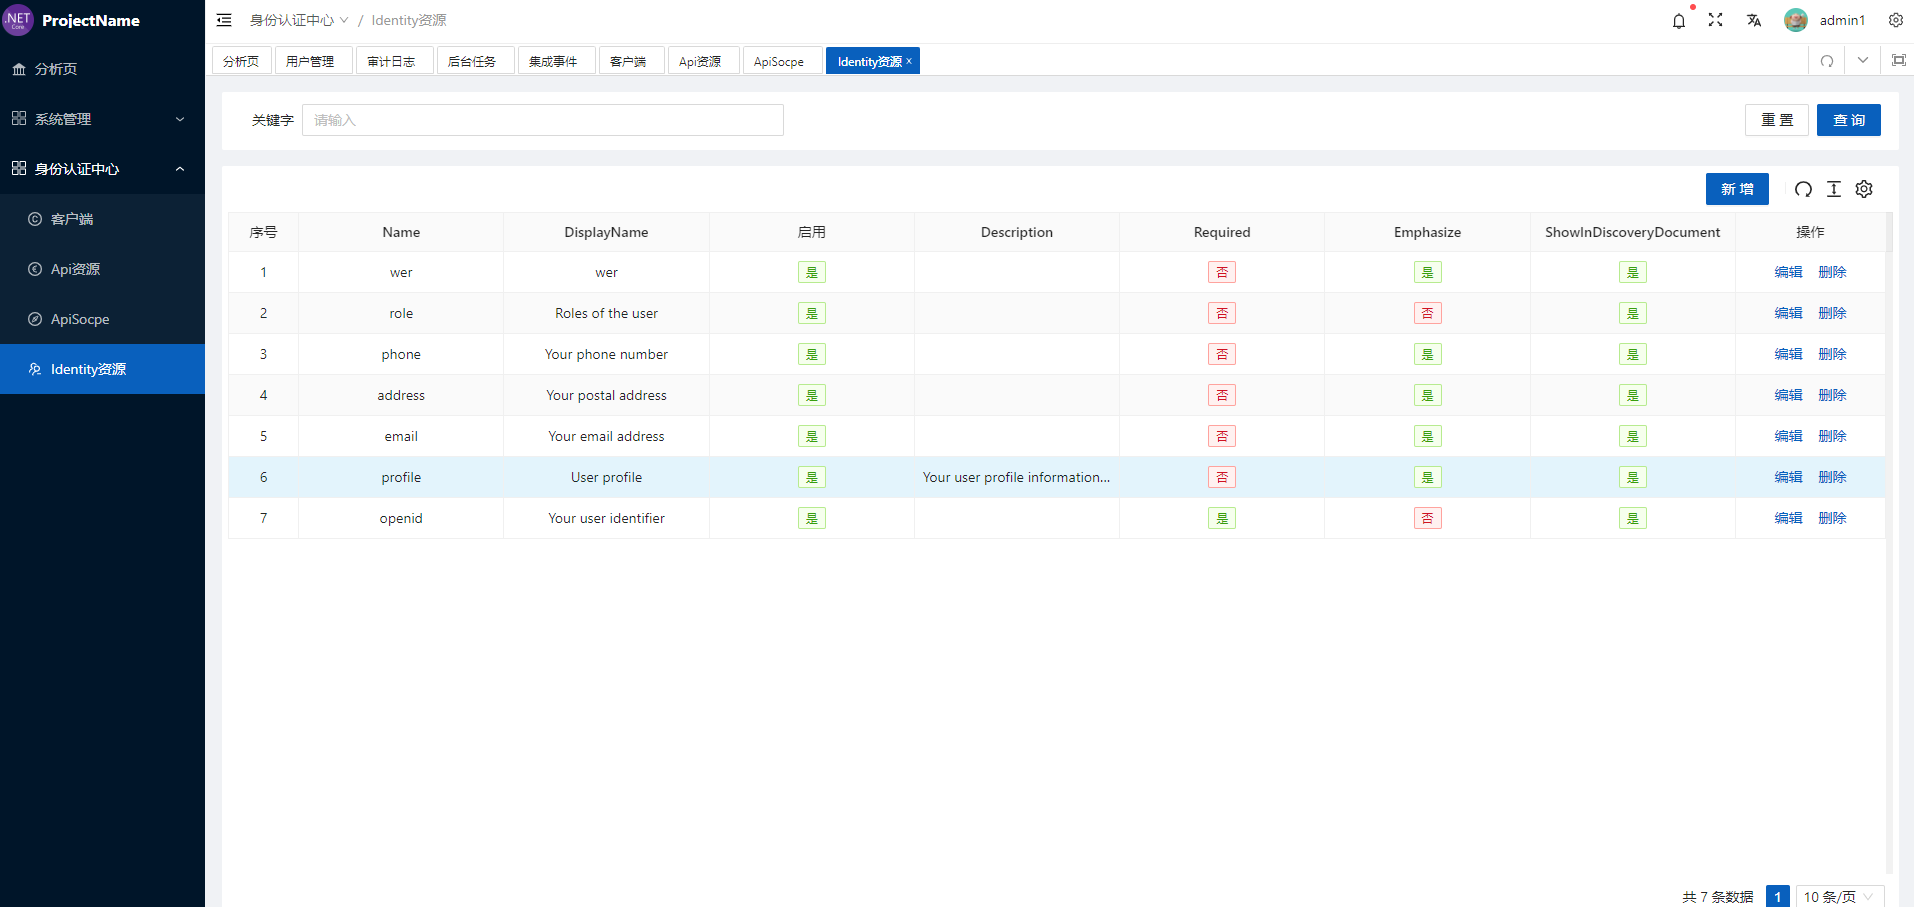
- [x] Identity 资源管理
- [x] SinglaR 消息通知
- [x] 多语言
- [x] FreeSql
- [x] 数据字典(UI 暂时没有)
- [x] 容器化部署
- [x] 单元测试
- [x] ES 日志
- [x] Setting 管理
- [x] 多租户
- [ ] 组织机构
.
├── Directory.Build.props nuget 版本控制
├── frameworks # 公共模块
│       ├── CAP # dotnetcore.cap
│       └── Extensions # 自定义扩展
├── gateways # 网关
├── modules # 模块
│       ├── DataDictionaryManagement # 数据字典
│       └── NotificationManagement # 通知服务
├── services # 公共静态资源目录
│       ├── host # 启动模块
│           ├── CompanyName.ProjectName.HttpApi.Host # admin ui host
│           └── CompanyName.ProjectName.IdentityServer # IdentityServer host
│       ├── src  # 源码
│           └── CompanyName.ProjectName.DbMigrator # 迁移控制台程序
│       └── test # 单元测试
.
├── _nginx # docker 打包
├── build # 打包脚本相关
│   ├── config # 配置文件
│   ├── generate # 生成器
│   ├── script # 脚本
│   └── vite # vite配置
├── mock # mock文件夹
├── public # 公共静态资源目录
├── src # 主目录
│   ├── api # 接口文件
│   ├── assets # 资源文件
│   │   ├── icons # icon sprite 图标文件夹
│   │   ├── images # 项目存放图片的文件夹
│   │   └── svg # 项目存放svg图片的文件夹
│   ├── components # 公共组件
│   ├── design # 样式文件
│   ├── directives # 指令
│   ├── enums # 枚举/常量
│   ├── hooks # hook
│   │   ├── component # 组件相关hook
│   │   ├── core # 基础hook
│   │   ├── event # 事件相关hook
│   │   ├── setting # 配置相关hook
│   │   └── web # web相关hook
│   ├── layouts # 布局文件
│   │   ├── default # 默认布局
│   │   ├── iframe # iframe布局
│   │   └── page # 页面布局
│   ├── locales # 多语言
│   ├── logics # 逻辑
│   ├── main.ts # 主入口
│   ├── router # 路由配置
│   ├── services # Nswag生成的代理
│   │   ├── ServiceProxies.ts # Nswag生成的代理
│   │   ├── ServiceProxyBase.ts # Nswag生成的代理拦截器
│   ├── settings # 项目配置
│   │   ├── componentSetting.ts # 组件配置
│   │   ├── designSetting.ts # 样式配置
│   │   ├── encryptionSetting.ts # 加密配置
│   │   ├── localeSetting.ts # 多语言配置
│   │   ├── projectSetting.ts # 项目配置
│   │   └── siteSetting.ts # 站点配置
│   ├── store # 数据仓库
│   ├── utils # 工具类
│   └── views # 页面
├── test # 测试
│   └── server # 测试用到的服务
│       ├── api # 测试服务器
│       ├── upload # 测试上传服务器
│       └── websocket # 测试ws服务器
├── types # 类型文件
├── vite.config.ts # vite配置文件
└── windi.config.ts # windcss配置文件
运行项目前提
-
Mysql
docker run --name mymysql -p 3306:3306 -e MYSQL_ROOT_PASSWORD=1q2w3E* -d mysql:5.7 --character-set-server=utf8mb4 --collation-server=utf8mb4_unicode_ci -
Redis
docker run --name myredis -p 6379:6379 -d redis:latest redis-server -
RabbitMq 非必须
-
appsetting.development.json-> CAP:Enabled 设置为 false
docker run -d --name myrabbitmq -e RABBITMQ_DEFAULT_USER=admin -e RABBITMQ_DEFAULT_PASS=admin -p 15672:15672 -p 5672:5672 rabbitmq:management -
ELK 非必须
-
appsetting.development.json-> LogToElasticSearch:Enabled 设置为 false
-
安装 Node.js, Npm Or Yarn
- 直接 clone 项目
git clone https://github.com/WangJunZzz/abp-vnext-pro.git
- 下载代码生成器
git clone https://github.com/WangJunZzz/abp-vnext-pro-gui.git
- 下载代码生成生成器之后,输入自己想要的项目名称生成代码即可
- 修改 HttpApi.Host-> appsettings.development.json 的数据库连接字符串,Redis, RabbitMq,Es 地址即可(如果没有 es 也可以运行,只是前端 es 日志页面无法使用而已,不影响后端项目启动)
- 修改 IdentityServer-> appsettings.development.json 数据库连接字符串
- 修改 DbMigrator-> appsettings.json 数据库连接字符串
- 运行 DbMigrator 生成数据库
- 启动 HttpApi.Host 和 IdentityServer
- 前端 yarn 之后,执行 npm run dev 启动
- HttpApi.Host-> appsettings.development.json
{
  // Serilog 日志配置,生成环境修改日志级别
  "Serilog": {
    "MinimumLevel": {
      "Default": "Information",
      "Override": {
        "Microsoft": "Information",
        "Volo.Abp": "Information",
        "Hangfire": "Information",
        "DotNetCore.CAP": "Information",
        "Serilog.AspNetCore": "Information"
      }
    }
  },
  // 跨域设置
  "App": {
    "CorsOrigins": "https://*.ProjectName.com,http://localhost:4200,http://localhost:3100"
  },
  // 数据库连接字符串,修改为你本地的mysql地址
  "ConnectionStrings": {
    "Default": "Data Source=localhost;Database=CompanyNameProjectNameDB;uid=root;pwd=1q2w3E*;charset=utf8mb4;Allow User Variables=true;AllowLoadLocalInfile=true"
  },
  // Redis缓存
  "Cache": {
    "Redis": {
      "ConnectionString": "localhost",
      "Password": "mypassword",
      "DatabaseId": 0
    }
  },
  // Jwt配置
  "Jwt": {
    "Audience": "CompanyNameProjectName",
    //客户端标识
    "SecurityKey": "dzehzRz9a8asdfasfdadfasdfasdfafsdadfasbasdf=",
    "Issuer": "CompanyNameProjectName",
    //签发者
    "ExpirationTime": 24
    //过期时间 hour
  },
  // 使用了Dotnetcore.cap的rabbitmq,false的情况基于内存
  "Cap": {
    "Enabled": "false",
    "RabbitMq": {
      "HostName": "localhost",
      "UserName": "admin",
      "Password": "admin"
    }
  },
  // es日志地址配置
  "LogToElasticSearch": {
    "Enabled": "true",
    "ElasticSearch": {
      "Url": "http://es.cn",
      "IndexFormat": "companyname.projectname.development",
      "UserName": "elastic",
      "Password": "aVVhjQ95RP7nbwNy",
      "DashboardIndex": "companyname.projectname"
    }
  },
  // identityserver地址
  "HttpClient": {
    "Sts": {
      "Url": "http://localhost:44354"
    }
  },
  // Consul 服务发现和治理
  "Consul": {
    "Enabled": false,
    "Host": "http://localhost:8500",
    "Service": "Project-Service"
  }
}
- IdentityServer-> appsettings.development.json
{
  "App": {
    "SelfUrl": "https://localhost:44354",
    "ClientUrl": "http://localhost:4200",
    "CorsOrigins": "https://*.ProjectName.com,http://localhost:4200,https://localhost:44307,https://localhost:44315",
    "RedirectAllowedUrls": "http://localhost:4200,https://localhost:44307"
  },
  // mysql连接字符串
  "ConnectionStrings": {
    "Default": "Data Source=localhost;Database=CompanyNameProjectNameDB;uid=root;pwd=1q2w3E*;charset=utf8mb4;Allow User Variables=true;AllowLoadLocalInfile=true"
  },
  // Redis
  "Redis": {
    "Configuration": "localhost,password=mypassword"
  }
}
- DbMigrator-> appsettings.json
  // 迁移数据库
  "ConnectionStrings": {
     "Default": "Data Source=localhost;Database=CompanyNameProjectNameDB;uid=root;pwd=1q2w3E*;charset=utf8mb4;Allow User Variables=true;AllowLoadLocalInfile=true"
  }
- 前端采用 TypeScript,所有的类型动态生成 NSwag
- 后端 api 统一使用 Post
- 定义 api 格式
// 一定要打Tags,因为前端会根据这个生成代理类
// 建议参数都封装为一个Input
[SwaggerOperation(summary: "登录", Tags = new[] {"Account"})]
public Task<LoginOutput> LoginAsync(LoginInput input)
{
    return _loginAppService.LoginAsync(input);
}
-
在前端目录下配置代理的地址
- nswag->nswag.json
  "documentGenerator": {
    "fromDocument": {
      "url": "http://localhost:44315/swagger/v1/swagger.json", // 代理地址,只有生成的时候用,不区分环境
    }
  }
- 如果接口参数或者返回值有改变,需要重新生成代理,执行:
npm run nswag
-
前端多环境,.env.development 和.env.production
- 接口地址配置 VITE_API_URL
- IdentityServer 地址配置 VITE_AUTH_URL
-
- src/router/routes
policy 字段匹配后端的权限名称
- 按钮权限
v-auth="'AbpIdentity.Users.Delete'"
- src/router/routes
- 提供原始登录和第三方登录(IdentityServer4),默认用户名密码:admin 1q2w3*
- 权限定义(Application.Contracts 层)
- Abp 会自动扫描继承 PermissionDefinitionProvider
- 文档 Abp 官方
- 在 Http.Api 的 Controller 打上 Authorize
- 消息类型,发送给指定人和广播消息
- 发送消息到前端,通过集成事件和 RabbitMq
- 注入 NotificationManager 发送消息,
/// <summary>
/// 发送普通文本消息
/// </summary>
/// <returns></returns>
/// <exception cref="NotificationManagementDomainException"></exception>
public async Task<Notification> SendCommonTextAsync(string title, string content, List<Guid> receiveIds)
{
    if (receiveIds is {Count: 0})
    {
        throw new NotificationManagementDomainException("消息接收人不能为空");

    var senderId = Guid.Empty;
    if (_currentUser?.Id != null)
    {
        senderId = _currentUser.Id.Value;

    var entity = new Notification(GuidGenerator.Create(), title, content, MessageType.Text, senderId);
    foreach (var item in receiveIds)
    {
        entity.AddNotificationSubscription(GuidGenerator.Create(), item);

    var notificationEto = ObjectMapper.Map<Notification, NotificationEto>(entity);
    // 发送集成事件
    entity.AddCreatedNotificationDistributedEvent(new CreatedNotificationDistributedEvent(notificationEto));
    return entity = await _notificationRepository.InsertAsync(entity);
}
- Handler 当前事件:NotificationCreatedDistributedEventHandler
/// <summary>
/// 发送消息
/// </summary>
public async Task SendMessageAsync(string title, string content, MessageType messageType, List<string> users)
{
    switch (messageType)
    {
        case MessageType.Text:
            await SendMessageToClientByUserIdAsync(new SendNotificationDto(title, content, messageType), users);
            break;
        case MessageType.BroadCast:
            await SendMessageToAllClientAsync(new SendNotificationDto(title, content, messageType));
            break;
        default:
            throw new UserFriendlyException("未知的消息类型");
    }
}
- 前端接受 SignalR 消息
// src/hooks/web/useSignalR.js
import * as signalR from "@microsoft/signalr";
import { useMessage } from "/@/hooks/web/useMessage";
import { useUserStoreWithOut } from "/@/store/modules/user";
export function useSignalR() {
  /**
   * 开始连接SignalR
   */
  function startConnect(): void {
    let connection = connectionsignalR();
    //接收普通文本消息
    connection.on("ReceiveTextMessageAsync", ReceiveTextMessageHandlerAsync);
    //接收广播消息
    connection.on("ReceiveBroadCastMessageAsync", ReceiveBroadCastMessageHandlerAsync);
    //开始连接
    connection.start();
  }

  /**
   * 连接signalr
   */
  function connectionsignalR(): signalR.HubConnection {
    const userStore = useUserStoreWithOut();
    const token = userStore.getToken;

    const url = (import.meta.env.VITE_WEBSOCKE_URL as string) + "/ws/signalr/notification";
    const connection = new signalR.HubConnectionBuilder()
      .withUrl(url, {
        accessTokenFactory: () => token,
        skipNegotiation: true,
        transport: signalR.HttpTransportType.WebSockets,
      })
      .withAutomaticReconnect({
        nextRetryDelayInMilliseconds: (retryContext) => {
          //重连规则:重连次数<300:间隔1s;重试次数<3000:间隔3s;重试次数>3000:间隔30s
          let count = retryContext.previousRetryCount / 300;
          if (count < 1) {
            //重试次数<300,间隔1s
            return 1000;
          } else if (count < 10) {
            //重试次数>300:间隔5s
            return 1000 * 5;
          } //重试次数>3000:间隔30s
          else {
            return 1000 * 30;
          }
        },
      })
      .configureLogging(signalR.LogLevel.Debug)
      .build();
    return connection;
  }

  /**
   * 接收文本消息
   * @param message 消息体
   */
  function ReceiveTextMessageHandlerAsync(message: any) {
    console.log(message);

    const { notification } = useMessage();

    notification.open({
      message: message.title,
      description: message.content,
    });
  }

  /**
   * 接收广播消息
   * @param message 消息体
   */
  function ReceiveBroadCastMessageHandlerAsync(message: any) {
    const { notification } = useMessage();

    notification.open({
      message: message.title,
      description: message.content,
    });
  }

  return { startConnect };
}
- 参考 Abp 官方文档即可
- 在 appsetting.development.json 设置是否开启
  "LogToElasticSearch": {
    "Enabled": "false", // 如果为fasel,日志也会写入到本地,安装ELK,参考上面的docker-compose
    "ElasticSearch": {
      "Url": "http://es.cn",
      "IndexFormat": "companyname.projectname.development",
      "UserName": "elastic",
      "Password": "aVVhjQ95RP7nbwNy",
      "DashboardIndex": "companyname.projectname"
    }
  },
public override void OnPostApplicationInitialization(ApplicationInitializationContext context)
{
    context.CreateRecurringJob();
    base.OnPostApplicationInitialization(context);
}
- 延迟任务: 官方文档
-
在 appsetting.development.json 设置是否开启
  "Cap": {
    "Enabled": "false", //如果为false 默认使用内存级别的队列,否则请安装rabbitmq
    "RabbitMq": {
      "HostName": "localhost",
      "UserName": "admin",
      "Password": "admin"
    }
  },
private void ConfigurationCap(ServiceConfigurationContext context)
{
    var configuration = context.Services.GetConfiguration();
    var enabled = configuration.GetValue<bool>("Cap:Enabled", false);
    if (enabled)
    {
        context.AddAbpCap(capOptions =>
        {
            capOptions.UseEntityFramework<ProjectNameDbContext>();
            capOptions.UseRabbitMQ(option =>
            {
                option.HostName = configuration.GetValue<string>("Cap:RabbitMq:HostName");
                option.UserName = configuration.GetValue<string>("Cap:RabbitMq:UserName");
                option.Password = configuration.GetValue<string>("Cap:RabbitMq:Password");
            });
            var hostingEnvironment = context.Services.GetHostingEnvironment();
            bool auth = !hostingEnvironment.IsDevelopment();
            capOptions.UseDashboard(options => { options.UseAuth = auth; });
        });
    }
    else
    {
        context.AddAbpCap(capOptions =>
        {
            capOptions.UseInMemoryStorage();
            capOptions.UseInMemoryMessageQueue();
            var hostingEnvironment = context.Services.GetHostingEnvironment();
            bool auth = !hostingEnvironment.IsDevelopment();
            capOptions.UseDashboard(options => { options.UseAuth = auth; });
        });
    }
}
- 发布事件
- 可参考通知模块
// 发送集成事件
entity.AddCreatedNotificationDistributedEvent(new CreatedNotificationDistributedEvent(notificationEto));
- 订阅事件
- 可参考通知模块
/// <summary>
/// 创建消息事件处理
/// </summary>
public class
    CreatedNotificationDistributedEventHandler : IDistributedEventHandler<CreatedNotificationDistributedEvent>,
        ITransientDependency
{
    private readonly INotificationAppService _hubAppService;
    public CreatedNotificationDistributedEventHandler(INotificationAppService hubAppService)
    {
        _hubAppService = hubAppService;
    }
    public Task HandleEventAsync(CreatedNotificationDistributedEvent eventData)
    {
        return _hubAppService.SendMessageAsync(
            eventData.NotificationEto.Title,
            eventData.NotificationEto.Content,
            eventData.NotificationEto.MessageType,
            eventData.NotificationEto.NotificationSubscriptions.Select(e => e.ReceiveId.ToString()).ToList());
    }
}
身份认证中心
- IdentityServer4
- 可重写登录界面 UI
- 提供租户登录和 IdentityServer4 租户登录方式
Ocelot 网关(可选)
- 集成 Ocelot 和 Consul
Docker 方式
HttpApi.Host
-
发布 HttpApi.Host 到和 Dockerfile 同级目录
-- publish -- Dockerfile -
Dockerfile
FROM mcr.microsoft.com/dotnet/aspnet:5.0

# 创建目录
RUN mkdir /app

COPY publish /app

# 设置工作目录
WORKDIR /app

# 暴露80端口
EXPOSE 80

# 设置环境变量
ENV ASPNETCORE_ENVIRONMENT=Production

ENTRYPOINT ["dotnet", "CompanyName.ProjectName.HttpApi.Host.dll"]
- 生成 Docker 镜像
docker build -t abp-vnext-pro-admin .
docker run -itd --name abp-vnext-pro-admin -p 8011:80 abp-vnext-pro-admin
IdentityServer.Host
npm run build
- Dockerfile
FROM nginx:1.17.3-alpine as base
EXPOSE 80
COPY /_nginx/nginx.conf /etc/nginx/nginx.conf
COPY /_nginx/env.js /etc/nginx/env.js
COPY /_nginx/default.conf /etc/nginx/conf.d/default.conf
COPY /dist/ /usr/share/nginx/html
CMD ["nginx", "-g", "daemon off;"]
- 生成 Docker 镜像
docker build -t abp-vnext-pro-ui .
docker run -itd --name abp-vnext-pro-ui -p 8012:80 abp-vnext-pro-ui
VS 编译项目字符串超过 256 个字符
- 把项目拷贝到磁盘根目录 OR 使用 Rider 开发
Hangfire 和 Cap 界面加载不出来
- 这 2 个界面开启了权限认证,由于前端路由的异步加载,导致路由在渲染的时候 access_token 没有加载出来,Ctrl+F5 刷新即可
Recommend
-
99
README.md ABP
-
17
我和ABP vNext 的故事 Abp VNext是Abp的.NET Core 版本,但它不仅仅只是代码重写了...
-
12
2021-04-079 16 min.在 上一篇 博客中,博主和大家分享了如何在 EF Core 中...
-
7
Overview# 在前面的文章里有针对 abp 的项目模板进行简化,构建了一个精简的项目模板,在使用过程中,因为我们暴露的 api 需要包含版本...
-
8
ABP vNext 的实体与服务扩展技巧分享2021-04-182 20 min.使用 ABP vNext 有一个月左右啦,这中间最大的一个收获是:ABP vNext 的开发效率真的是非常好,只要你愿意取遵循它模块化、DDD...
-
6
ABP vNext 使用 Volo.Abp.Sms 包和 Volo.Abp.Emailing 包将短信和电子邮件作为基础设施进行了抽象,开发人员仅需要在使用的时候注入 ISmsSender 或 IEmailSender 即可实现短信发送和邮件发送。 二、源码分...
-
4
系列文章列表,点击展示/隐藏本文梯子正文 本章节对 ABP 框架进行一个简单的介绍,摘自ABP官方,后面会在使用过程中对各个知识点进行细致的讲解。 领域驱动设计 领域驱动设计(简称...
-
12
五、Abp vNext 基础篇丨博客聚合功能 系列文章列表,点击展示/隐藏...
-
9
ABP VNext框架基础知识介绍(2)--微服务的网关 ABP VNext框架如果不考虑在微服务上的应用,也就是开发单体应用解决方案,虽然也是模块化开发,但其集成使用的难度会降低一个层级,不过ABP VNext和ABP框架一样,基础内容都会设计很多内容,如数据库都支...
-
4
ABP Framework 5.3.0 版本新增功能和变更说明
About Joyk
Aggregate valuable and interesting links.
Joyk means Joy of geeK