

爬虫requests高阶篇详细教程
source link: https://blog.csdn.net/weixin_46211269/article/details/120873957
Go to the source link to view the article. You can view the picture content, updated content and better typesetting reading experience. If the link is broken, please click the button below to view the snapshot at that time.
本篇文高阶篇,上一篇为基础篇,希望你一定要学完基础再来看高阶篇内容,由于字数限制,下一篇我讲requests的多个实战。基础篇文章:requests基础篇
二、SSL验证
我们已12306网站为例子进行讲解。
首先我们请求一下12306:
import requests

response = requests.get('https://www.12306.cn/index/')
print(response.status_code)
返回:200
神奇的是能返回200,按道理是应该失败的,不过也好,如果你有报错SSLError,表示证书验证错误,把 verify 参数设置为 False 即可:
import requests

response = requests.get('https://www.12306.cn', verify=False)
print(response.status_code)
运行: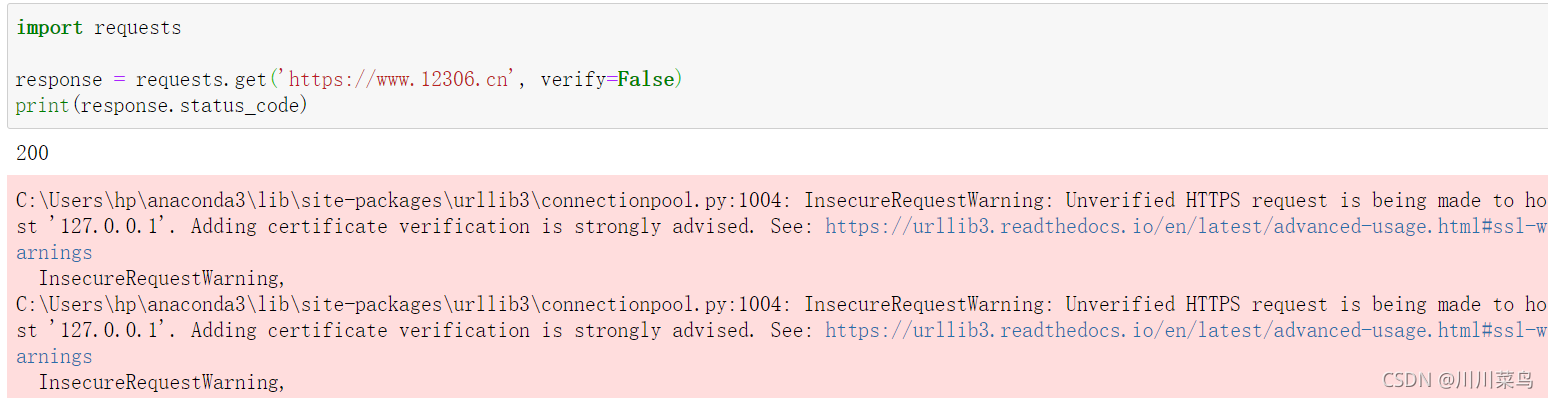
可以看到报错有个警告,让我们添加证书,我们可以通过设置忽略警告的方式来屏蔽这个警告
import requests
from requests.packages import urllib3

urllib3.disable_warnings()
response = requests.get('https://www.12306.cn', verify=False)
print(response.status_code)
运行: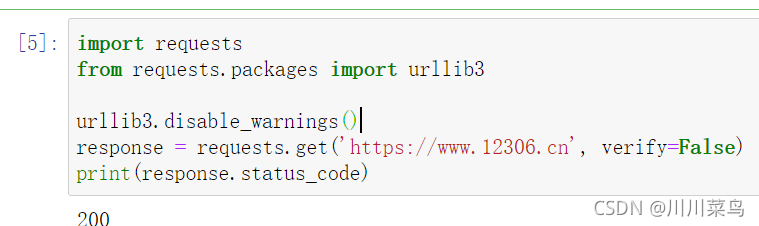
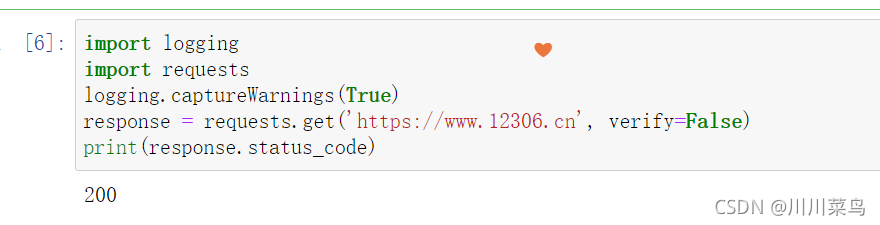
或者通过捕获警告到日志的方式忽略警告:
import logging
import requests
logging.captureWarnings(True)
response = requests.get('https://www.12306.cn', verify=False)
print(response.status_code)
三、代理设置
对于某些网站,在测试的时候请求几次,能正常获取内容。但是一旦开始大规模爬取,对于大规模且频繁的请求,网站可能会弹出验证码,或者跳转到登录认证页面,更甚者可能会直接封禁客户端的 IP,导致一定时间段内无法访问。
那么,为了防止这种情况发生,我们需要设置代理来解决这个问题,这就需要用到 proxies 参数。可以用这样的方式设置:
import requests

proxies = {
  'http': 'http://10.10.1.10:3128',
  'https': 'http://10.10.1.10:1080',
}

requests.get('https://www.taobao.com', proxies=proxies)
当然,直接运行这个实例可能不行,因为这个代理可能是无效的,请换成自己的有效代理试验一下(自己买)
若代理需要使用 HTTP Basic Auth,也可以这样写:
import requests

proxies = {'https': 'http://user:[email protected]:3128/',}
requests.get('https://www.taobao.com', proxies=proxies)
除了基本的 HTTP 代理外,requests 还支持 SOCKS 协议的代理。
首先,需要安装 socks 这个库:
!pip install socks
如下: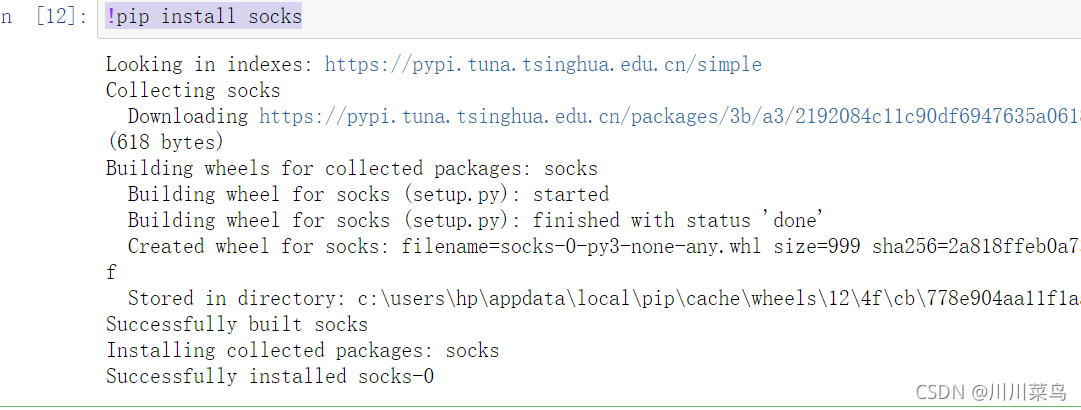
然后就可以使用 SOCKS 协议代理了,示例如下:
import requests

proxy='123.58.10.36:8080'  #本地代理
#proxy='username:[email protected]:8080'
proxies={
    'http':'http://'+proxy,
    'https':'https://'+proxy
}
try:
    response=requests.get('http://httpbin.org/get',proxies=proxies)
    print(response.text)
except requests.exceptions.ConnectionError as e:
    print('错误:',e.args)
运行:
你是不是想说我又在发无用代码,都是不可以用的?你要把我上面的ip换成有用的ip,你就可以成功了,为了避免被xx我就不演示了。
四、超时设置
在本机网络状况不好或者服务器网络响应太慢甚至无响应时,我们可能会等待特别久的时间才可能收到响应,甚至到最后收不到响应而报错。为了防止服务器不能及时响应,应该设置一个超时时间,即超过了这个时间还没有得到响应,那就报错。这需要用到 timeout 参数。这个时间的计算是发出请求到服务器返回响应的时间。示例如下:
import requests

r = requests.get('https://blog.csdn.net/weixin_46211269?spm=1000.2115.3001.5343&type=blog', timeout=1)
print(r.status_code)
运行:
通过这样的方式,我们可以将超时时间设置为 1 秒,如果 1 秒内没有响应,那就抛出异常。
实际上,请求分为两个阶段,即连接(connect)和读取(read)。上面设置的 timeout 将用作连接和读取这二者的 timeout 总和。如果要分别指定,就可以传入一个元组:
import requests

r = requests.get('https://blog.csdn.net/weixin_46211269?spm=1000.2115.3001.5343&type=blog', timeout=(10,20))
print(r.status_code)
运行:
如果想永久等待,可以直接将 timeout 设置为 None,或者不设置直接留空,因为默认是 None。这样的话,如果服务器还在运行,但是响应特别慢,那就慢慢等吧,它永远不会返回超时错误的。其用法如下:
import requests

r = requests.get('https://blog.csdn.net/weixin_46211269?spm=1000.2115.3001.5343&type=blog', timeout=None)
print(r.status_code)
或直接不加参数:
import requests

r = requests.get('https://blog.csdn.net/weixin_46211269?spm=1000.2115.3001.5343&type=blog')
print(r.status_code)
五、身份认证
为什么认证?比如这个网址:点击打开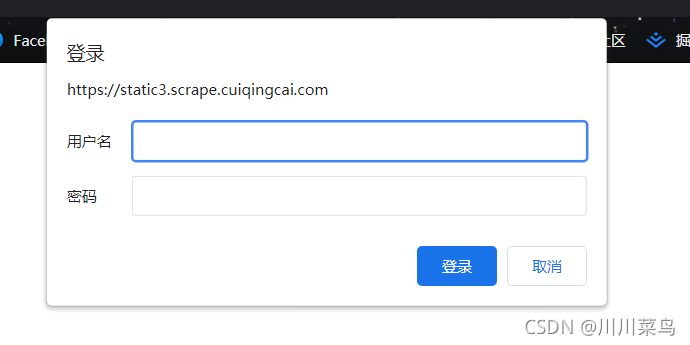
身份验证基本格式为:
import requests
from requests.auth import HTTPBasicAuth

r = requests.get('http://localhost:5000', auth=HTTPBasicAuth('username', 'password'))
print(r.status_code)
1)基本身份认证
此时可以使用 requests 自带的身份认证功能:
import requests
from requests.auth import HTTPBasicAuth

r = requests.get('https://static3.scrape.cuiqingcai.com/', auth=HTTPBasicAuth('admin', 'admin'))
print(r.status_code)
这样运行可还是会报错:这就是我们前面说到的SSL验证
因此我们加上SSL验证为:
import requests
from requests.auth import HTTPBasicAuth

r = requests.get('https://static3.scrape.cuiqingcai.com/', auth=HTTPBasicAuth('username', 'password'),verify=False)
print(r.status_code)
这个示例网站的用户名和密码都是 admin,在这里我们可以直接设置。
如果用户名和密码正确的话,请求时会自动认证成功,返回 200 状态码;如果认证失败,则返回 401 状态码。
上面的代码可以直接简写如下:
import requests

r = requests.get('https://static3.scrape.cuiqingcai.com/', auth=('admin', 'admin'))
print(r.status_code)
运行:
2)摘要式身份认证
另一种非常流行的HTTP身份认证形式是摘要式身份认证Digest Authentication,Requests 对它的支持也是开箱即可用的:
import requests
from requests.auth import HTTPDigestAuth
url = 'http://httpbin.org/digest-auth/auth/user/pass'
requests.get(url, auth=HTTPDigestAuth('user', 'pass'))
运行:
上一篇我们已经学会了基础篇教程,本篇是对上一篇内容的补充丰富,希望你认真从我的文章中领悟爬虫的快乐。下一篇我会教大家多个实战内容,不必担心只学了理论就不会实战。后续我会上更多的教程来丰富爬虫,不用担心你学不好,有问题粉丝群找我。
👇🏻 加入私人粉丝群 可通过搜索下方 公众号 发送关键词: 进群
Recommend
About Joyk
Aggregate valuable and interesting links.
Joyk means Joy of geeK